 |
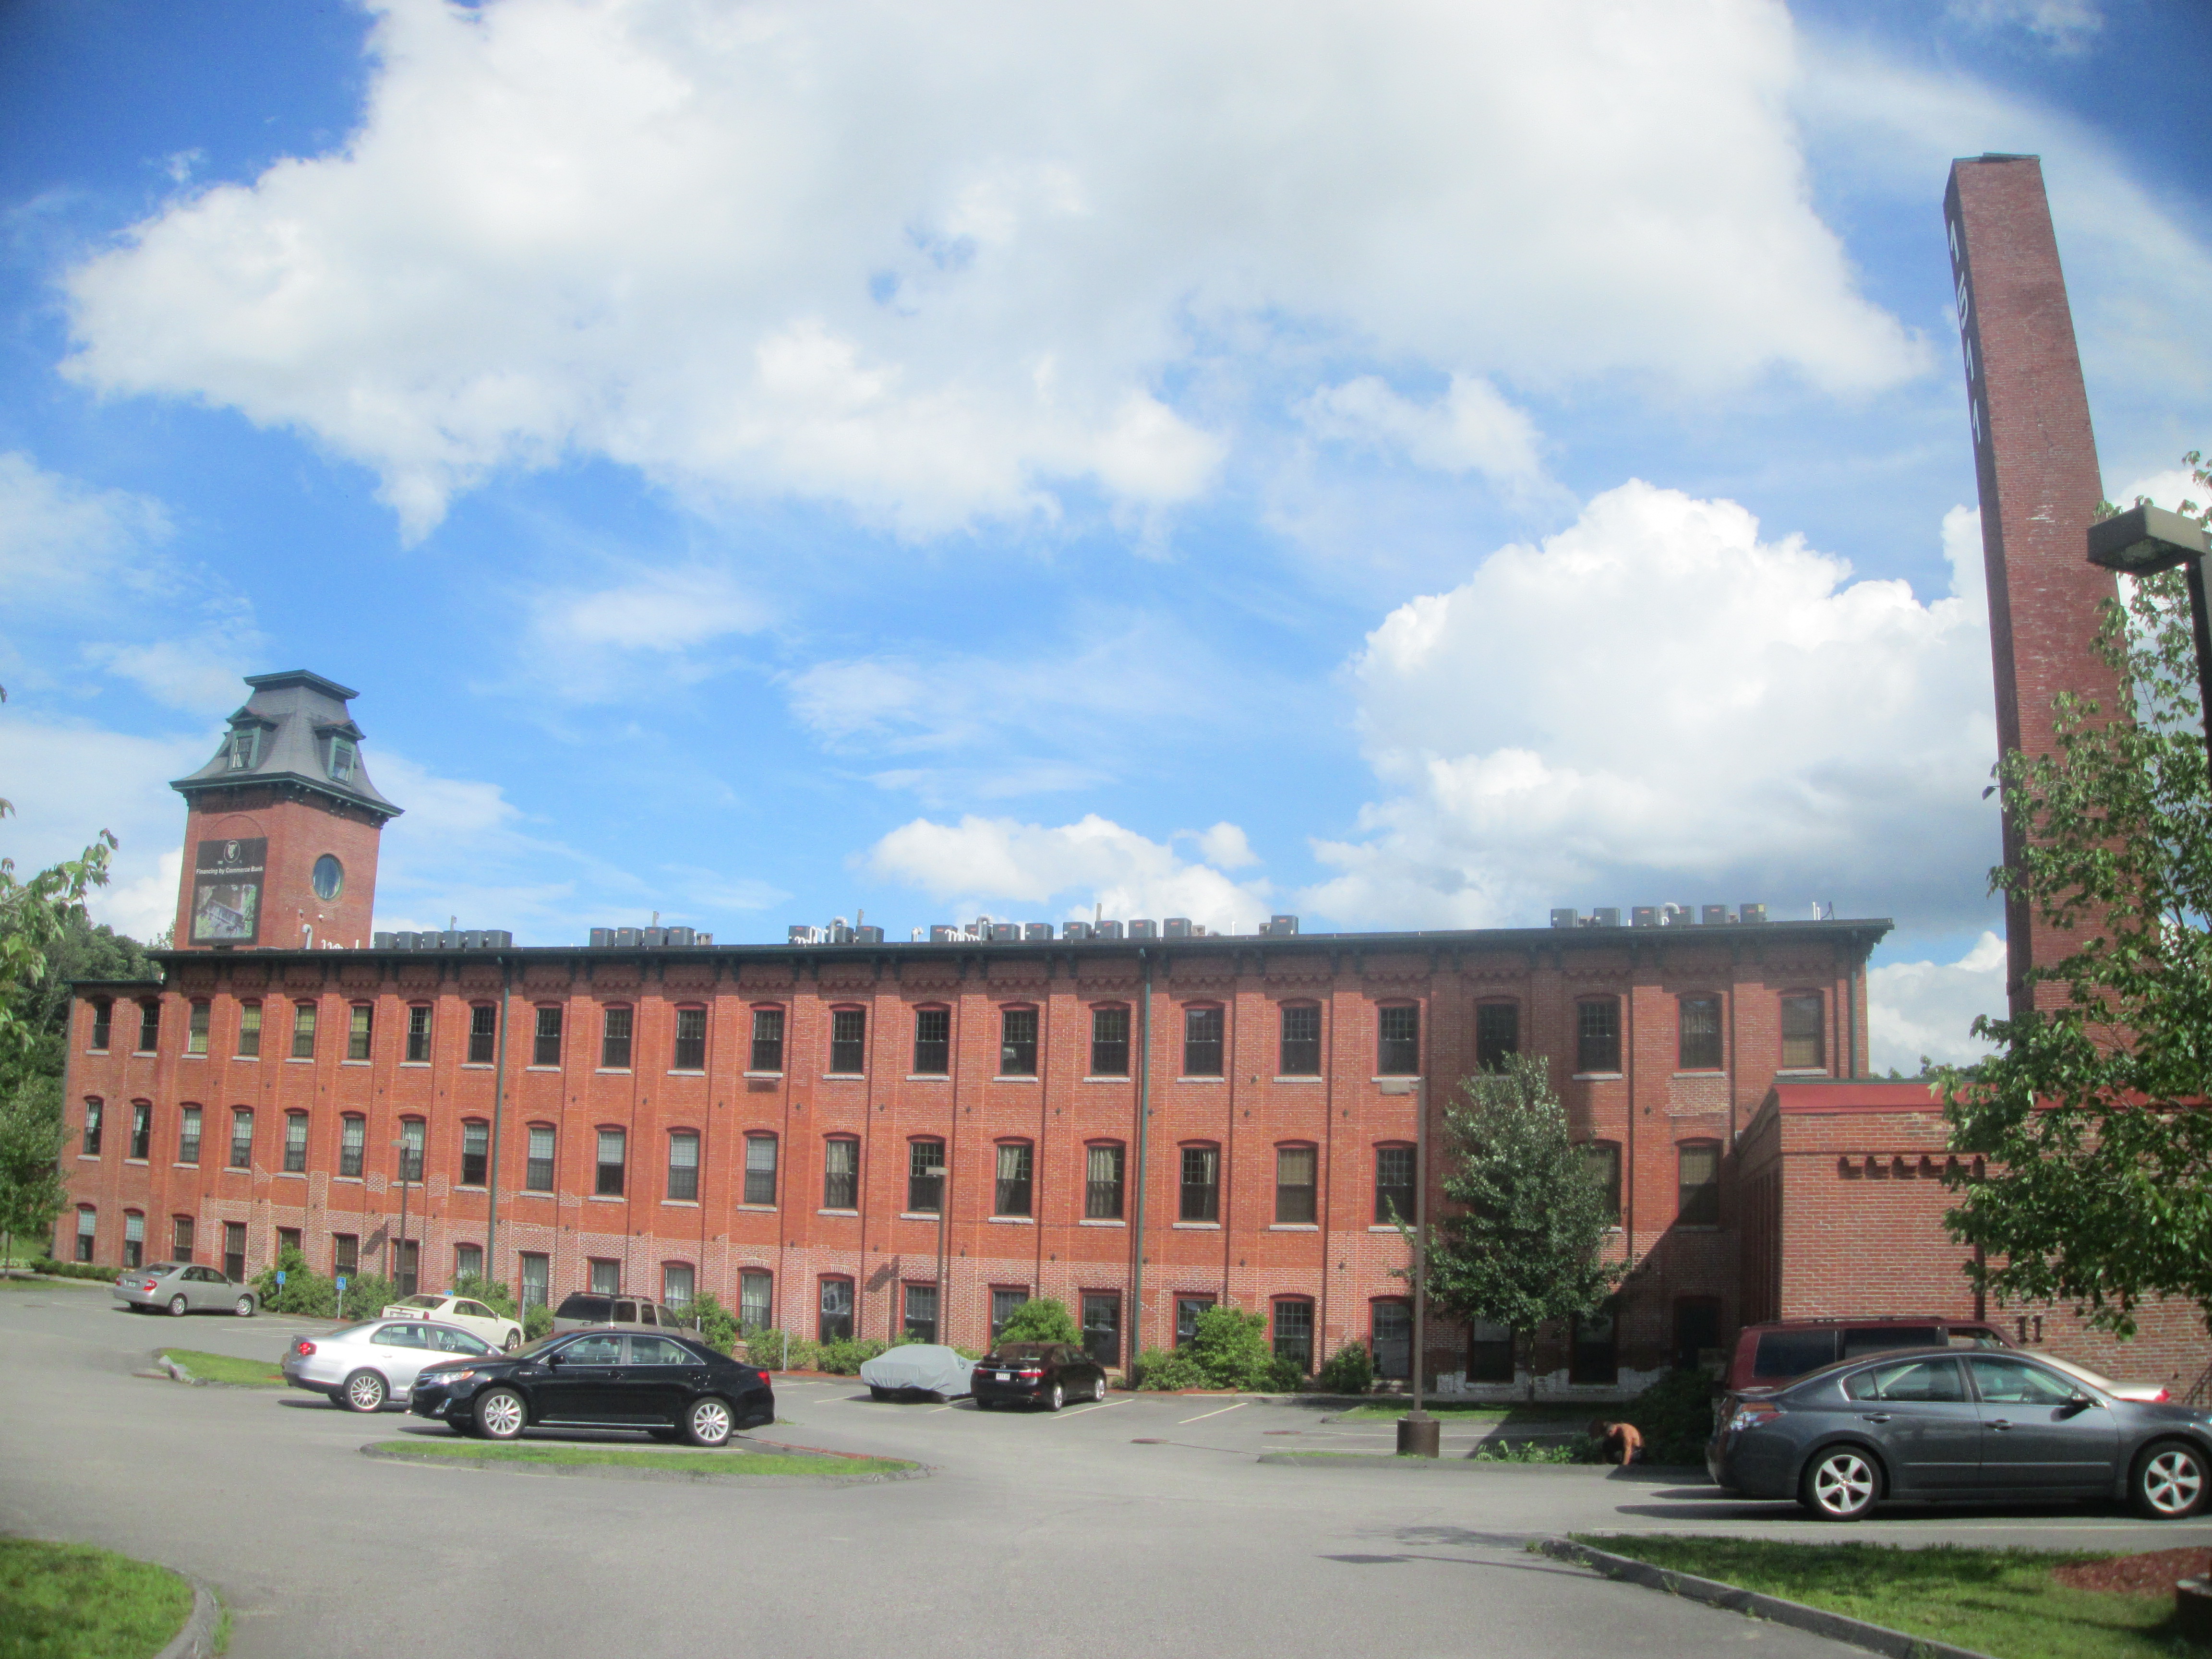
| Kettle Brook Lofts |
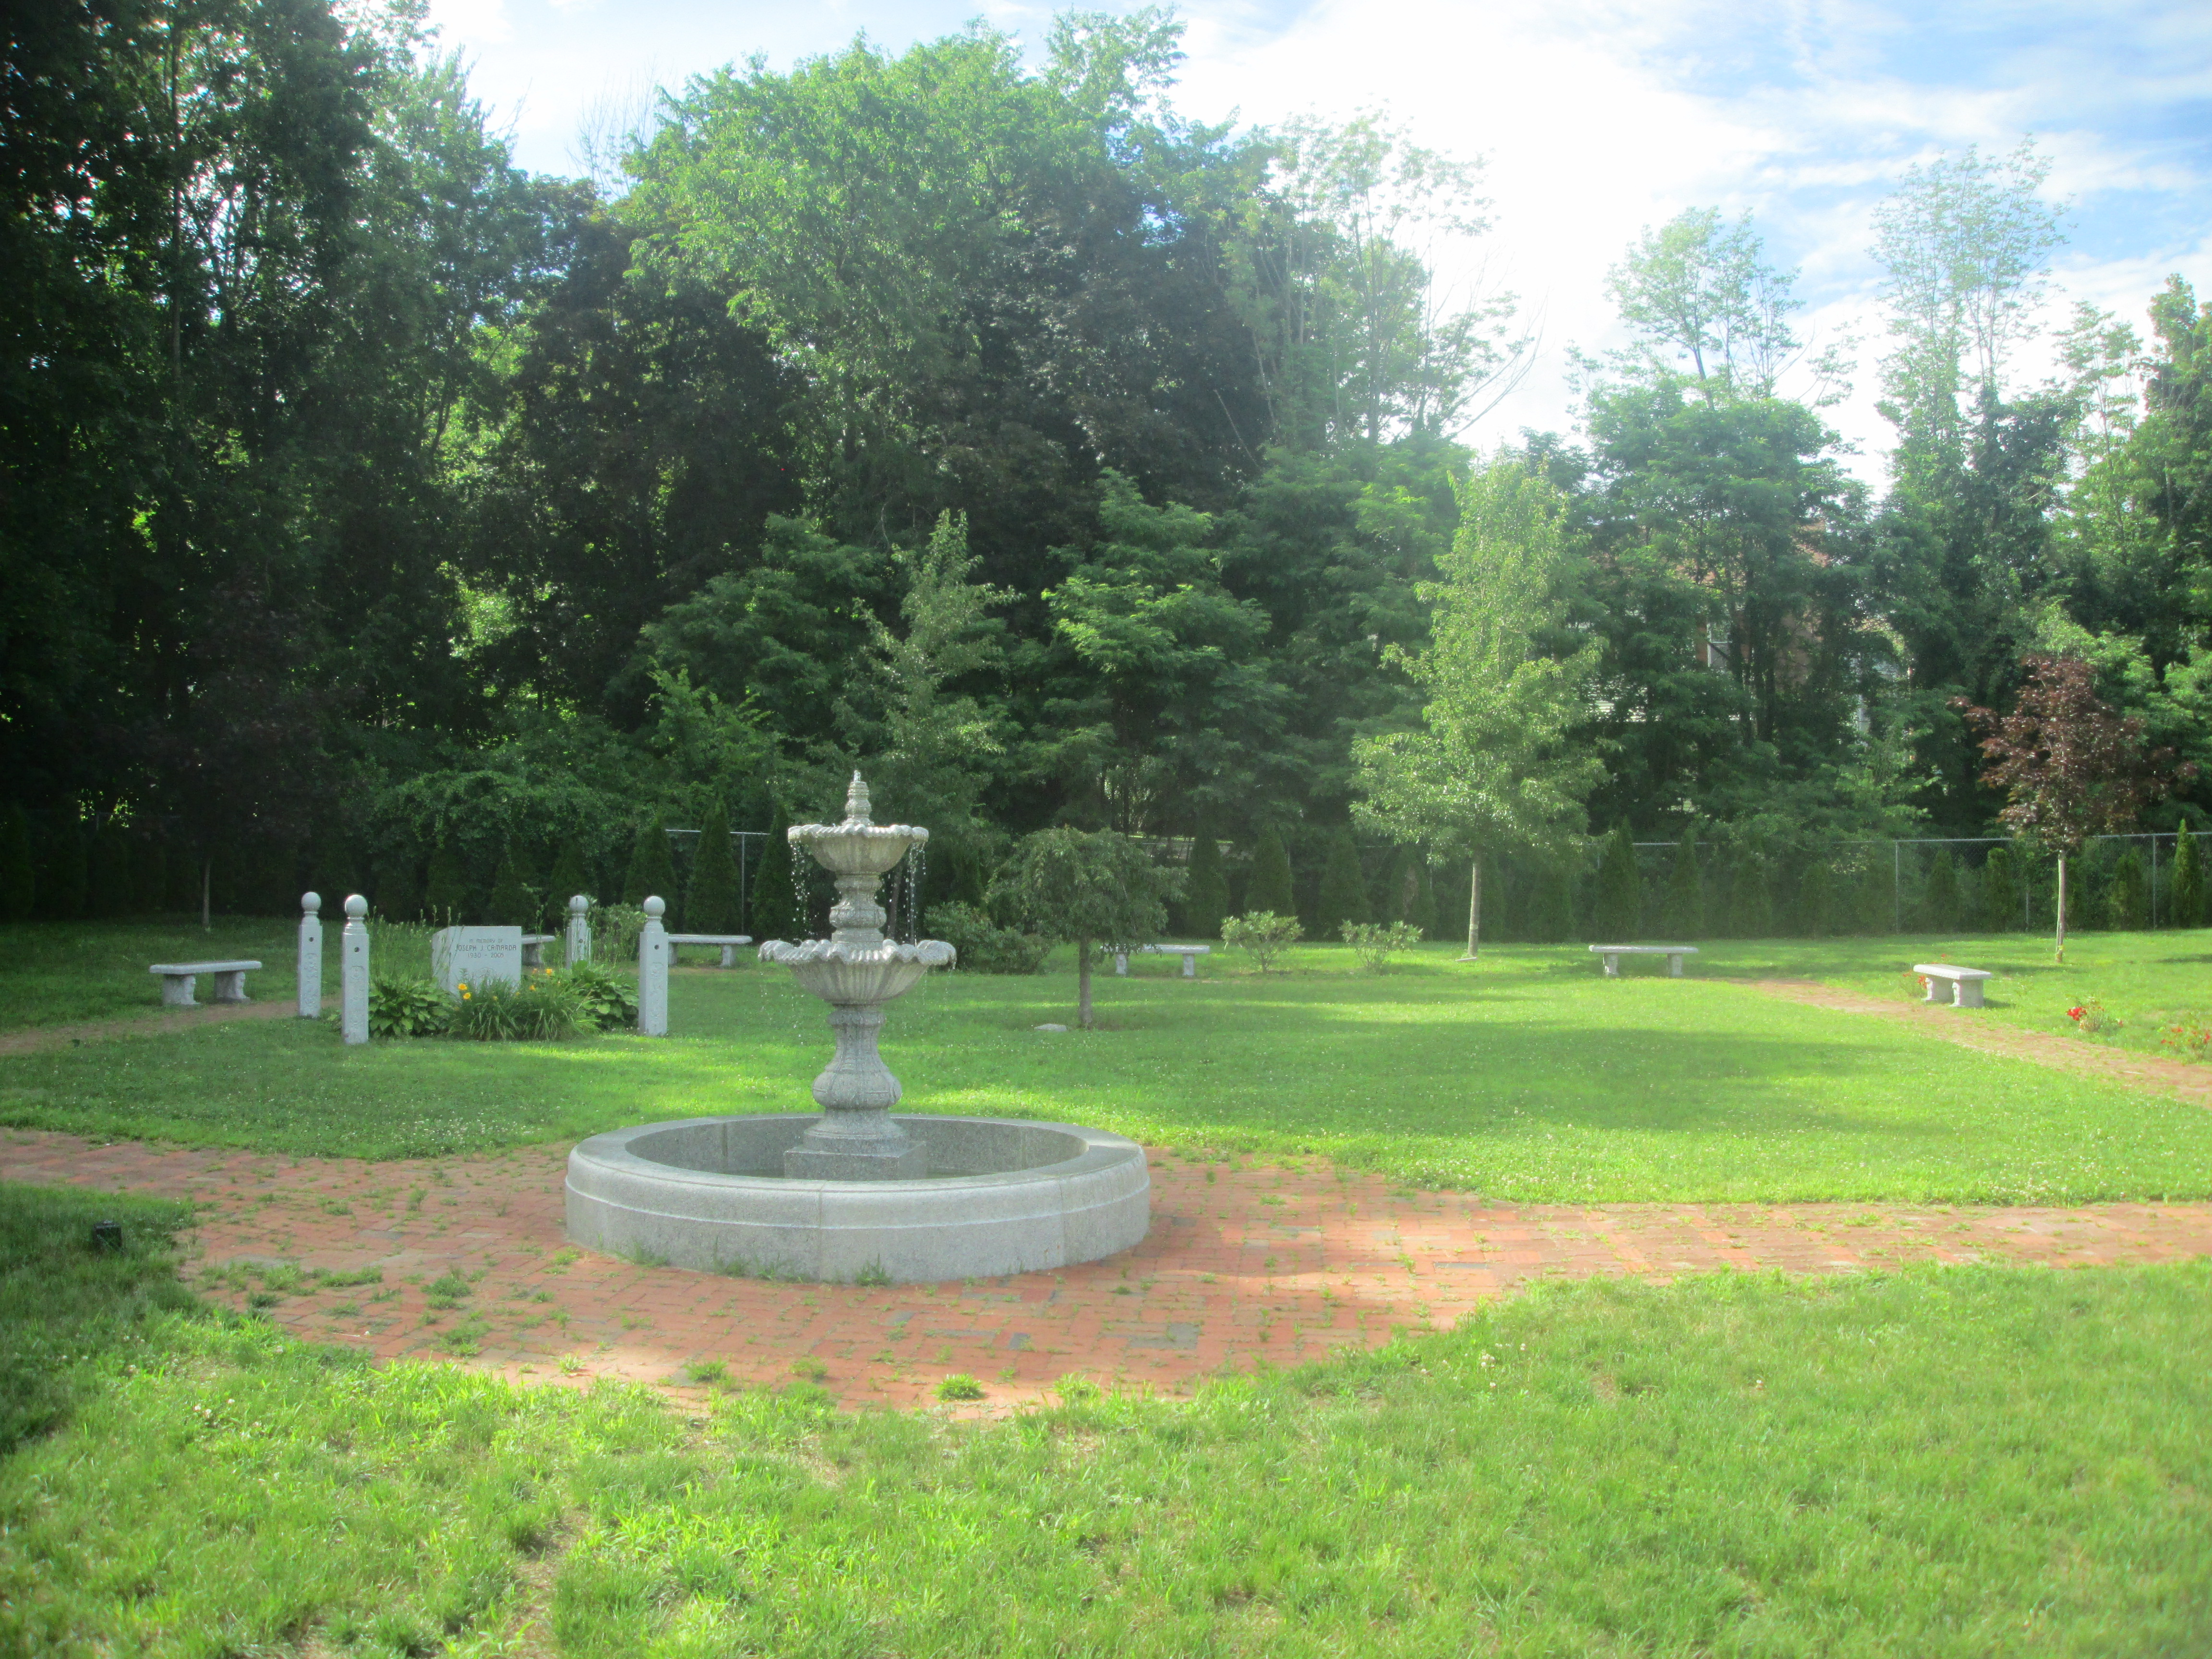 |
Leicester Lions Park in summer,
Main Street and Bottomley Avenue
|
 |
| Police Department |
 |
Frog Statue,
Center Street and Main Street
|
It was pretty hard to find the studio, as it is located in the basement of the Maplewood Shops, but thankfully I managed to find it just as the class was about to start.
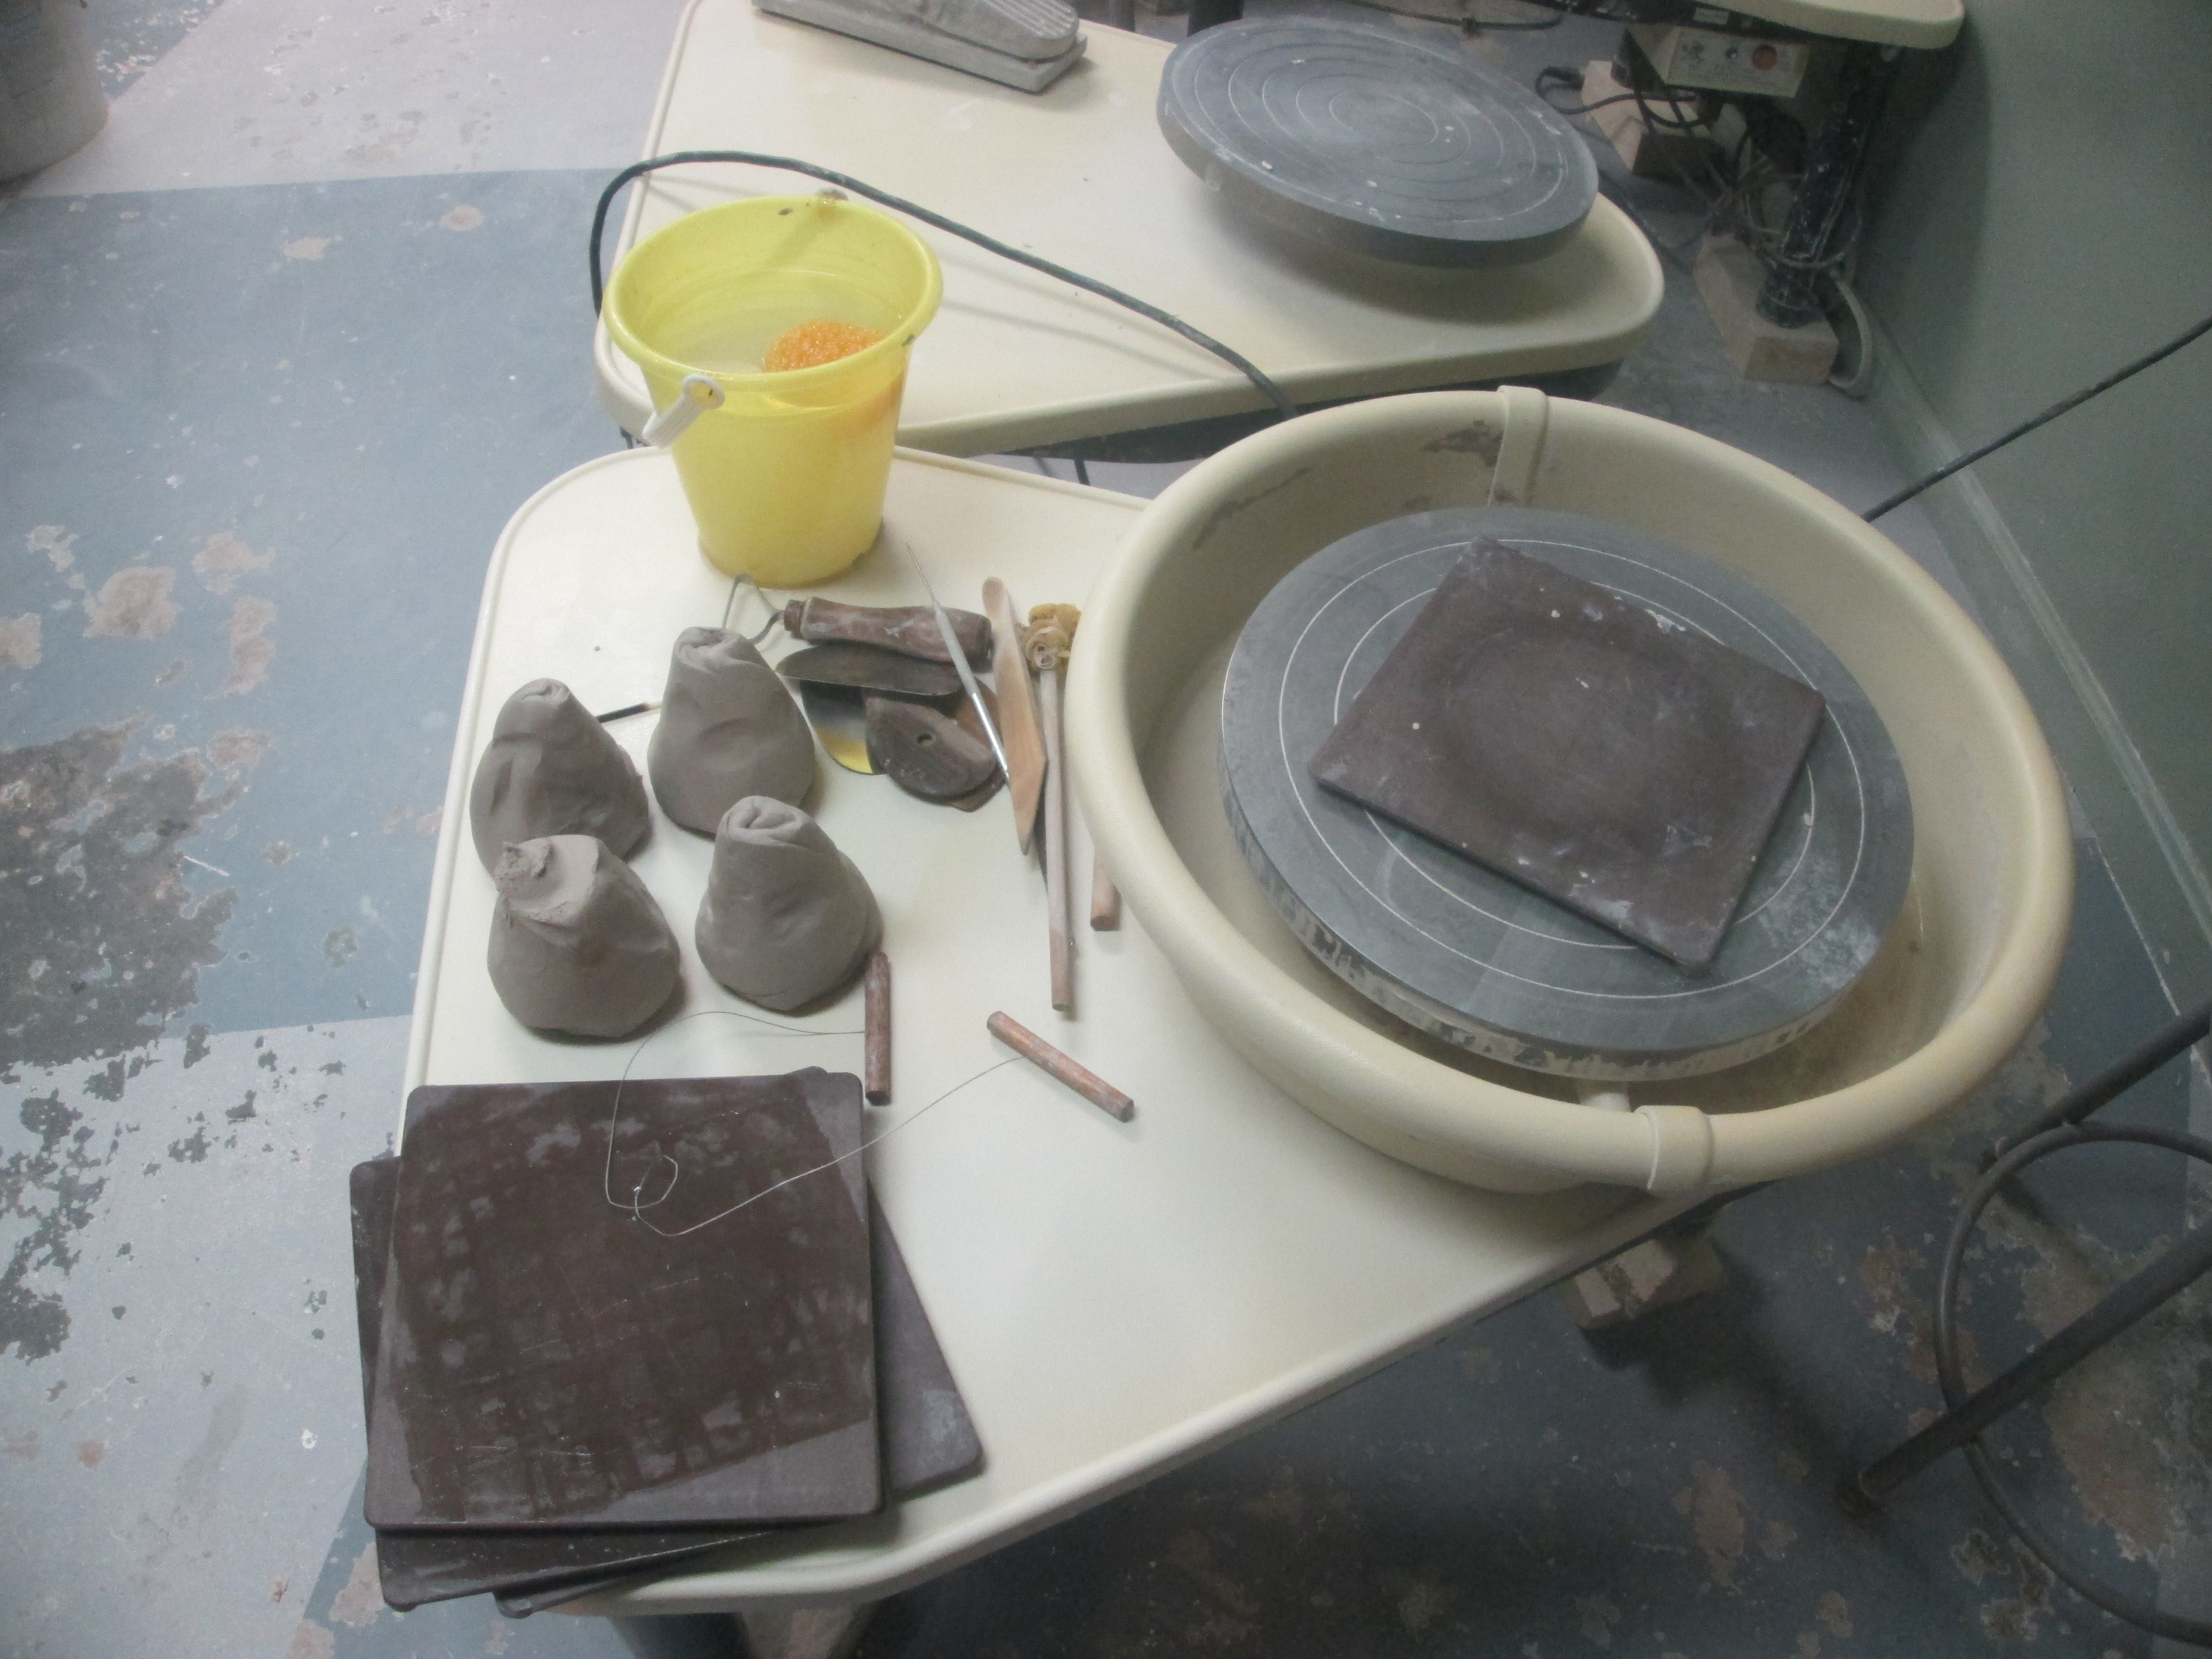
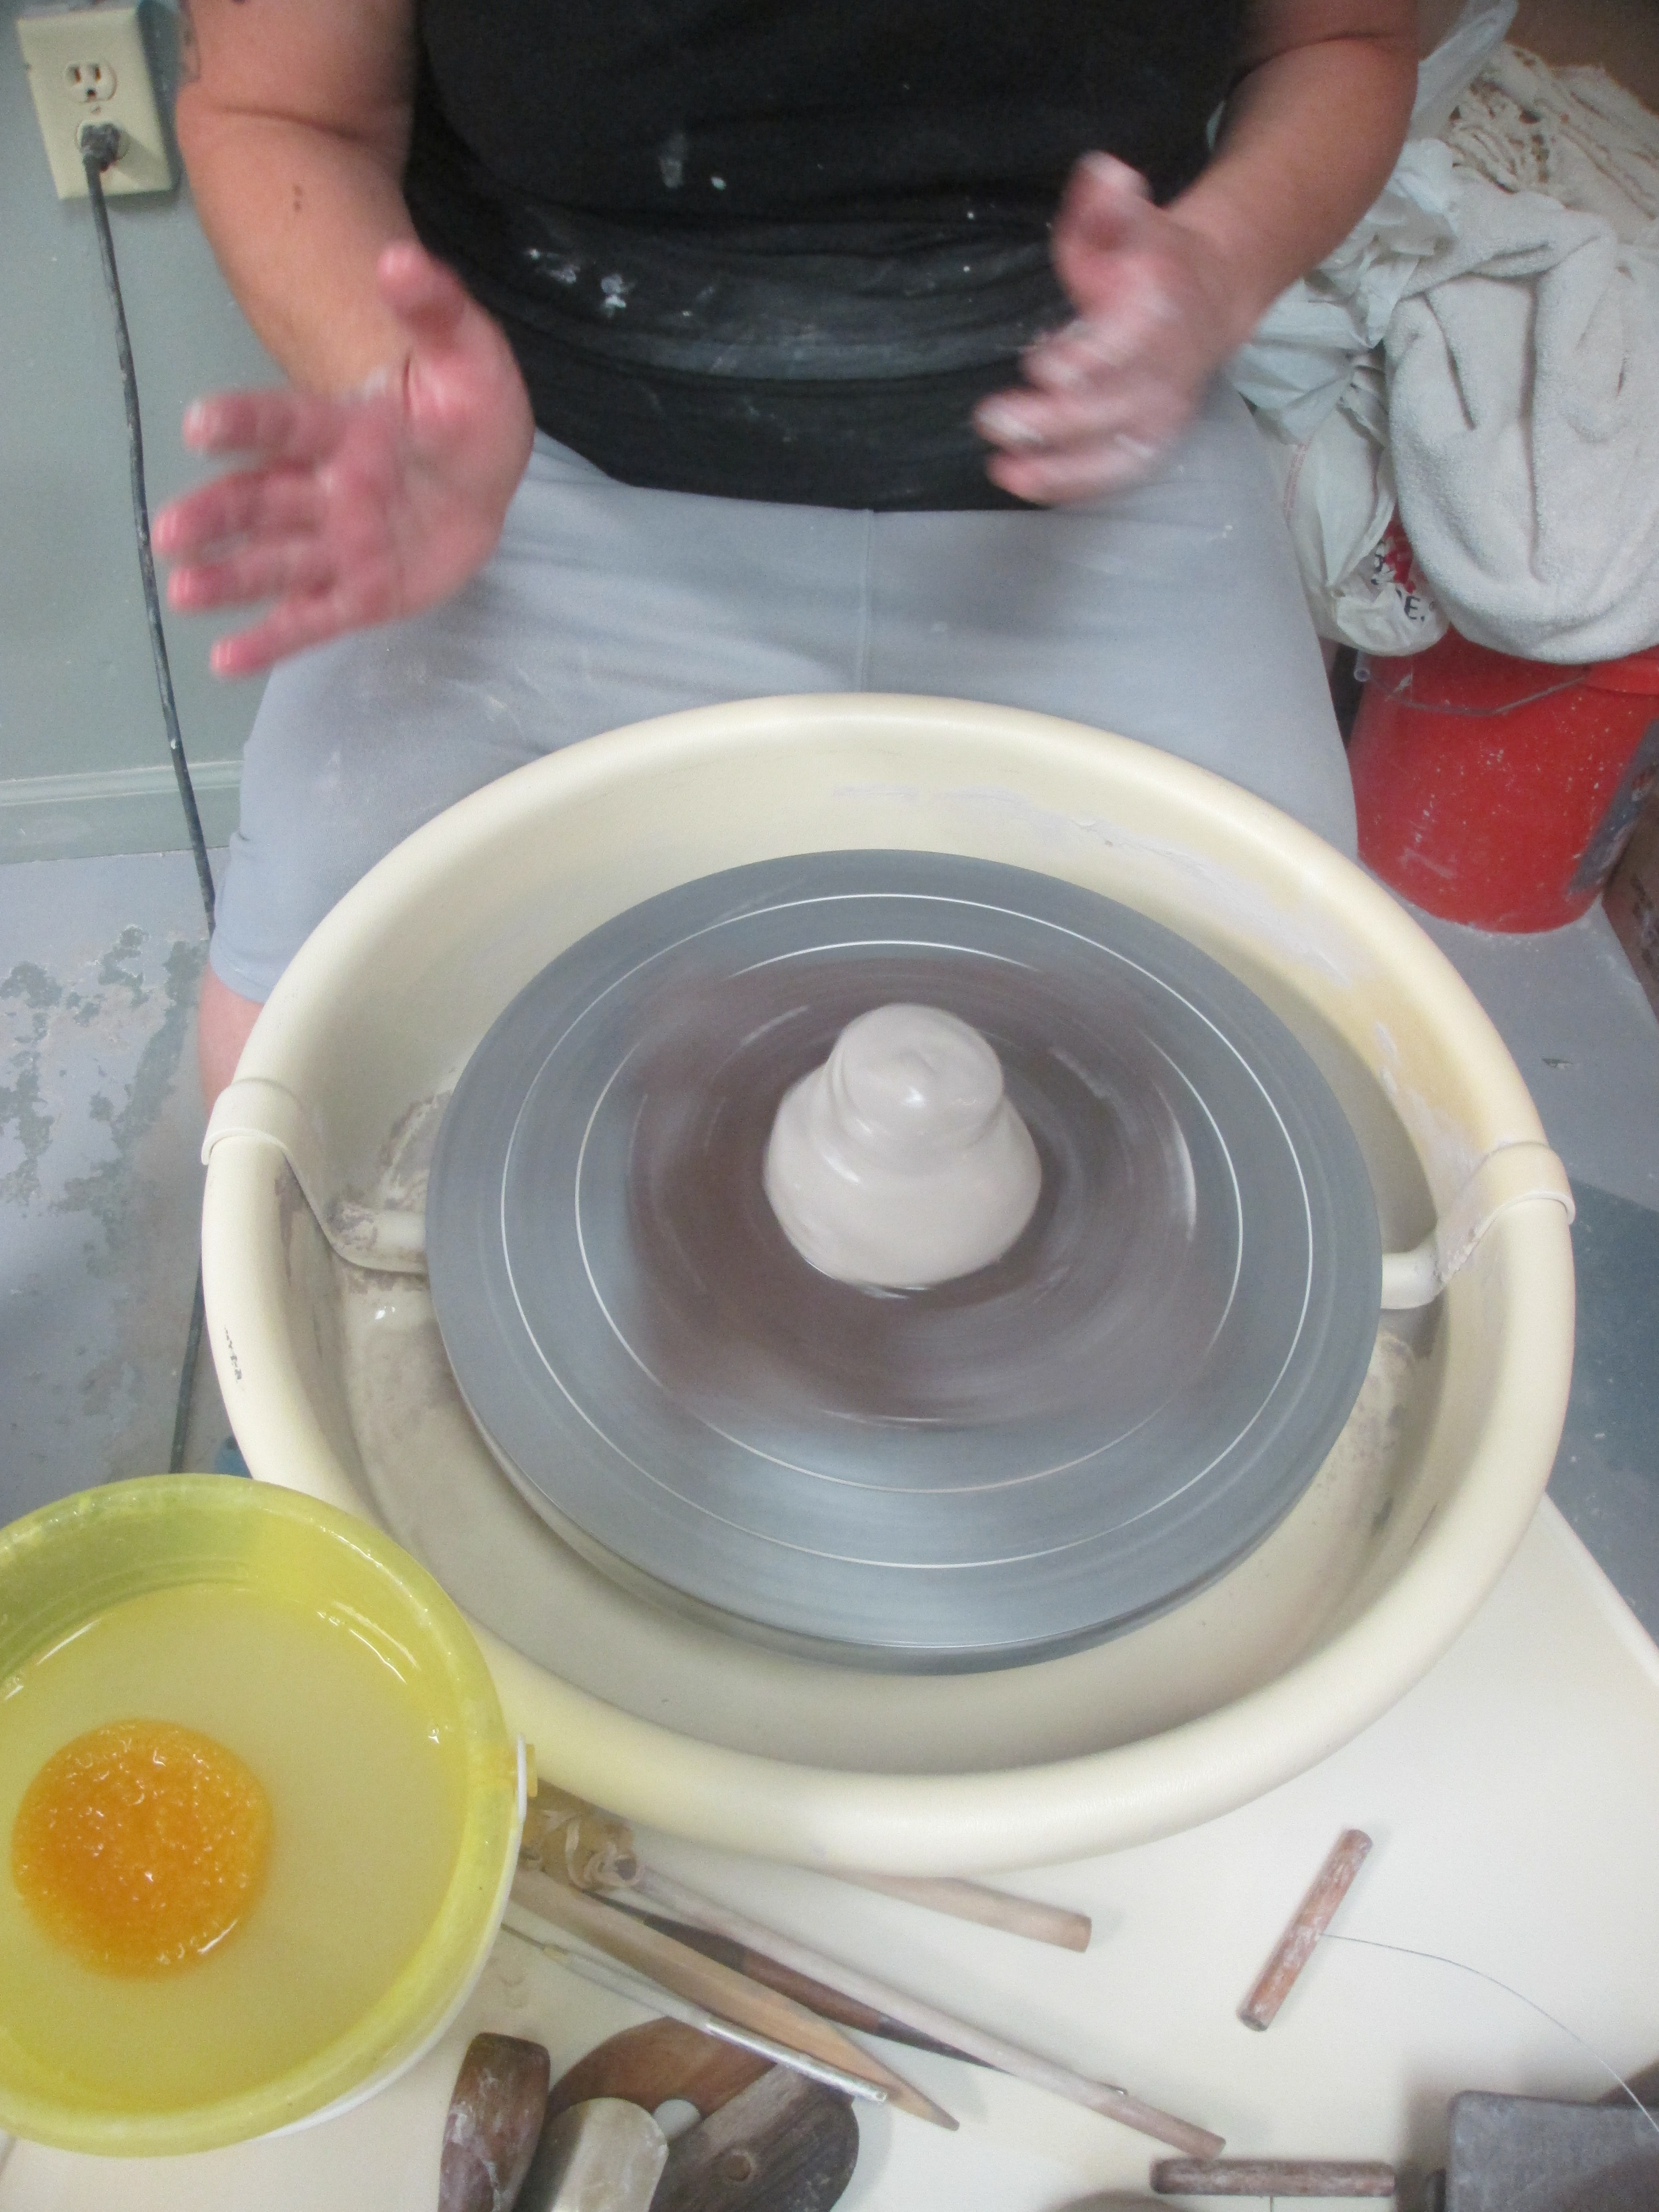
I was shown the equipment that I was to use today, consisting of a basin with a rotating wheel connected to a pedal which controls the speed of rotation, a plate on which to set the pottery piece, and some tools to help remove waste material, shape the piece, as well as separate the piece from the plate at the end.
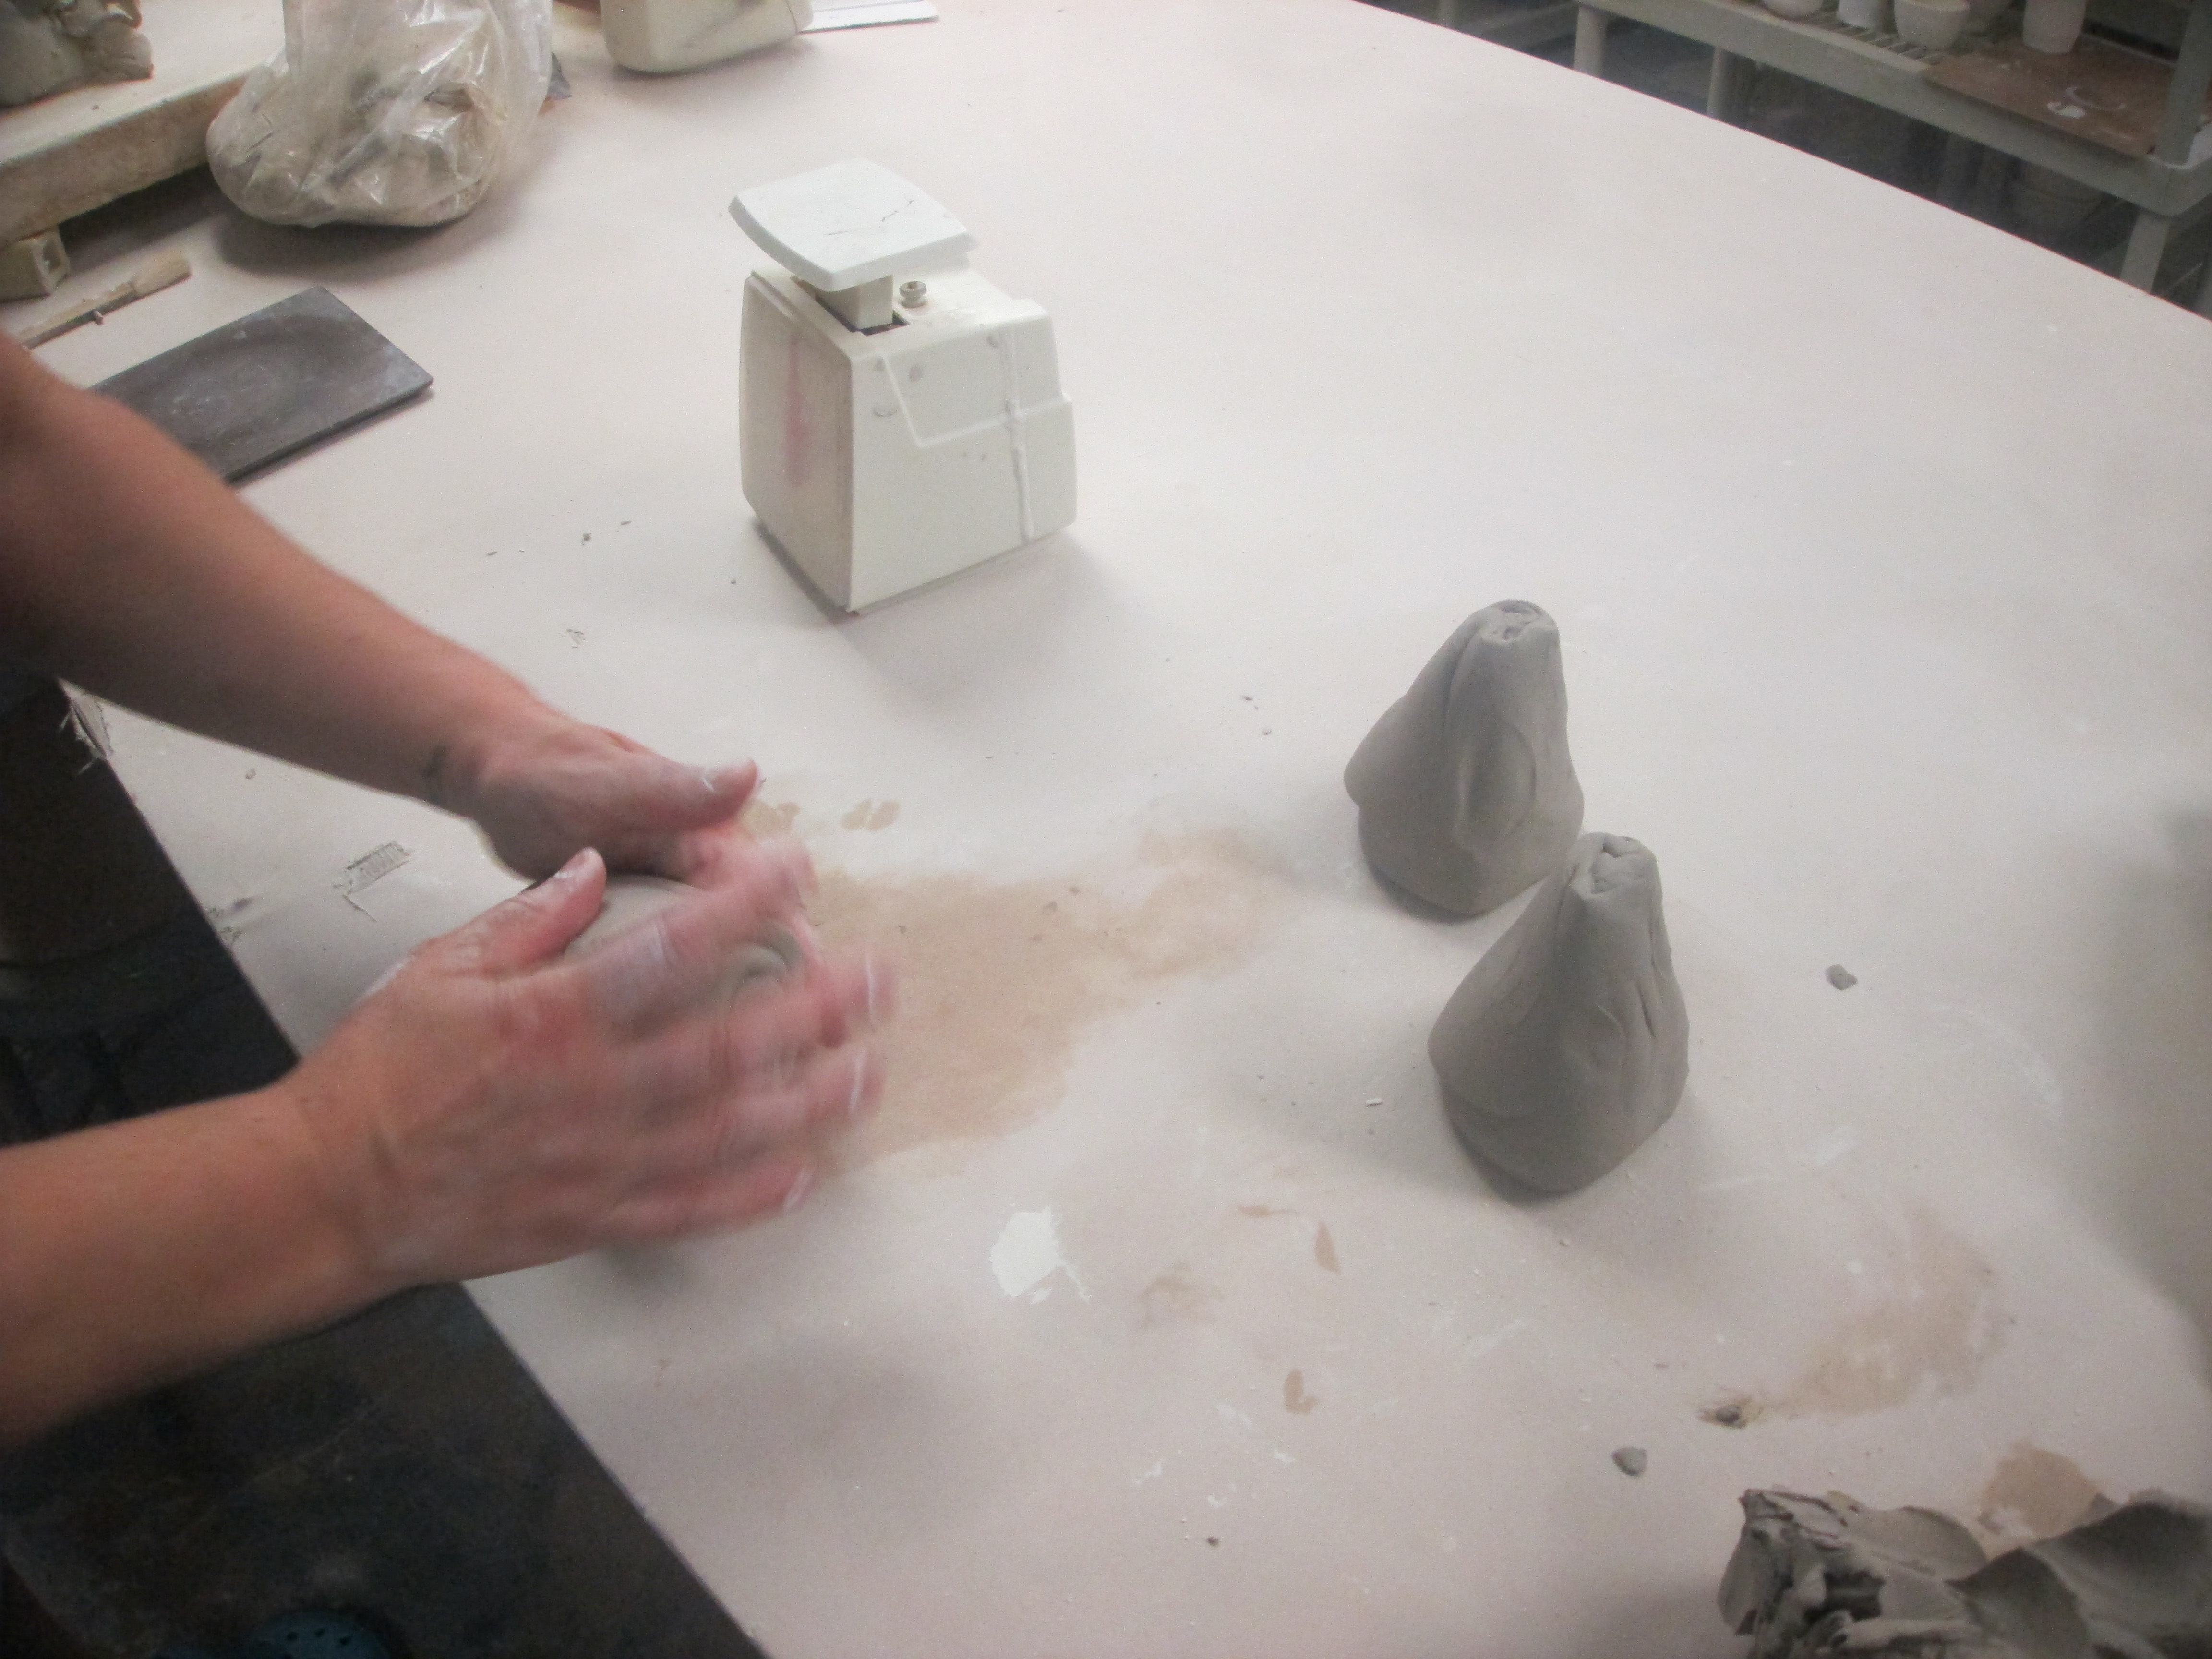
The first step involved my trainer weighing out 4 big pieces of clay to use.
I had only expected to make 1 piece, but it turned out I could make a few during the 2 hour class. Finally, it was time to start making some pottery! With one of the big pieces of clay, I plopped it down hard onto the rough center of the square plate, wetting it with water subsequently.
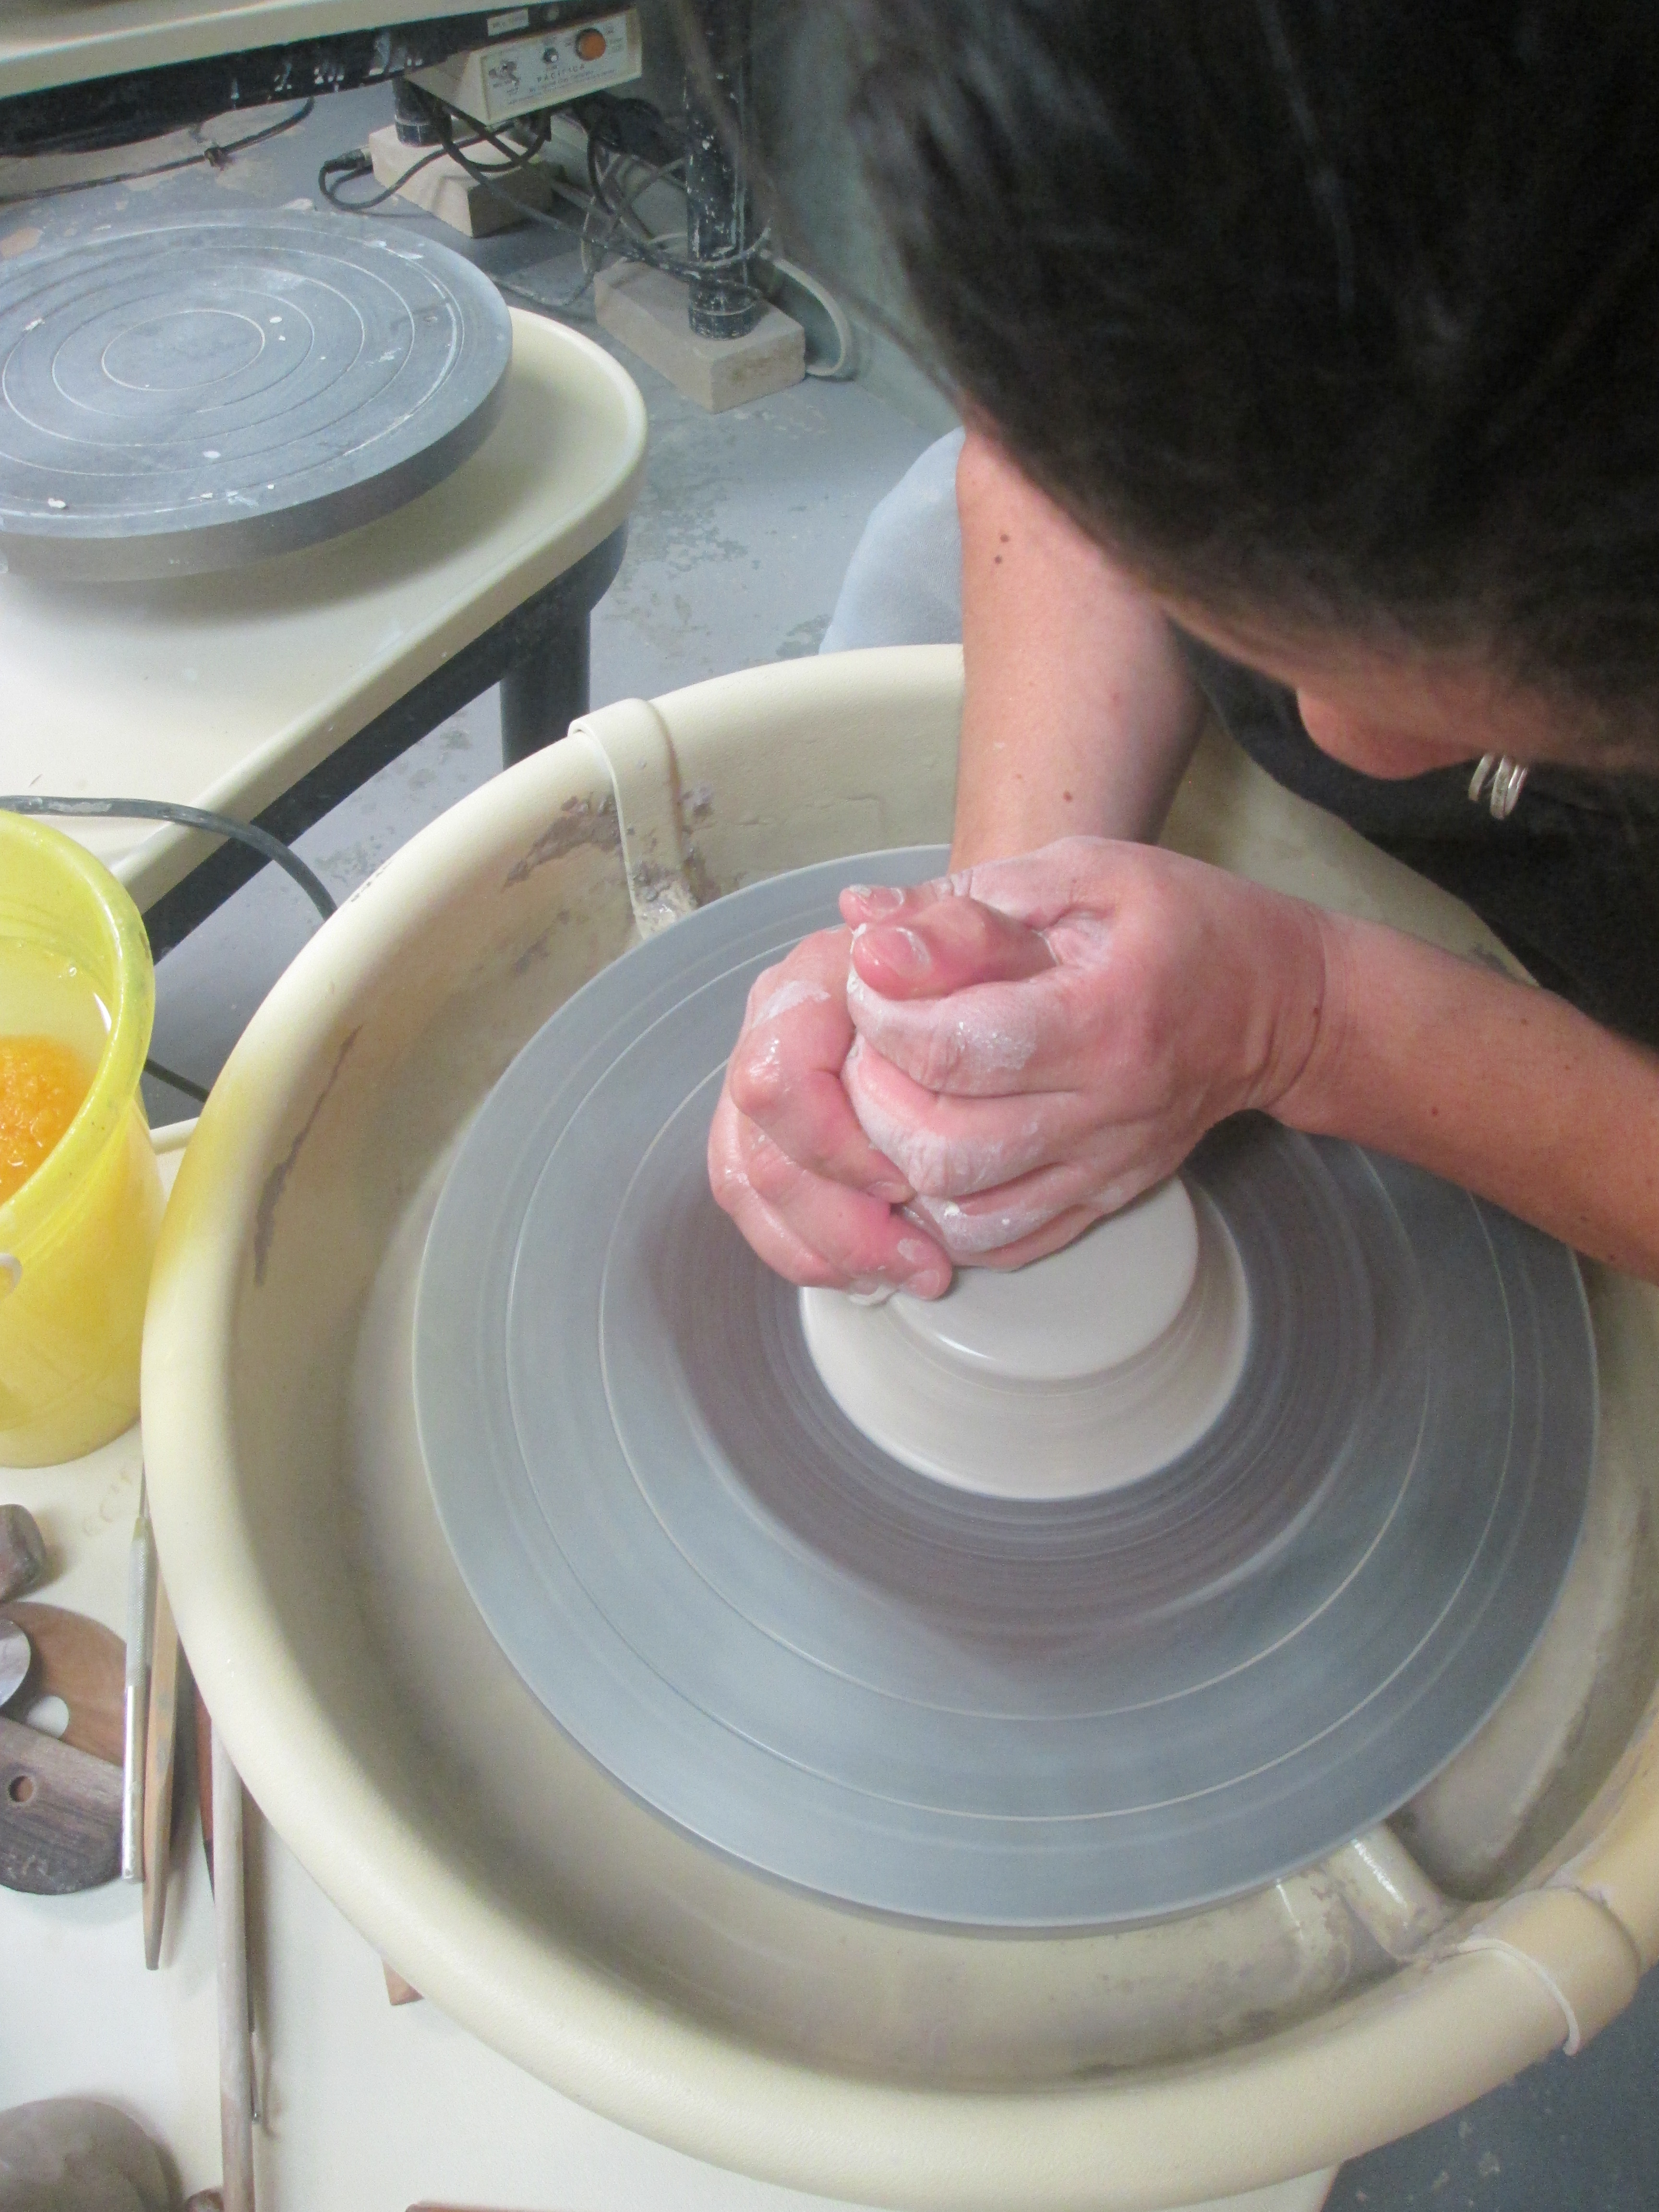
The next step is to center the piece using both hands, the left hand pressing down on the center of the piece to flatten it out, and my right on the outside to control the spread, constantly wetting the setup to prevent my dry hands from sticking to the clay. I had to put quite a bit of pressure onto the clay to make the clay respond to my touch.
At the point where there is very little resistance by the clay to change any more, it is then time to slowly release my hands from the clay.
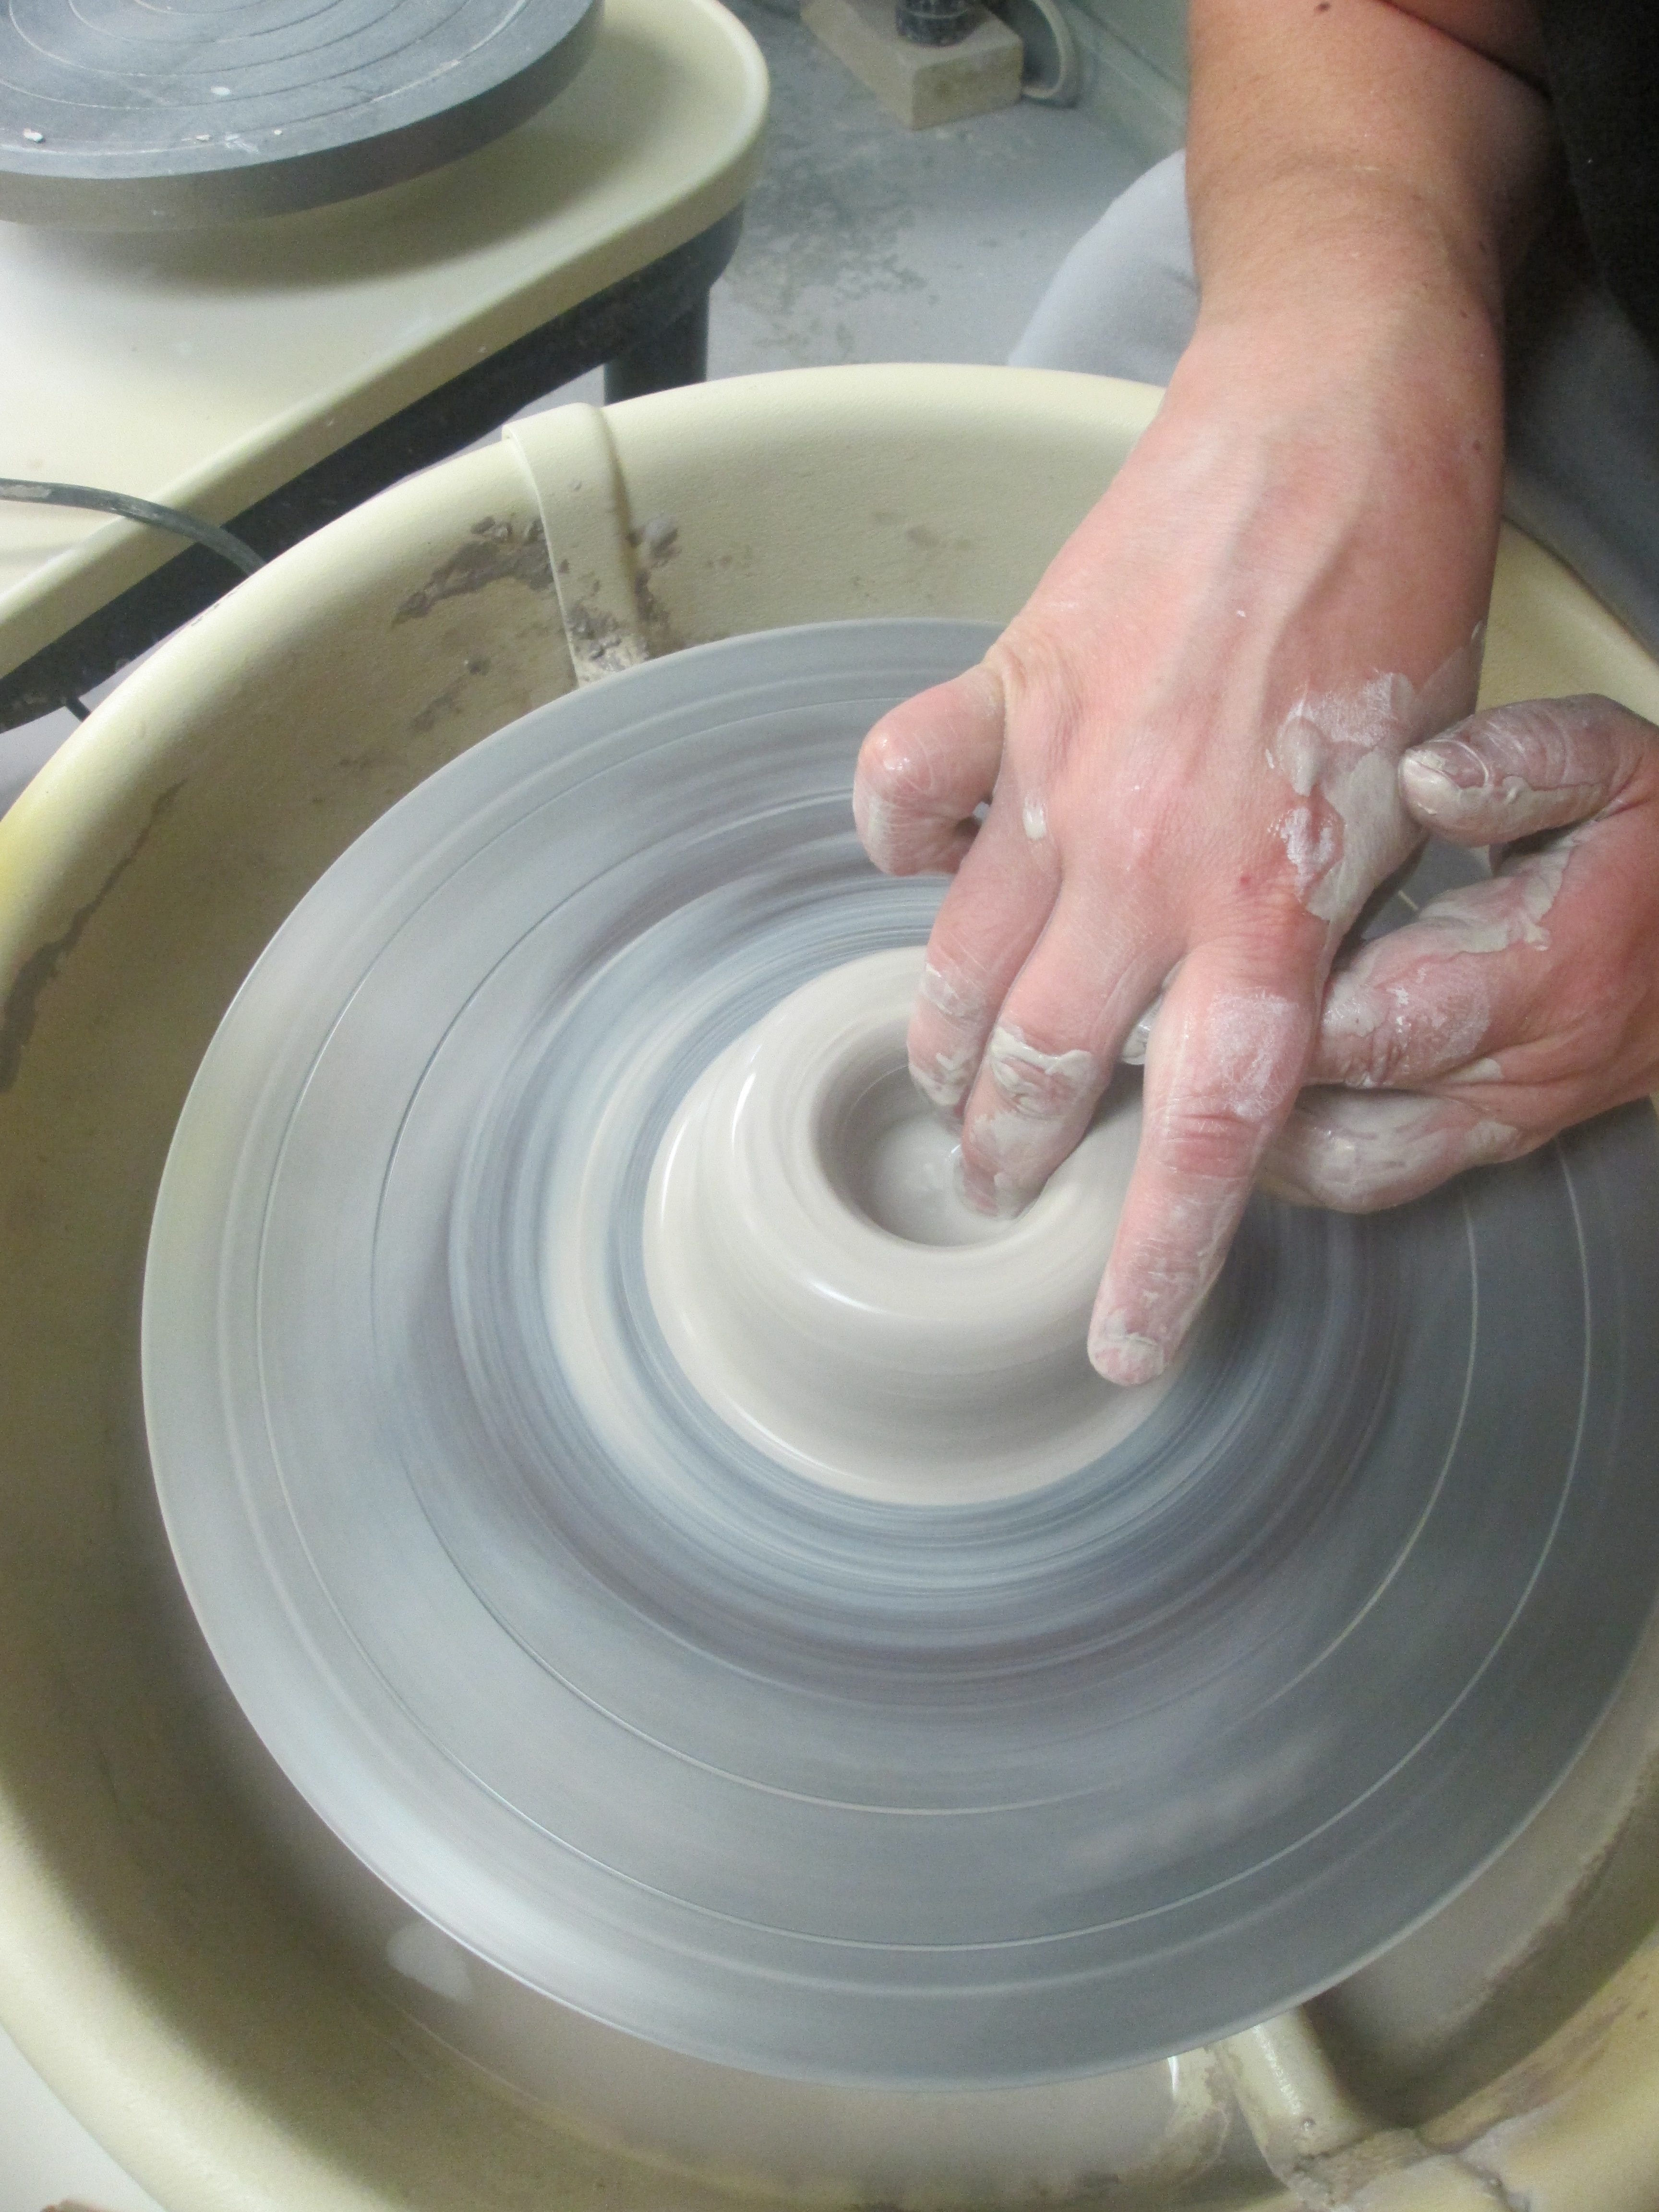
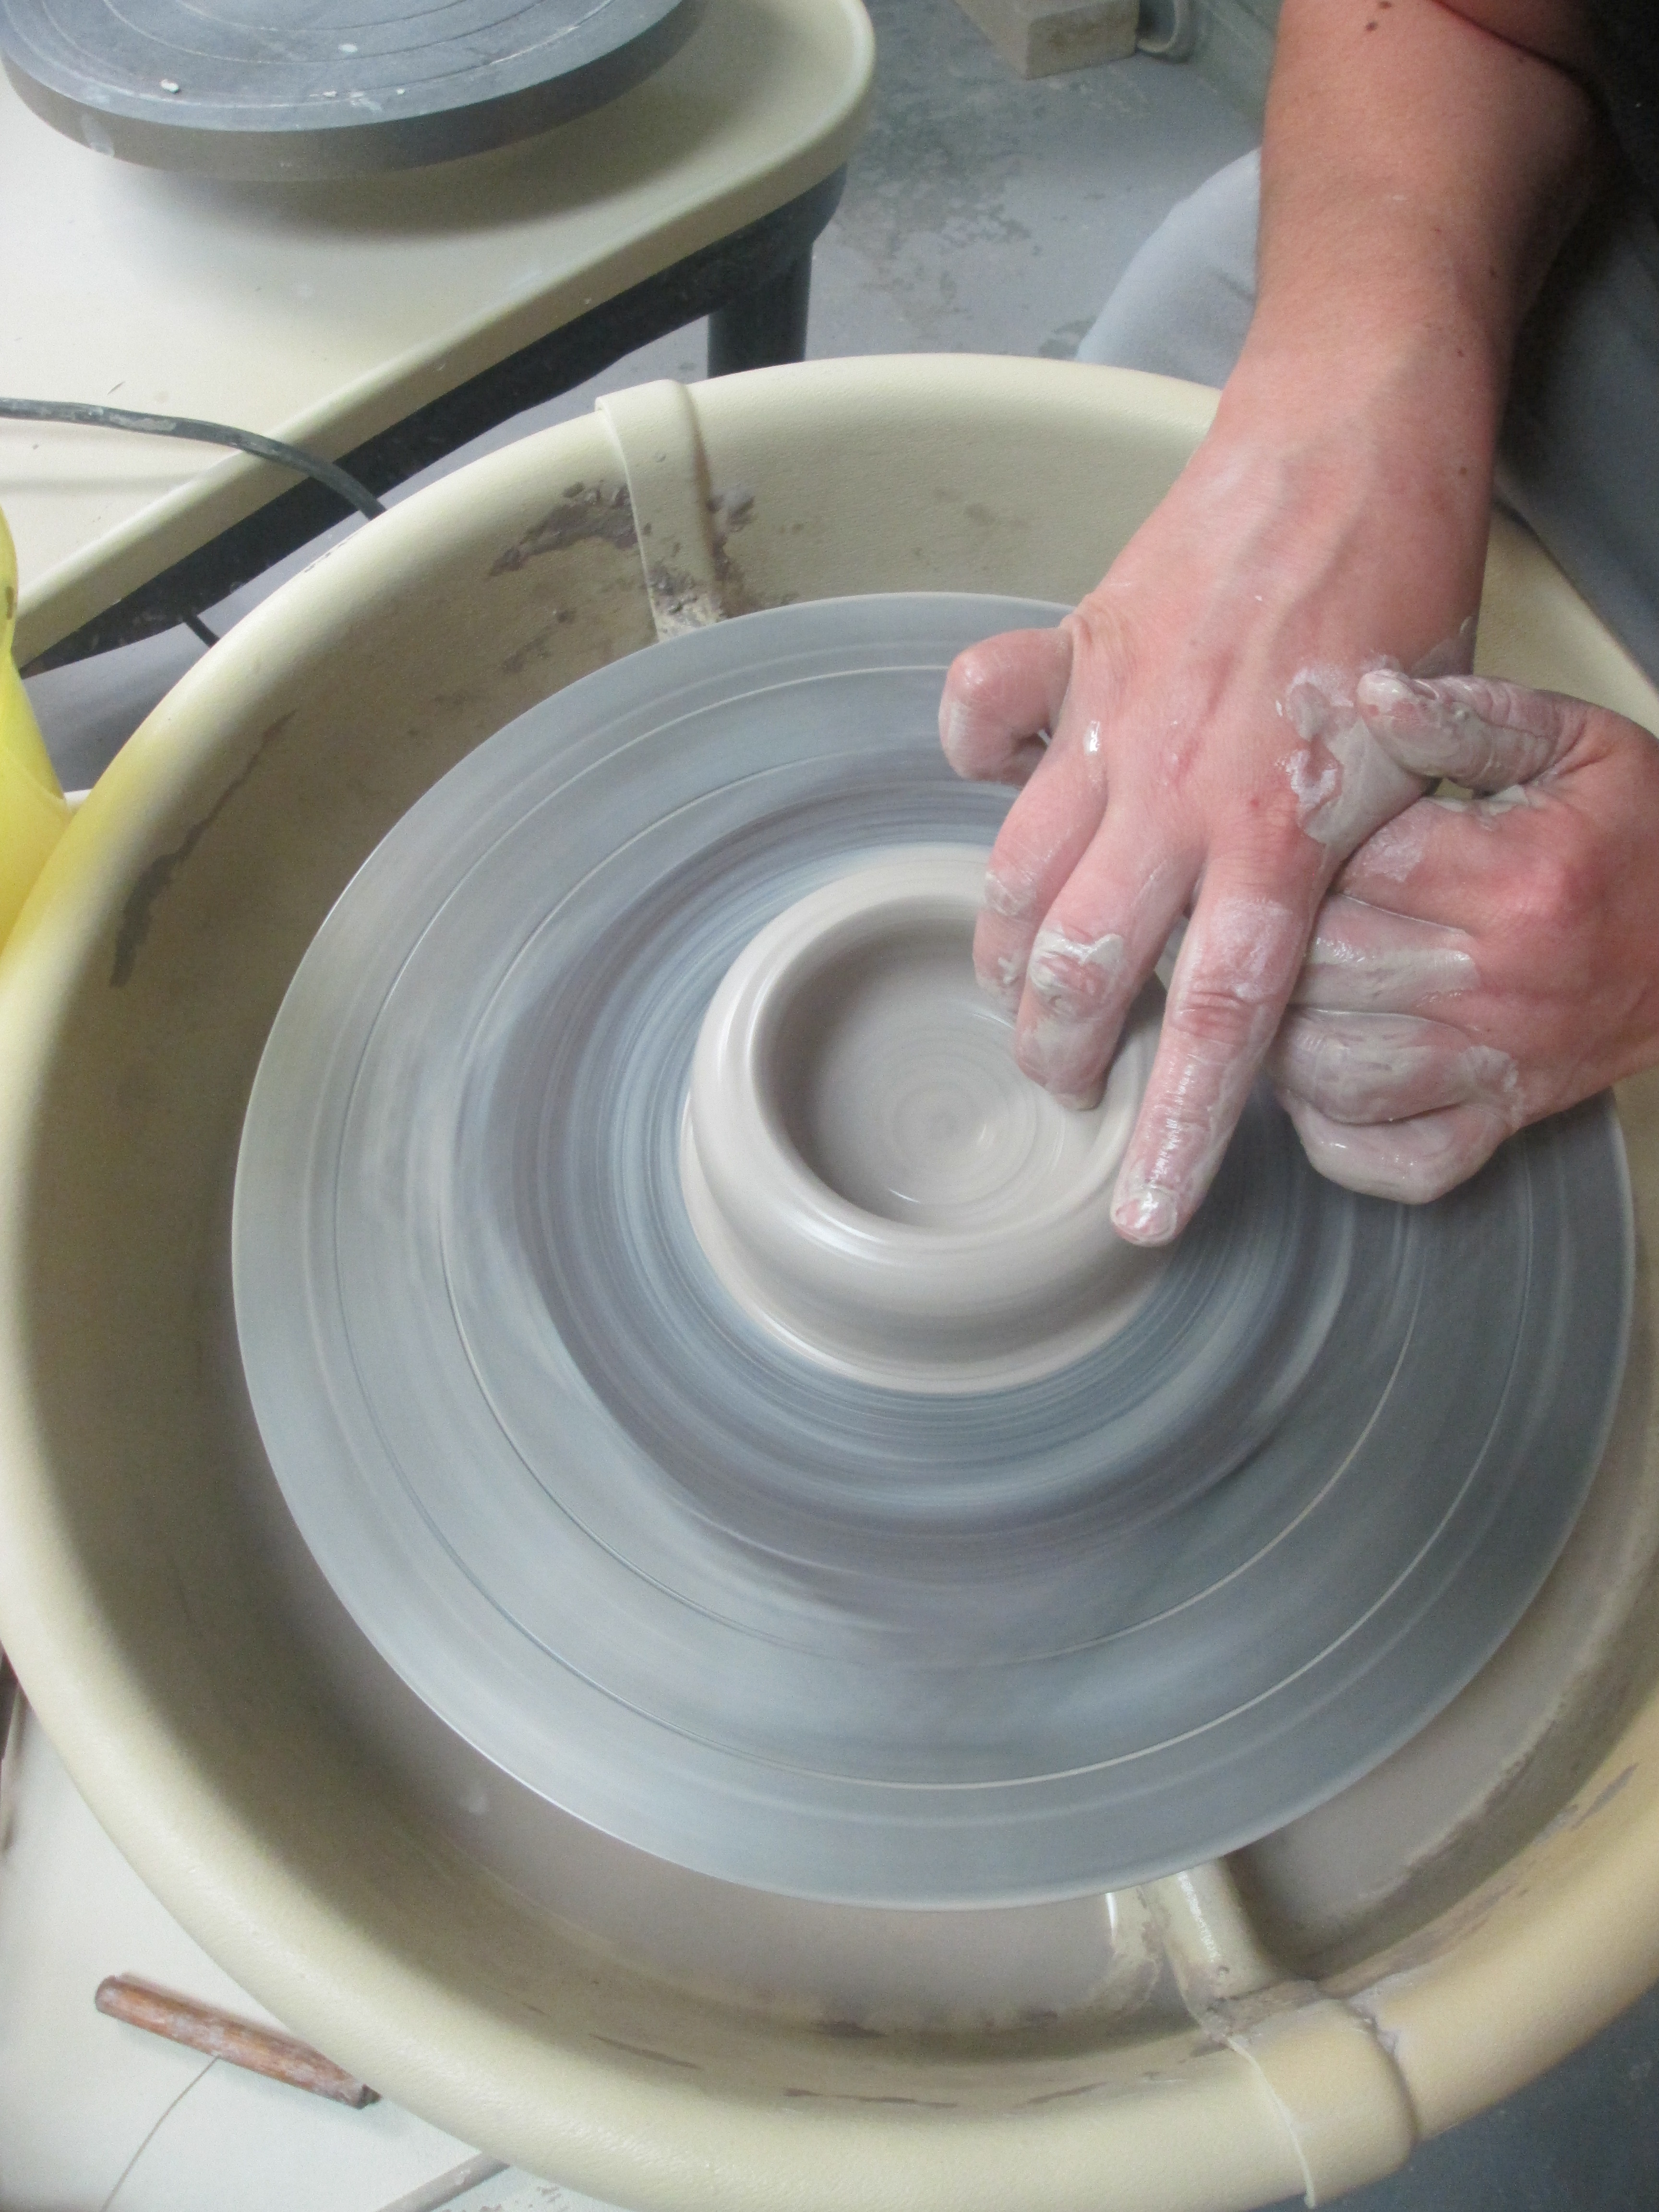
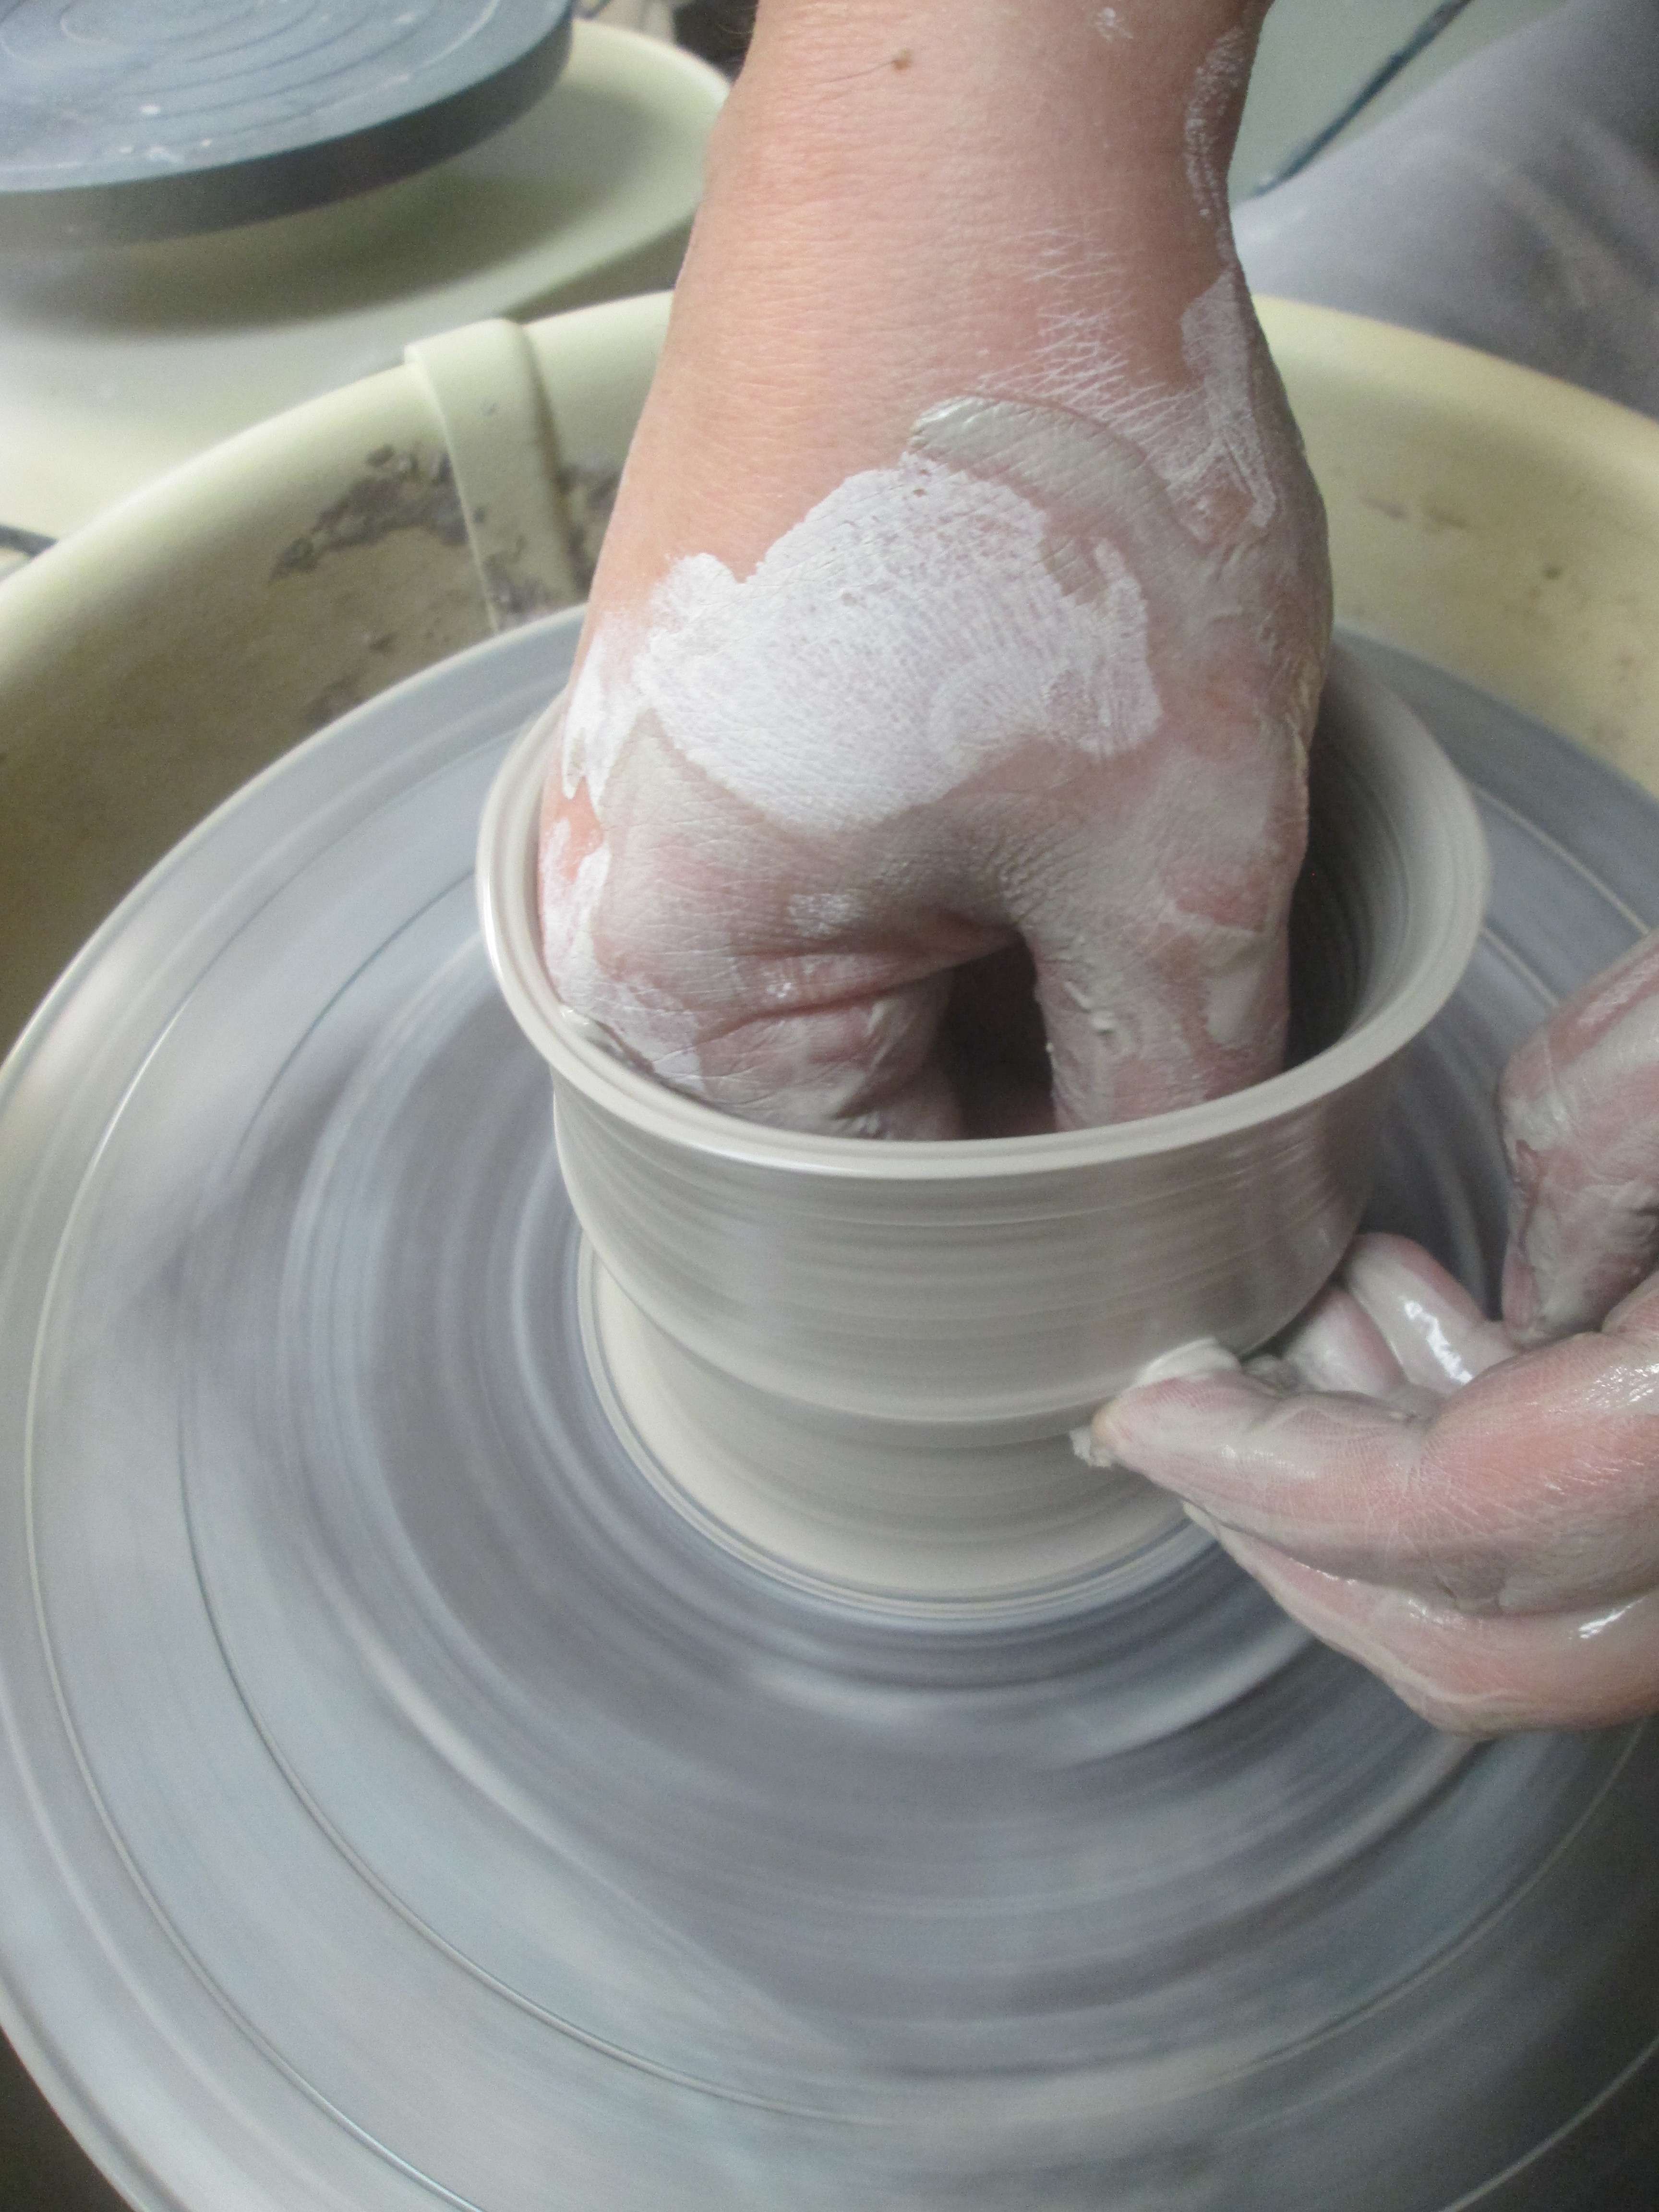
Next up, making the hole, by putting 2 or more fingers into the center and gradually pulling outward with them to create a depression,
ensuring that there is still enough thickness at the bottom of the piece since its a cup anyway.
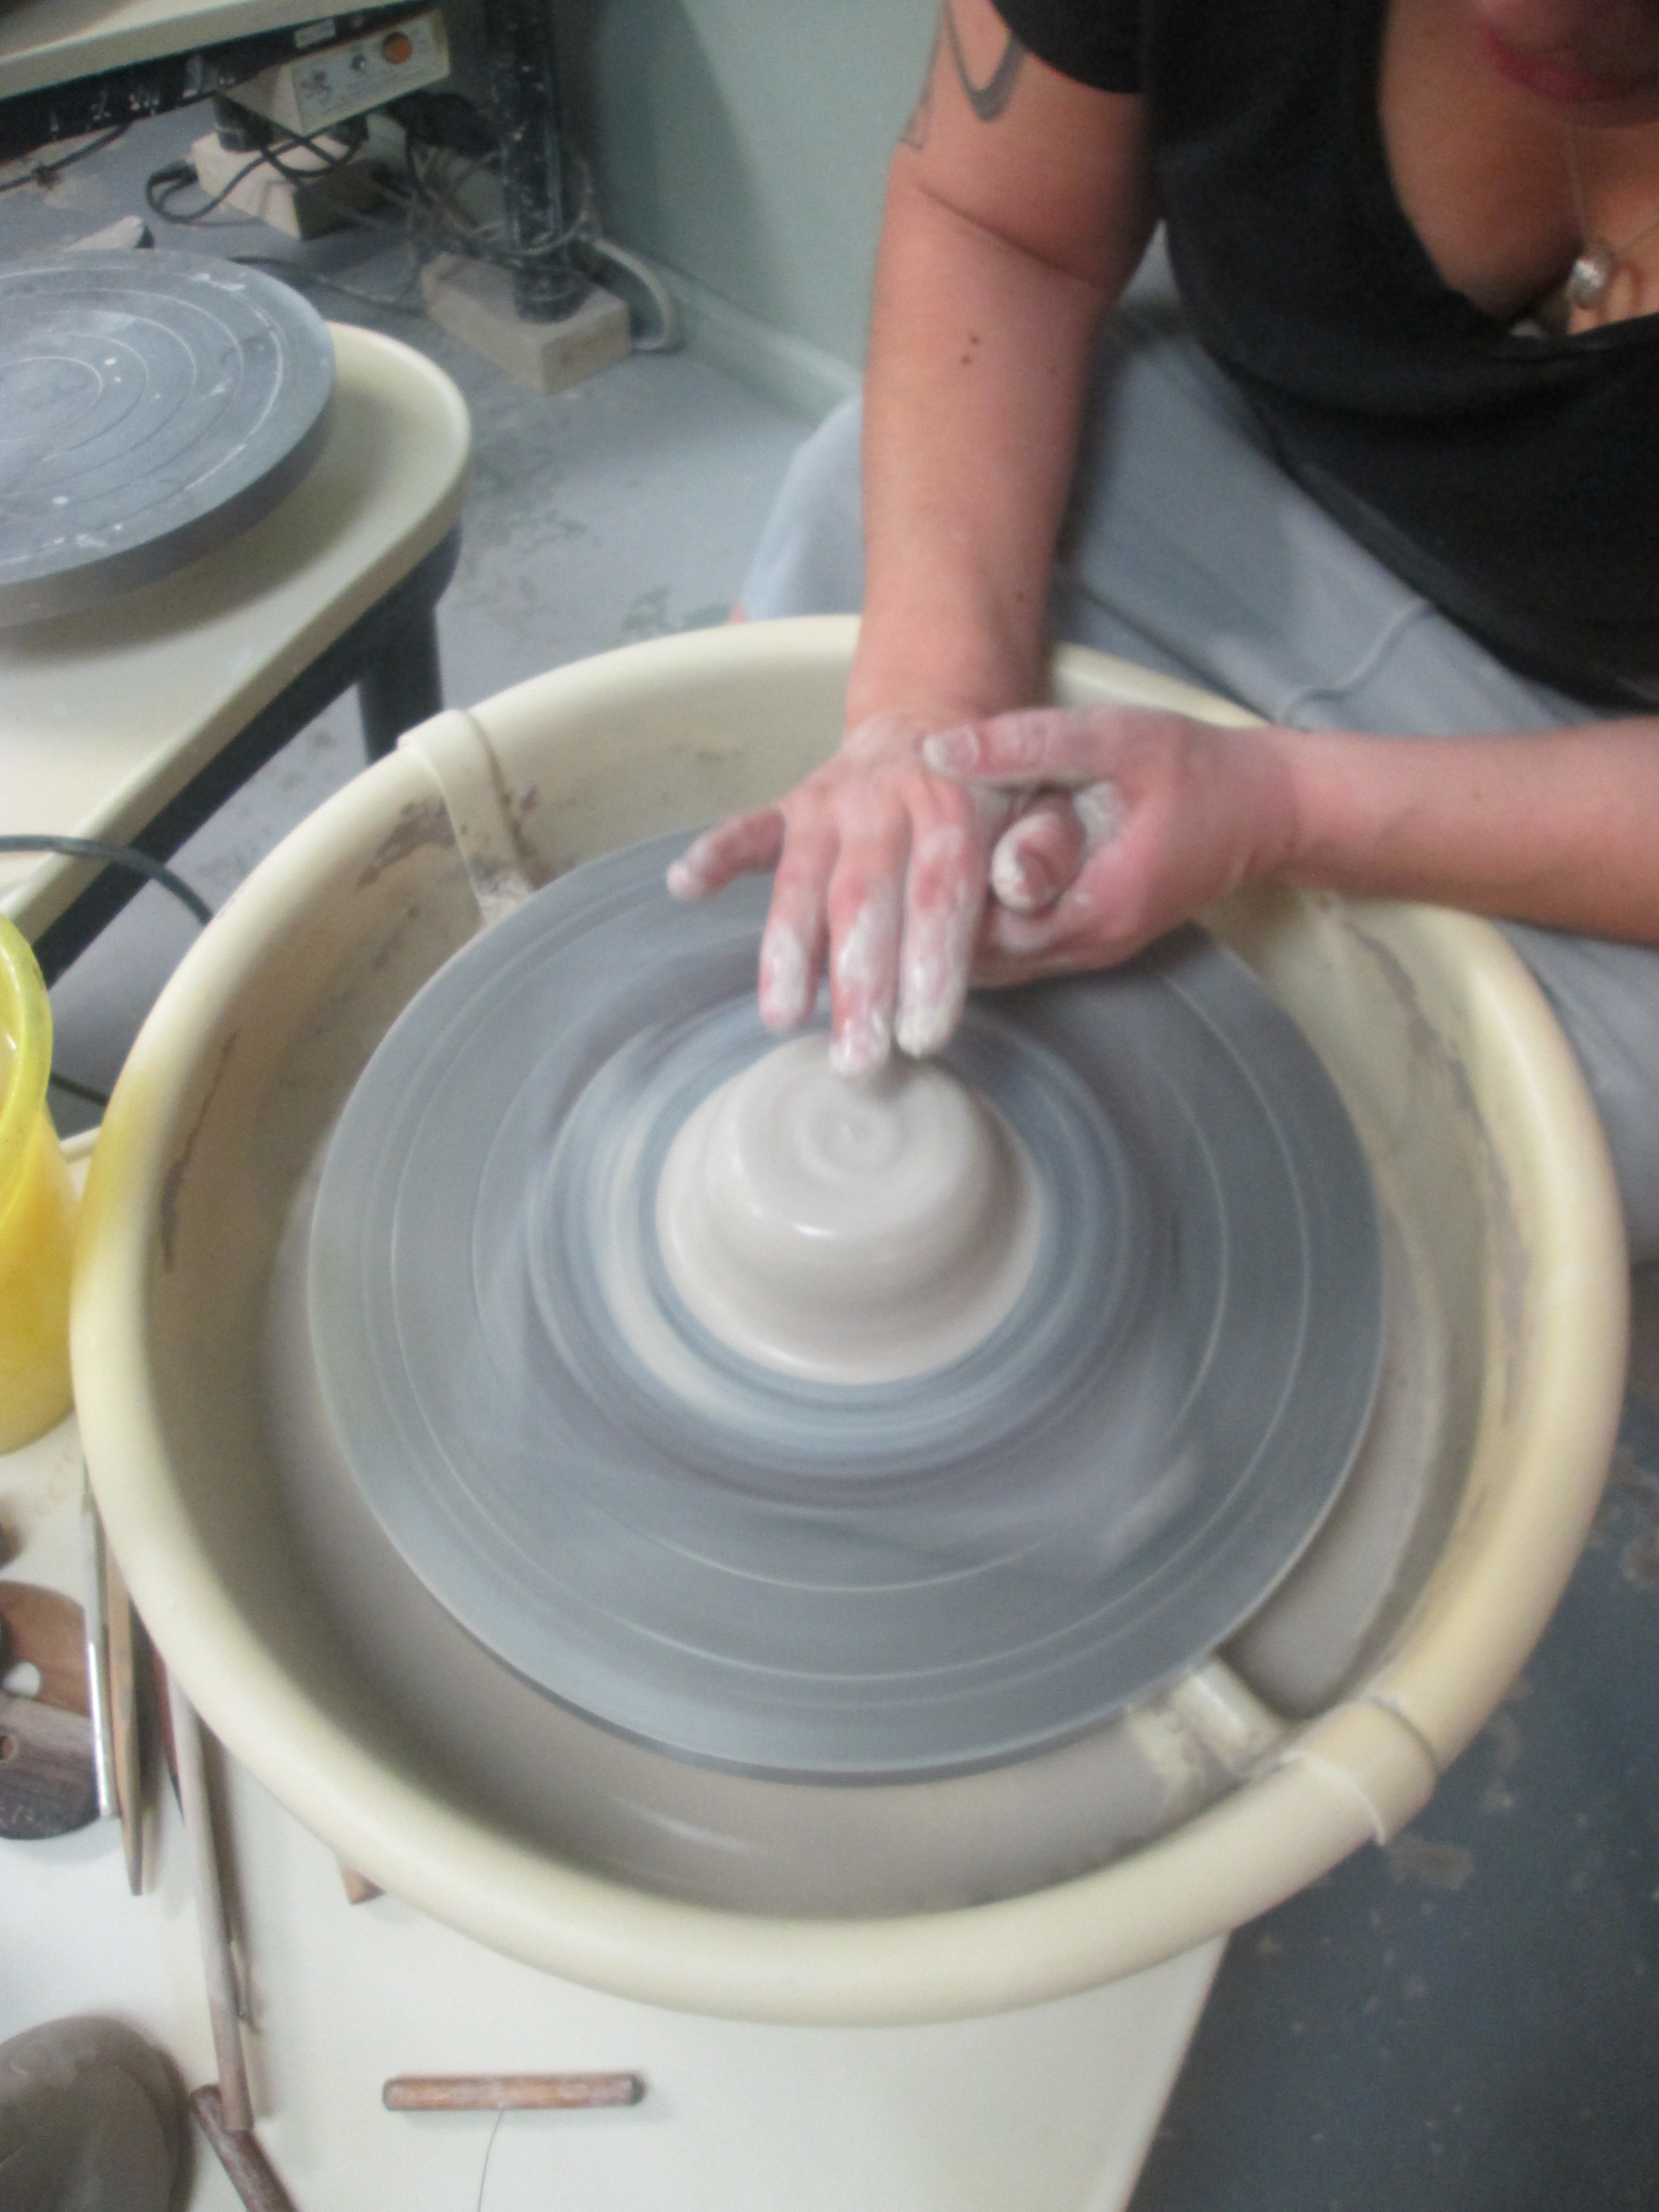
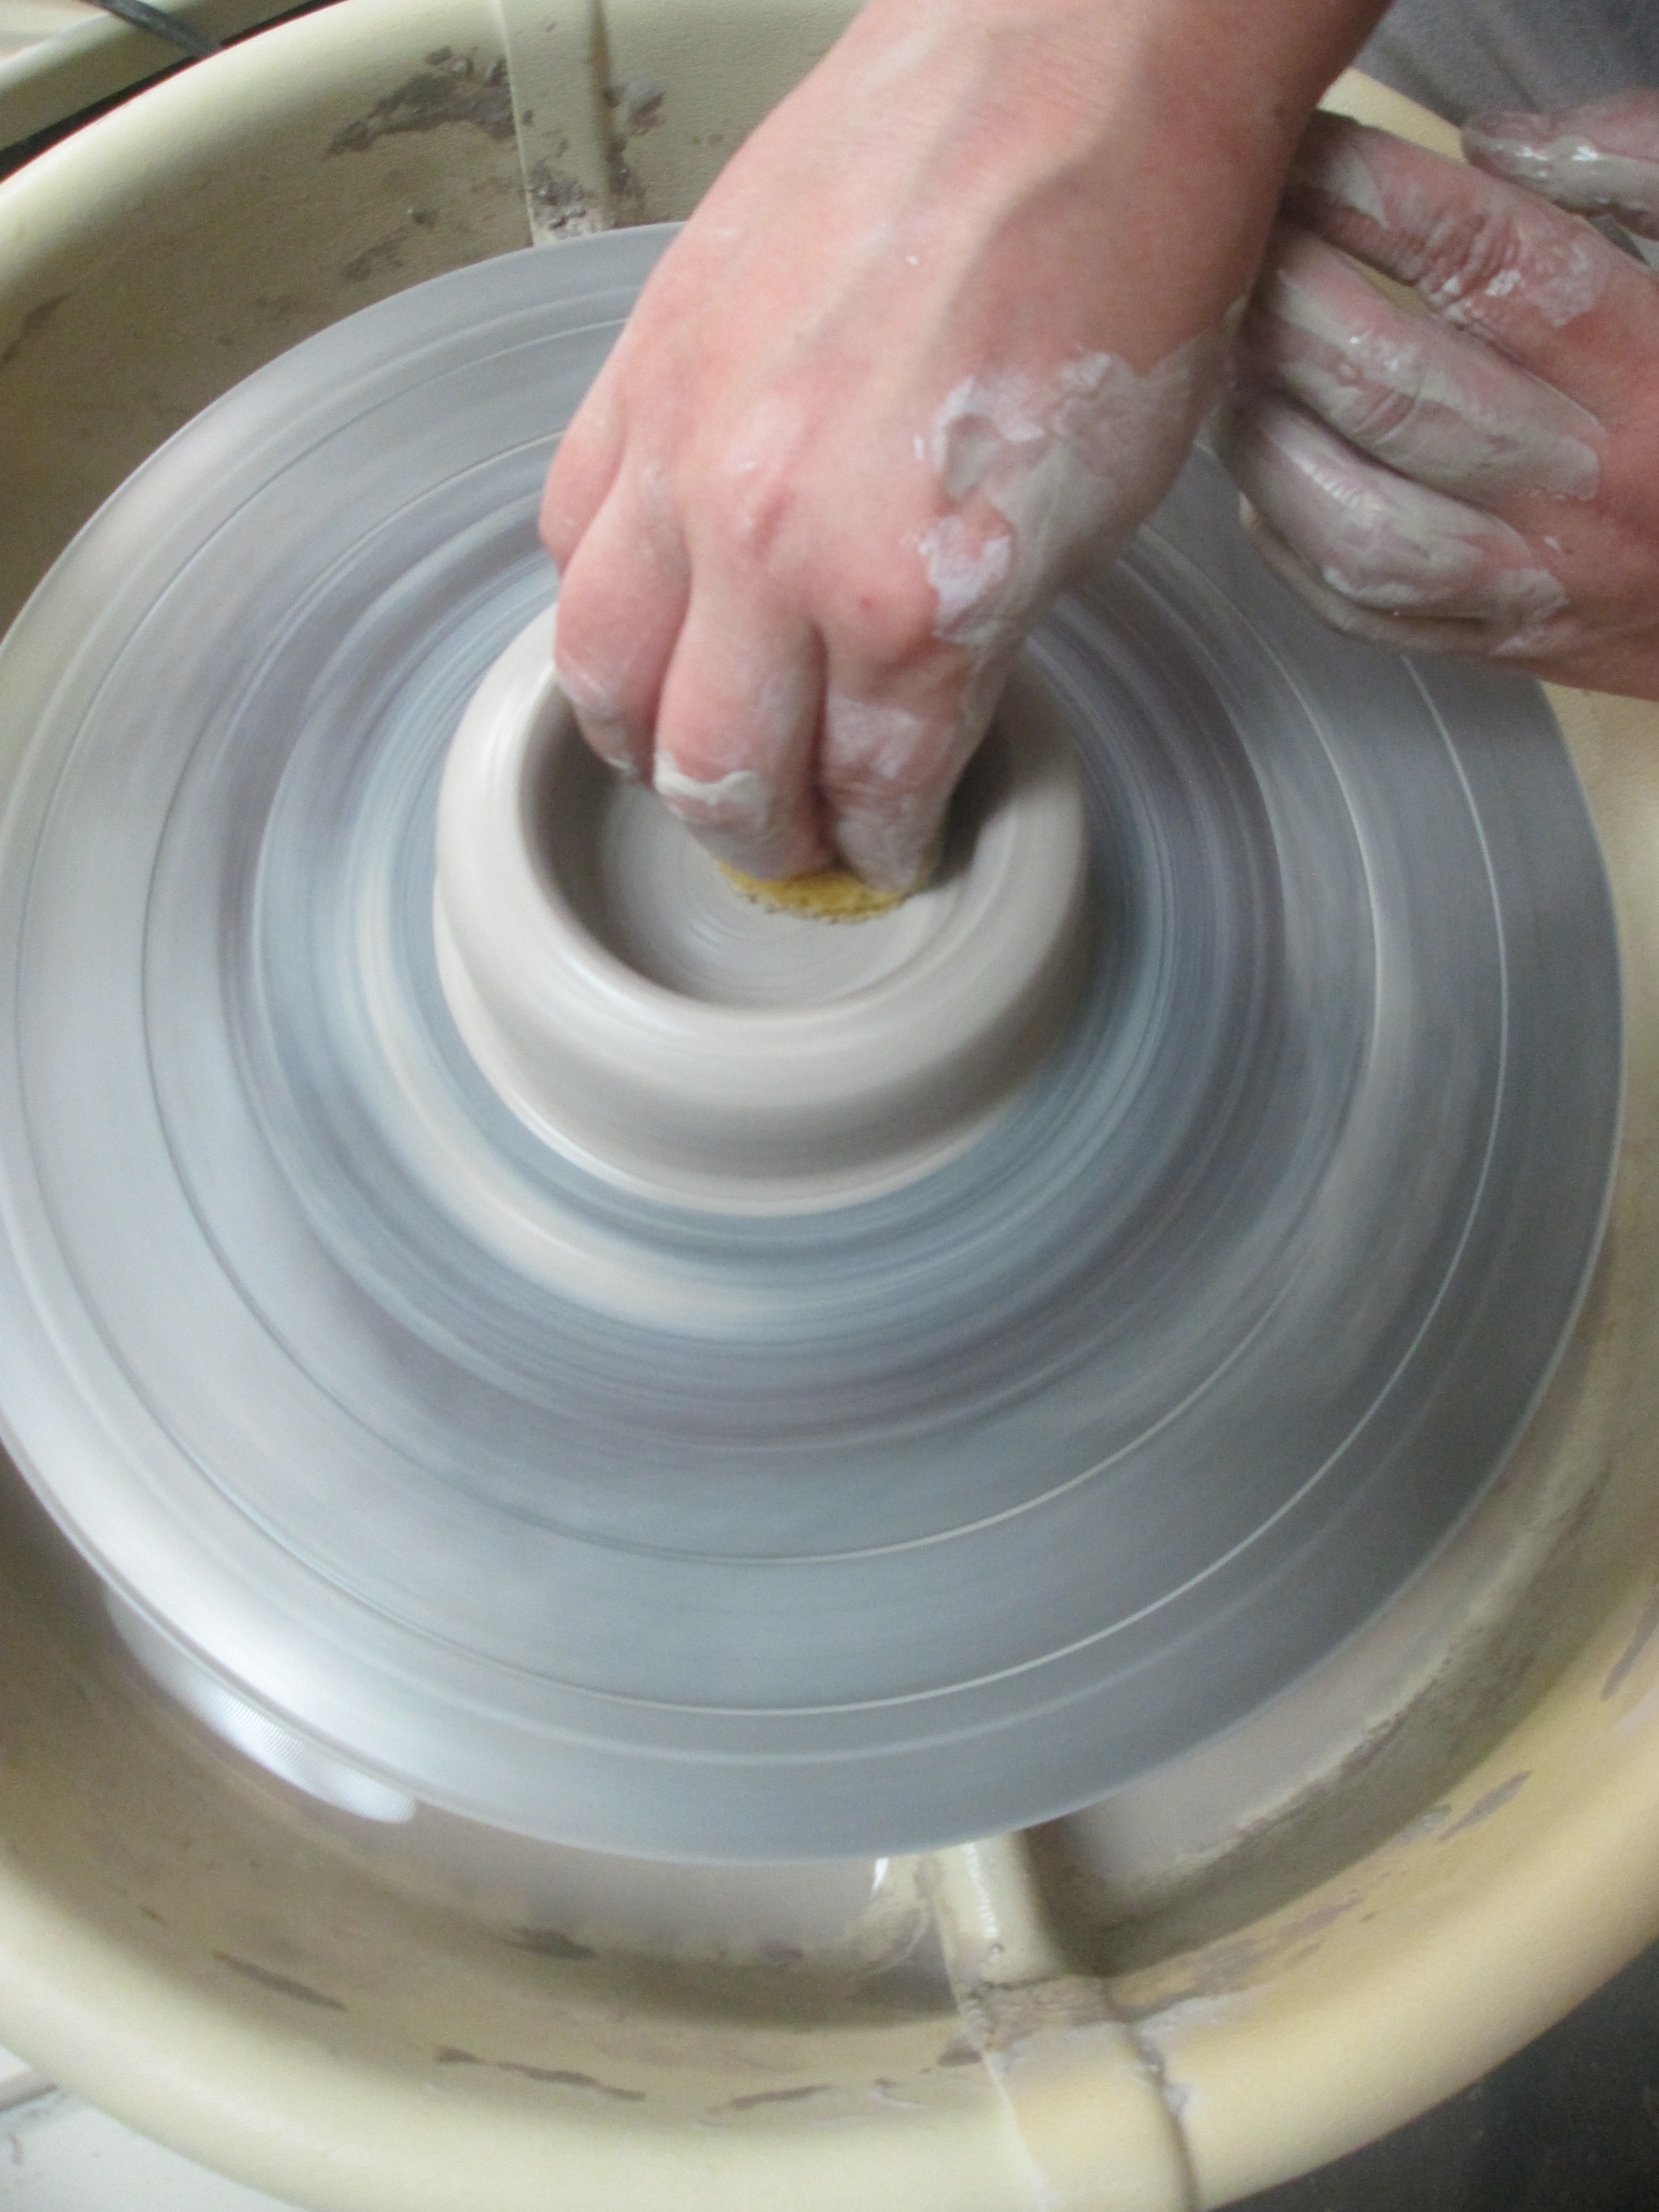
After doing this, it is time to level out the bottom of the piece using a dry sponge.
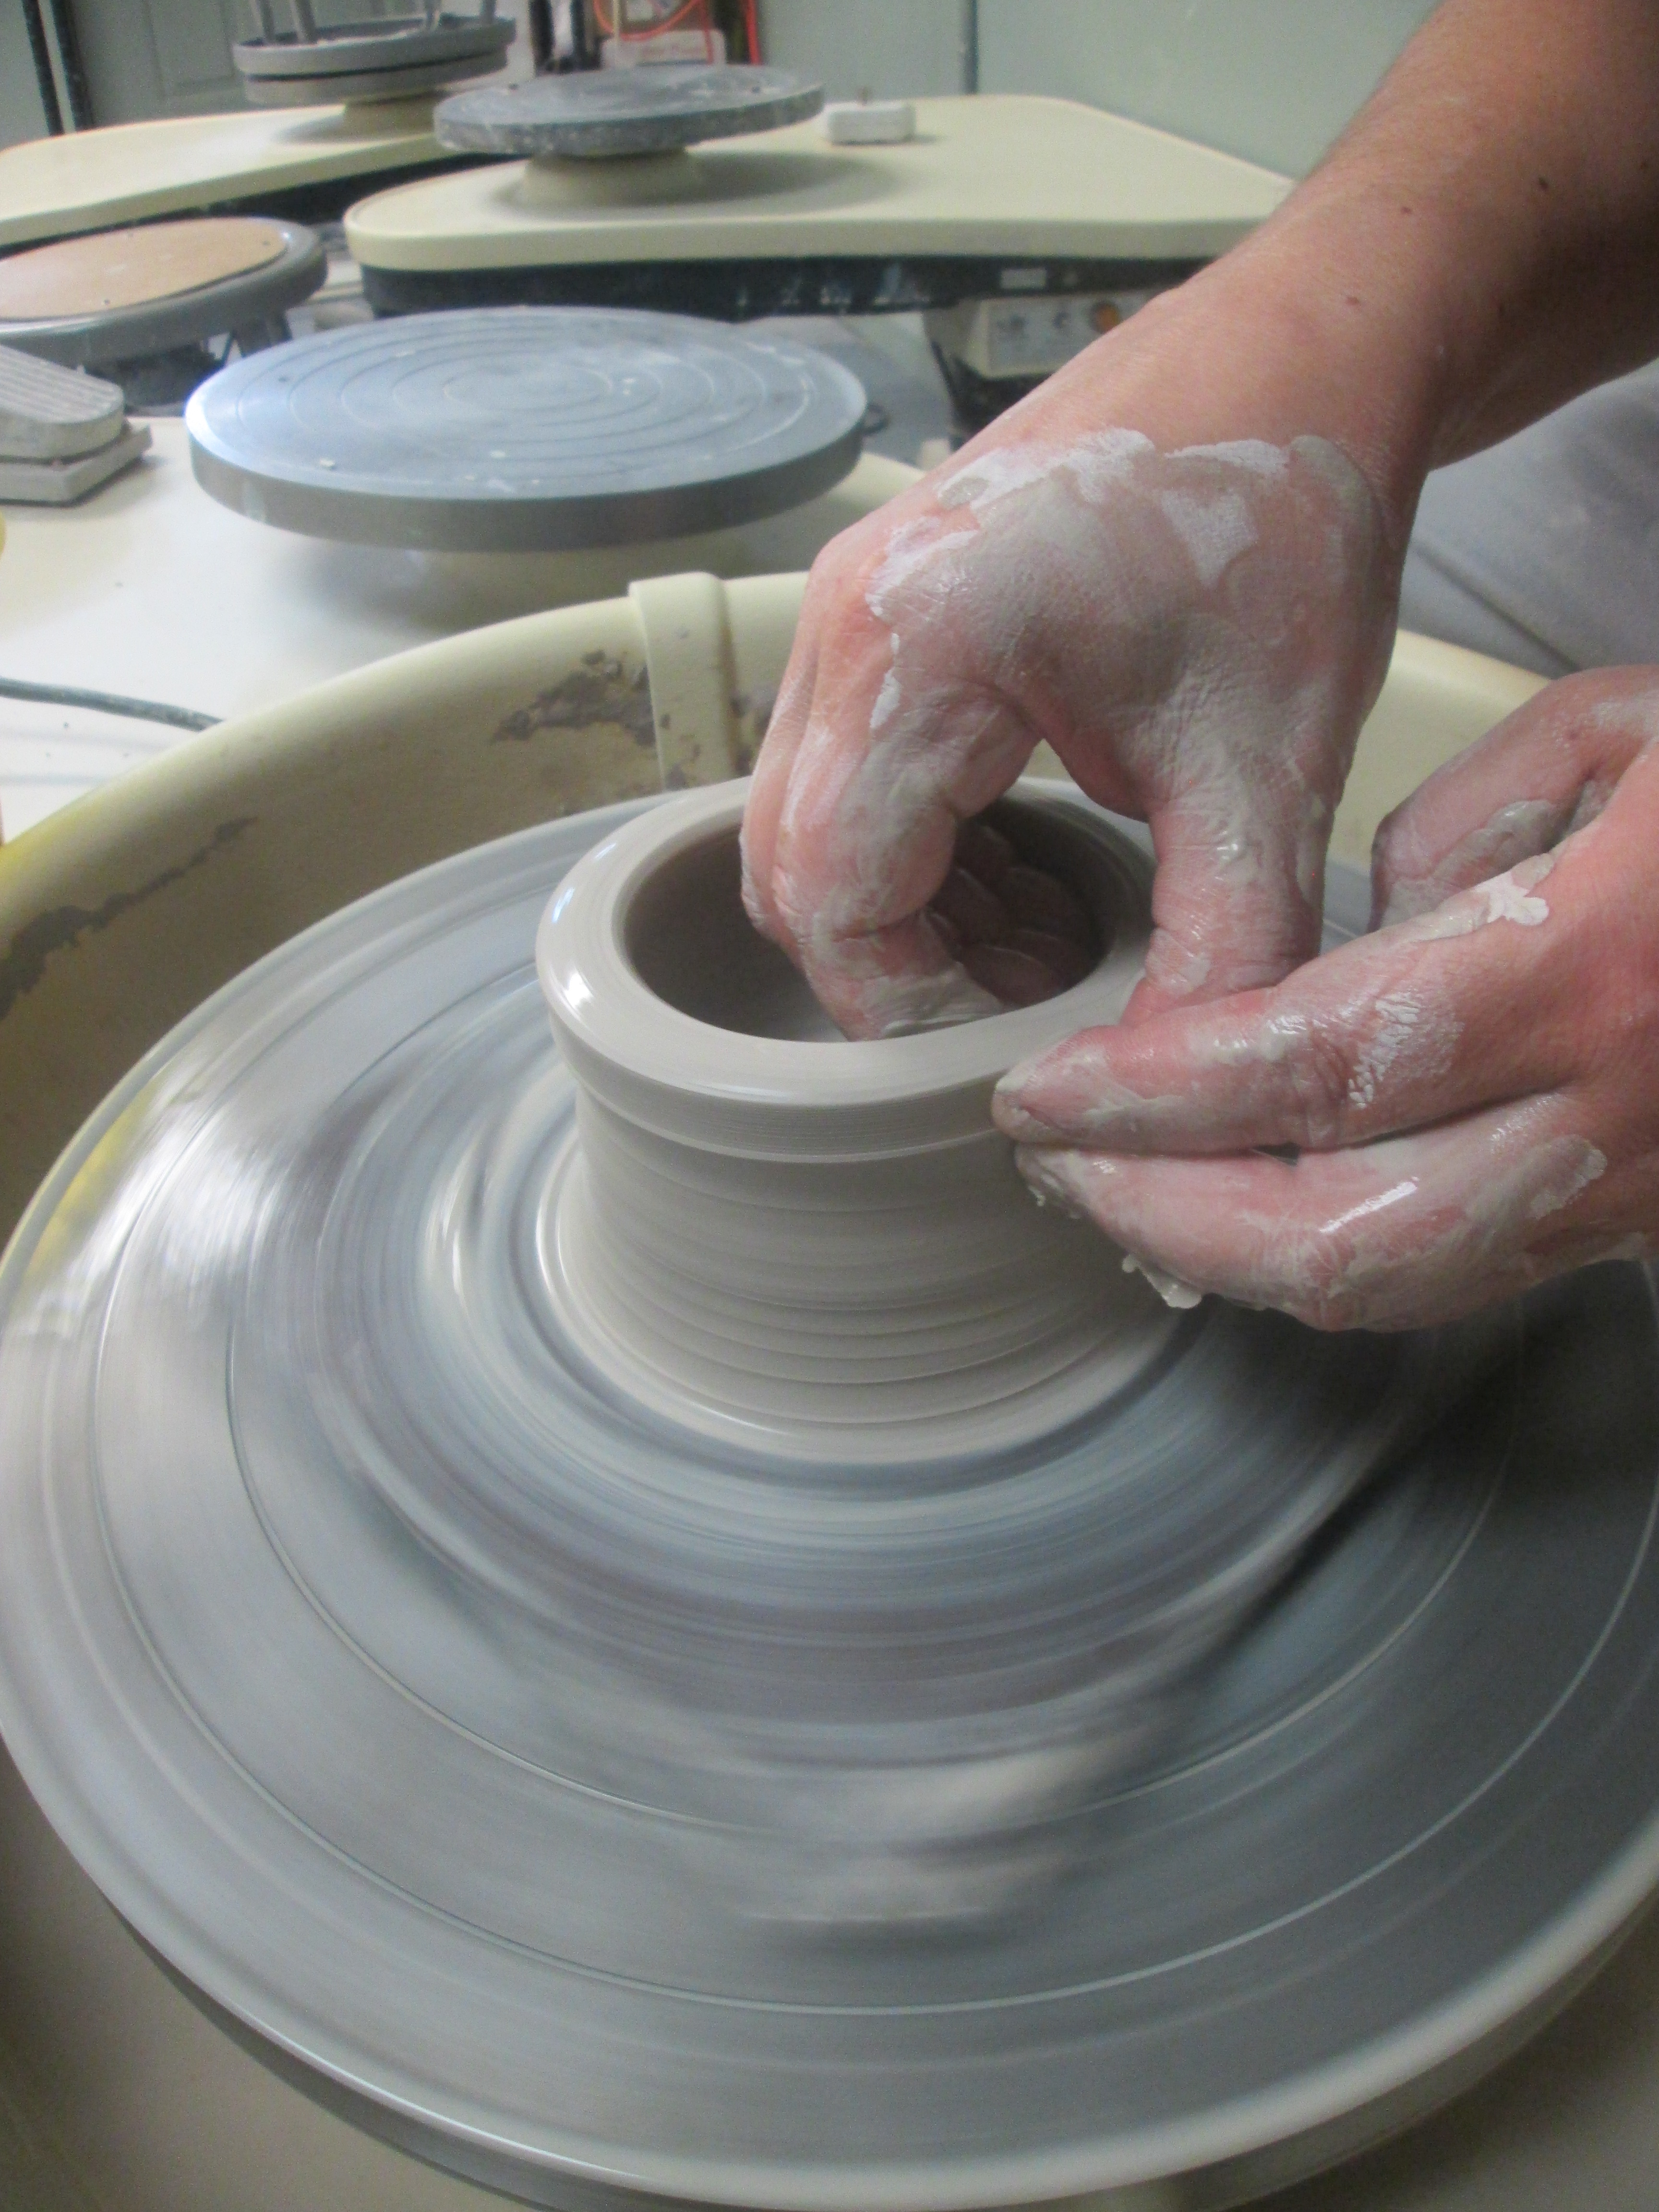
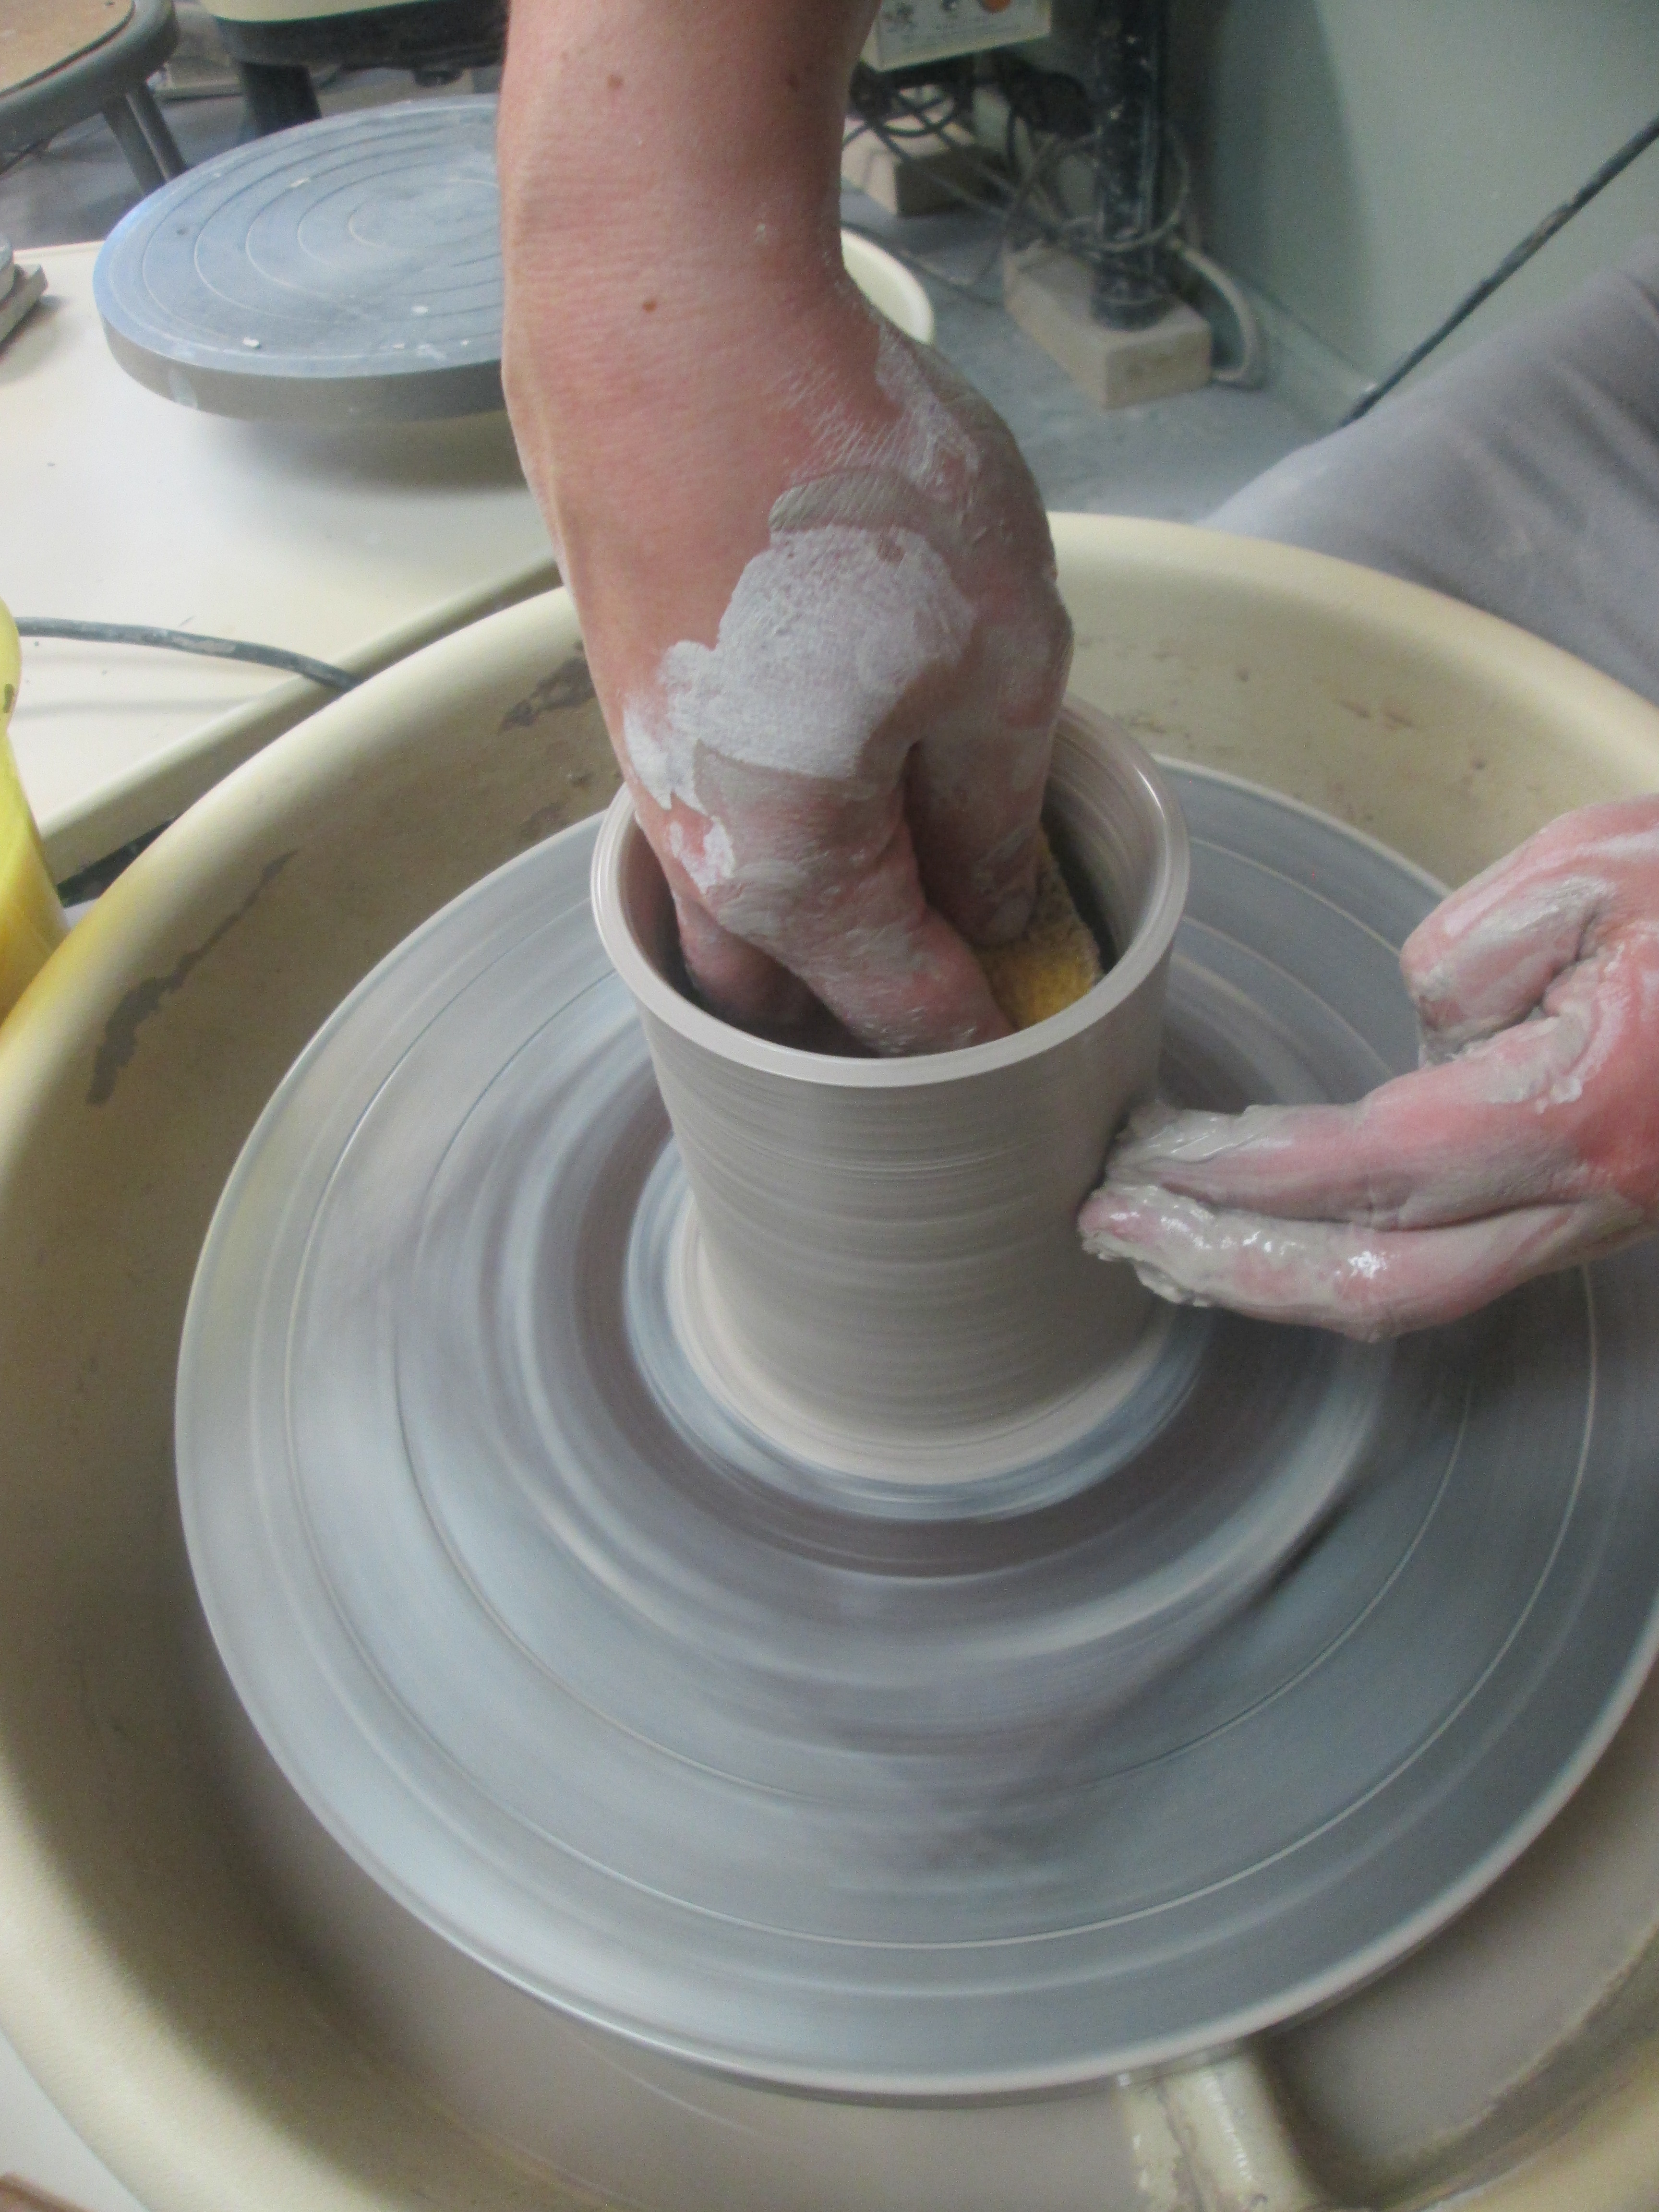
moving from bottom up to push the clay up toward the top.
This can be made easier by using a sponge in one hand to stabilize the process a little more.
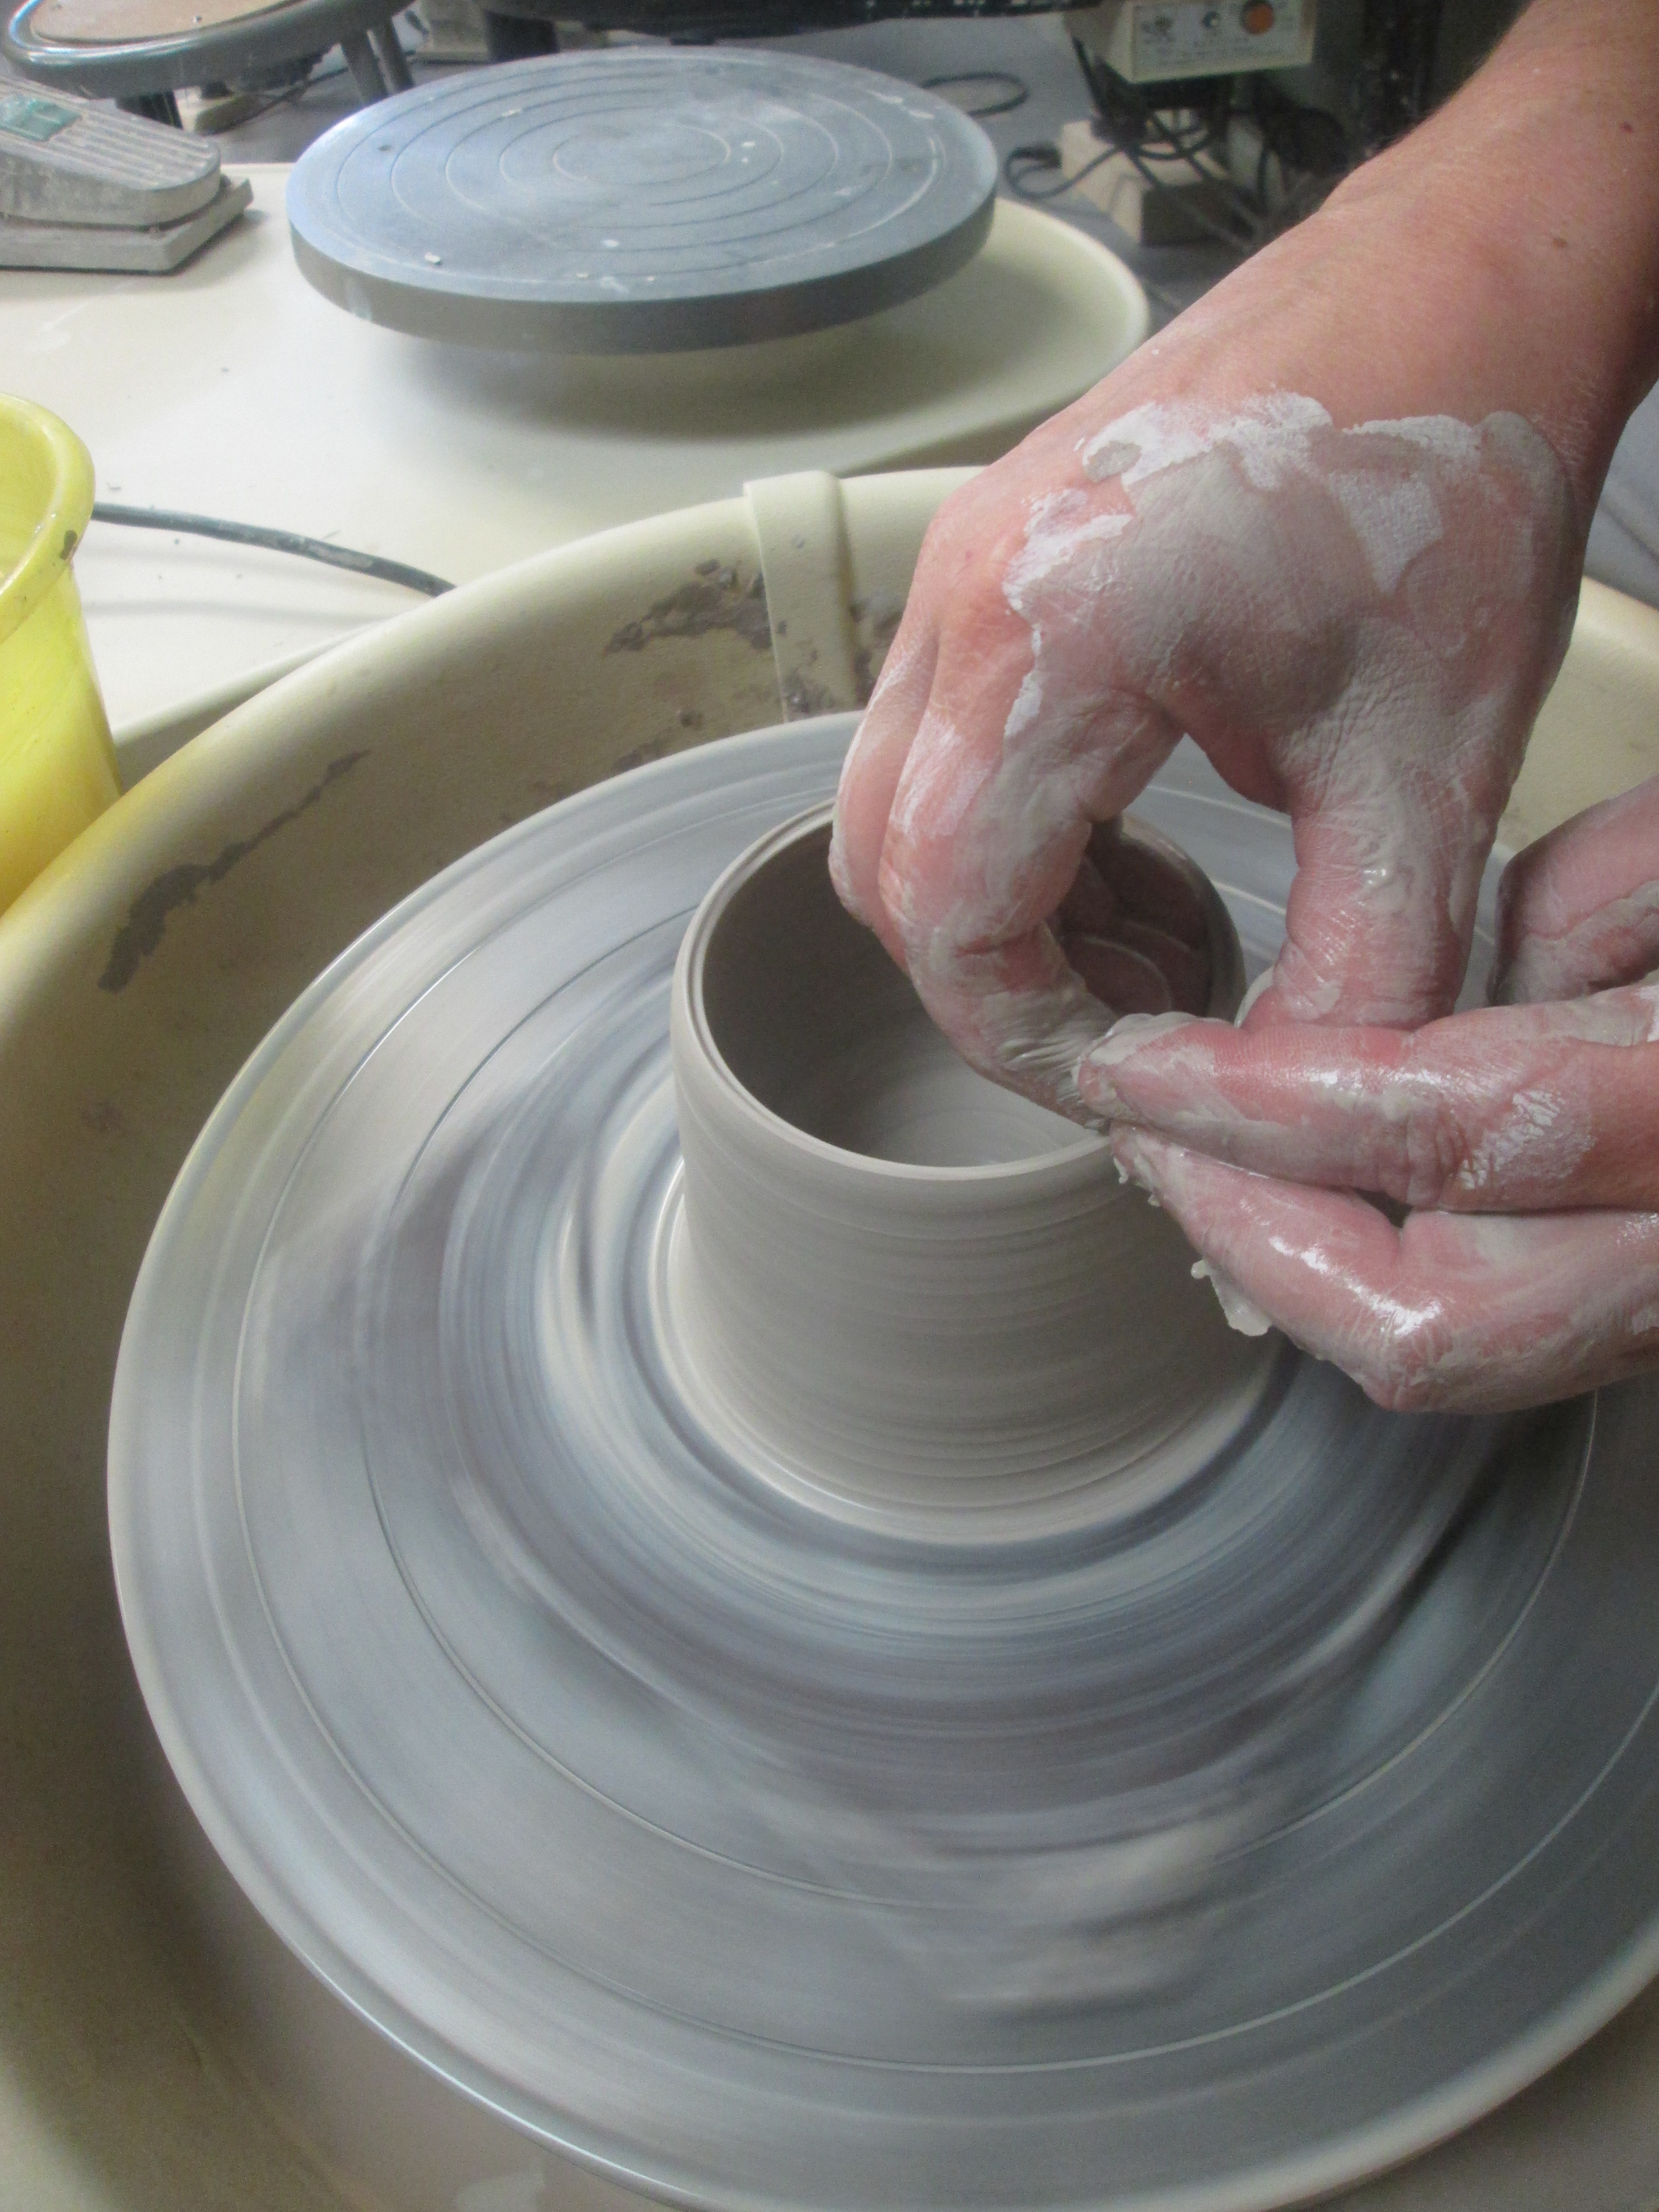
To get it really thin and yet stable involves ensuring the clay stays vertical at all parts of it.
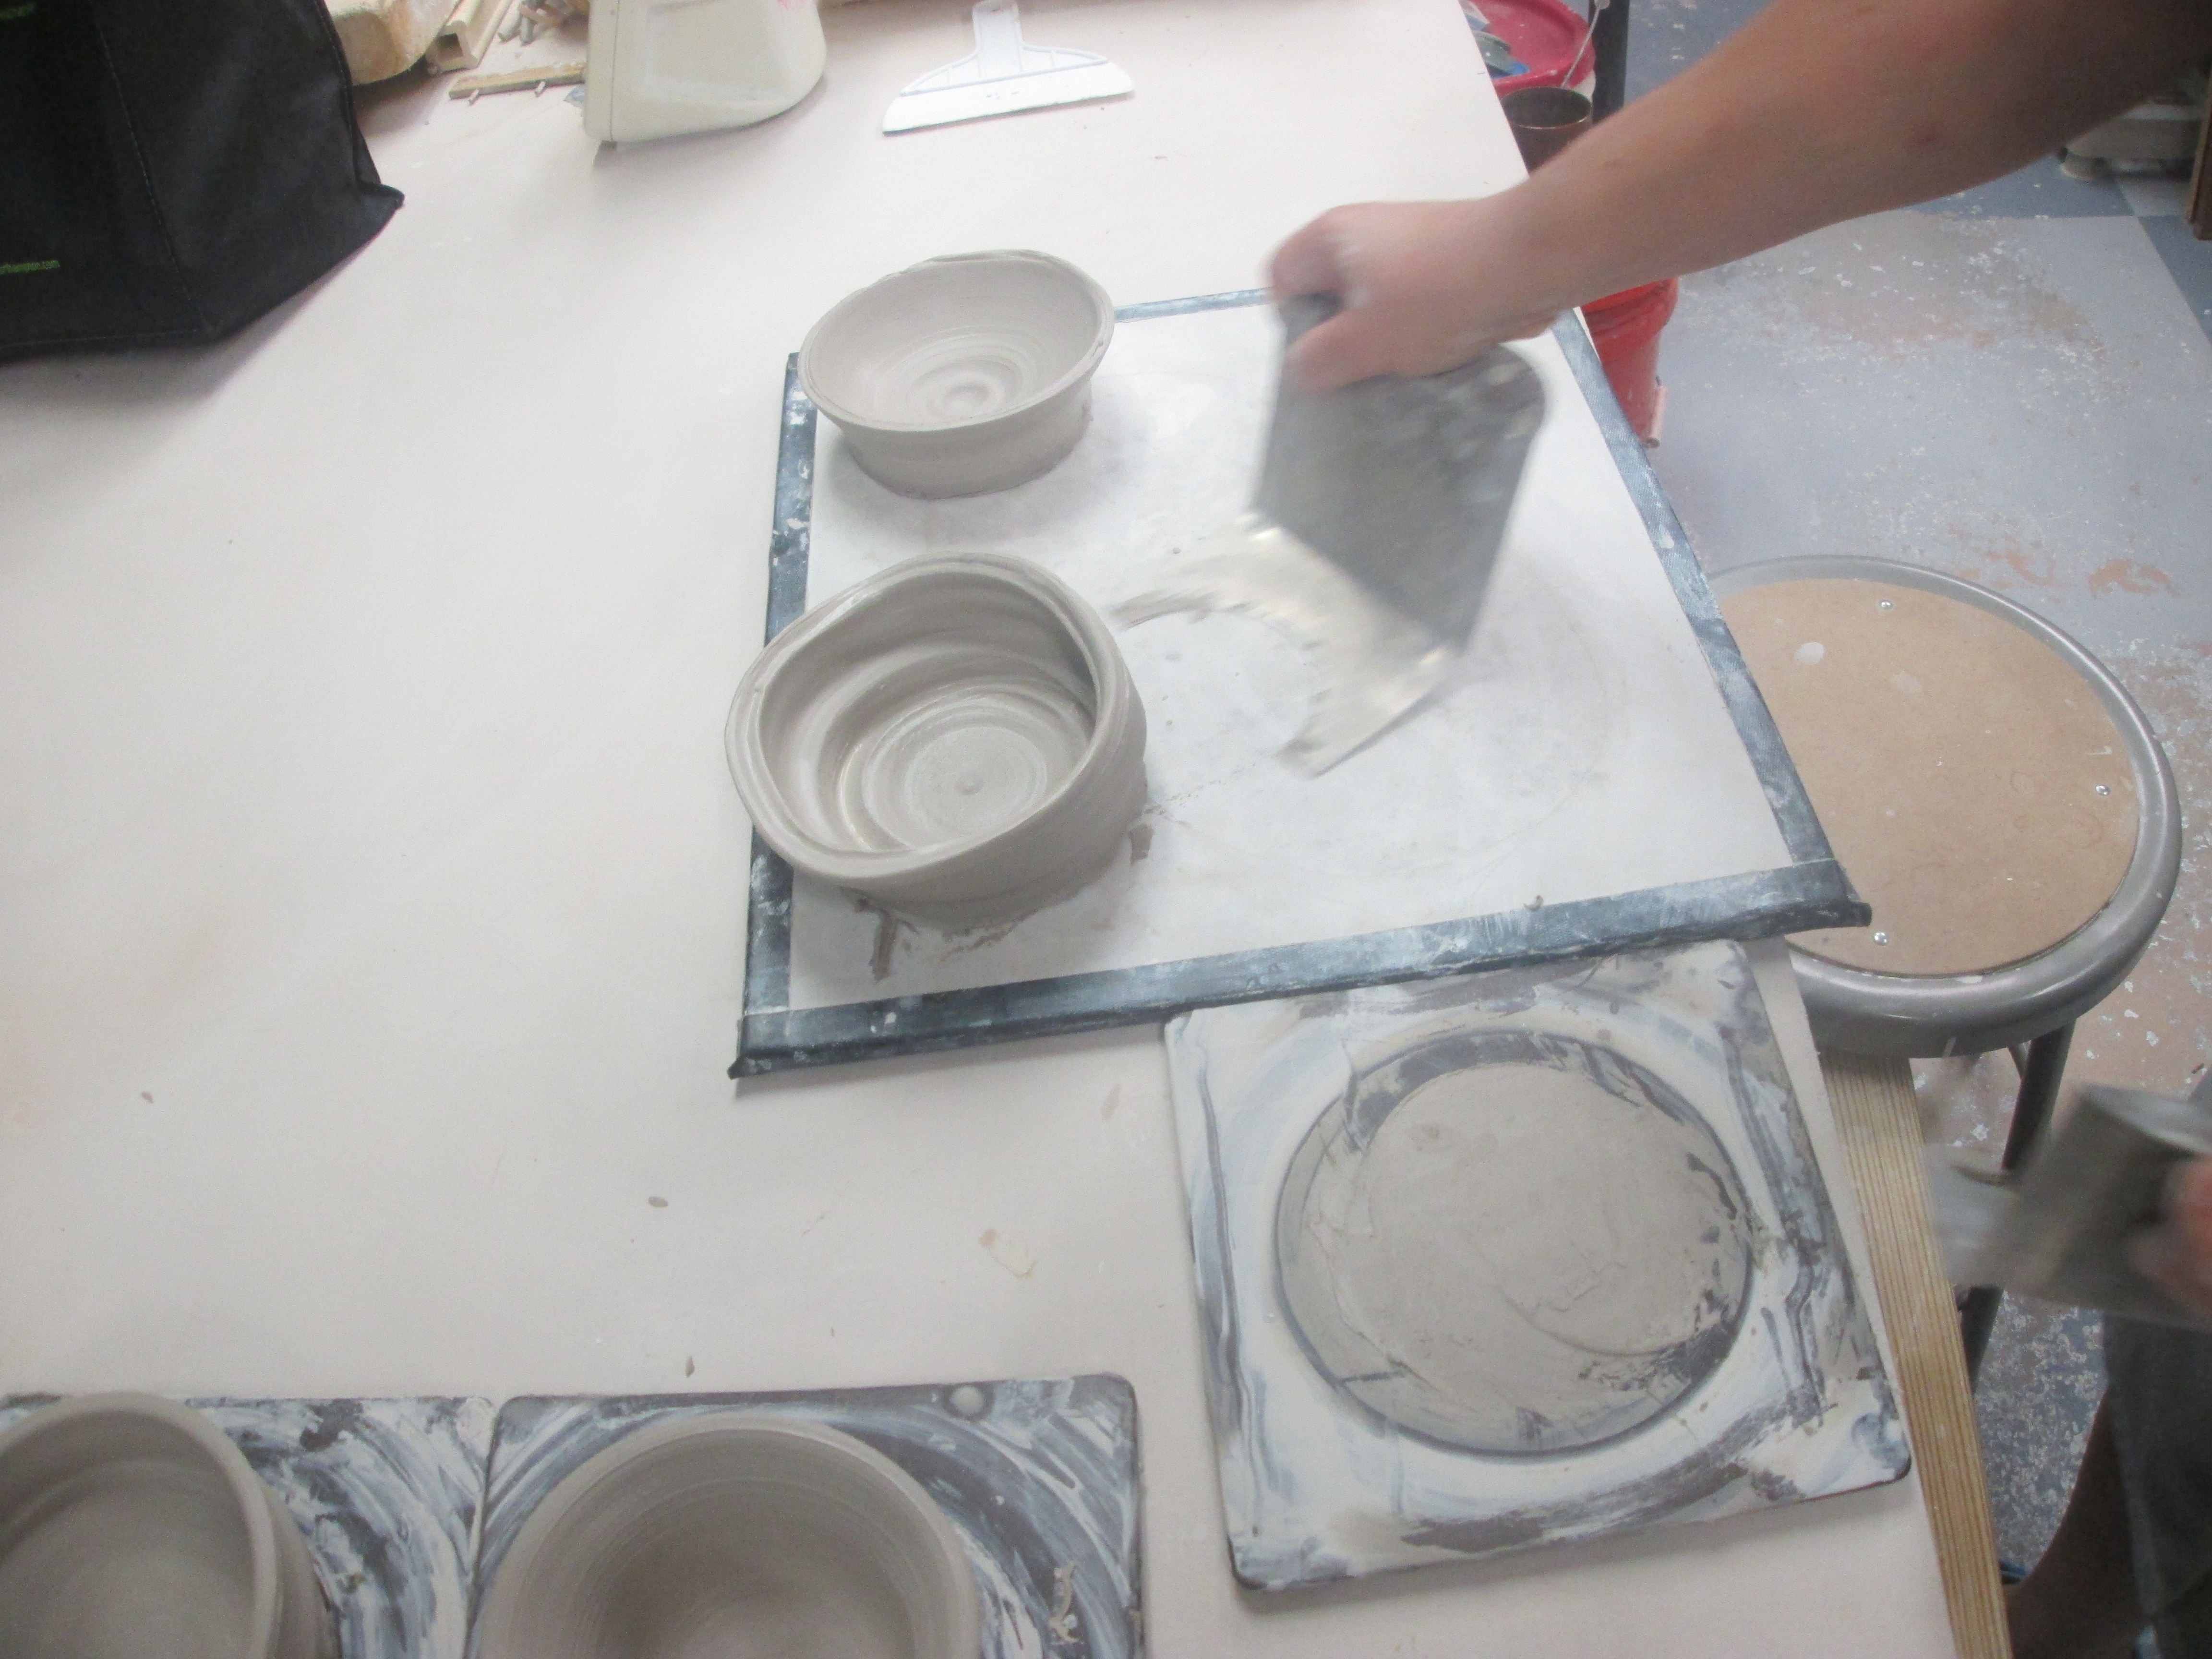
Mine, however, tended to arch outward, making it less stable and hence unable to reach the cup stage. My clay even collapsed on itself at times due to lack of support in the middle, as you can see below.
Anyway, after shaping the walls of the piece, it is then time to smooth out the bottom, cutting away waste pieces of clay to make it look better.
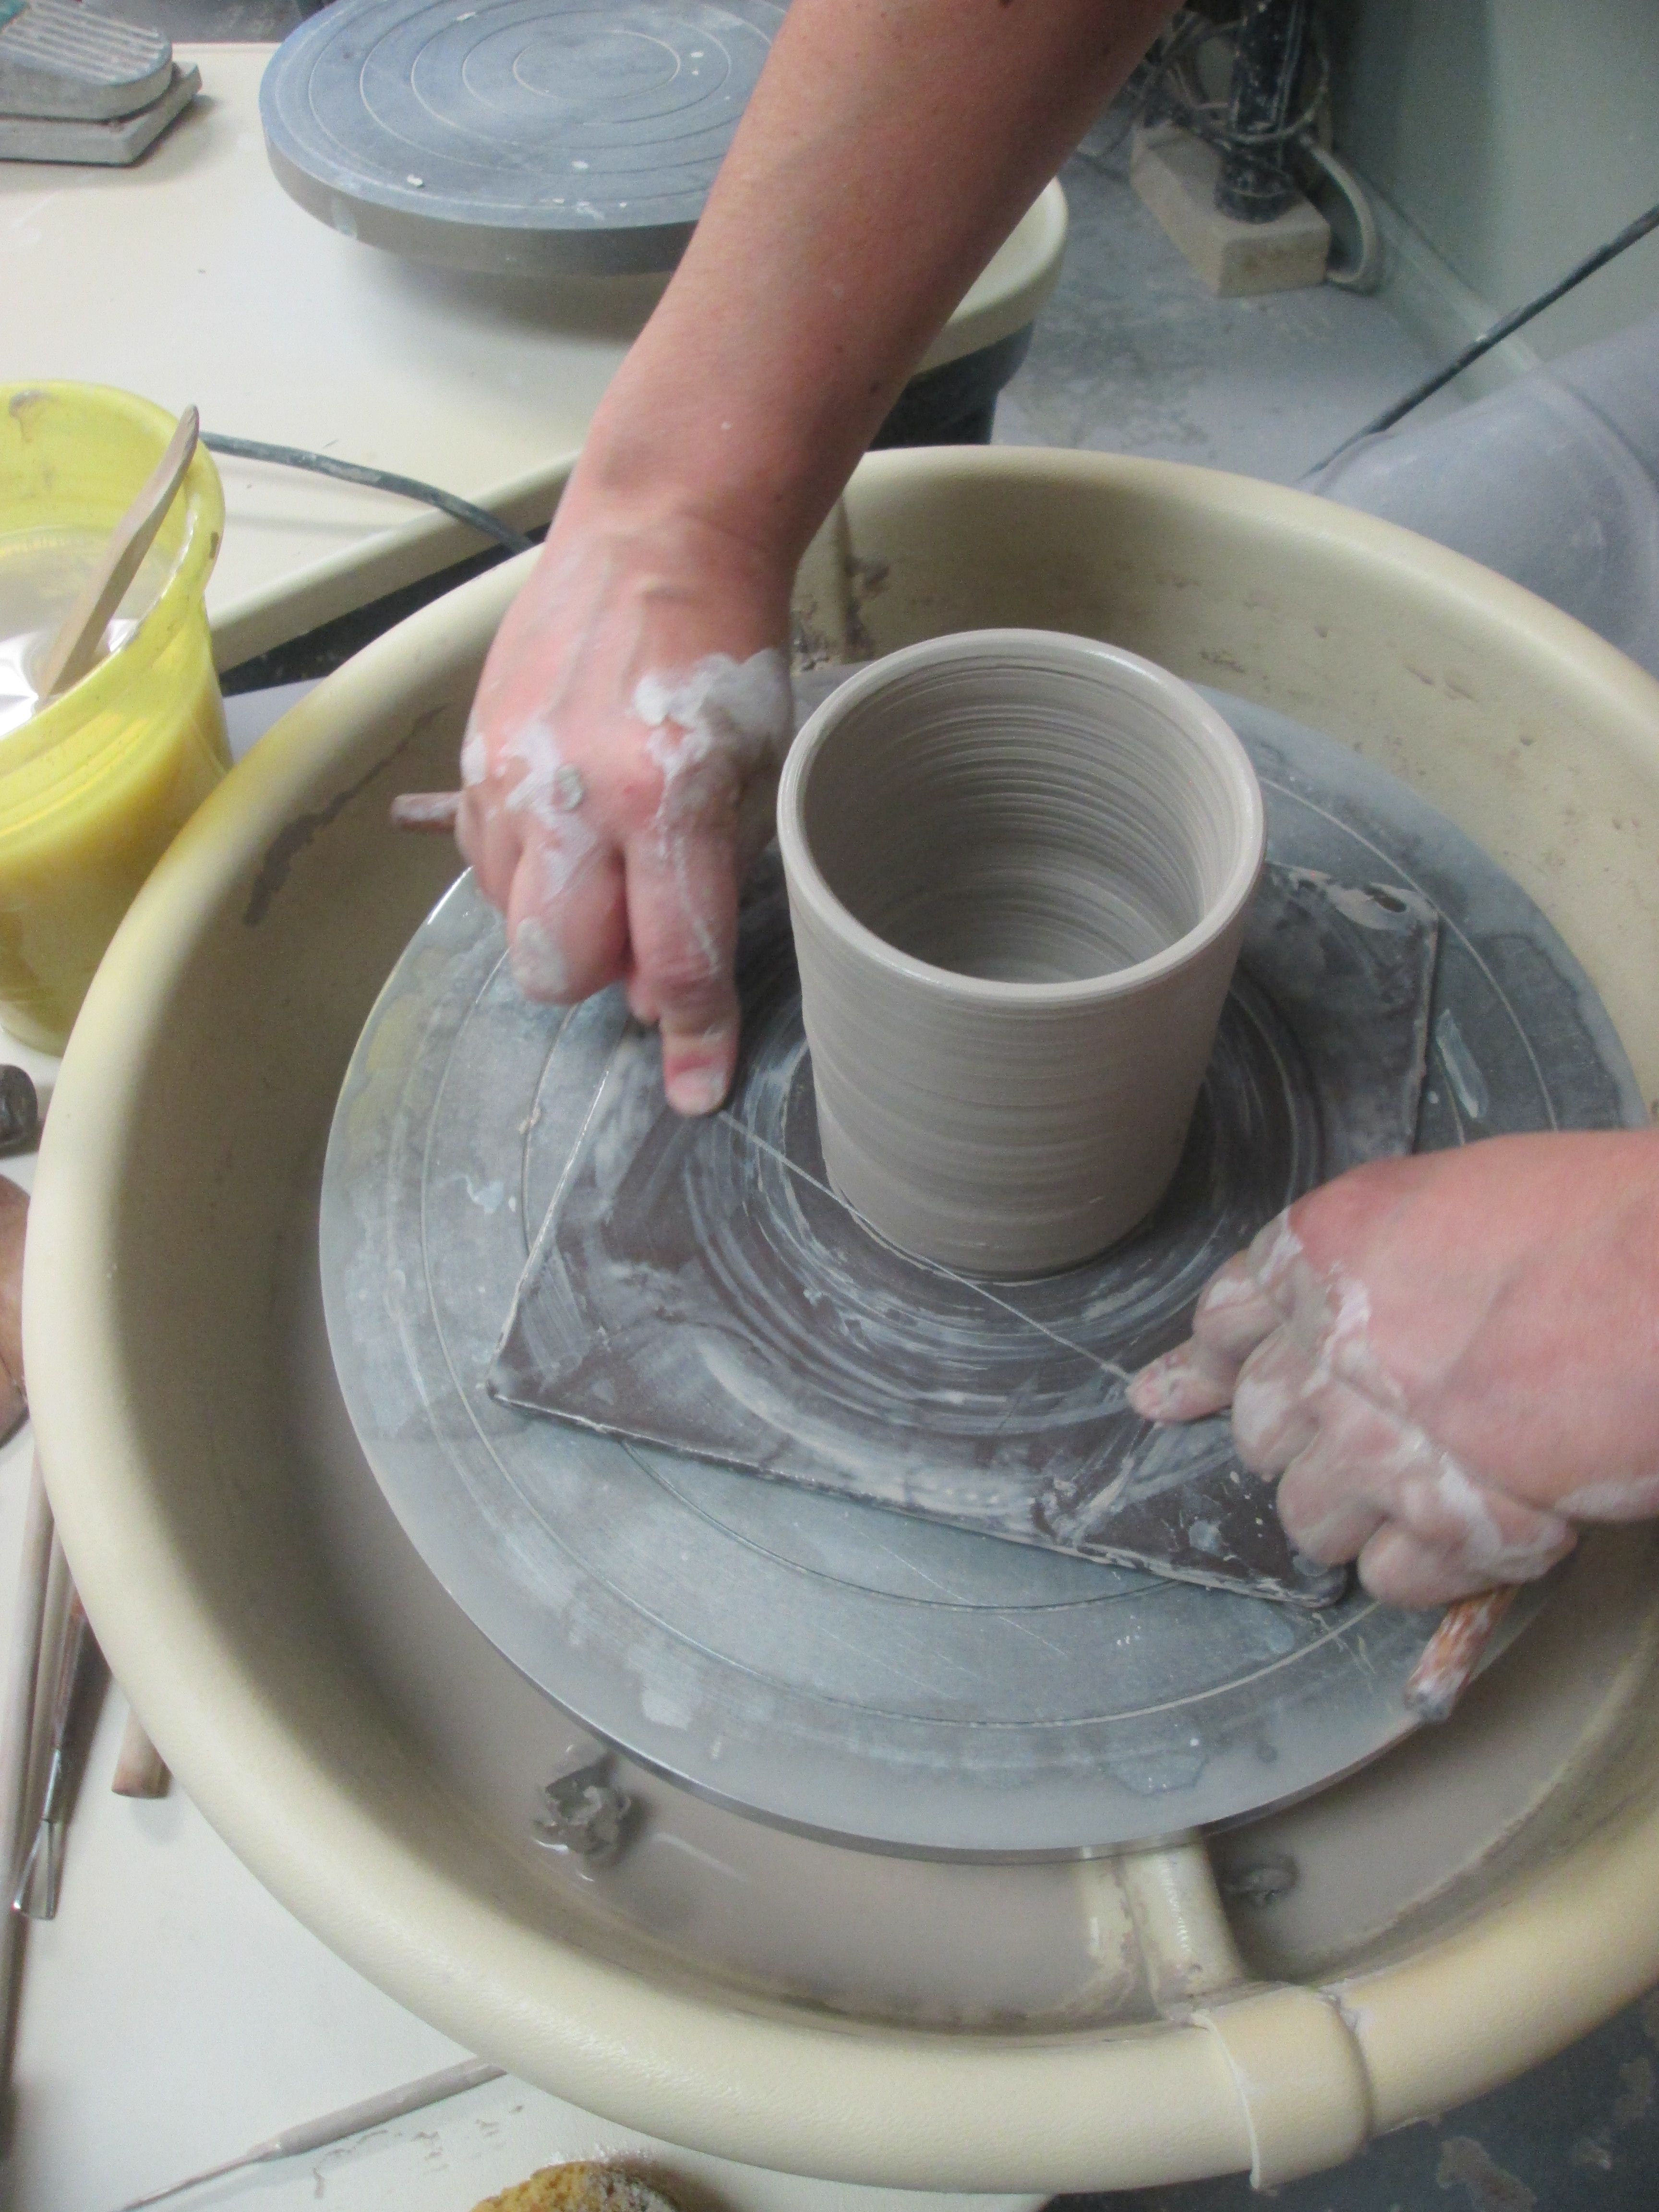
Finally, it is time to stop the turning, and detach the piece from the plate below using a taut wire cutting through the base boundary of the piece.
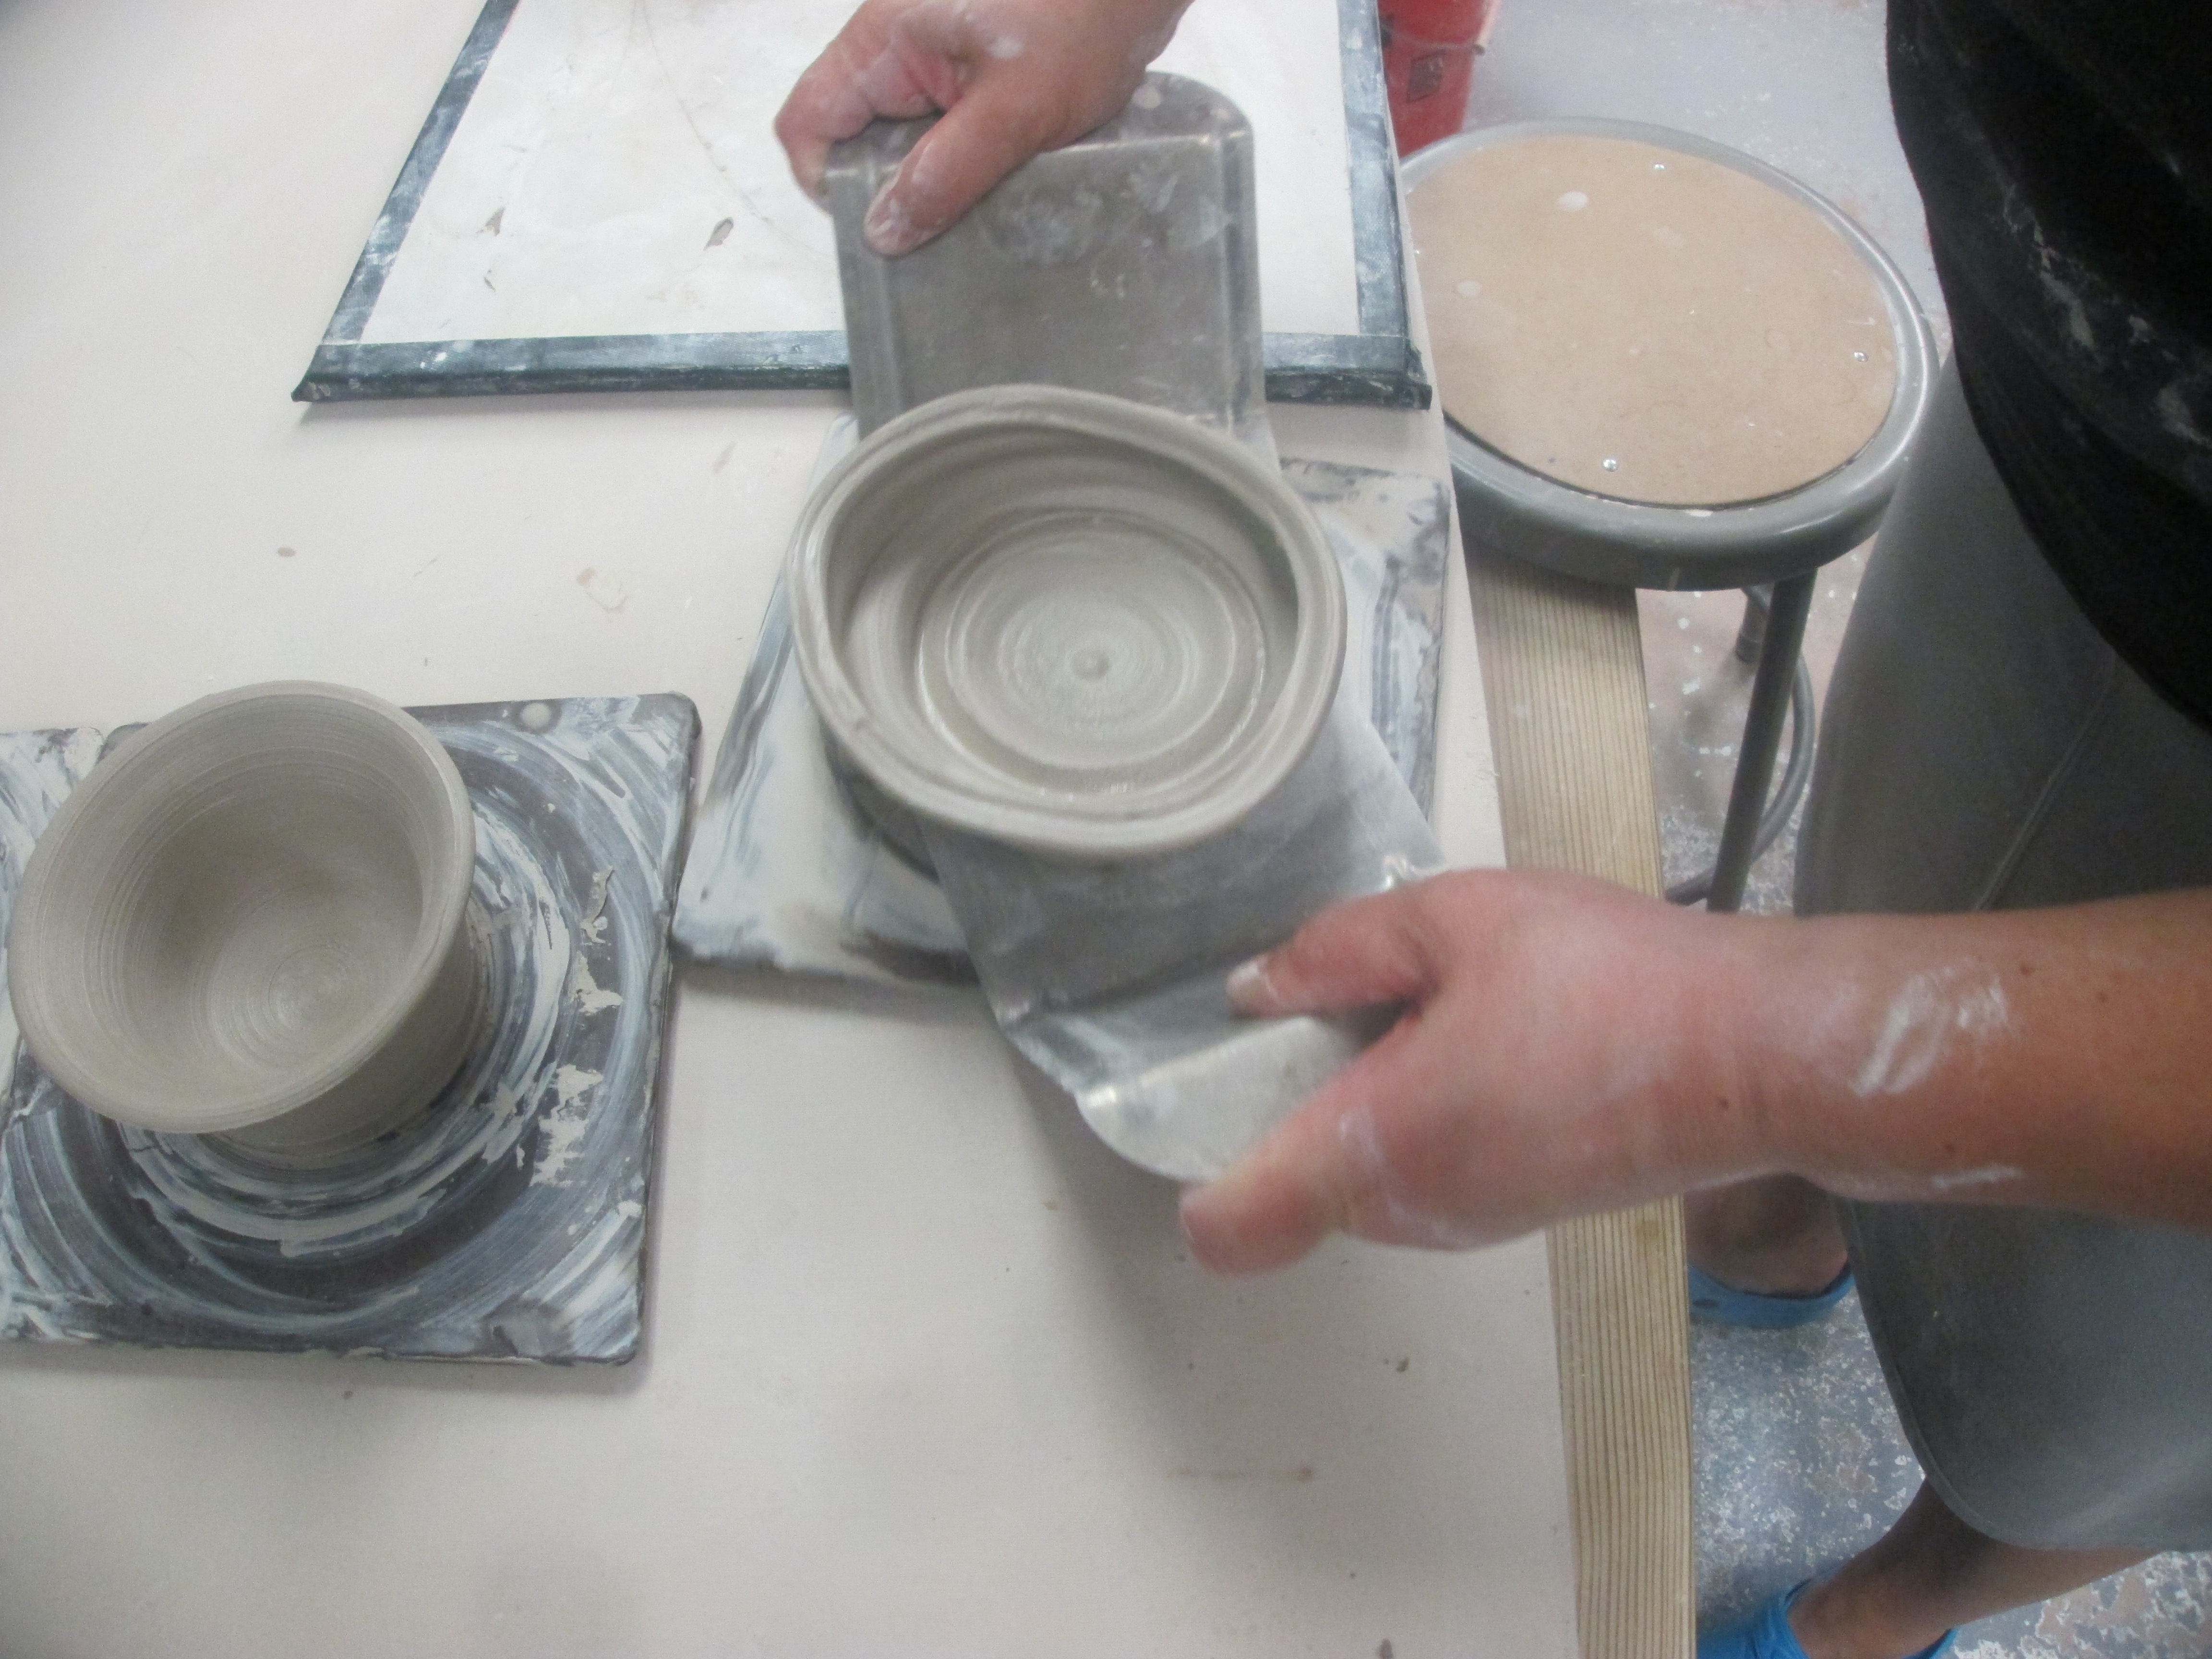
Pot holders are then used
to place the piece on a tray
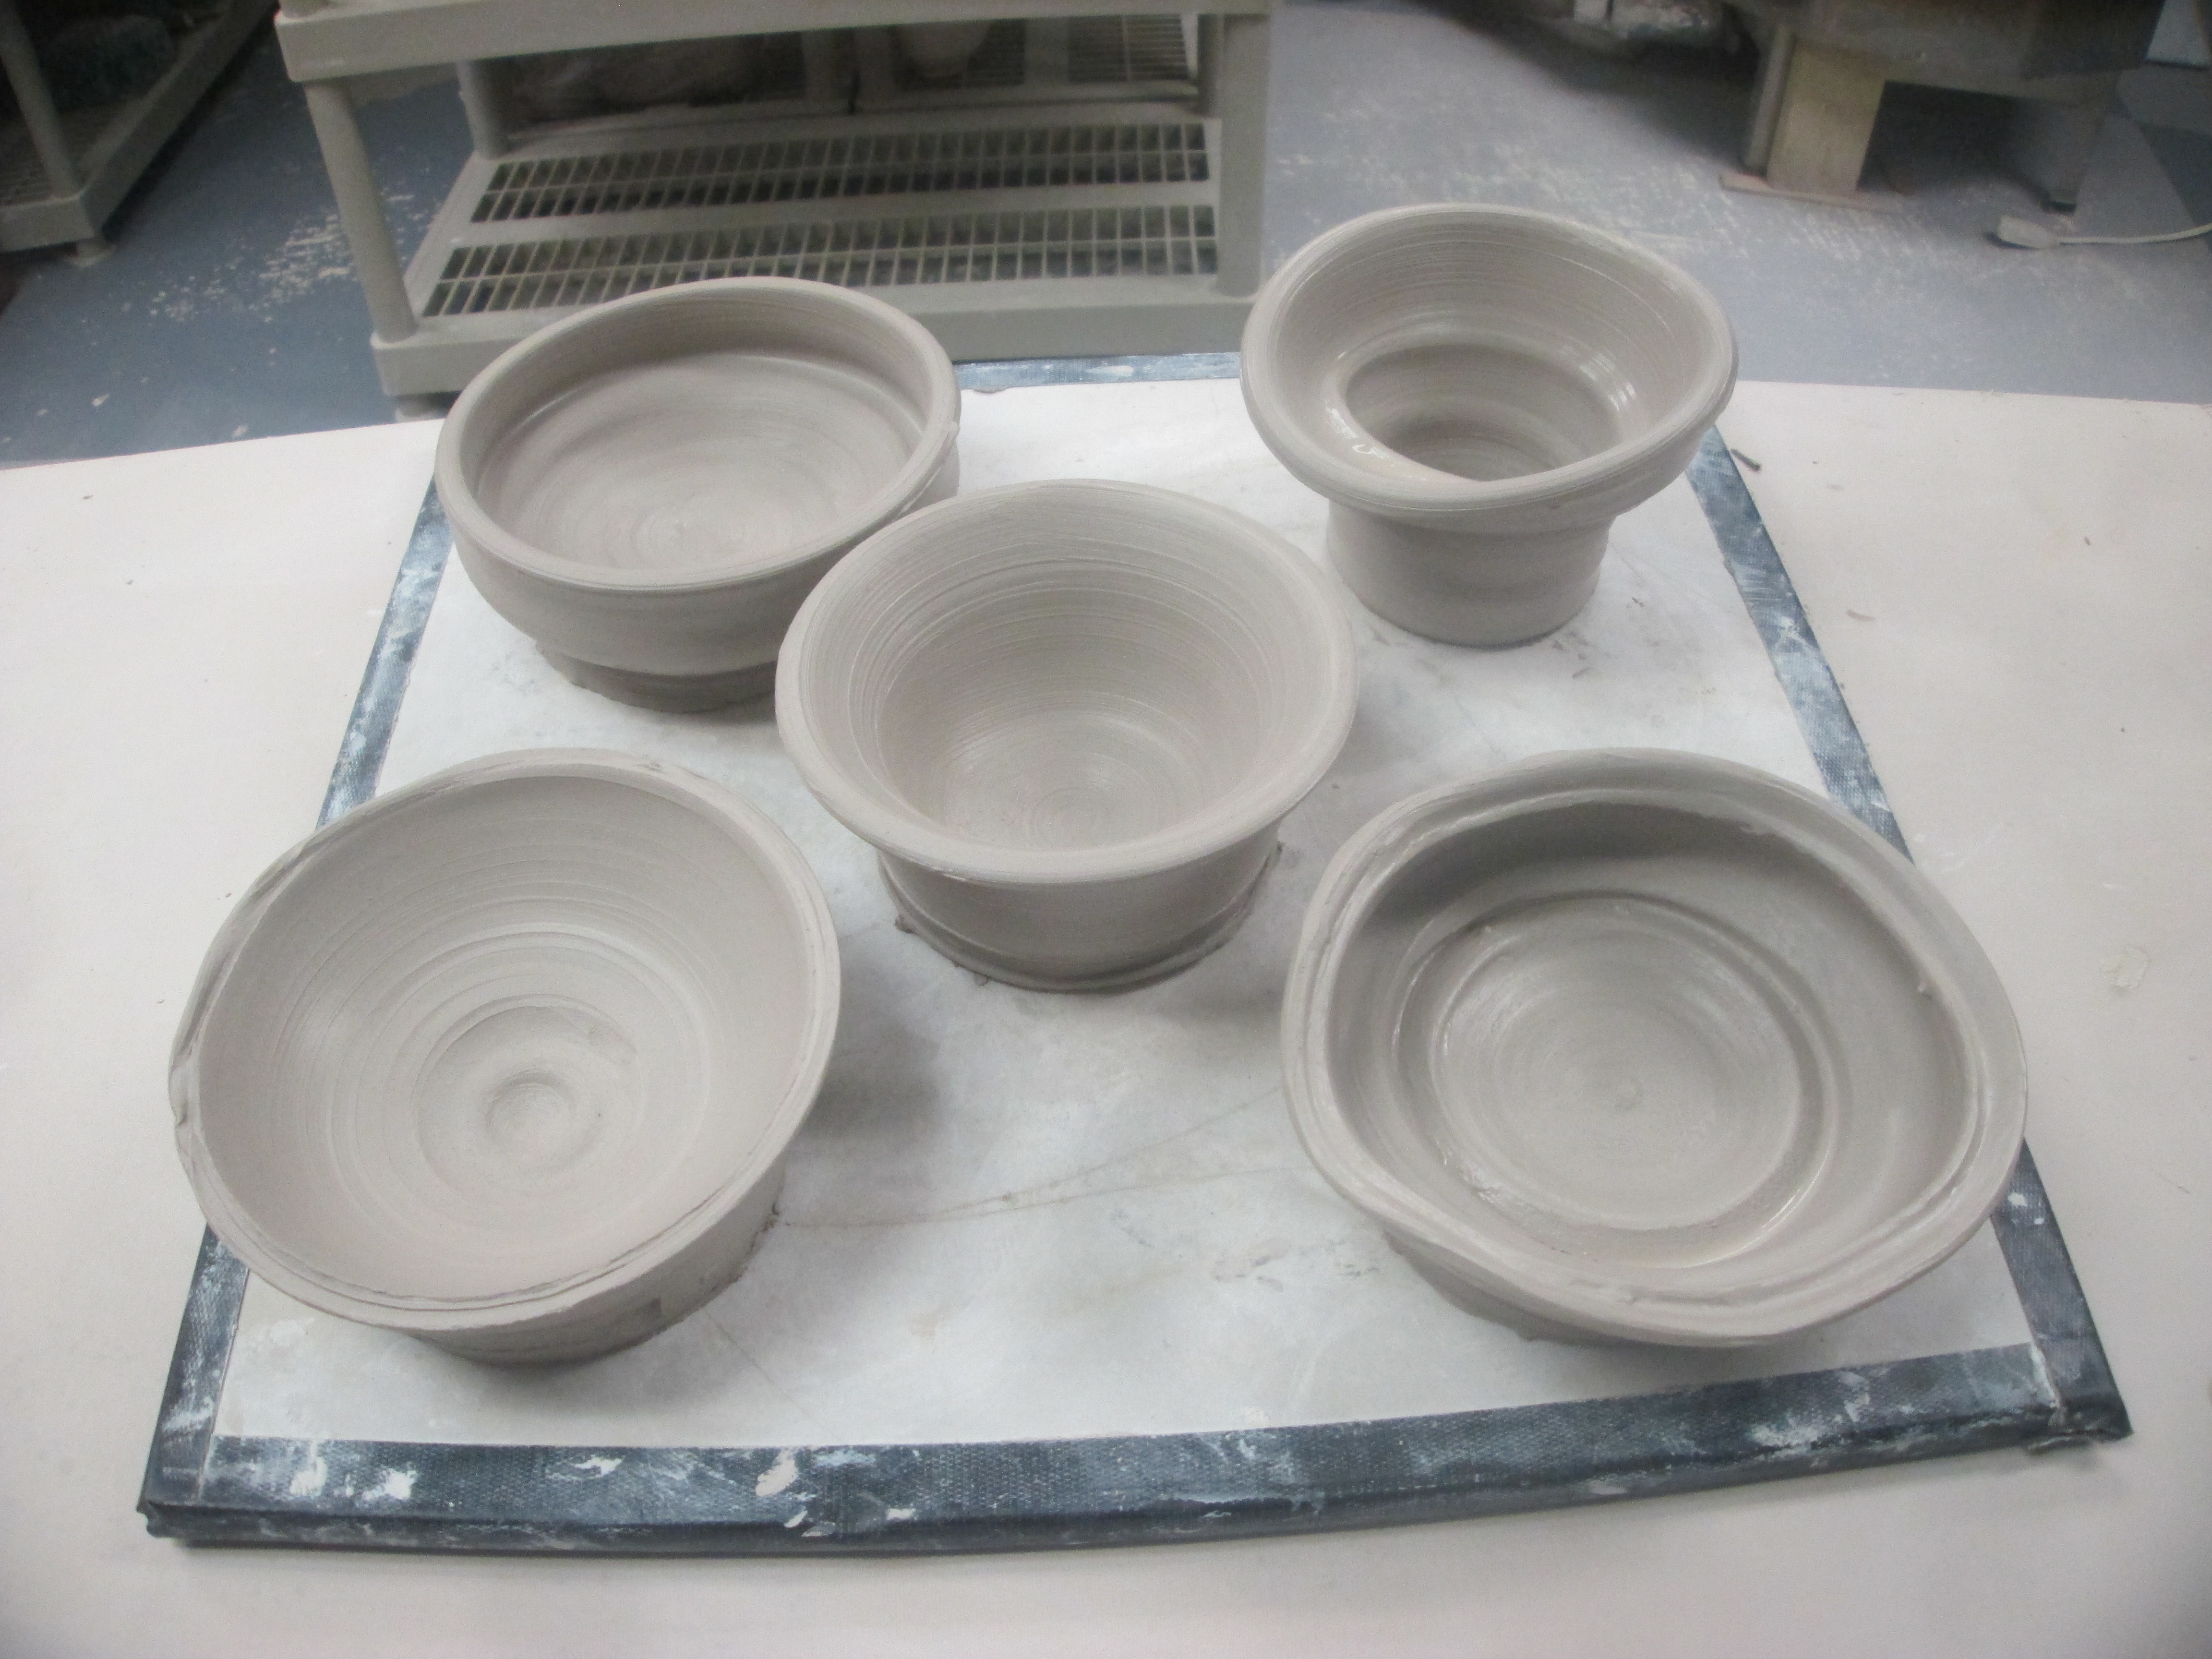
to dry out further before burning in the kiln in a series of steps to produce the final piece.
Thankfully, not all my pieces were screw-ups.
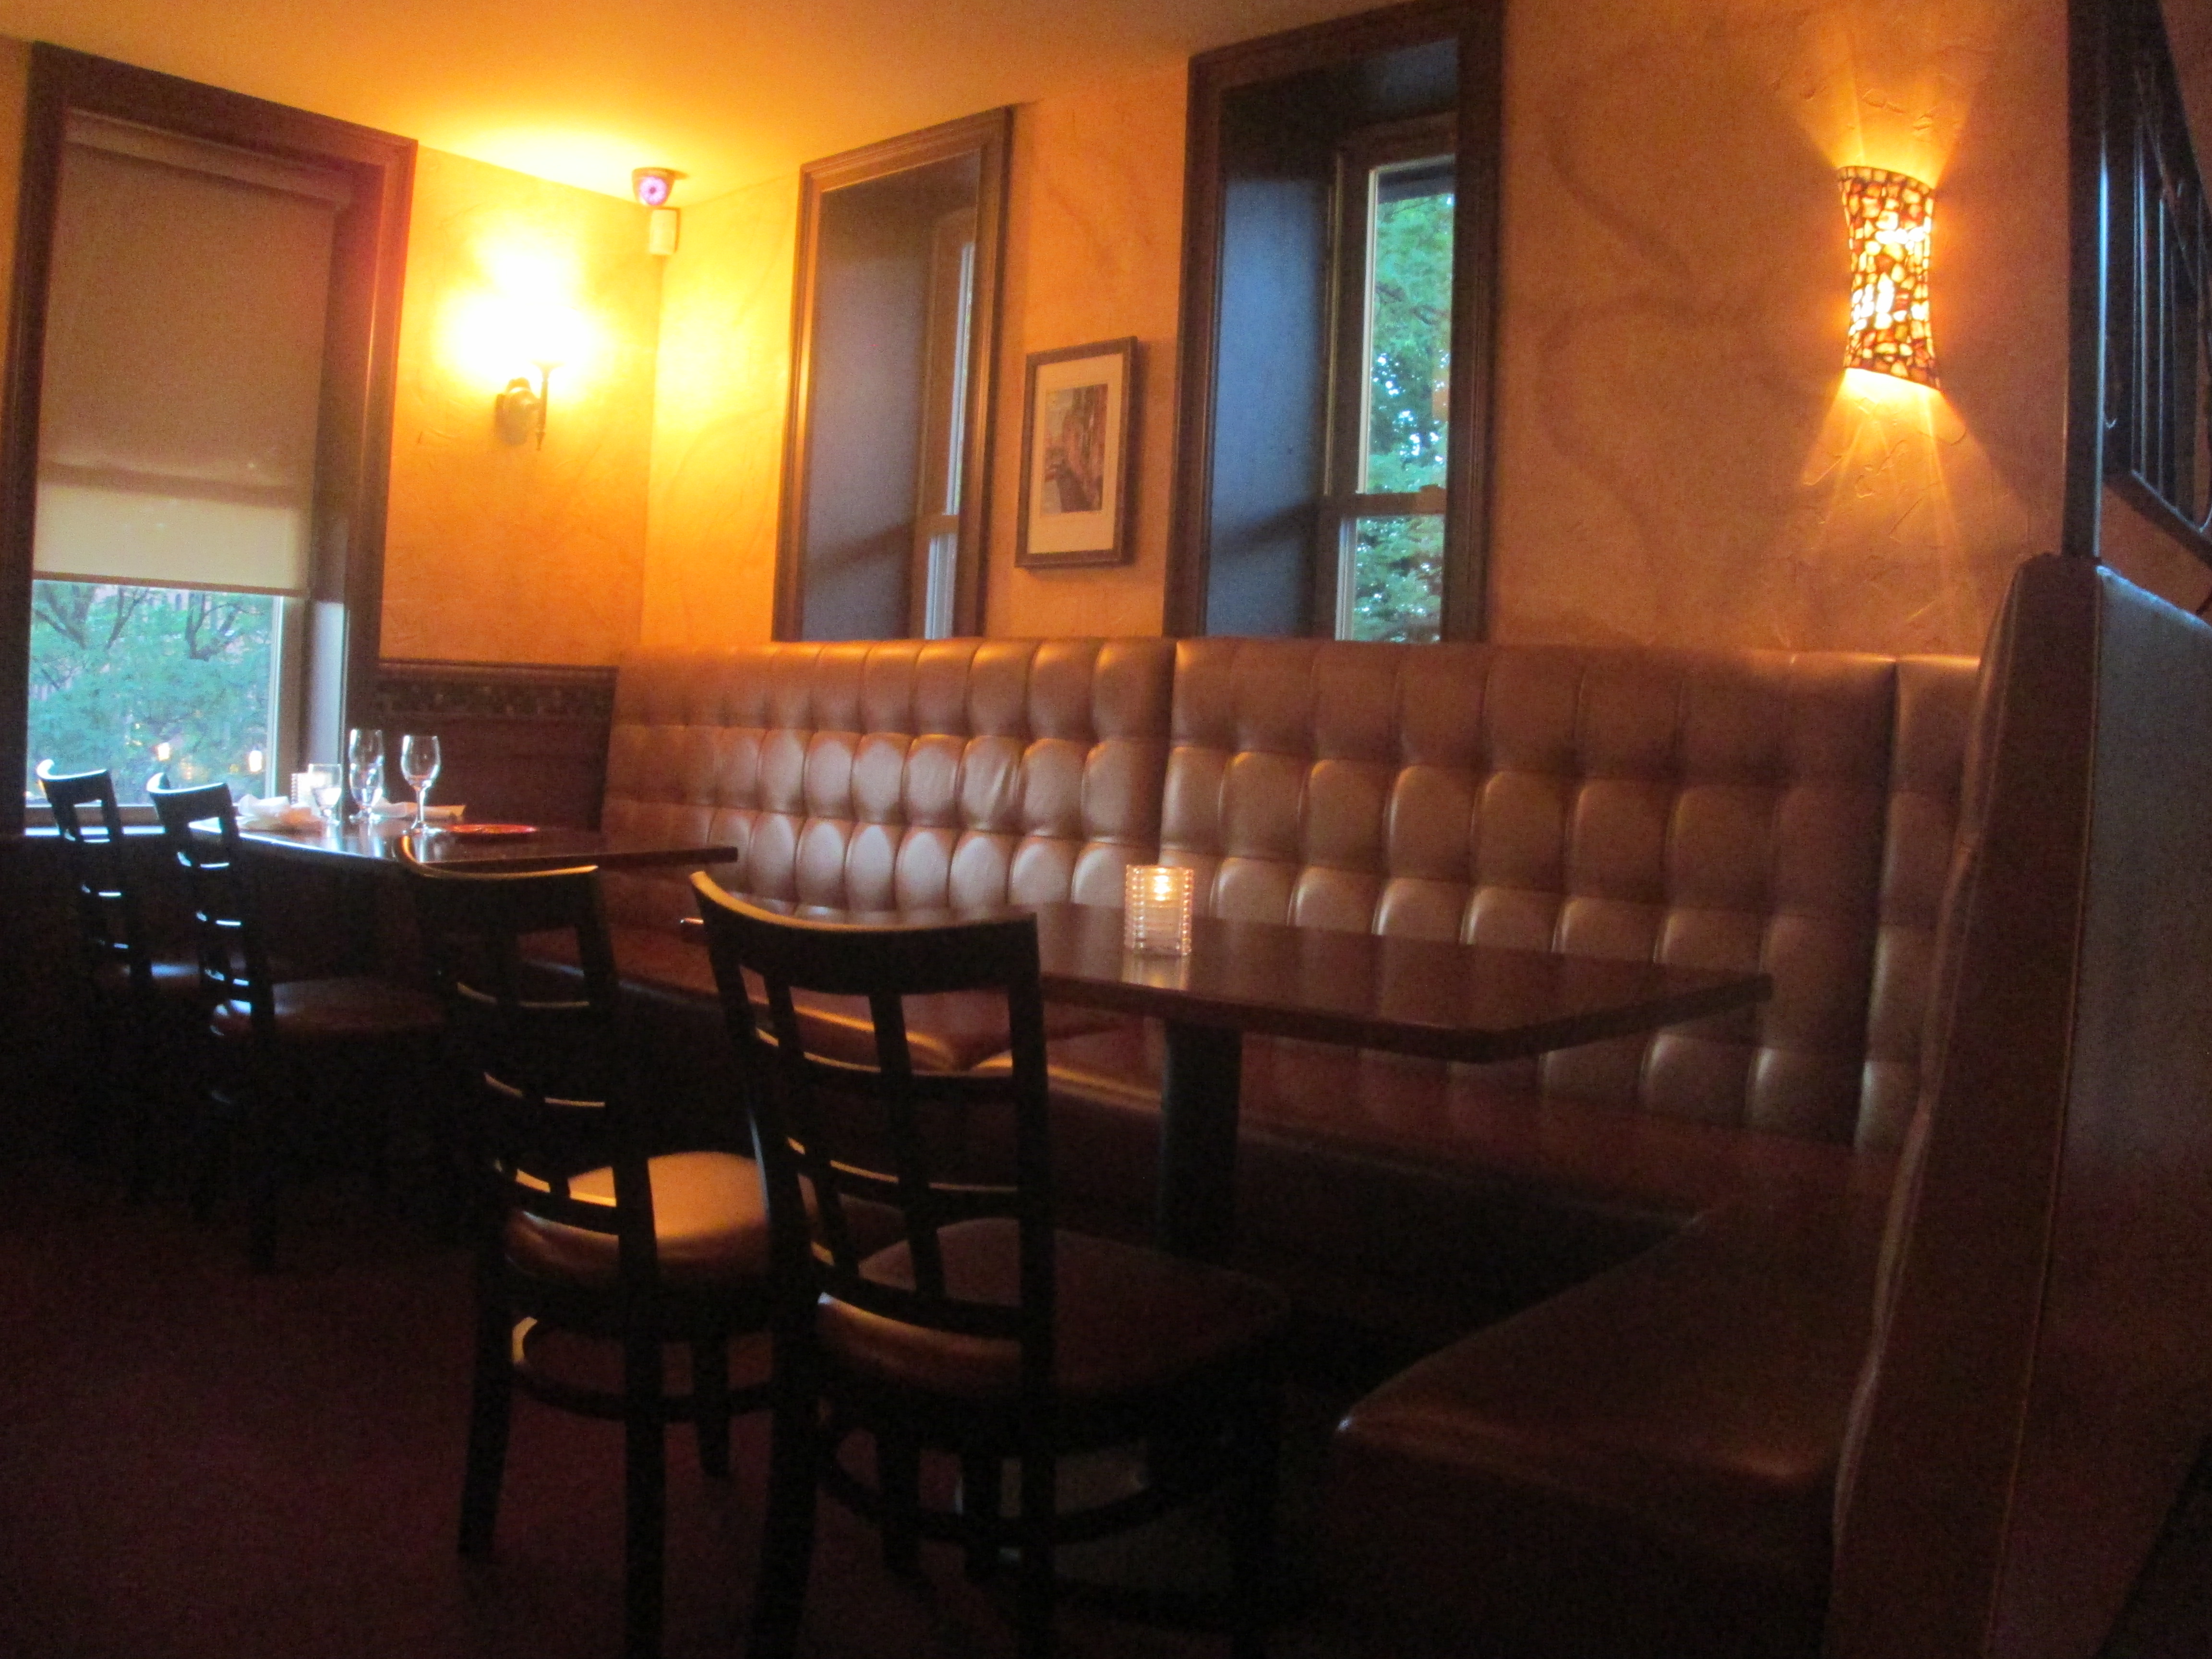
Next, it was on to dinner at Mulino's Restaurant, a pretty upscale Italian restaurant in town, located on the second floor of a building in the downtown area with a food place on each of its 3 floors.
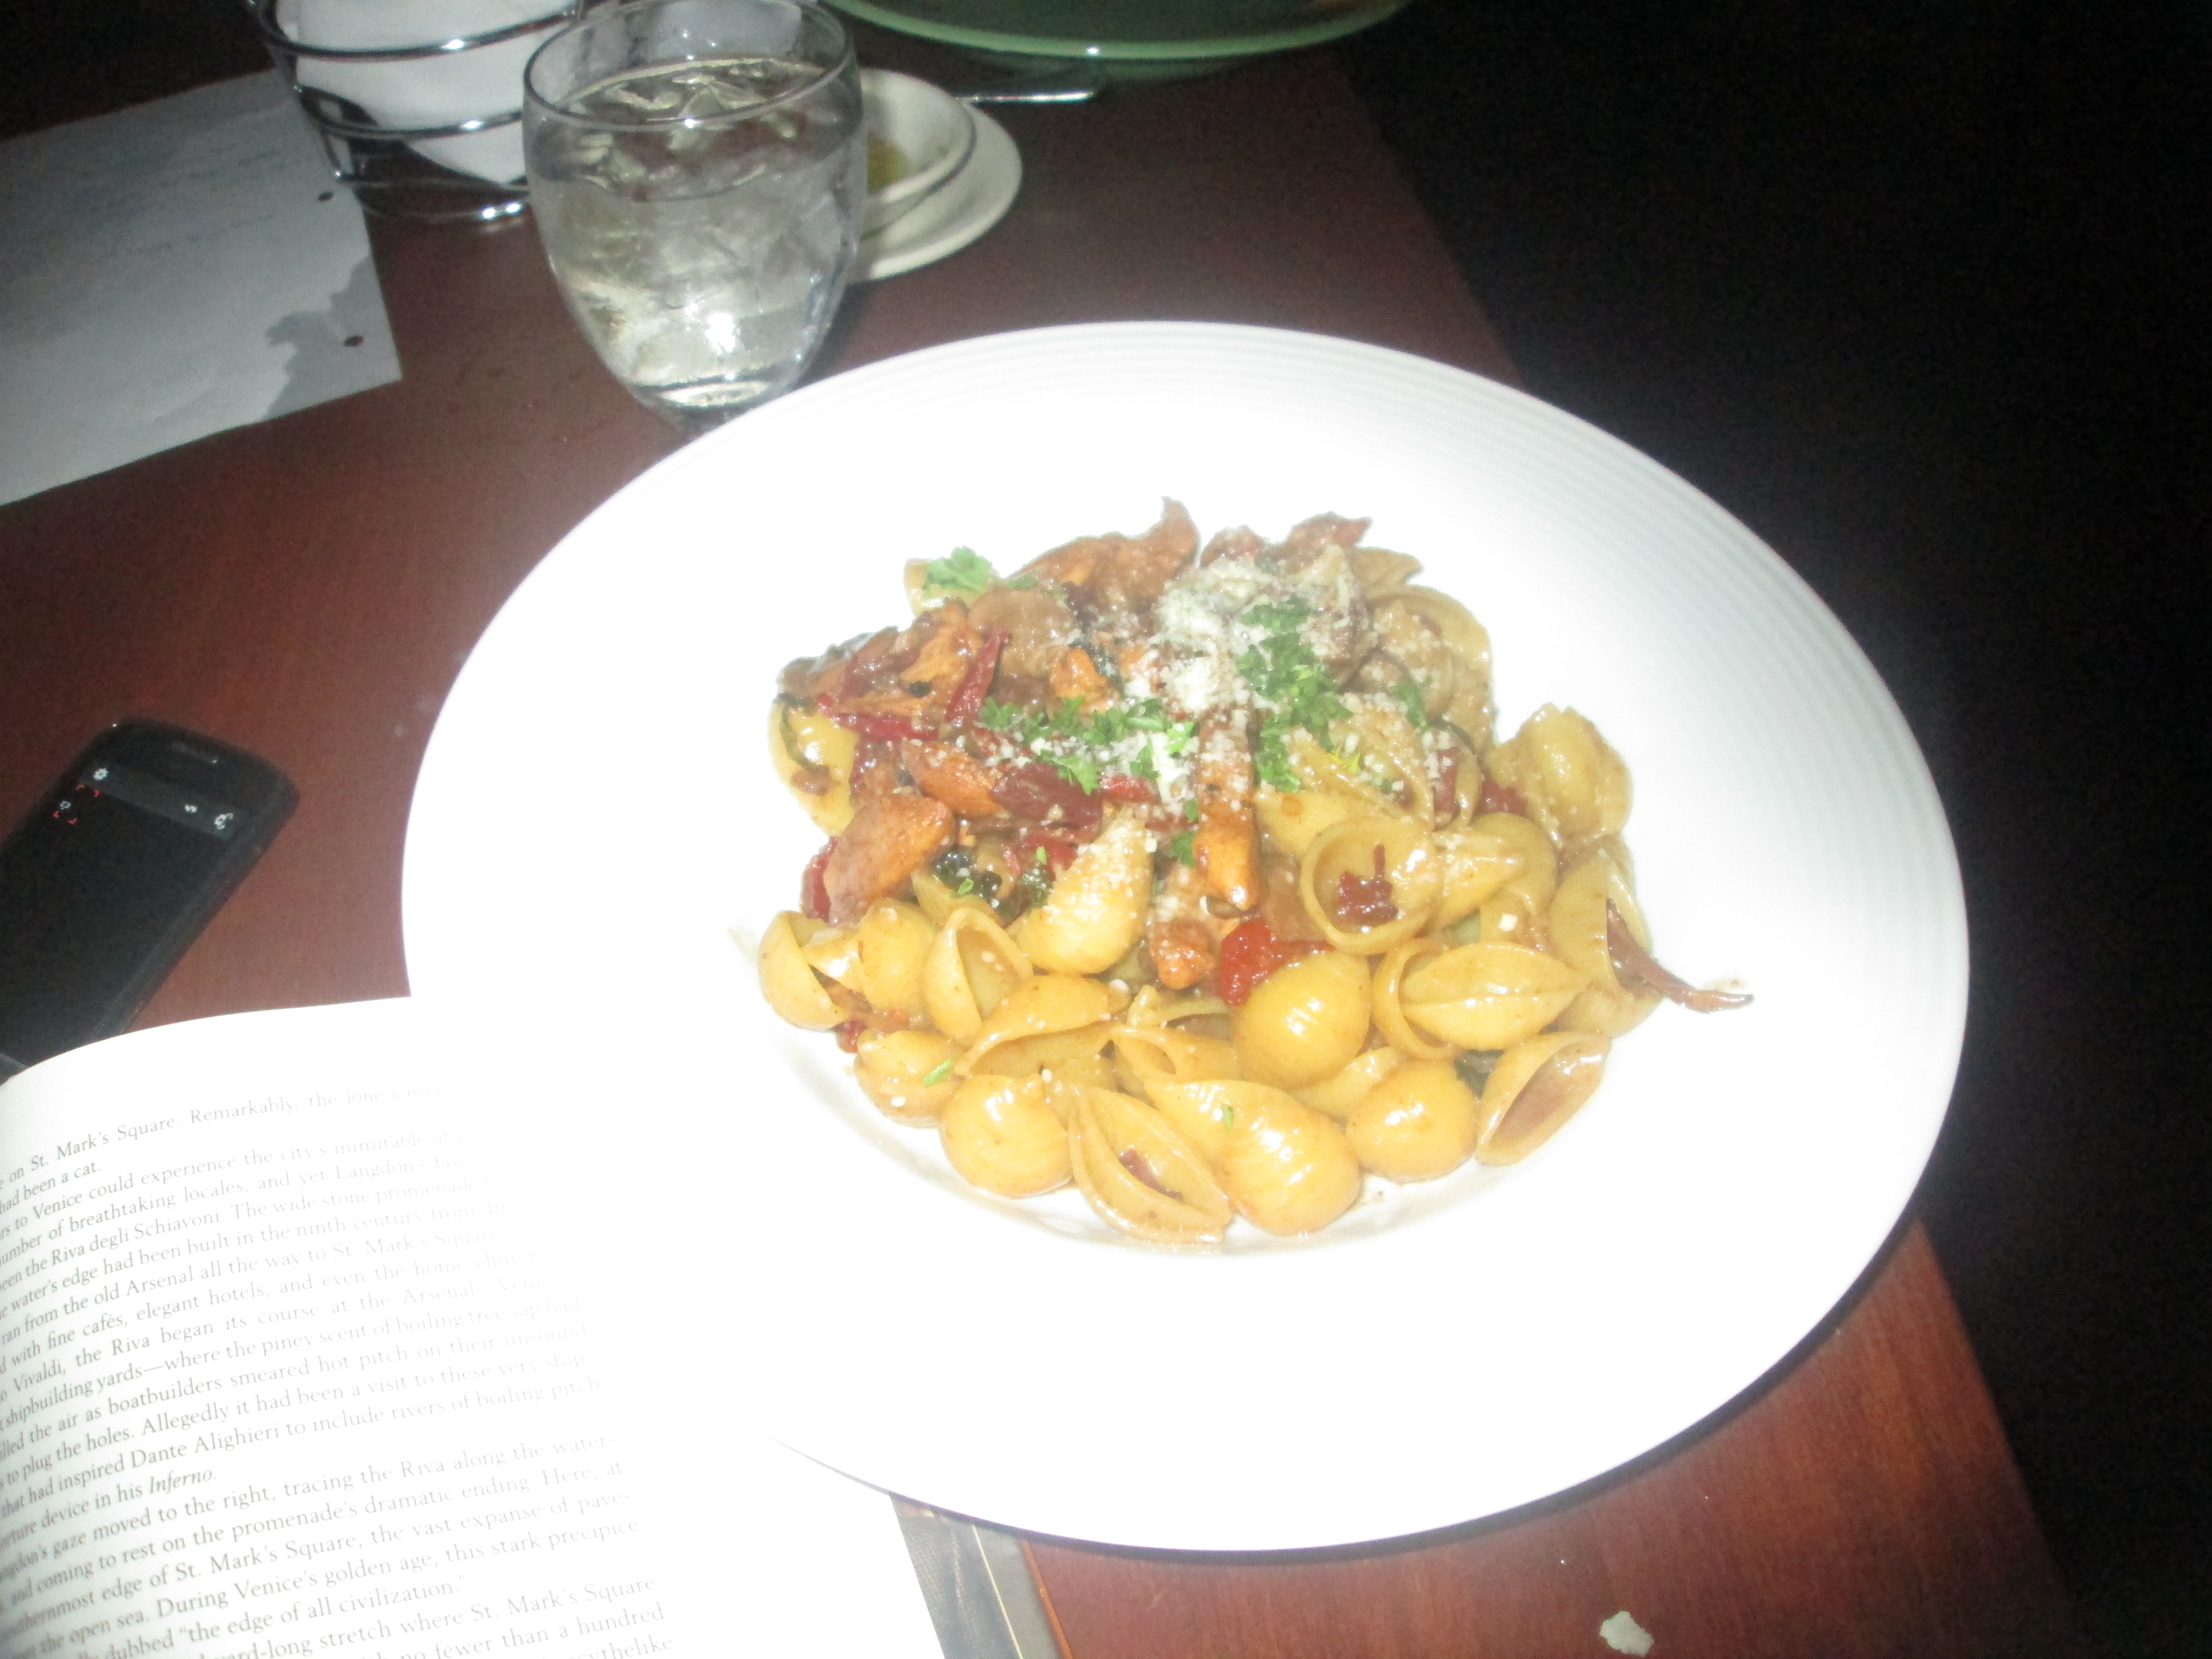
and the Conchiglie con Pollo (Julienne chicken, prosciutto, sun dried tomatoes, mushrooms and roasted garlic sautéed in a delicate marsala cream sauce. Tossed with parmigiano cheese and shell pasta) for my main dish.
The mussels weren't too bad, although the cheese taste was a little strong, while the pasta was simply heavenly.
Overall, a recommend if you are ever in the area.
With that, I took the long drive home, looking forward to Independence Day tomorrow.



No comments:
Post a Comment