In this okay looking place,

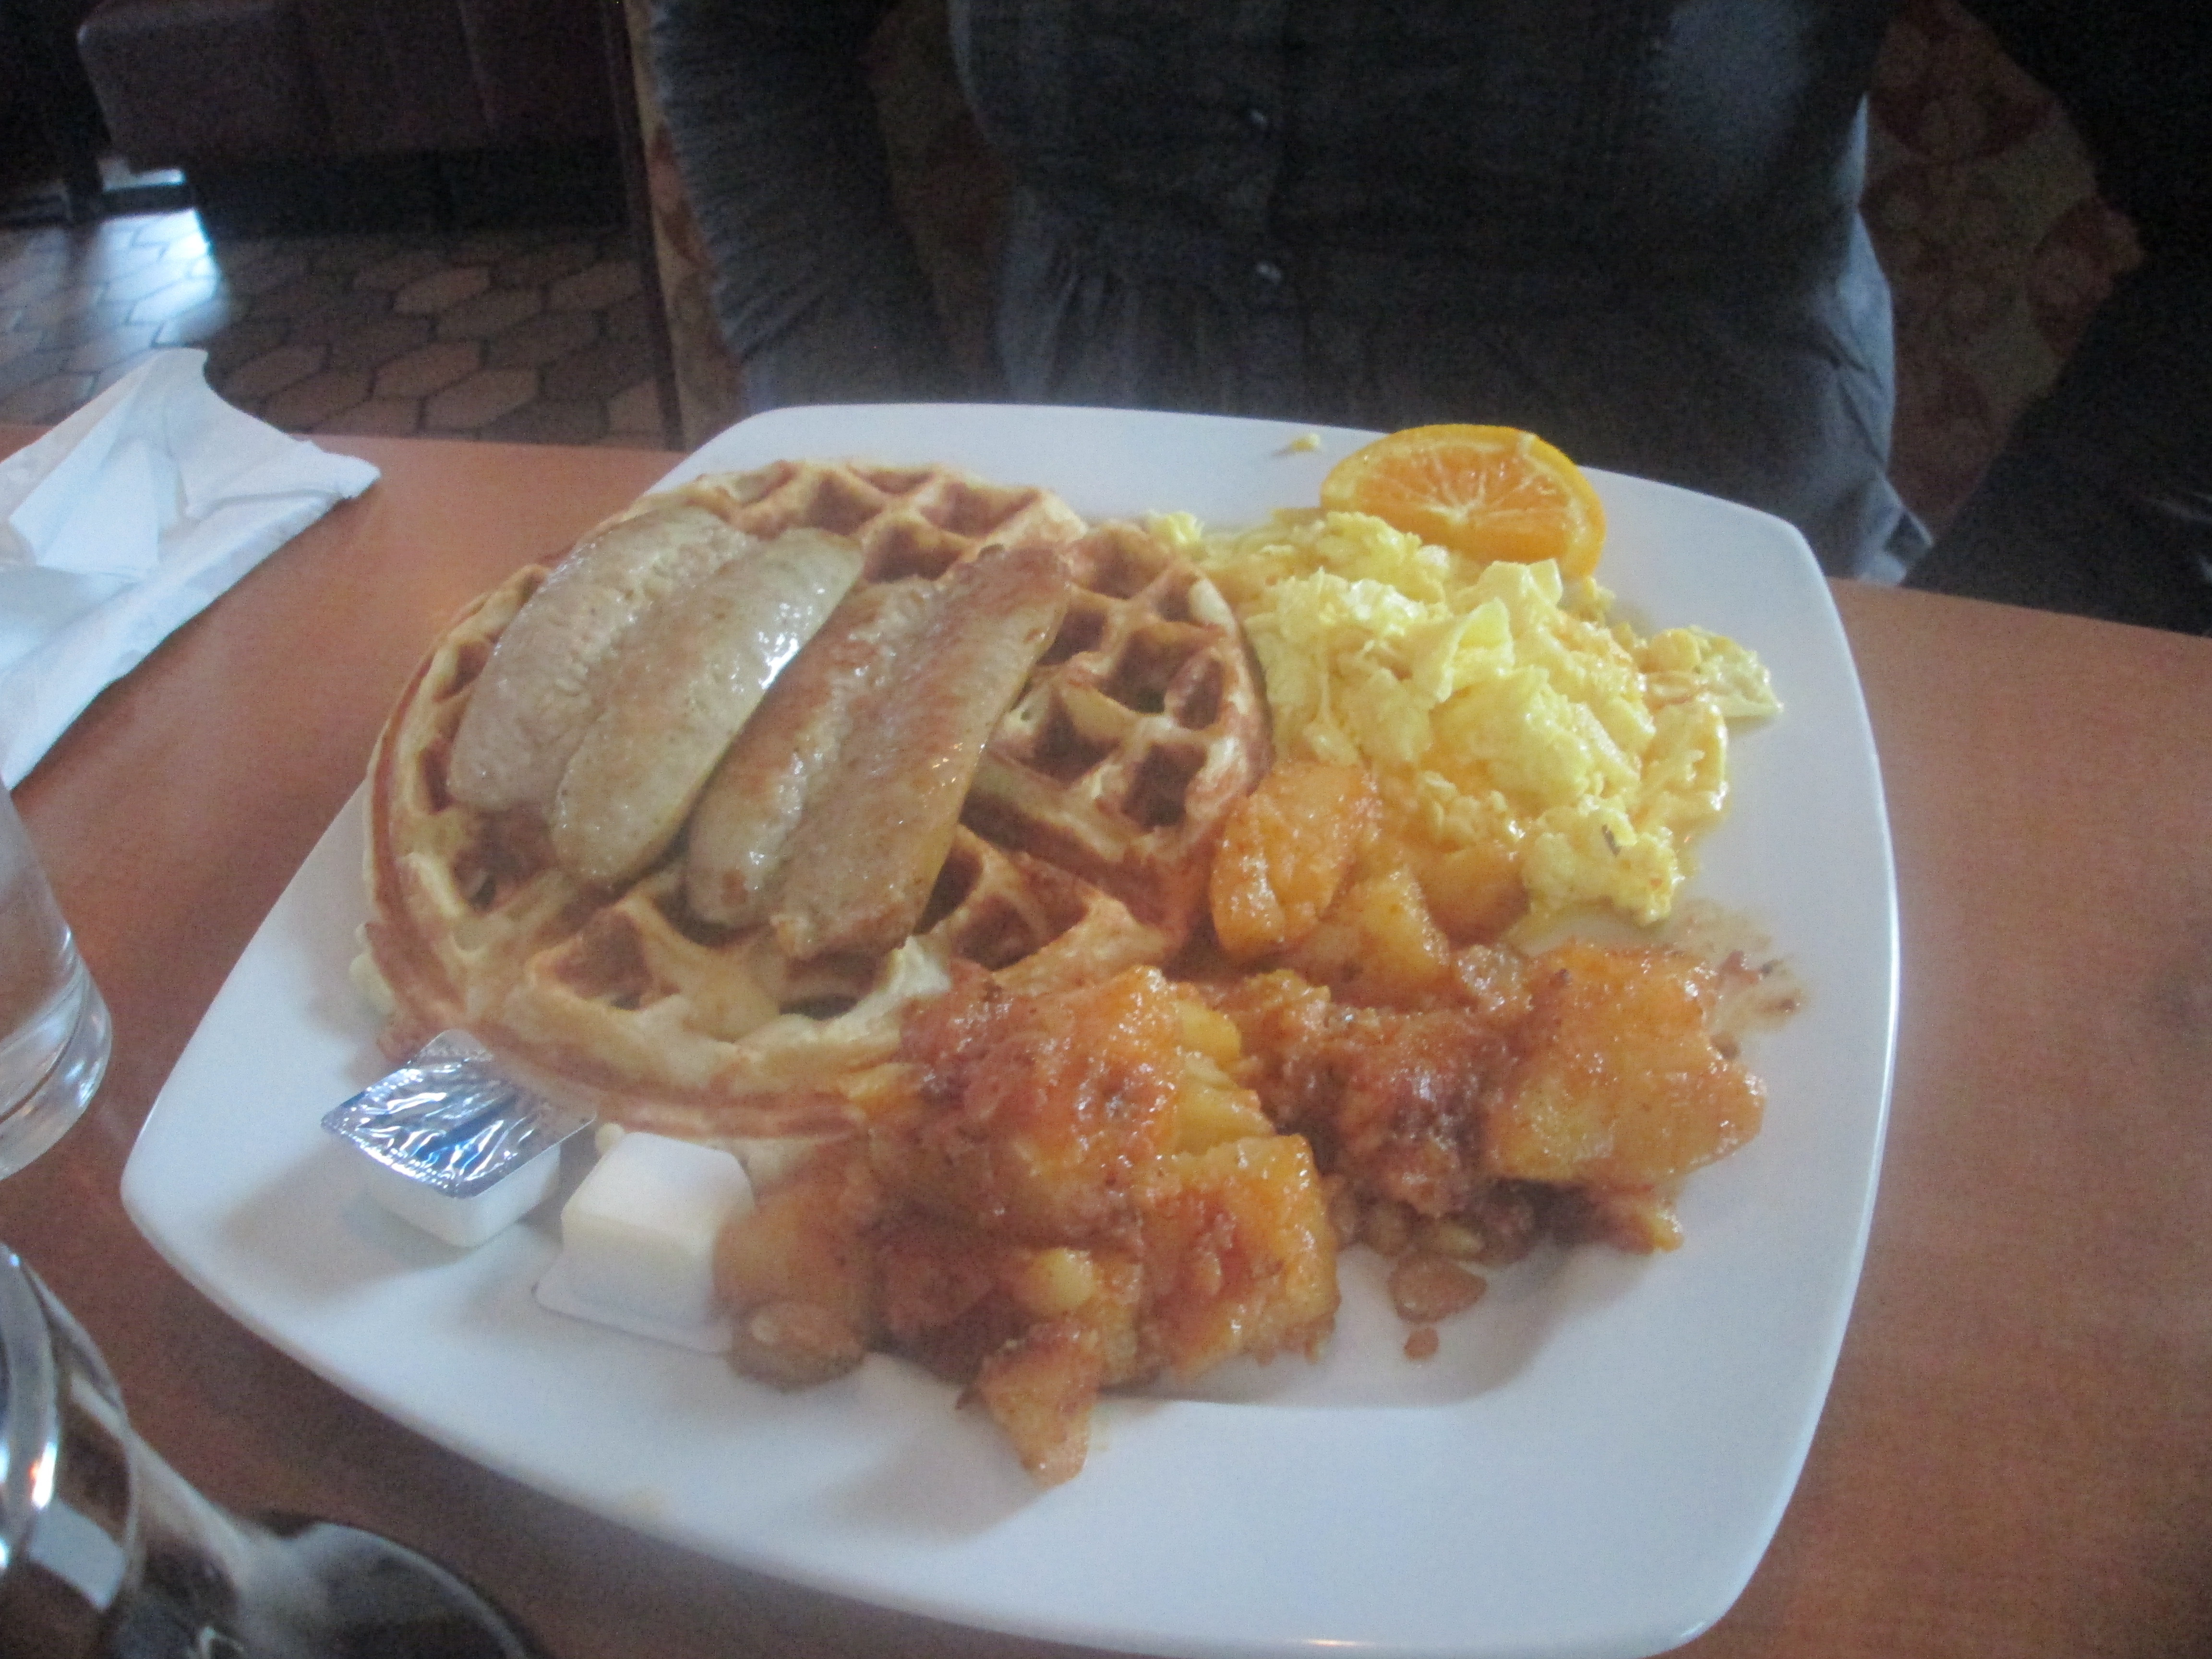
my friend decided to get their special composed of Waffles, Potatoes, Scrambled Eggs and Sausage,
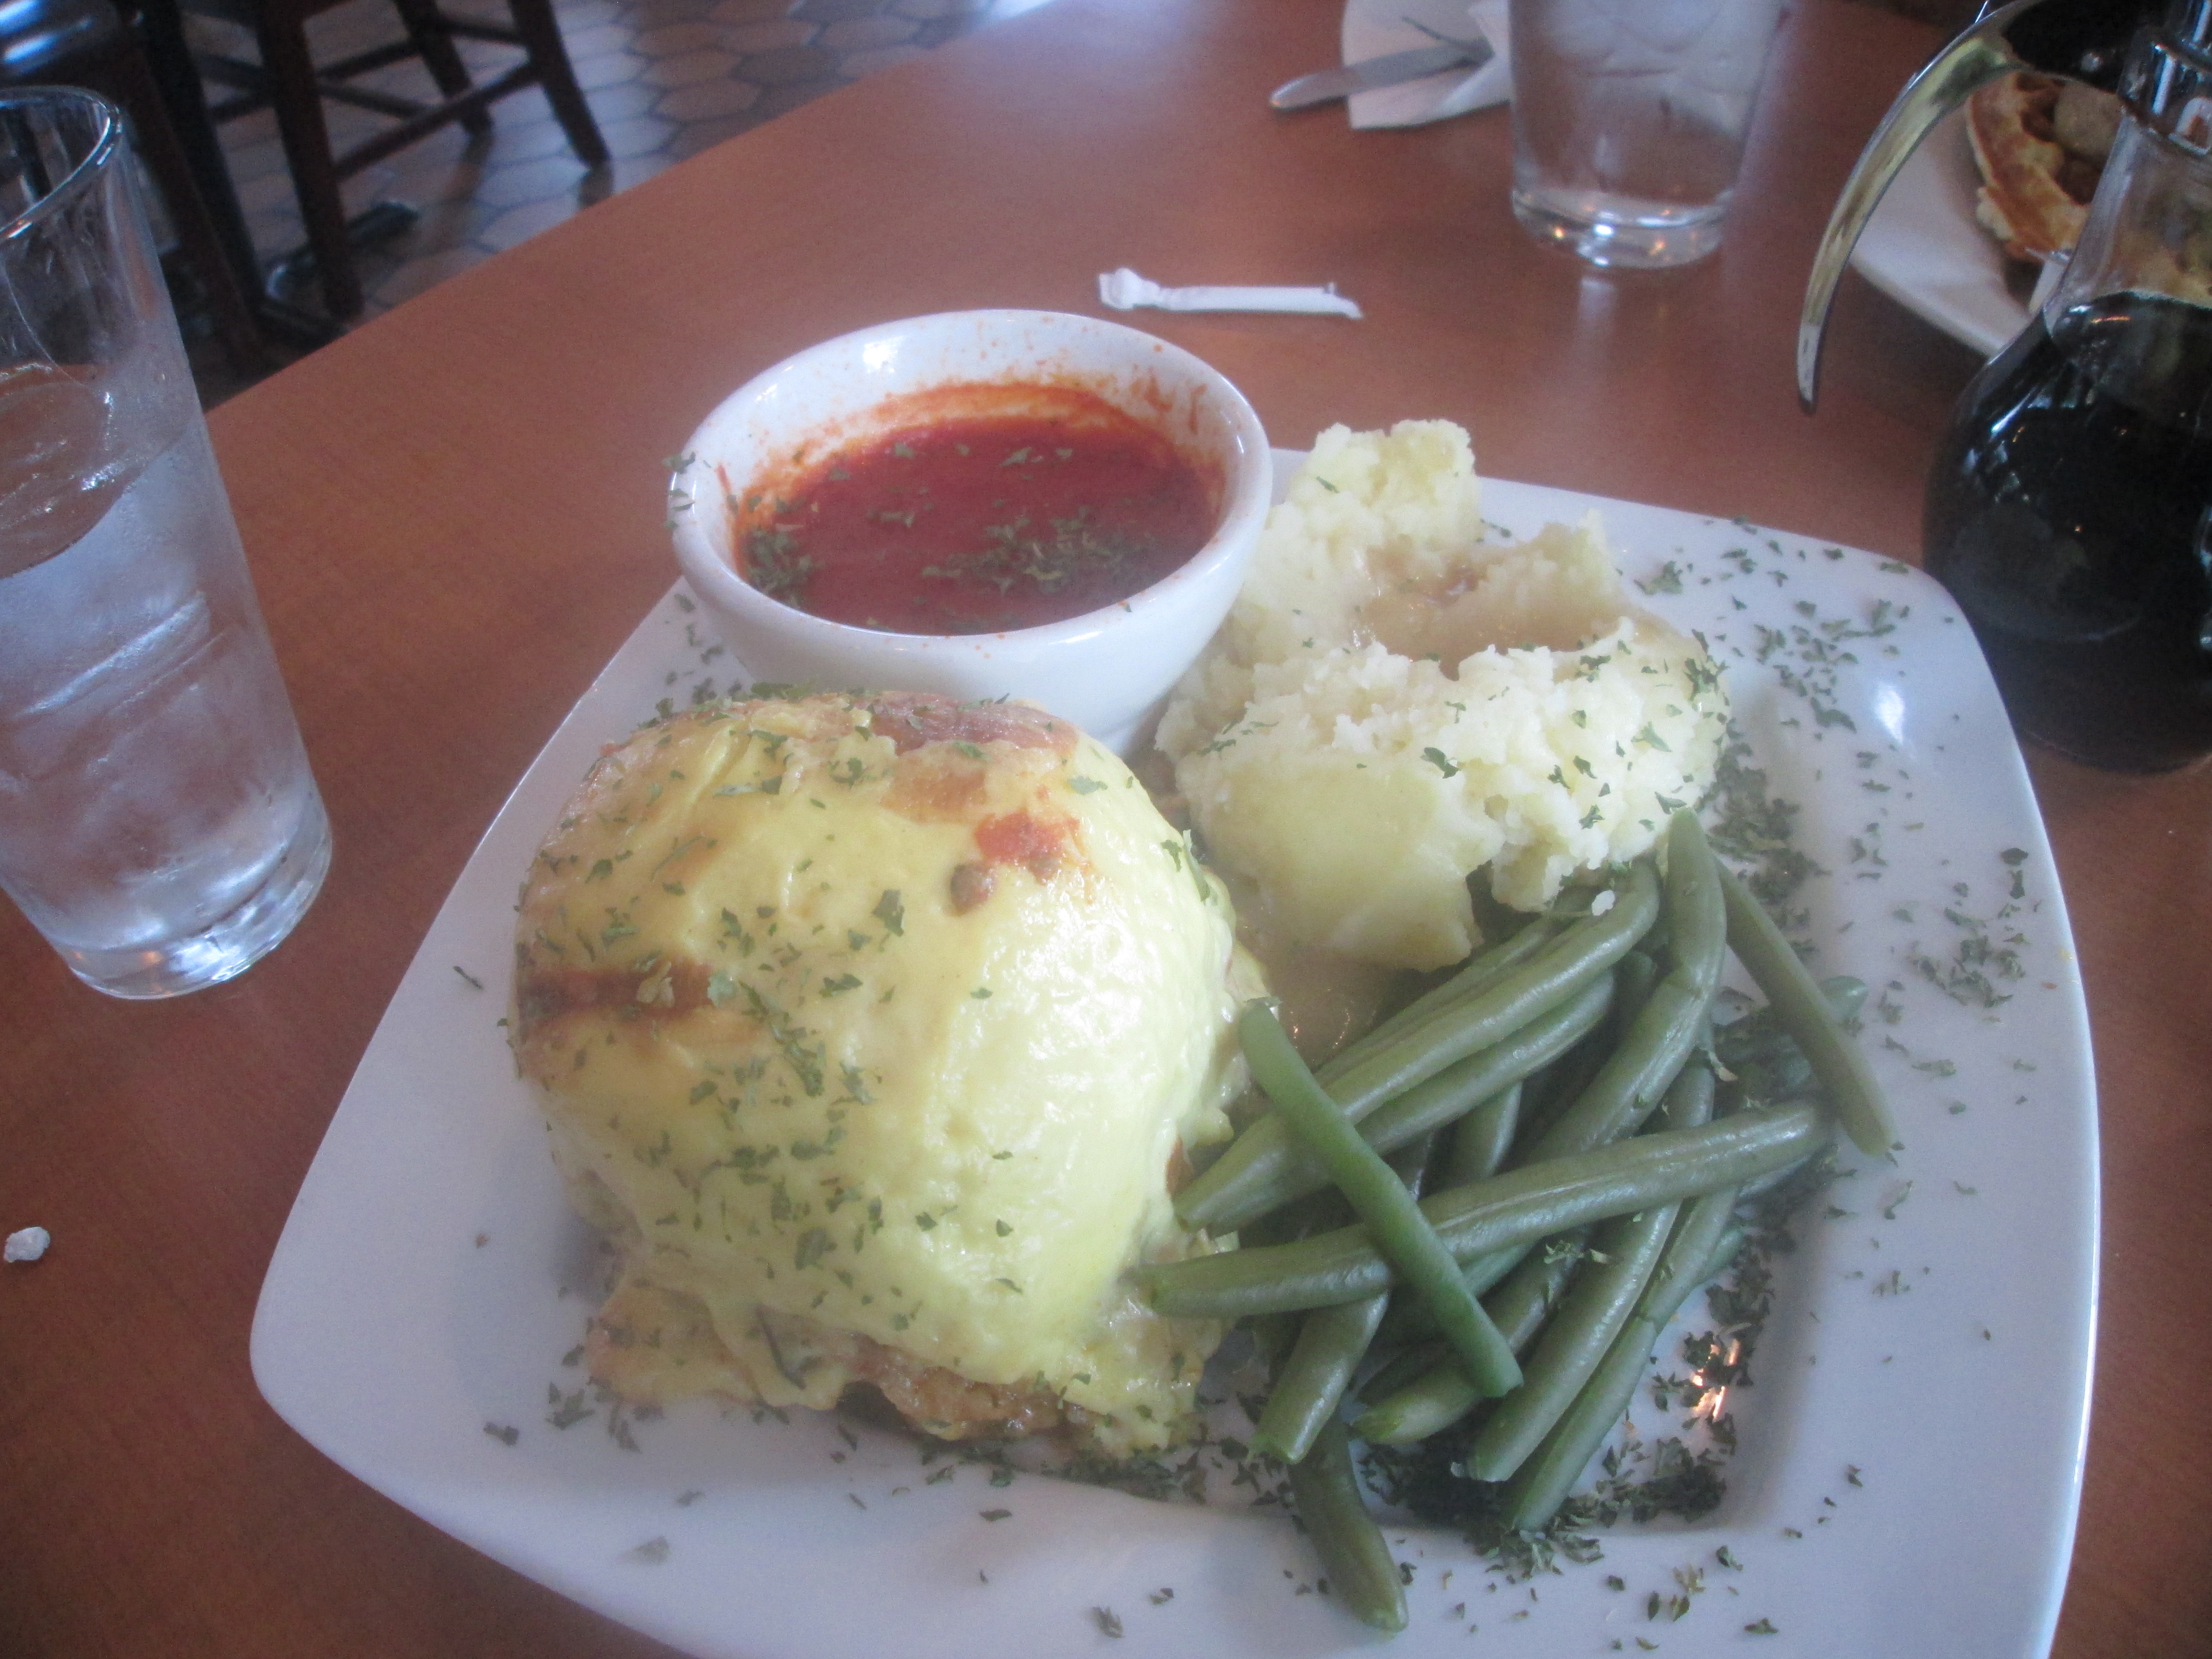
while I got the Moussaka (Layers of sauteed ground beef, eggplant, sliced potato, zucchini topped with beschamel sauce).
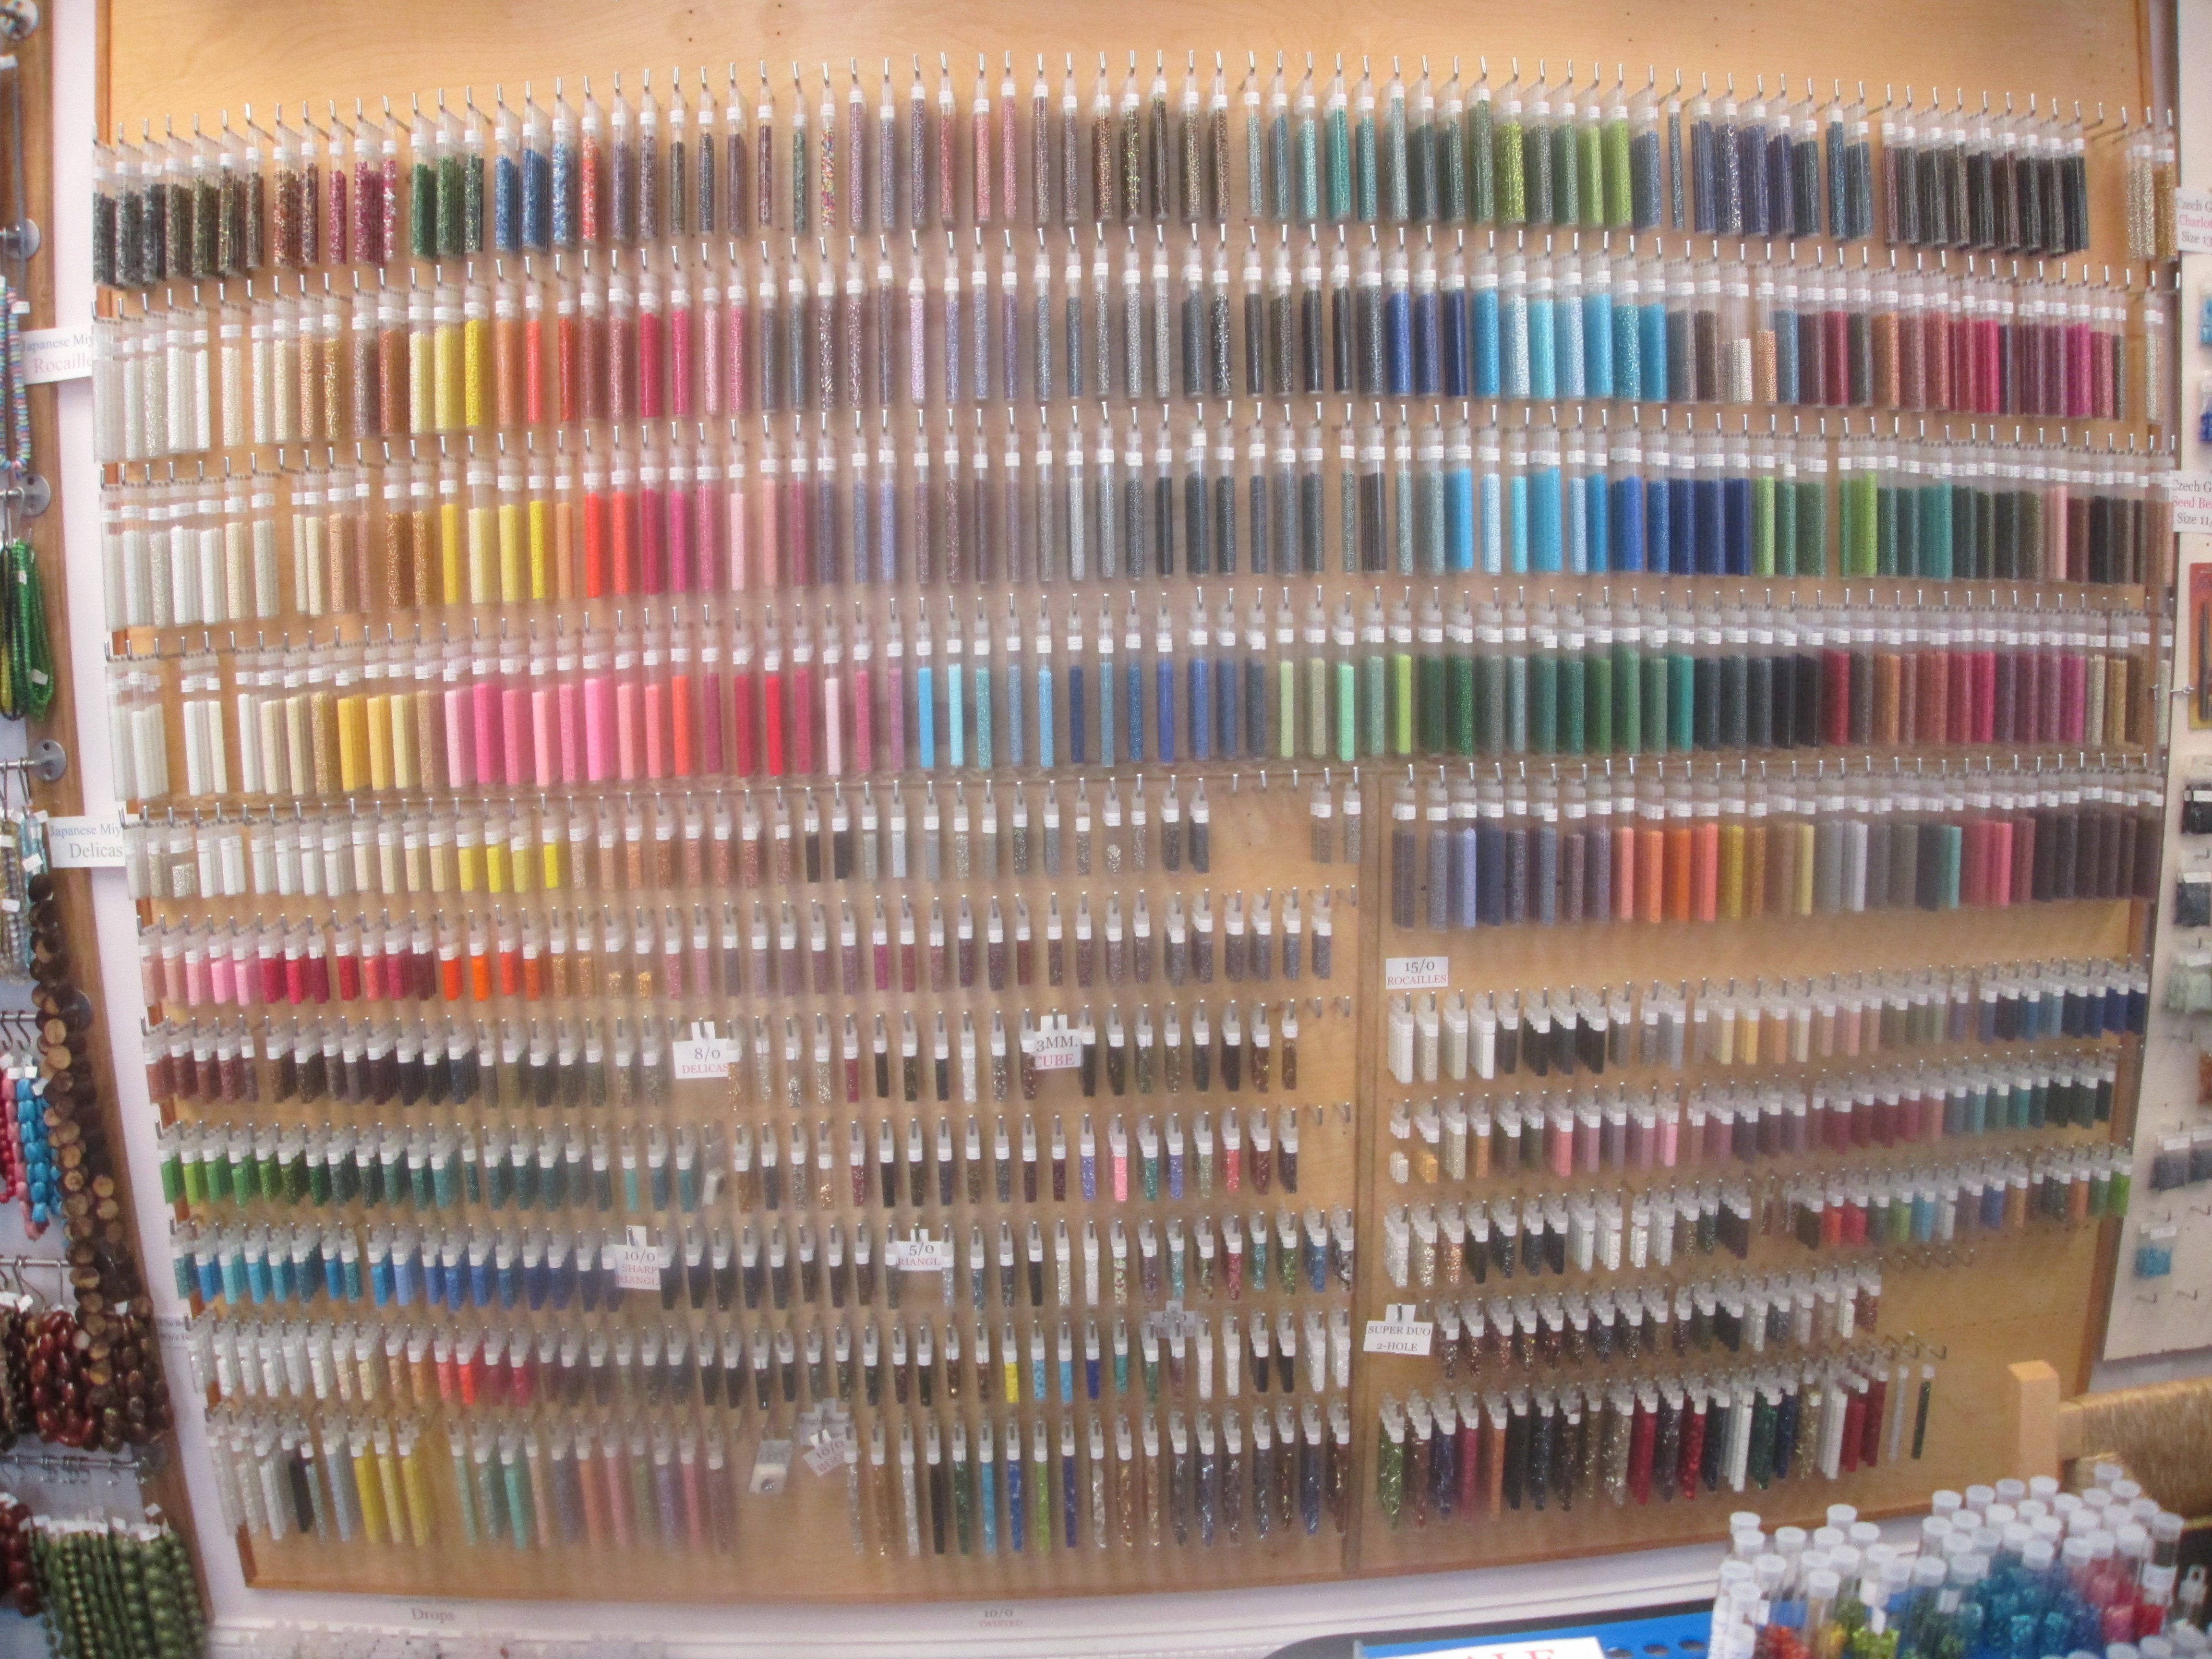
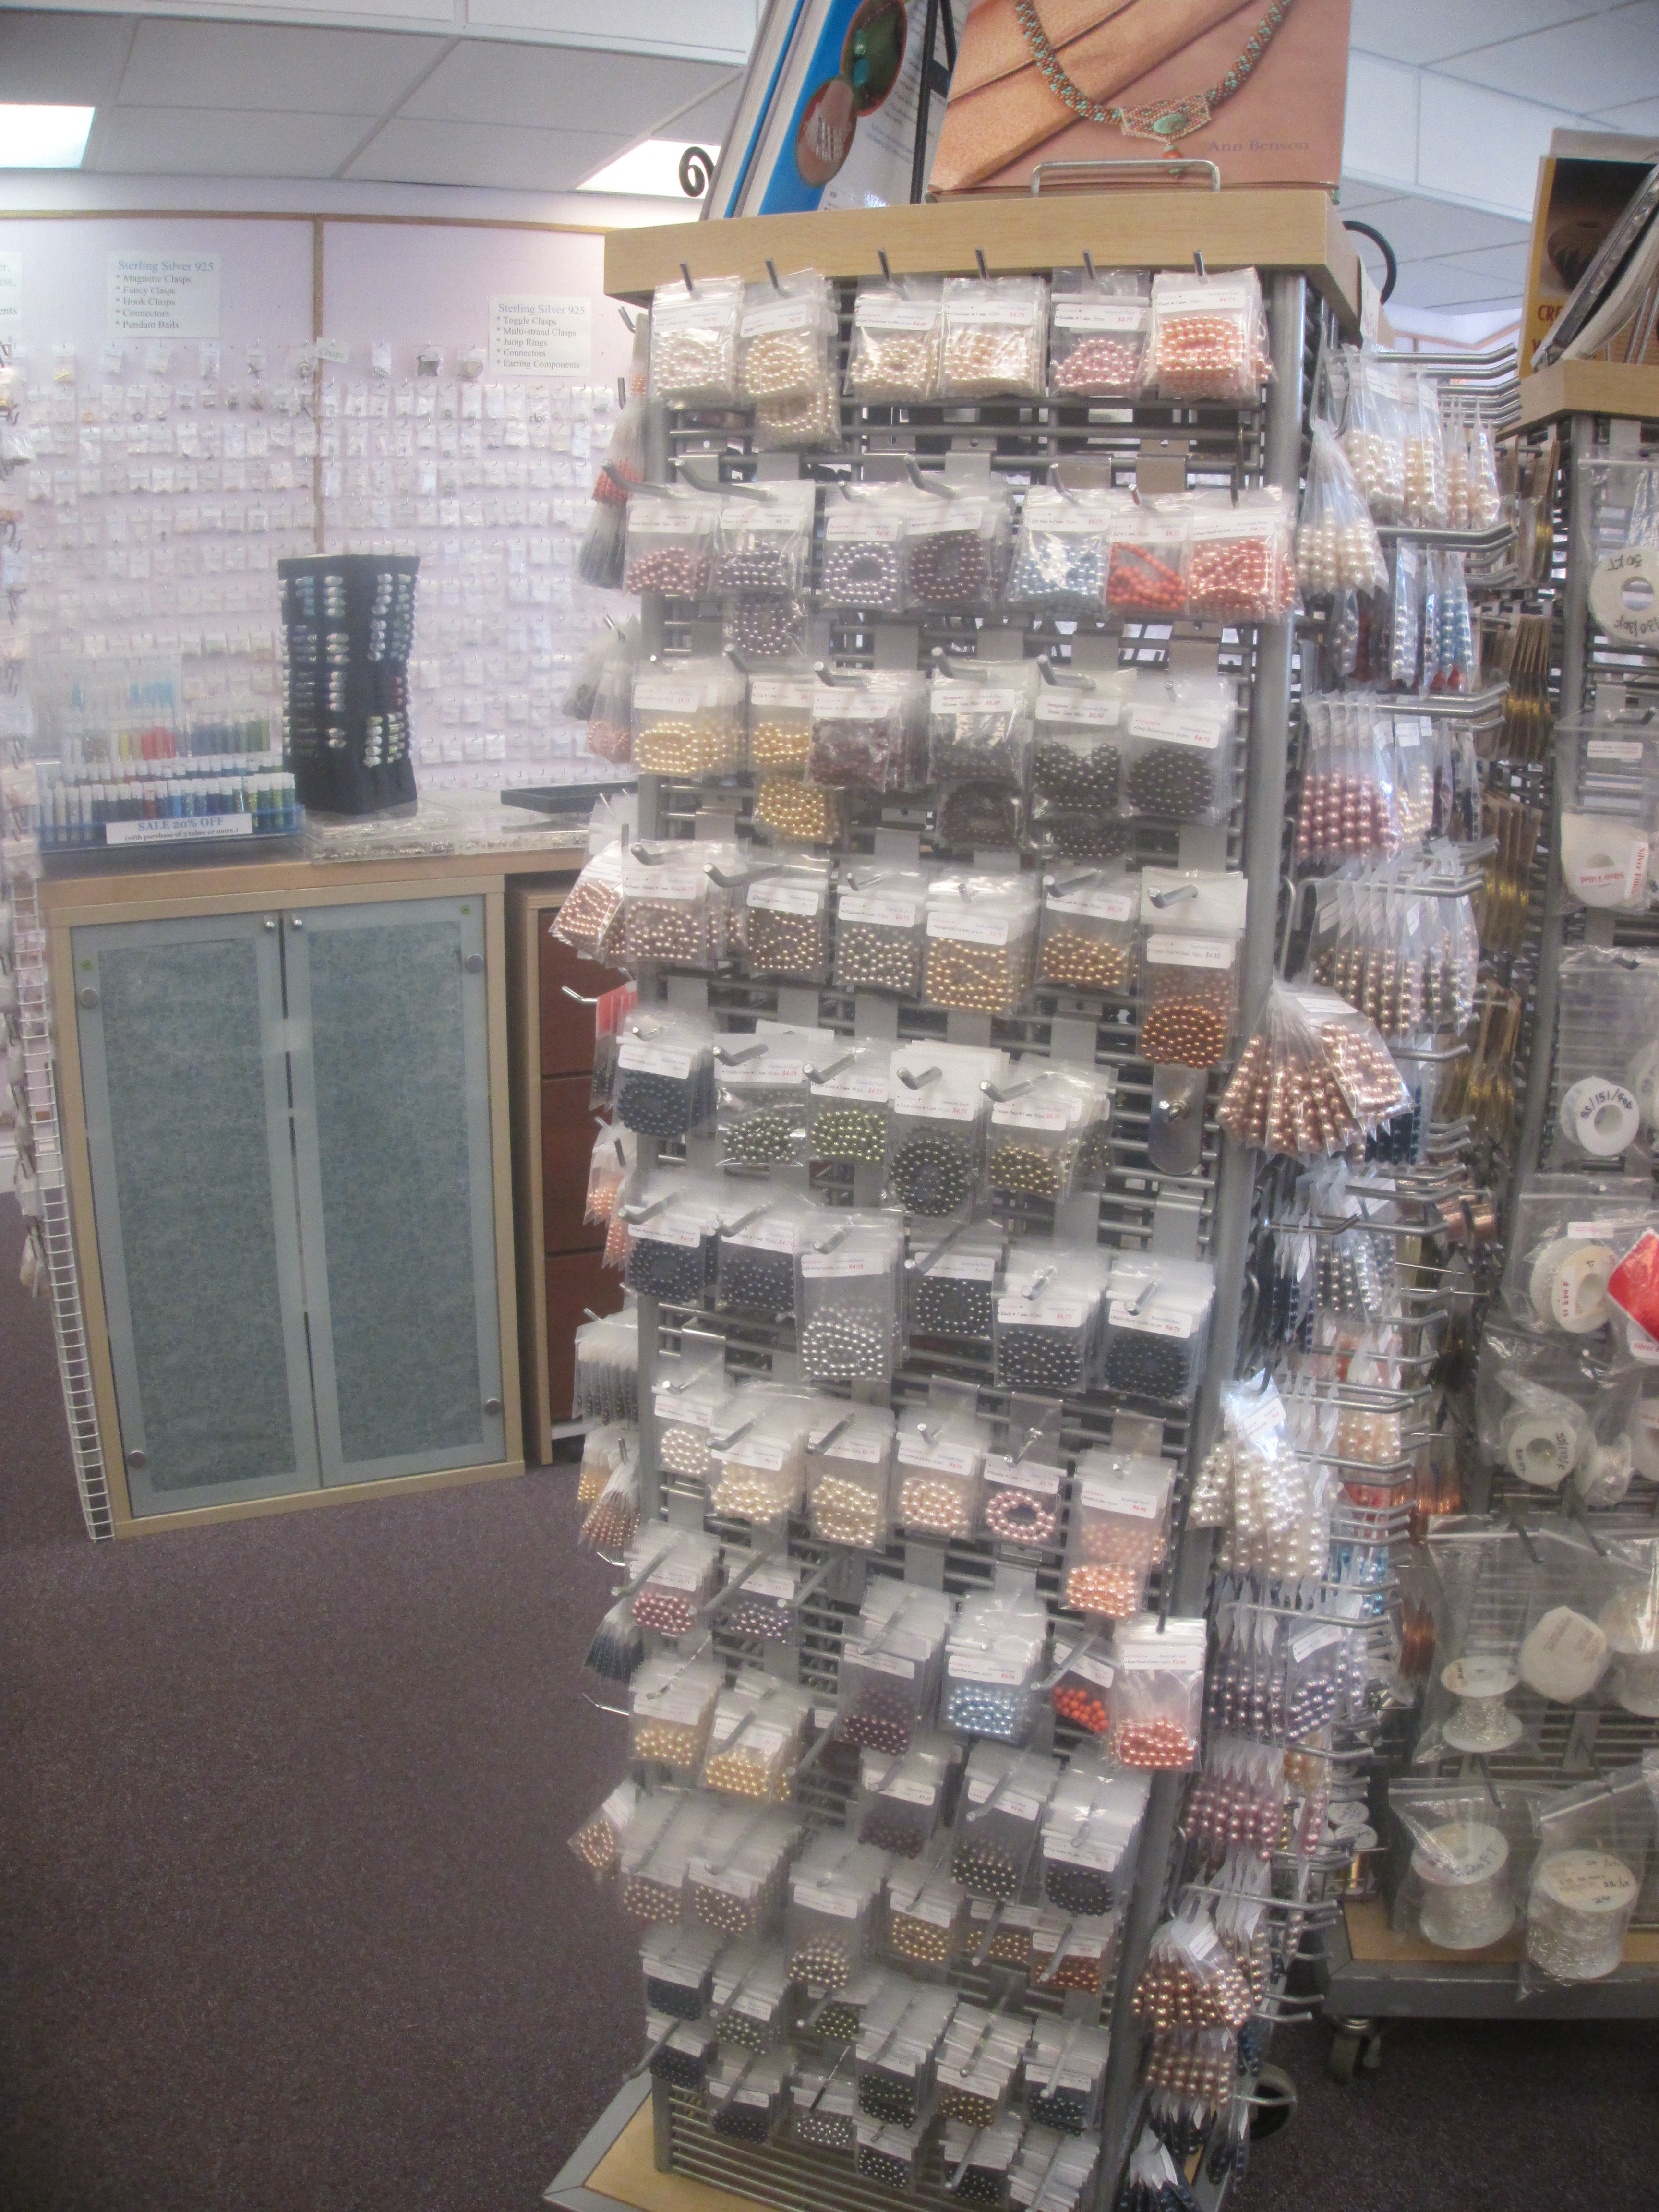
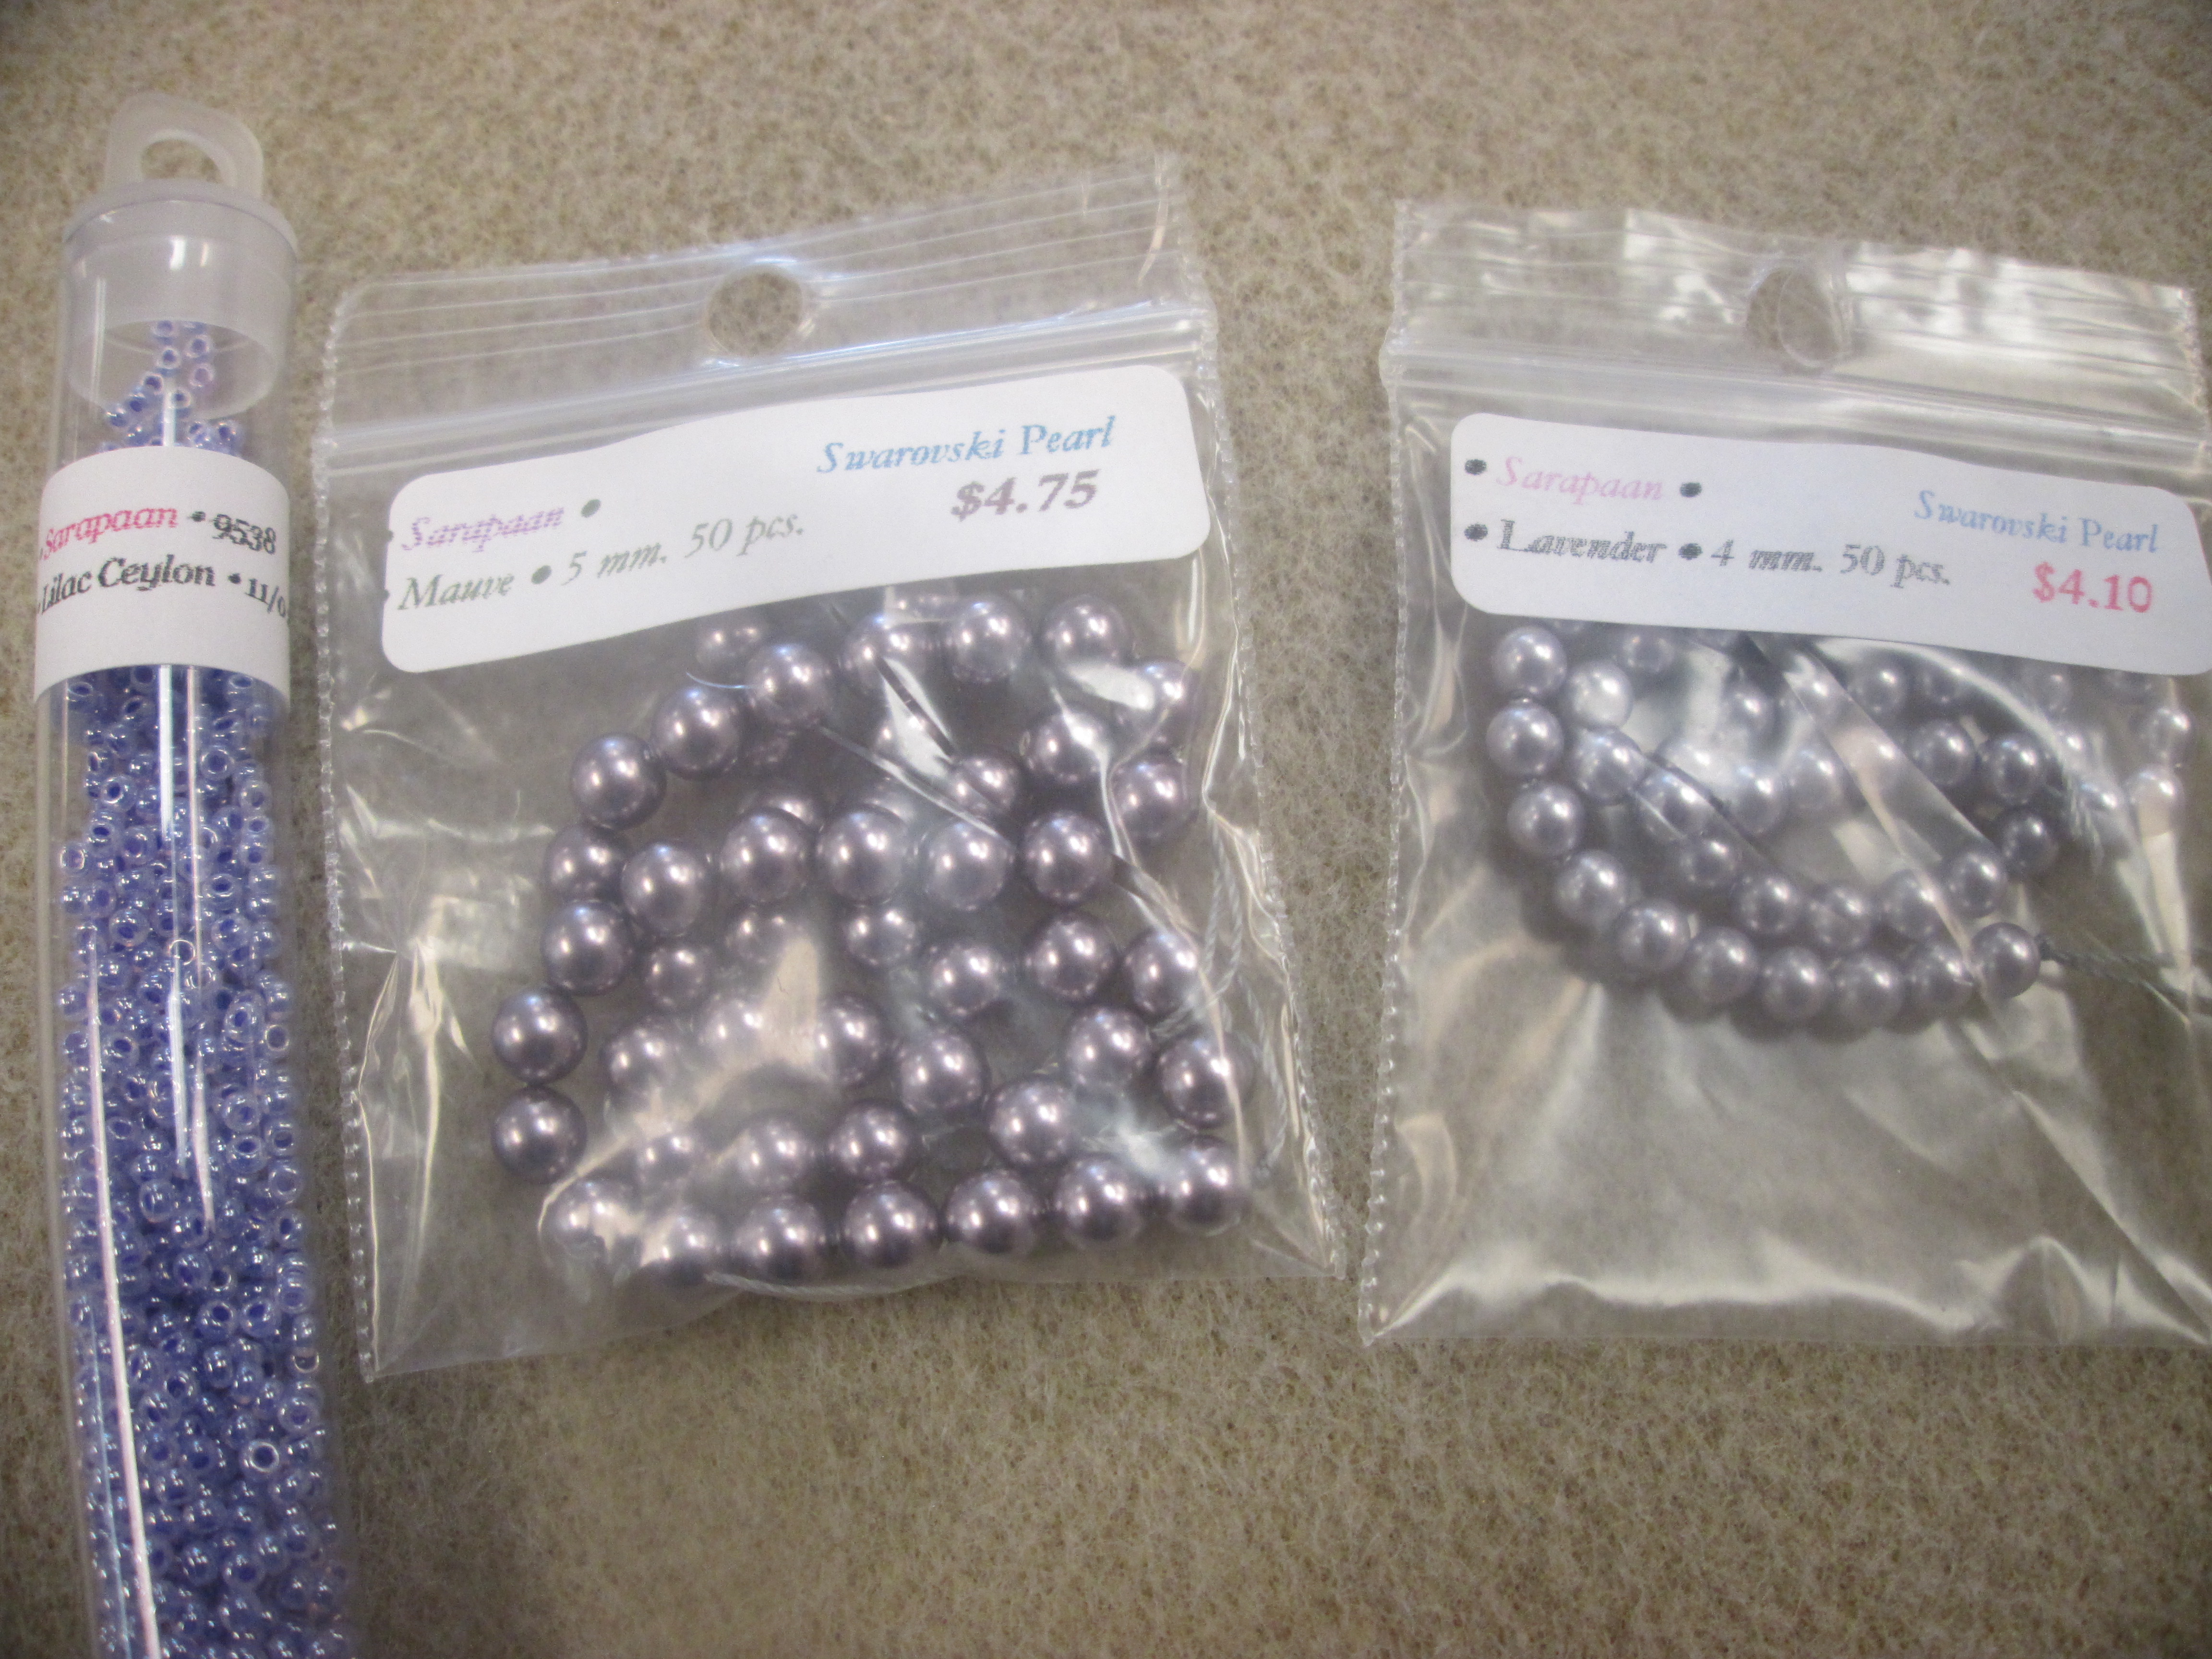
The bead place is more of a shop than a school, lined with all sorts of necklaces and bracelets, as well as beads of different sizes and shapes.

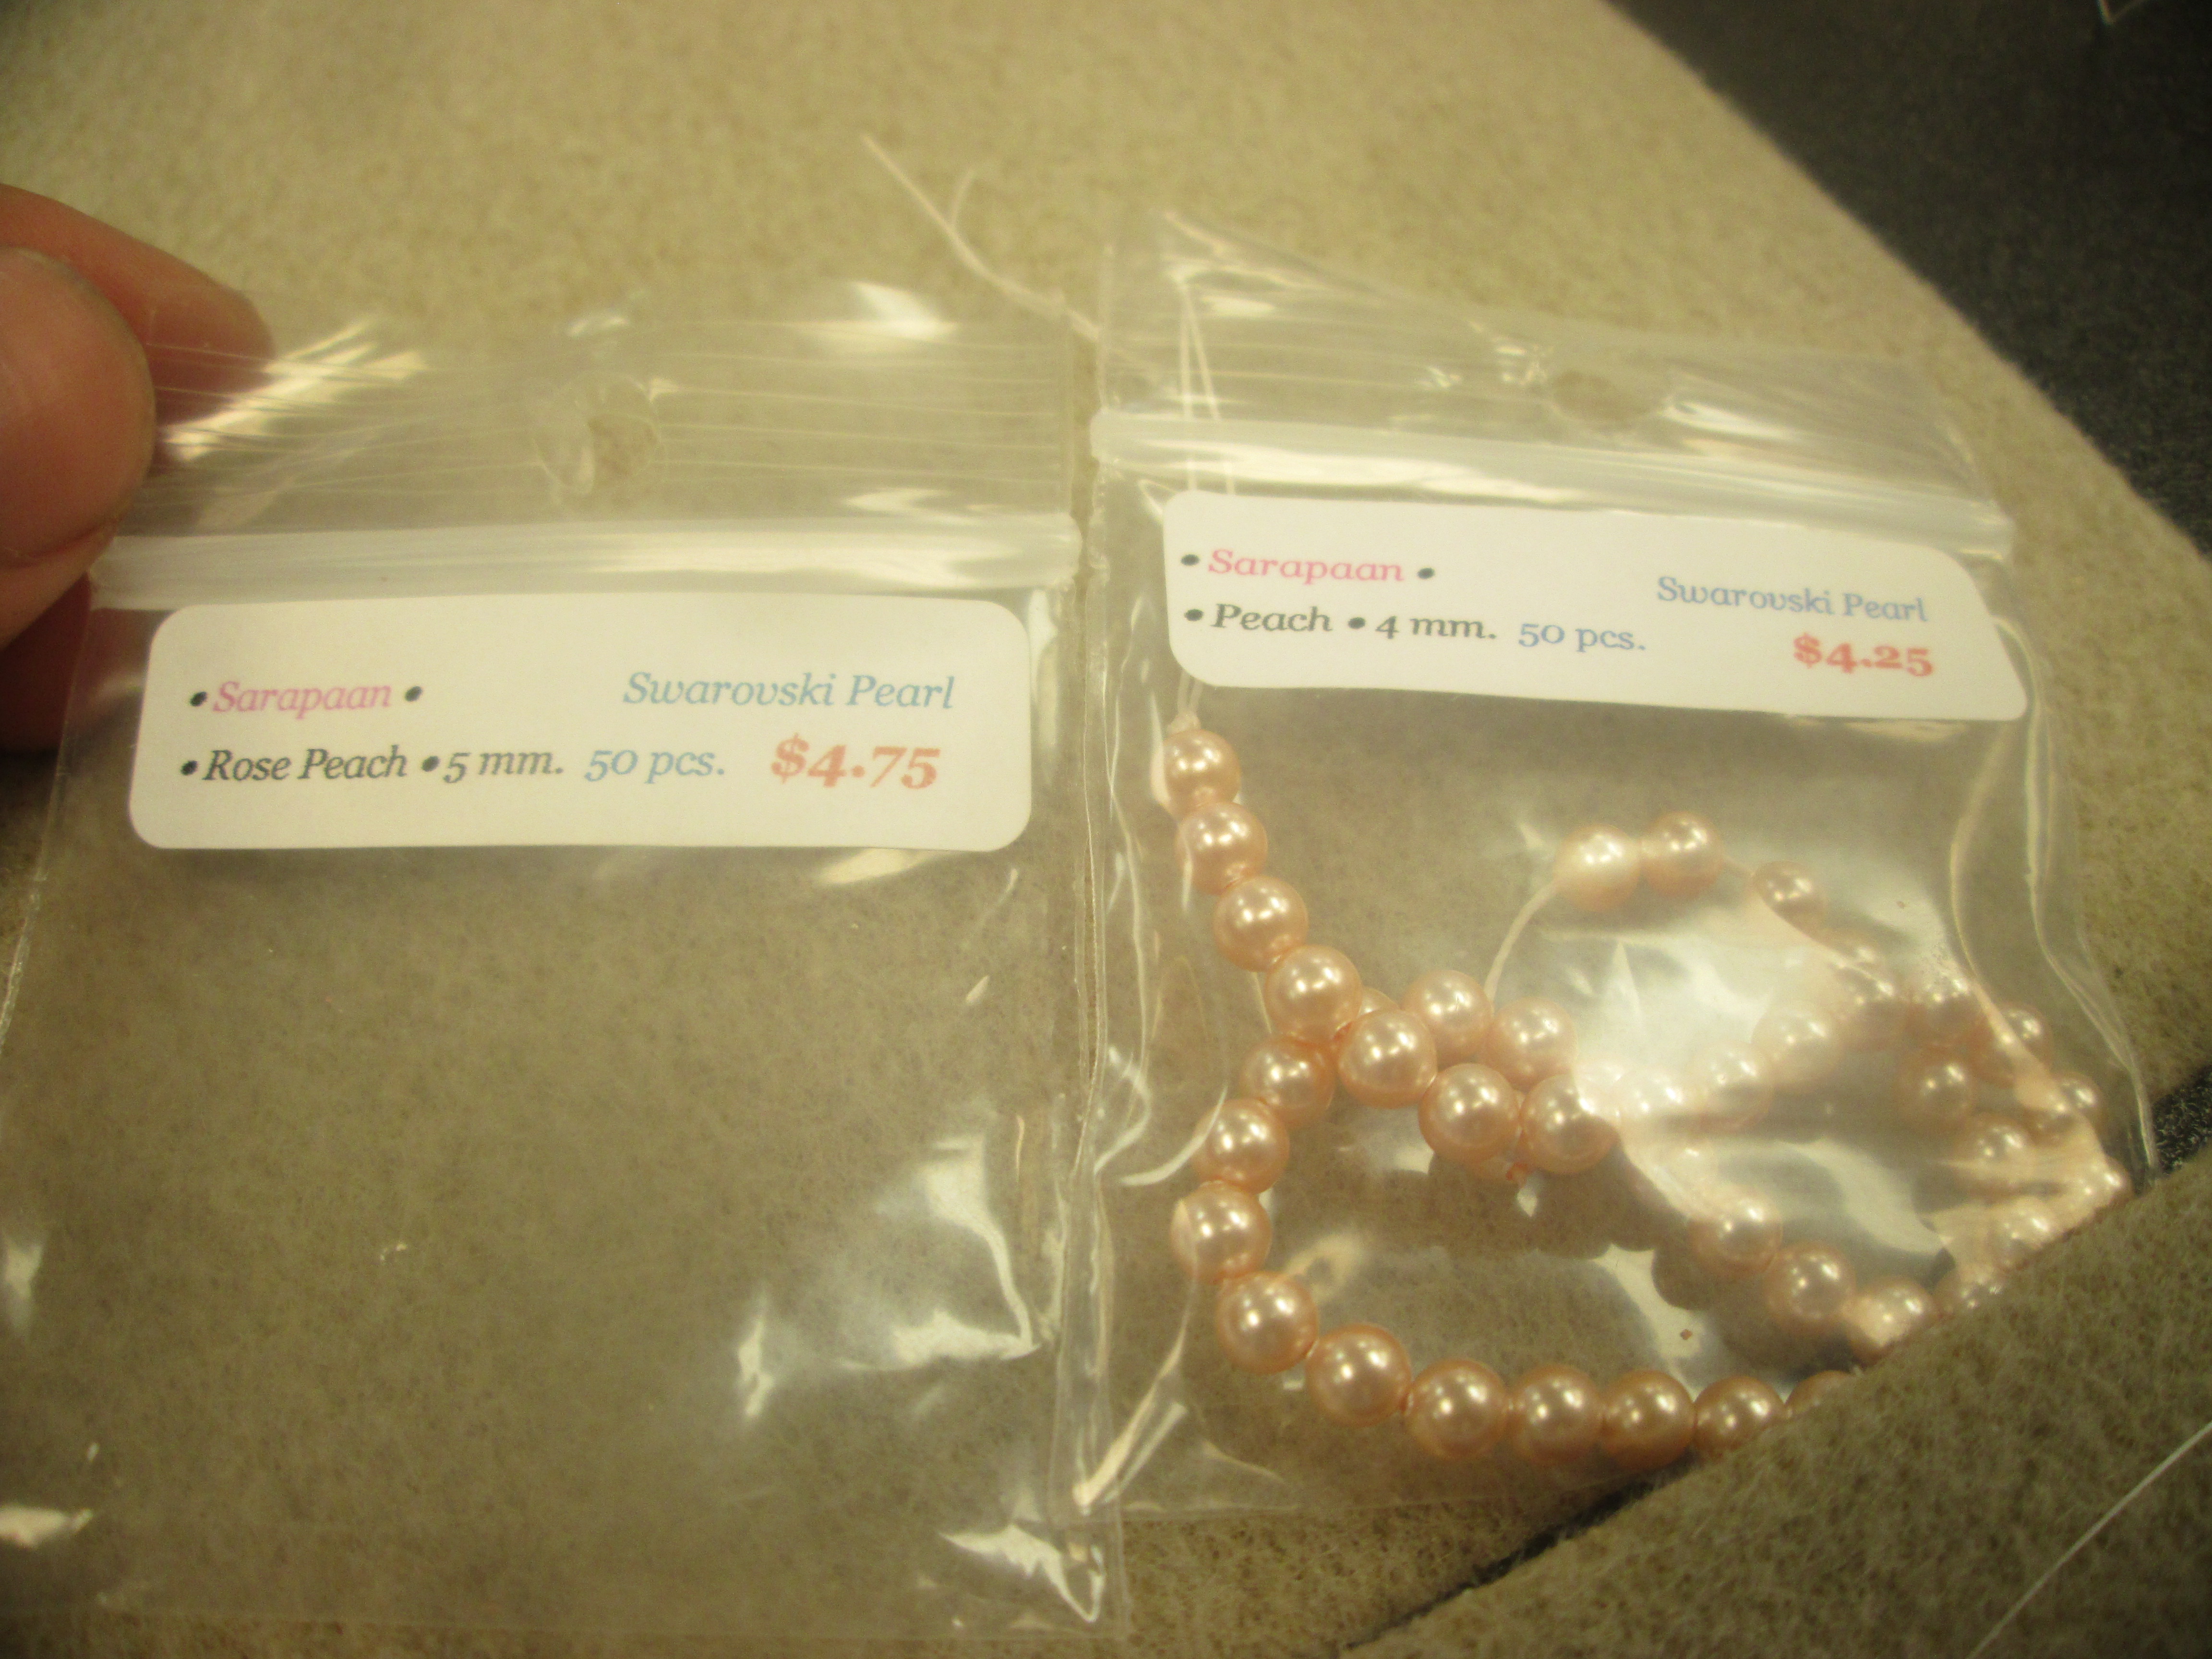
and a pink one for another.

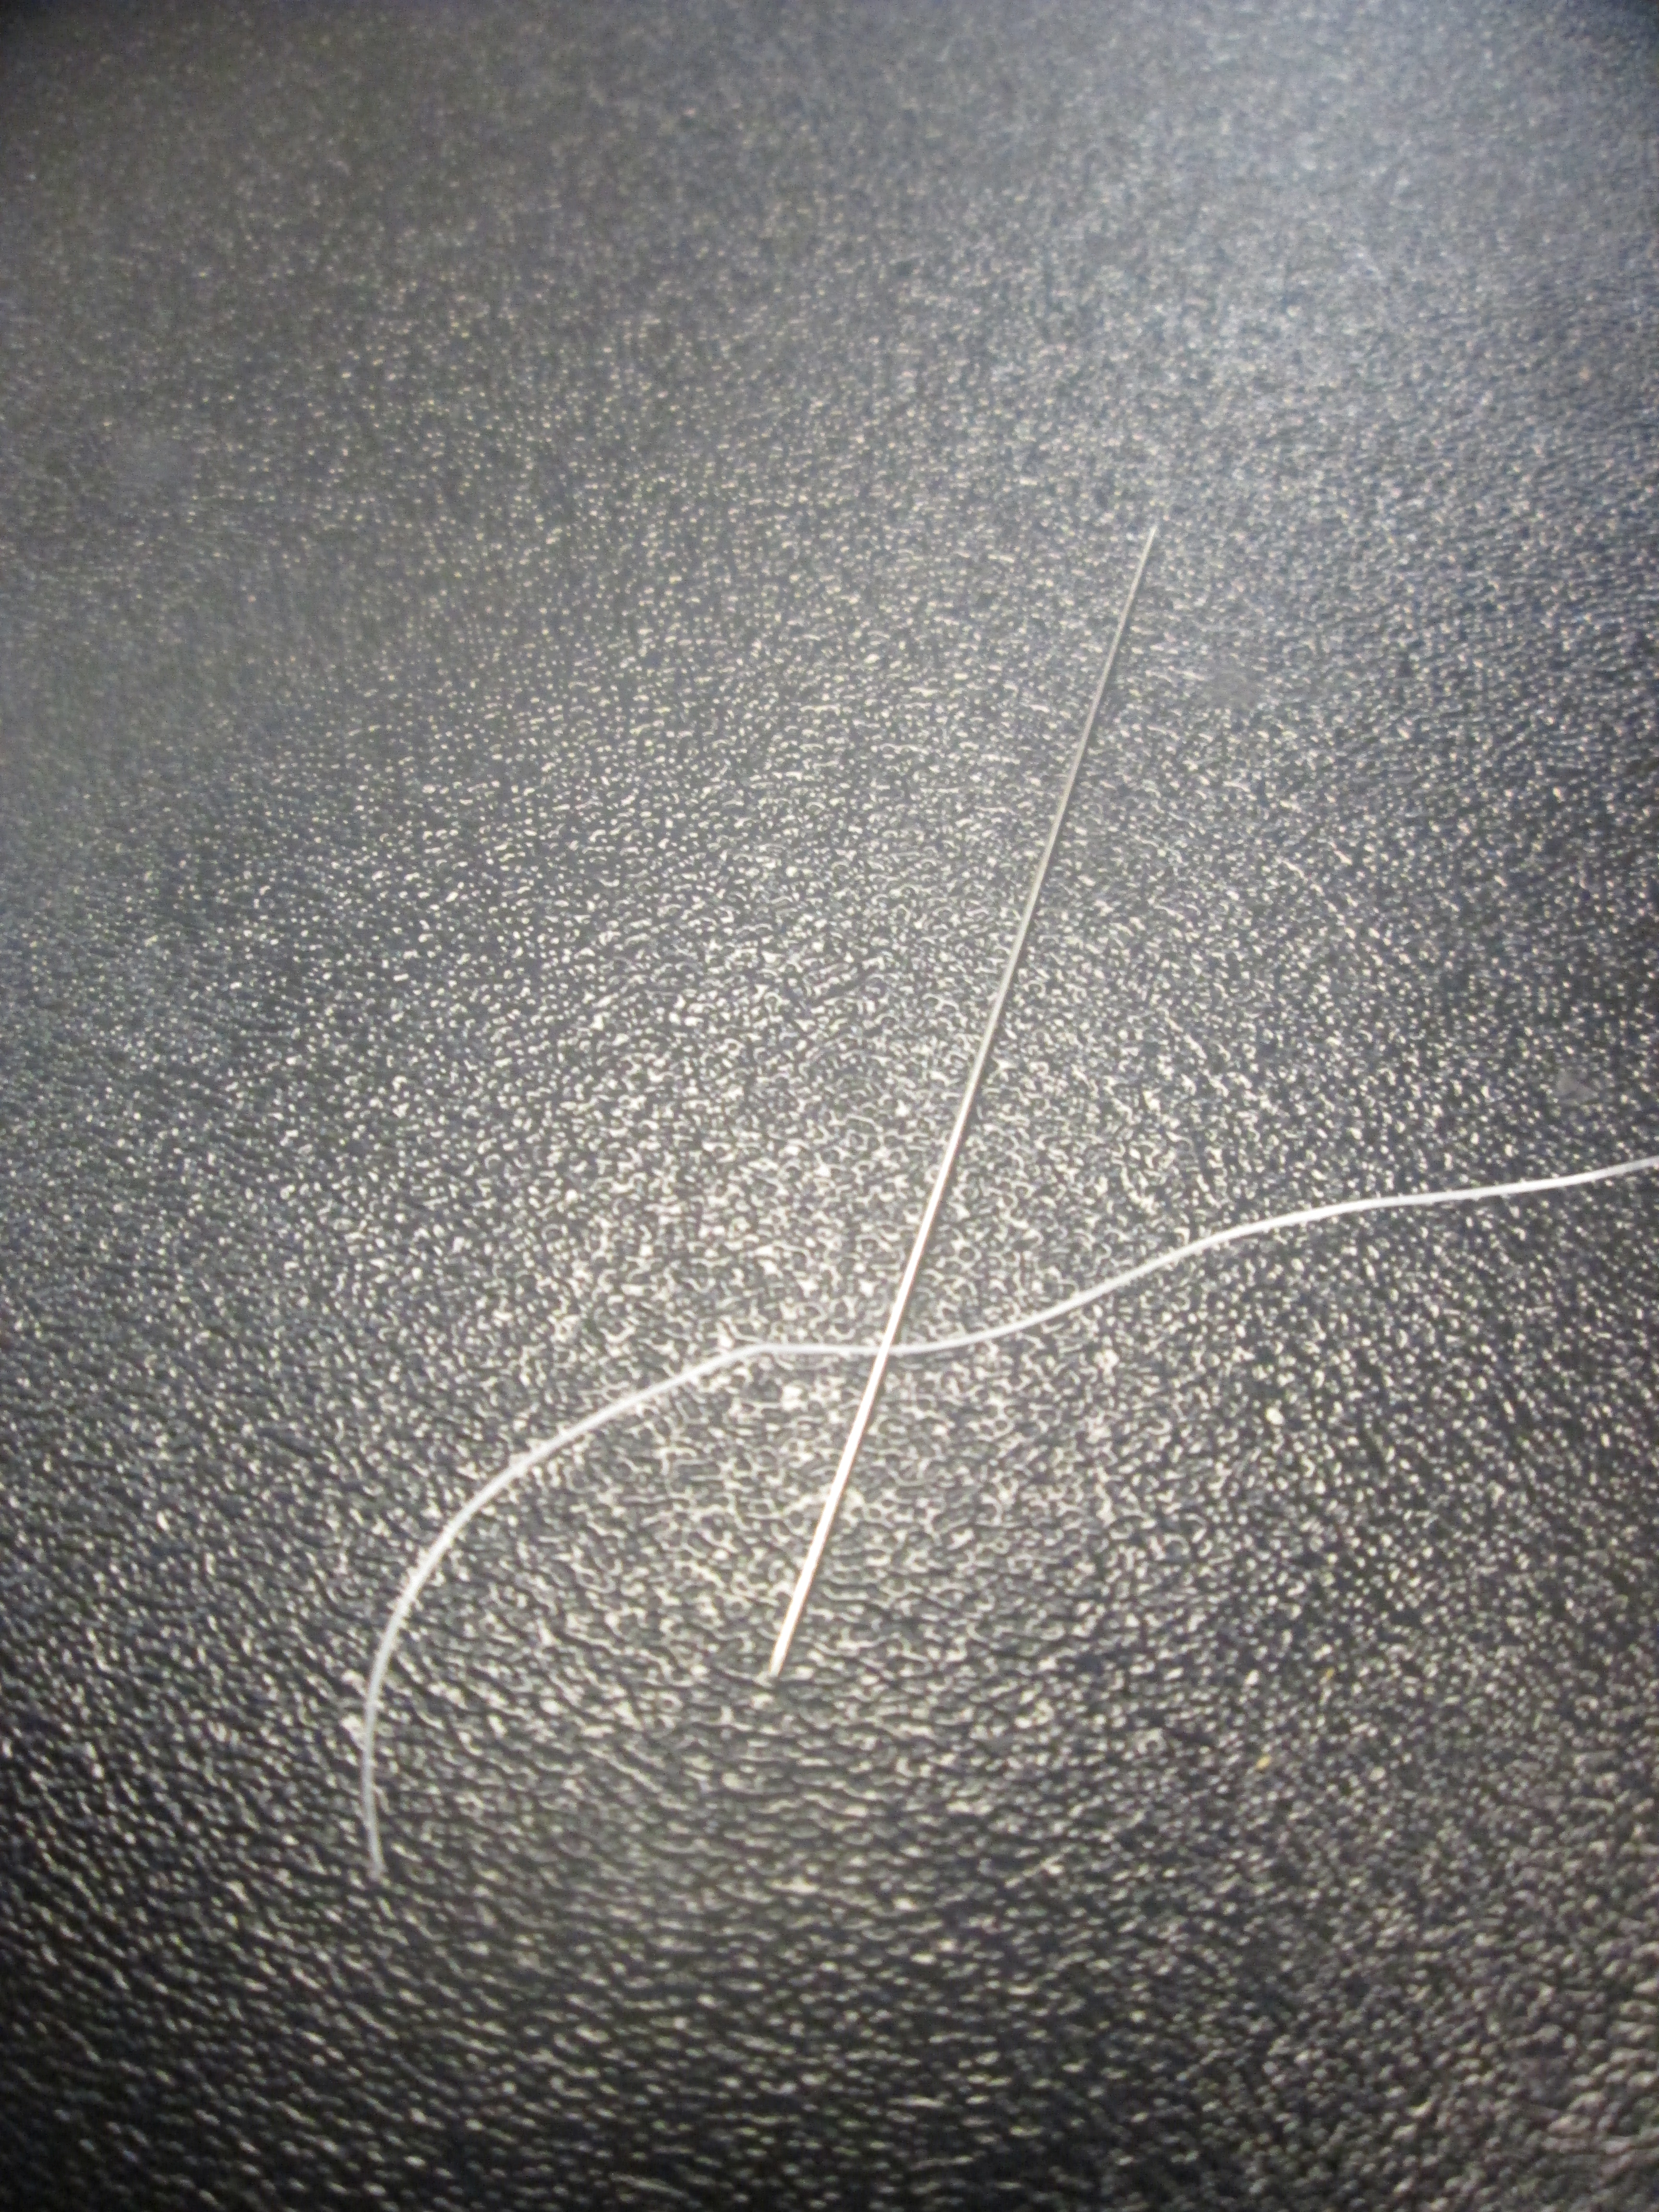
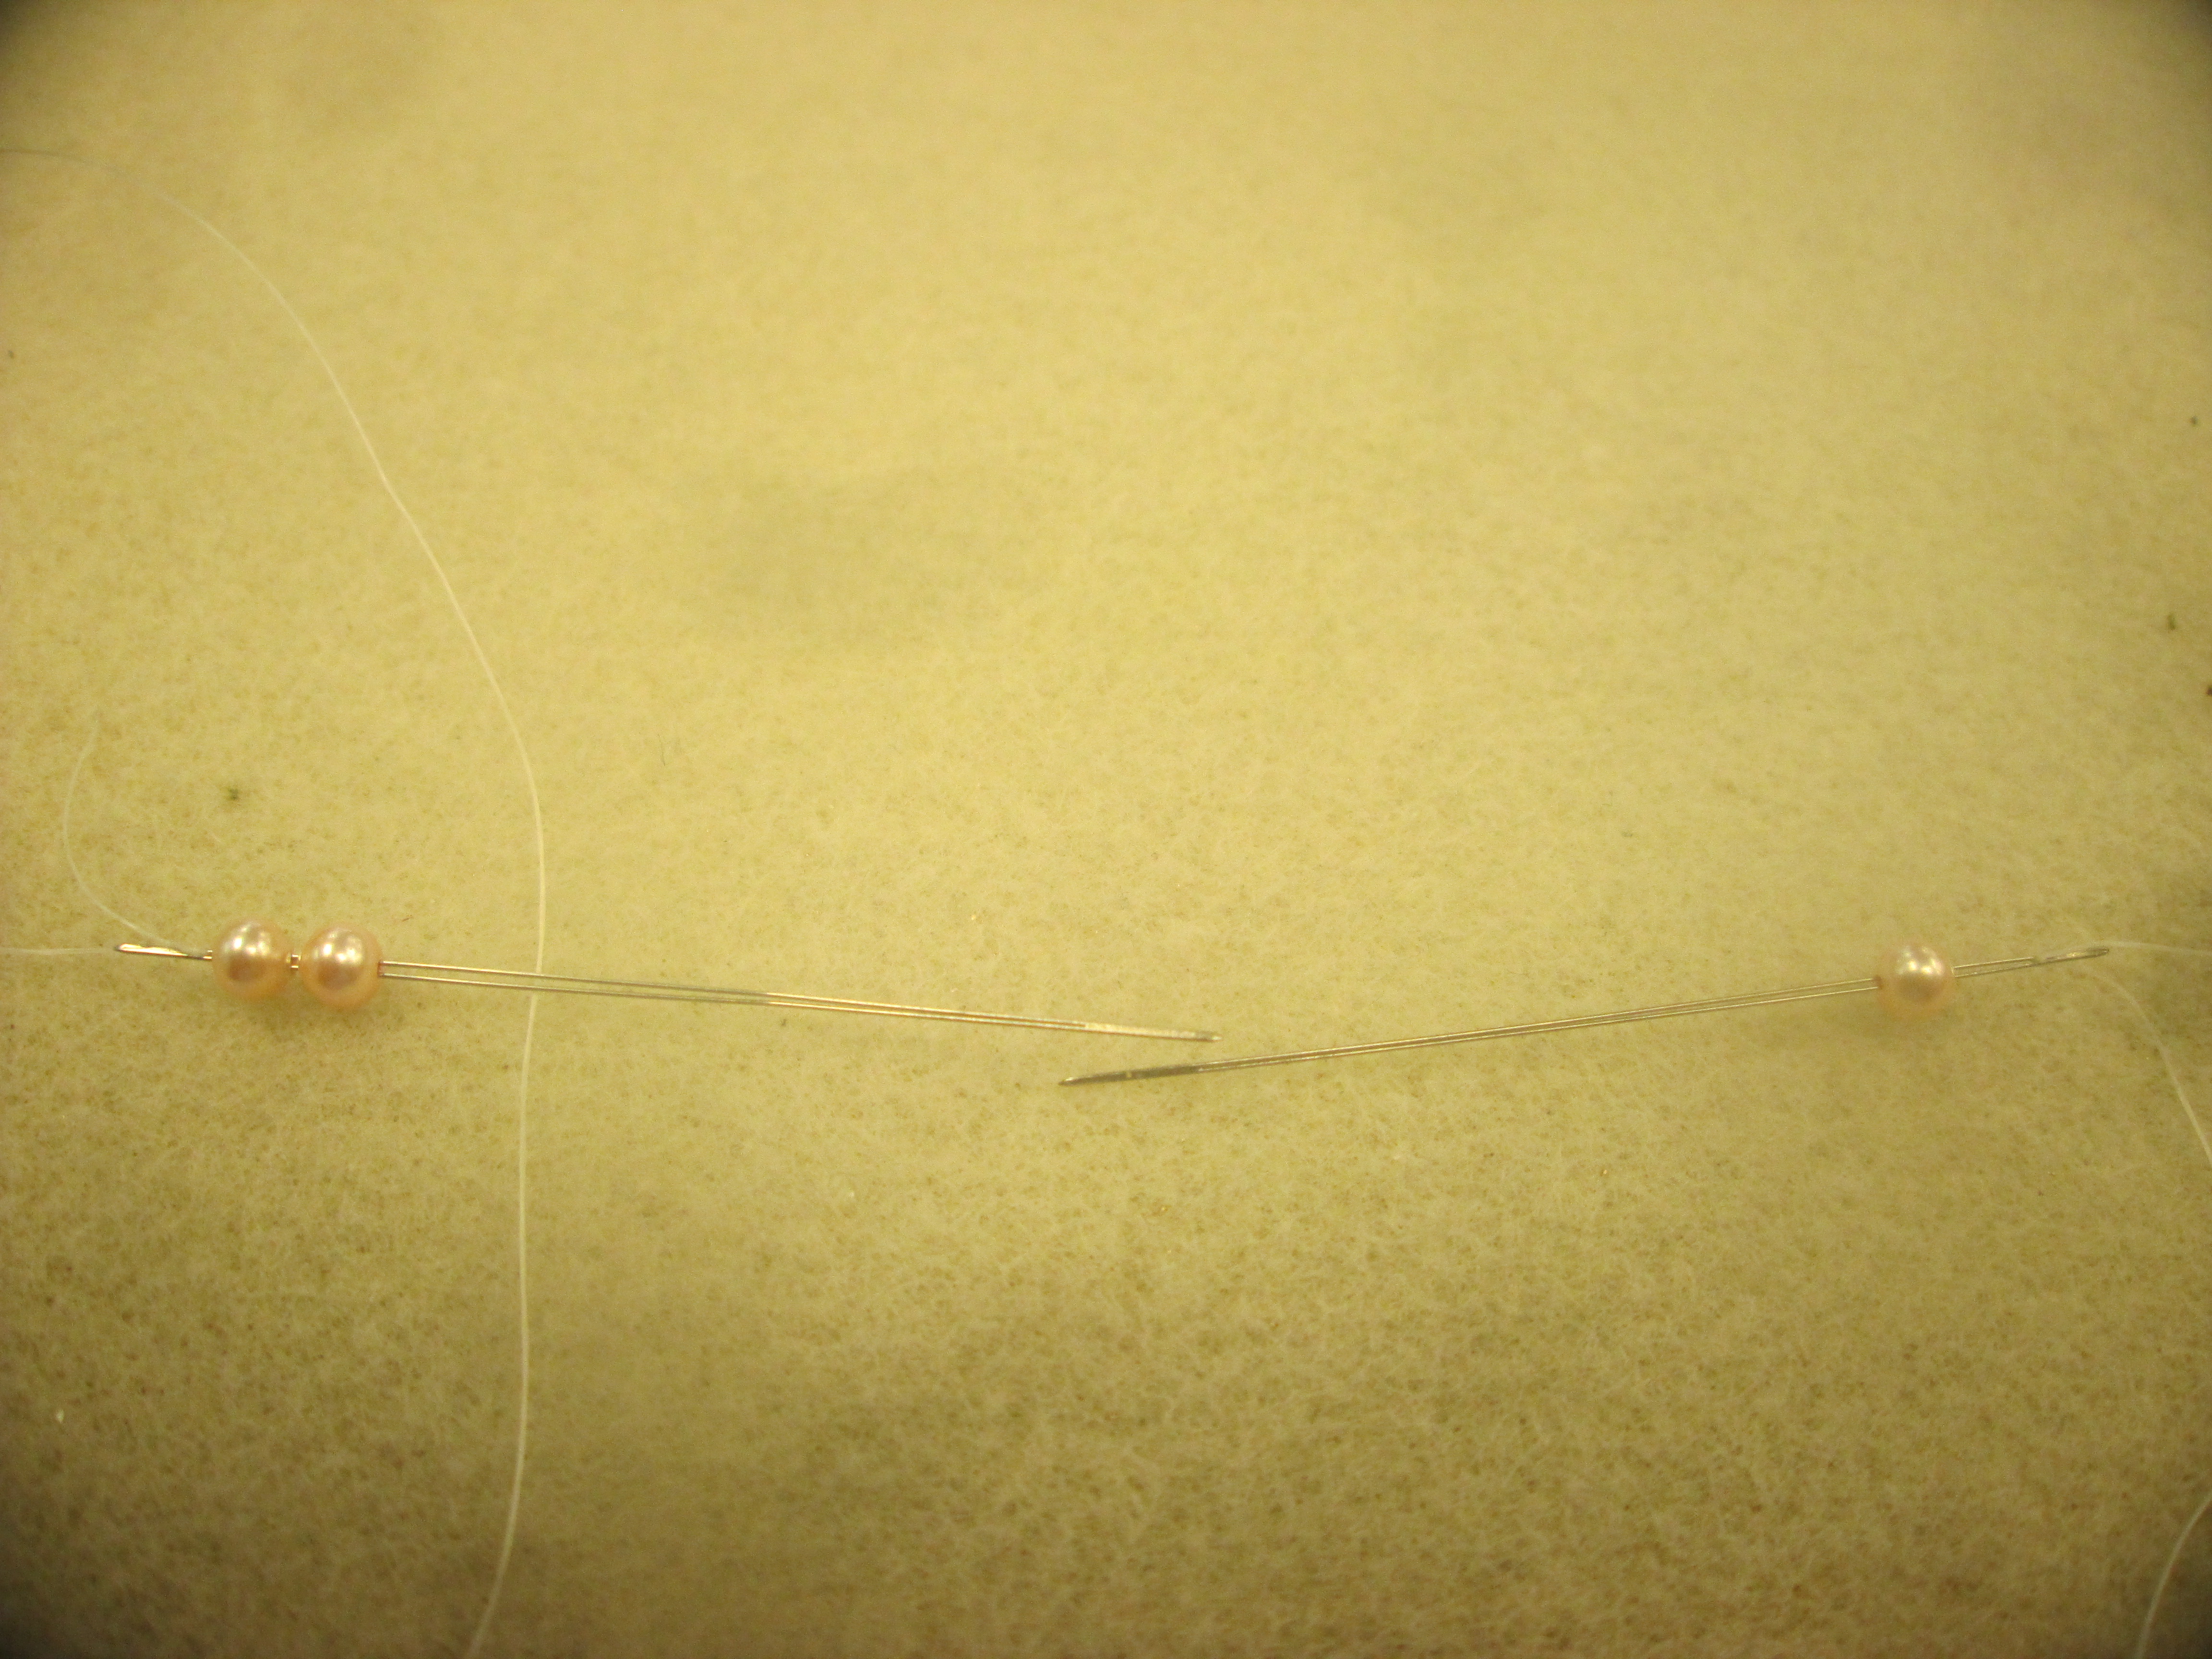
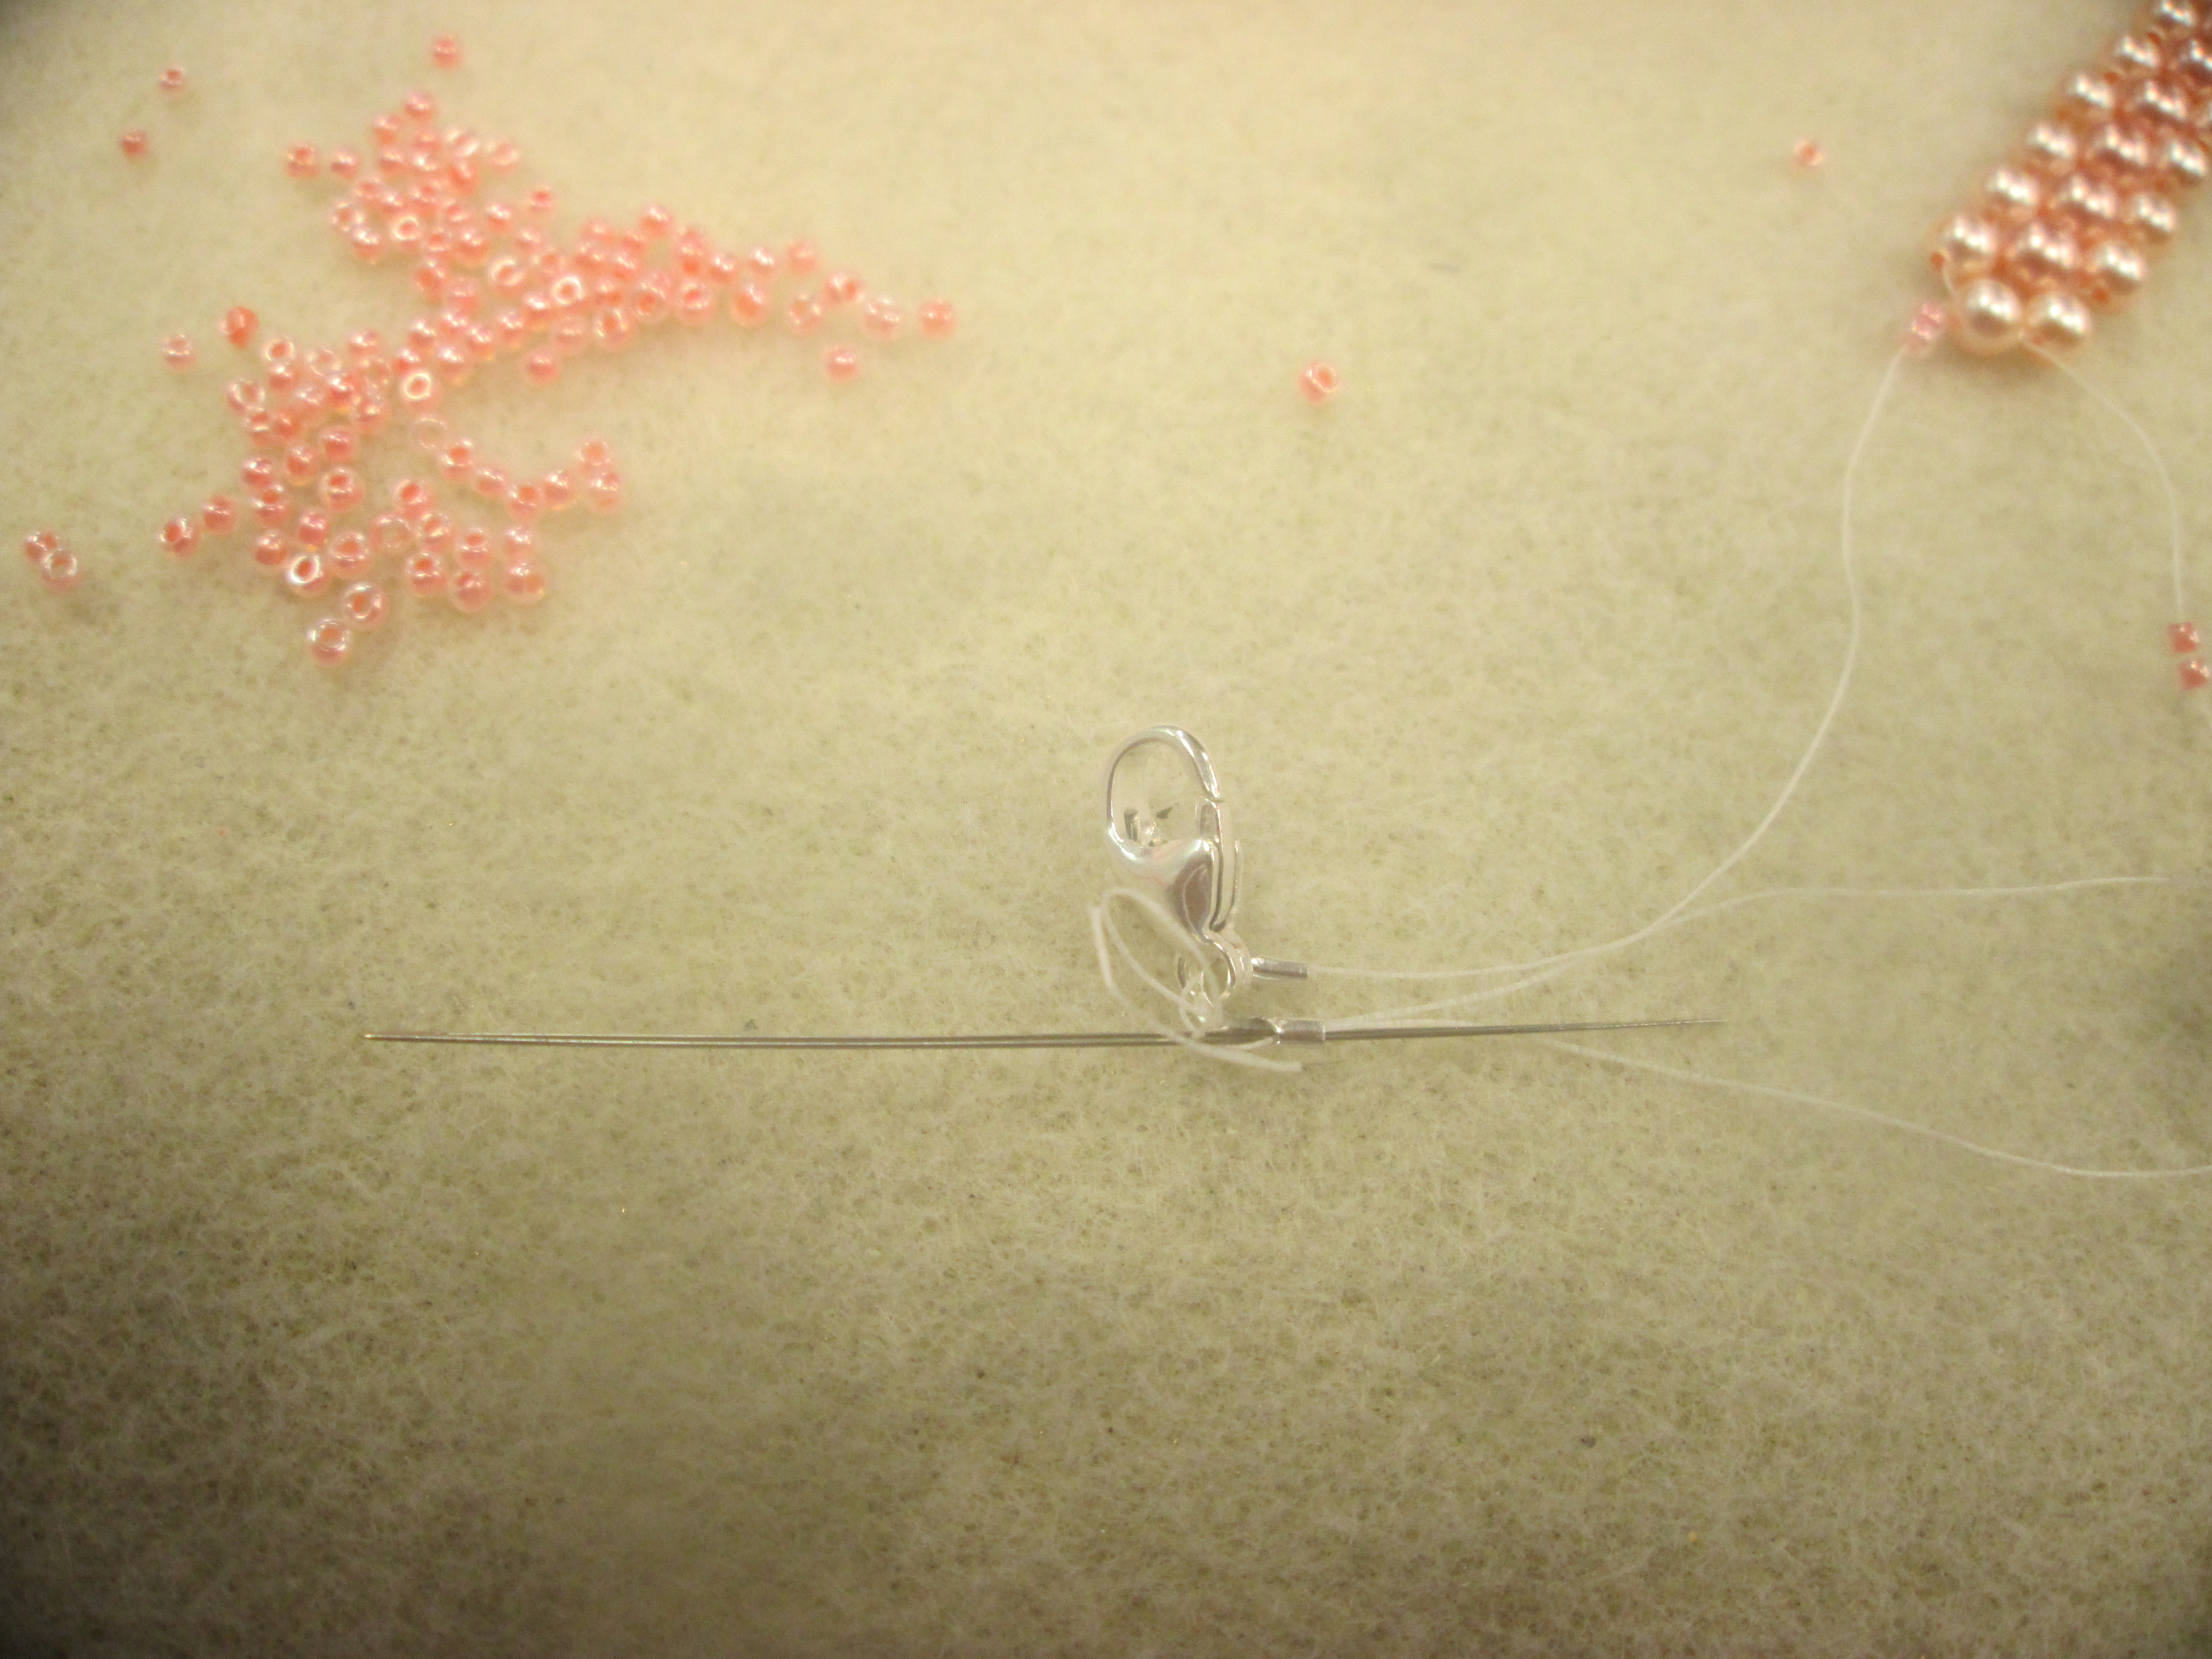
Next, getting the string into a special kind of needle, which opens in the middle to have a huge eye and clamps the string together with the needle like so.
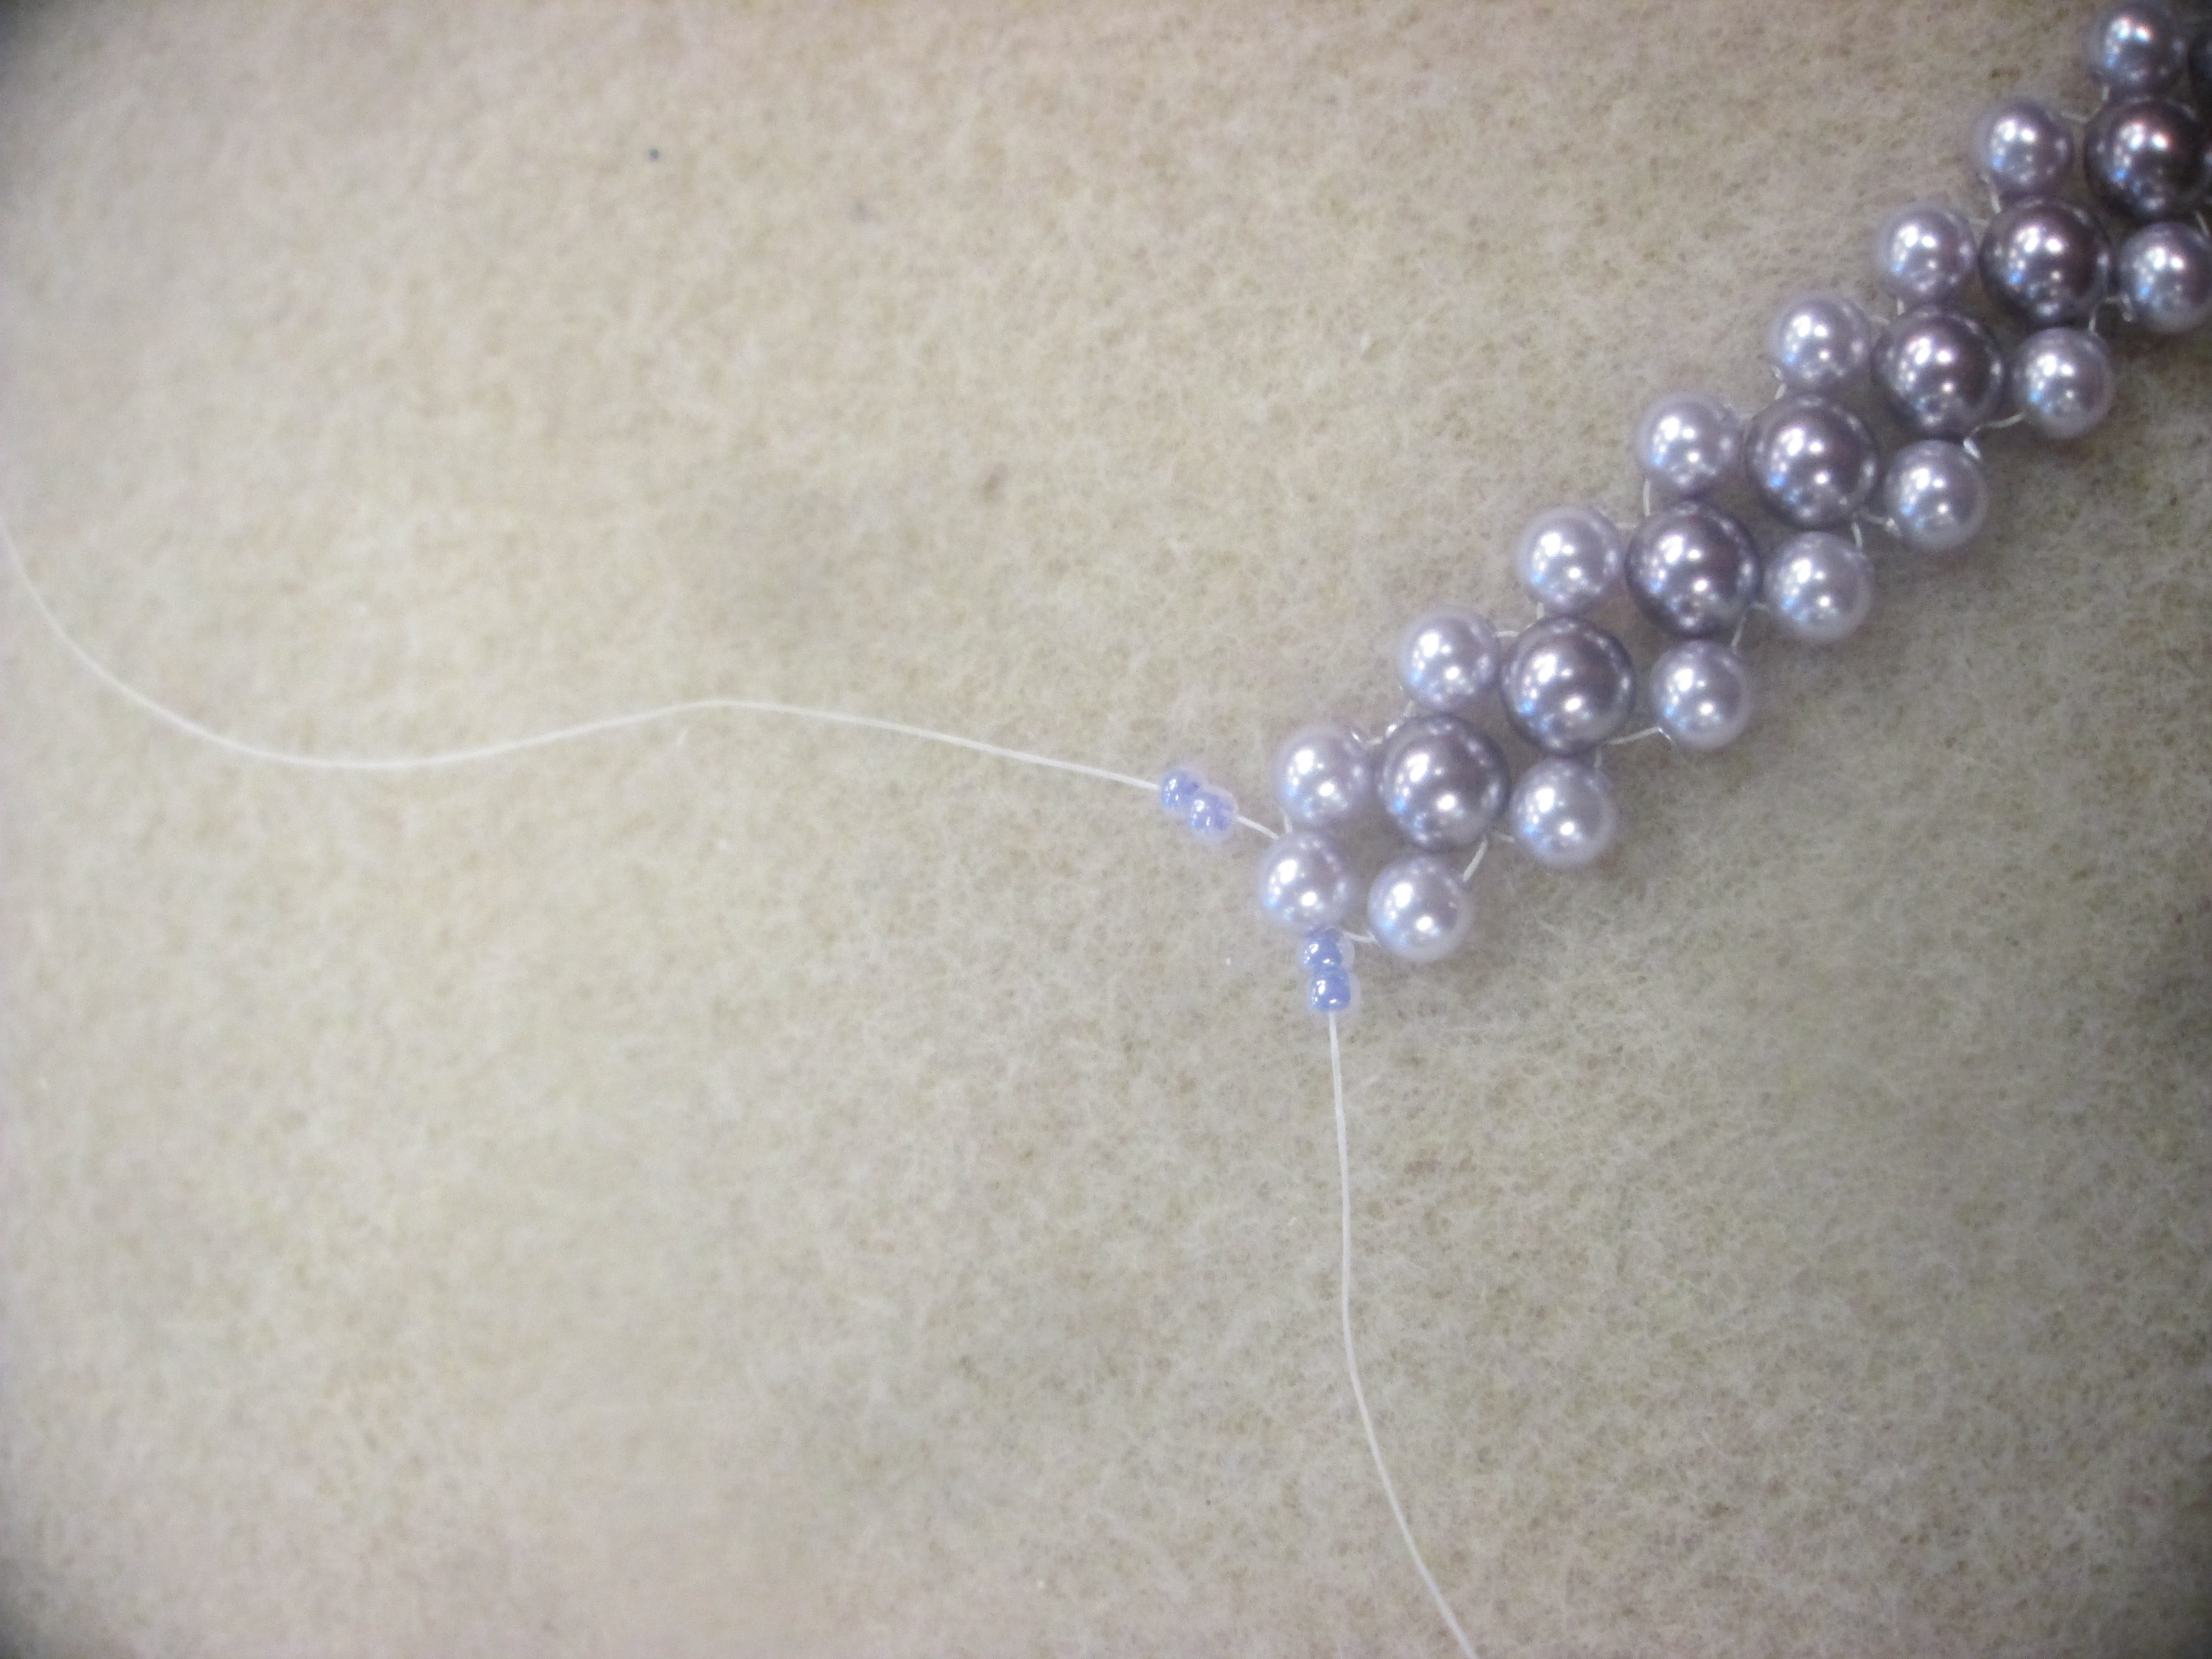
After getting needles on both ends of the string, it was time to start beading by placing pearls onto the needles and subsequently onto the string, with me working on the pink bracelet.
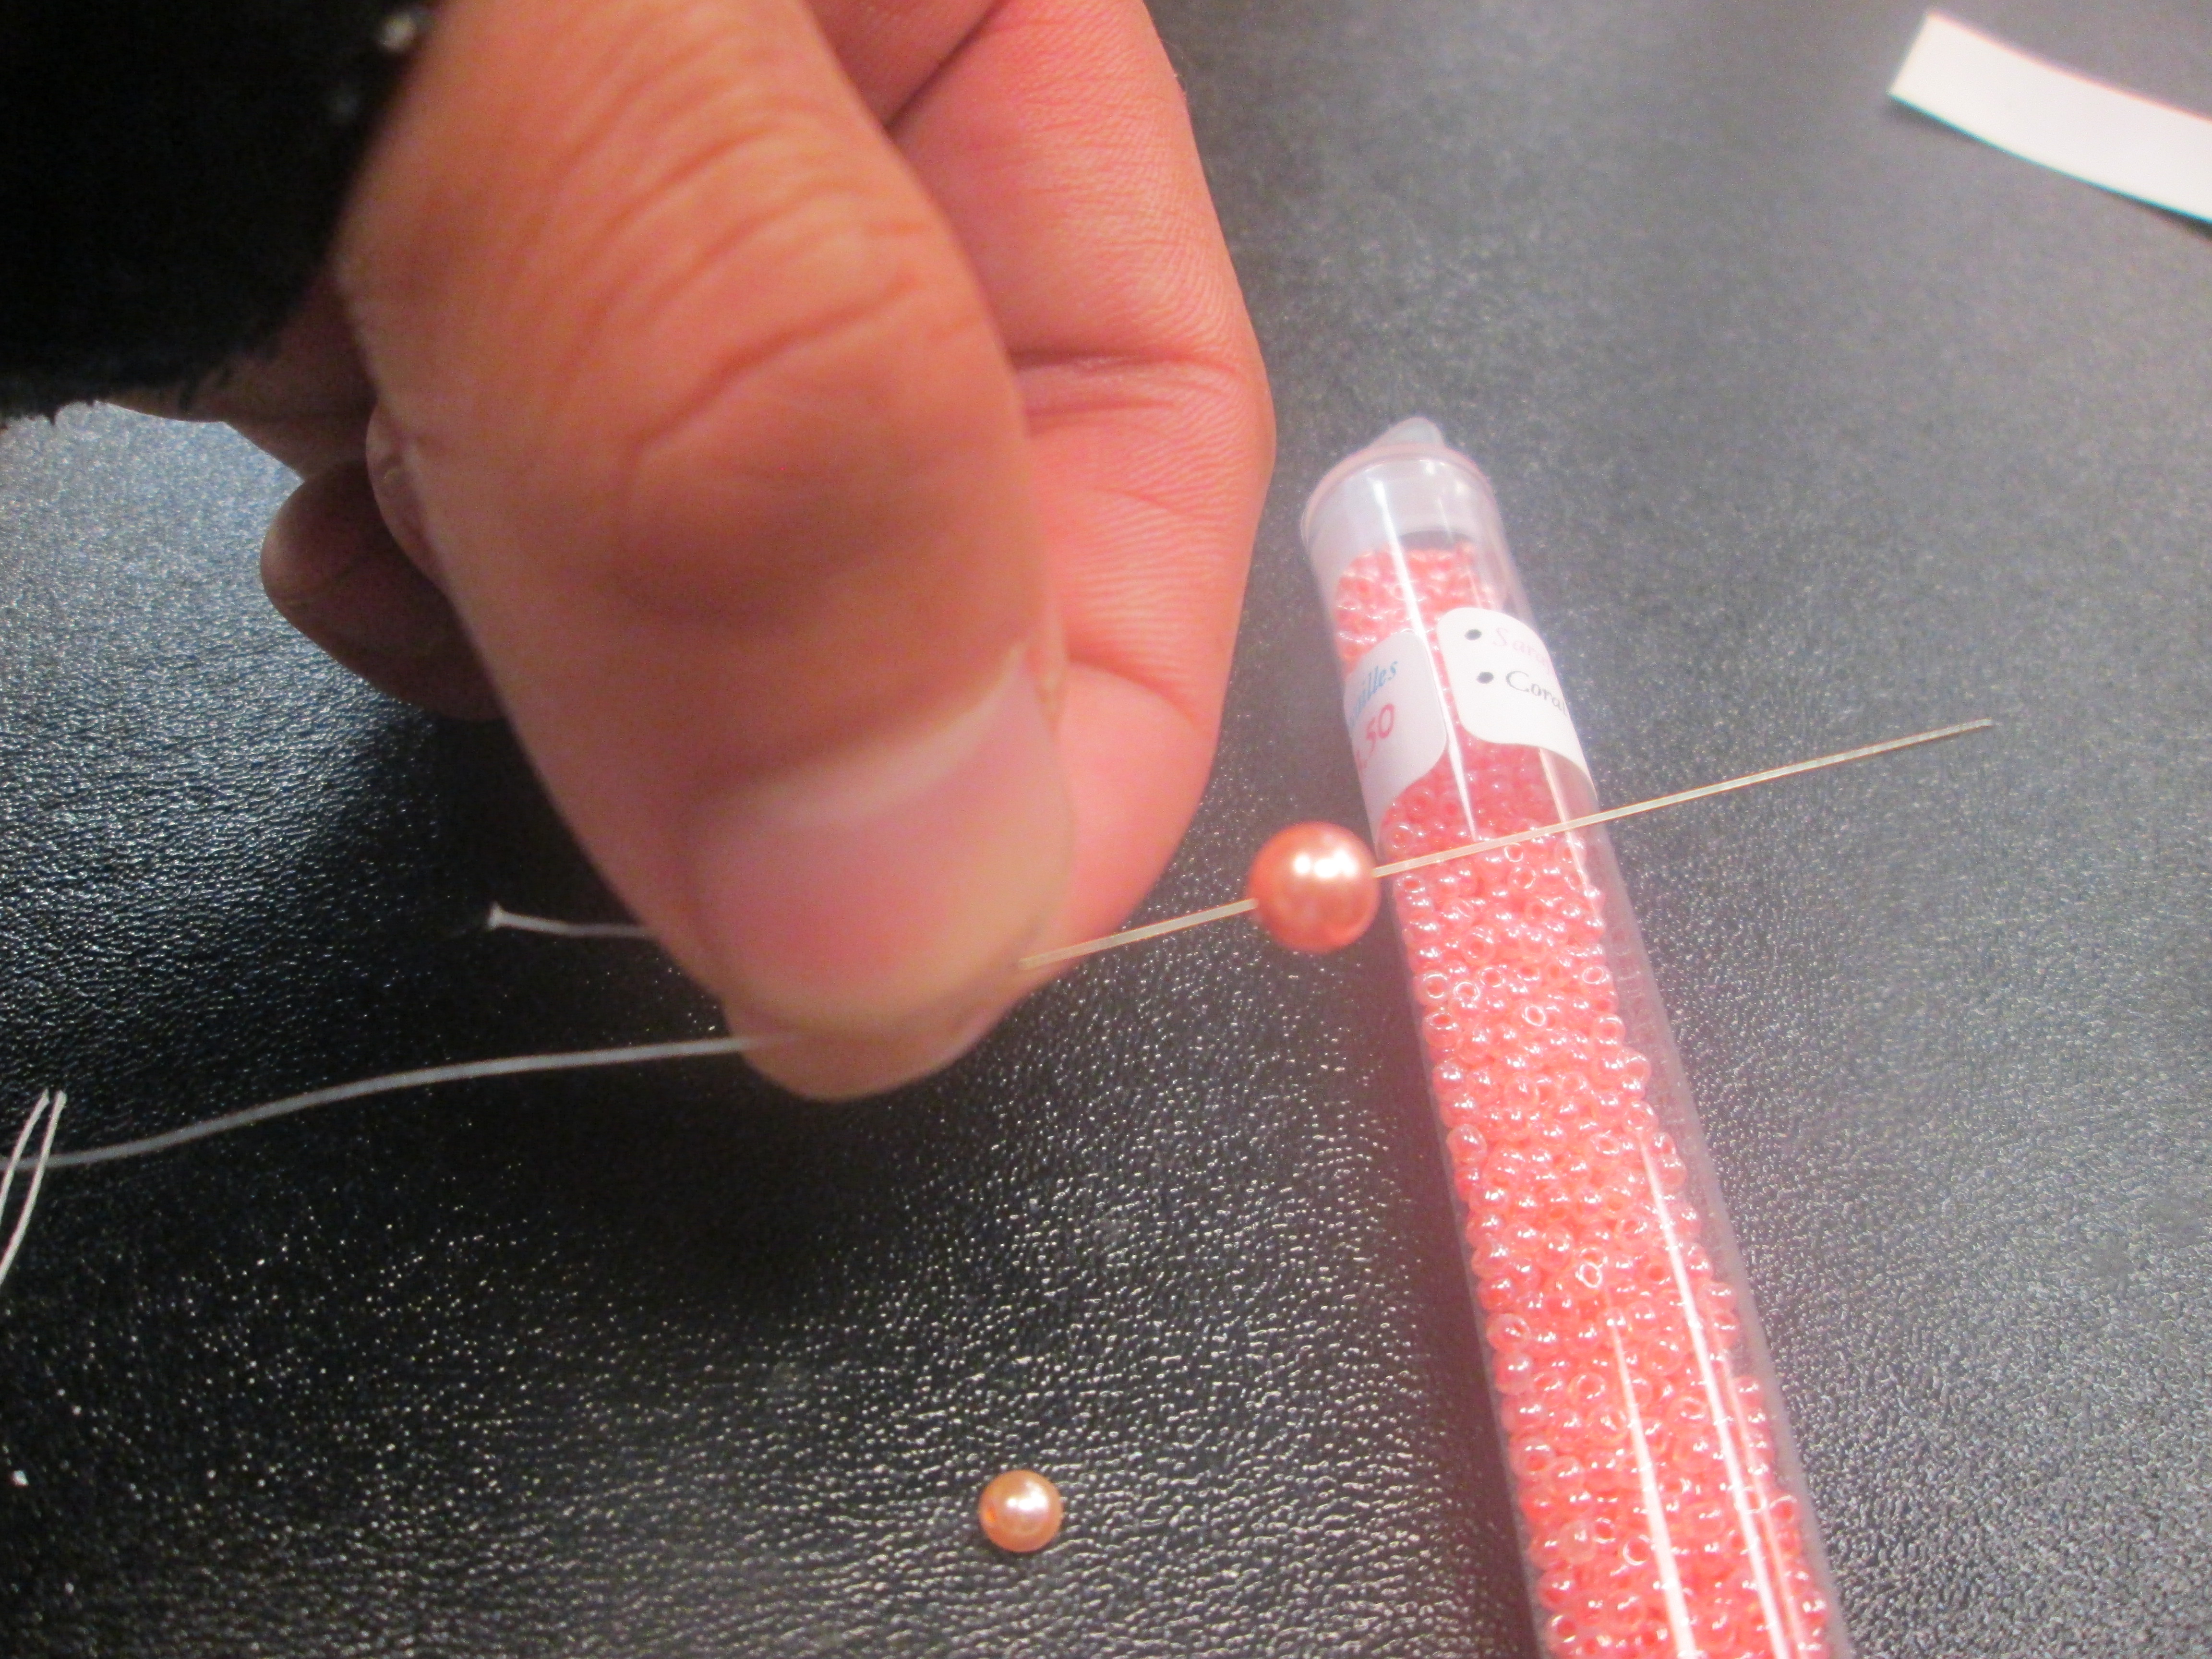
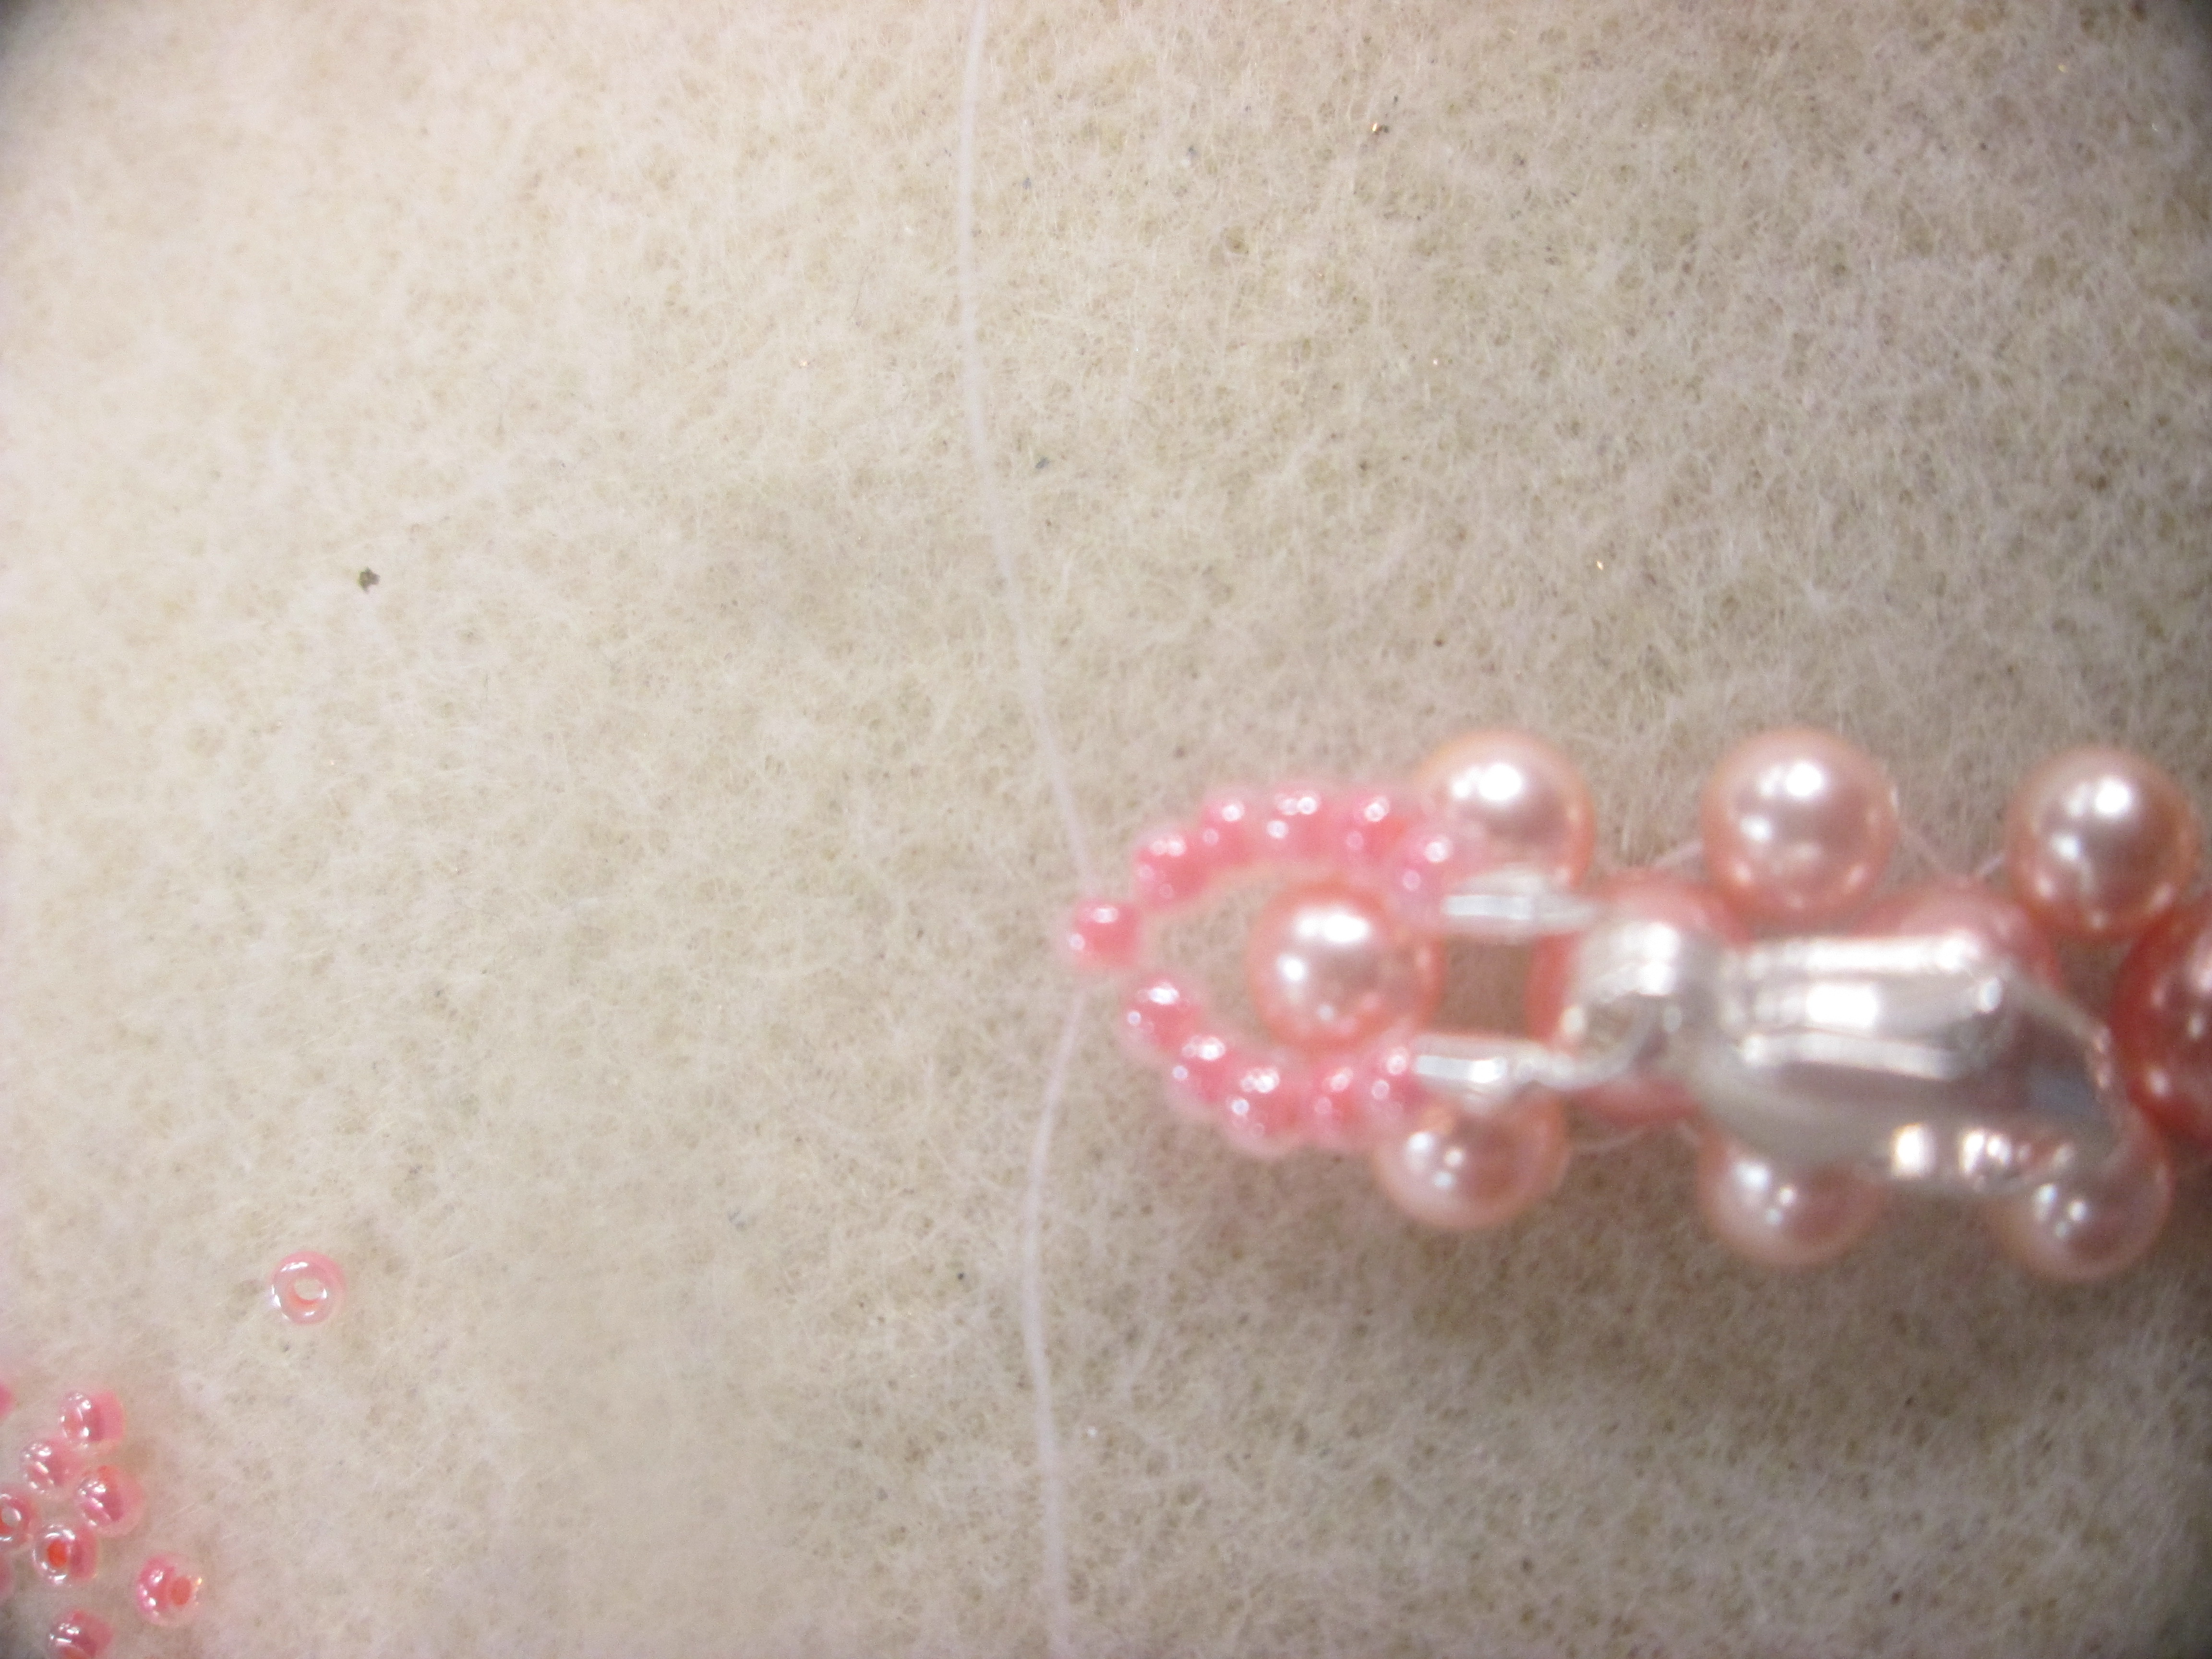
After putting 3 small beads and 1 large one onto the string and positioning it in the center of the entire length of string, which I failed to do at first and my instructor had to finagle it to shift it back to the center,
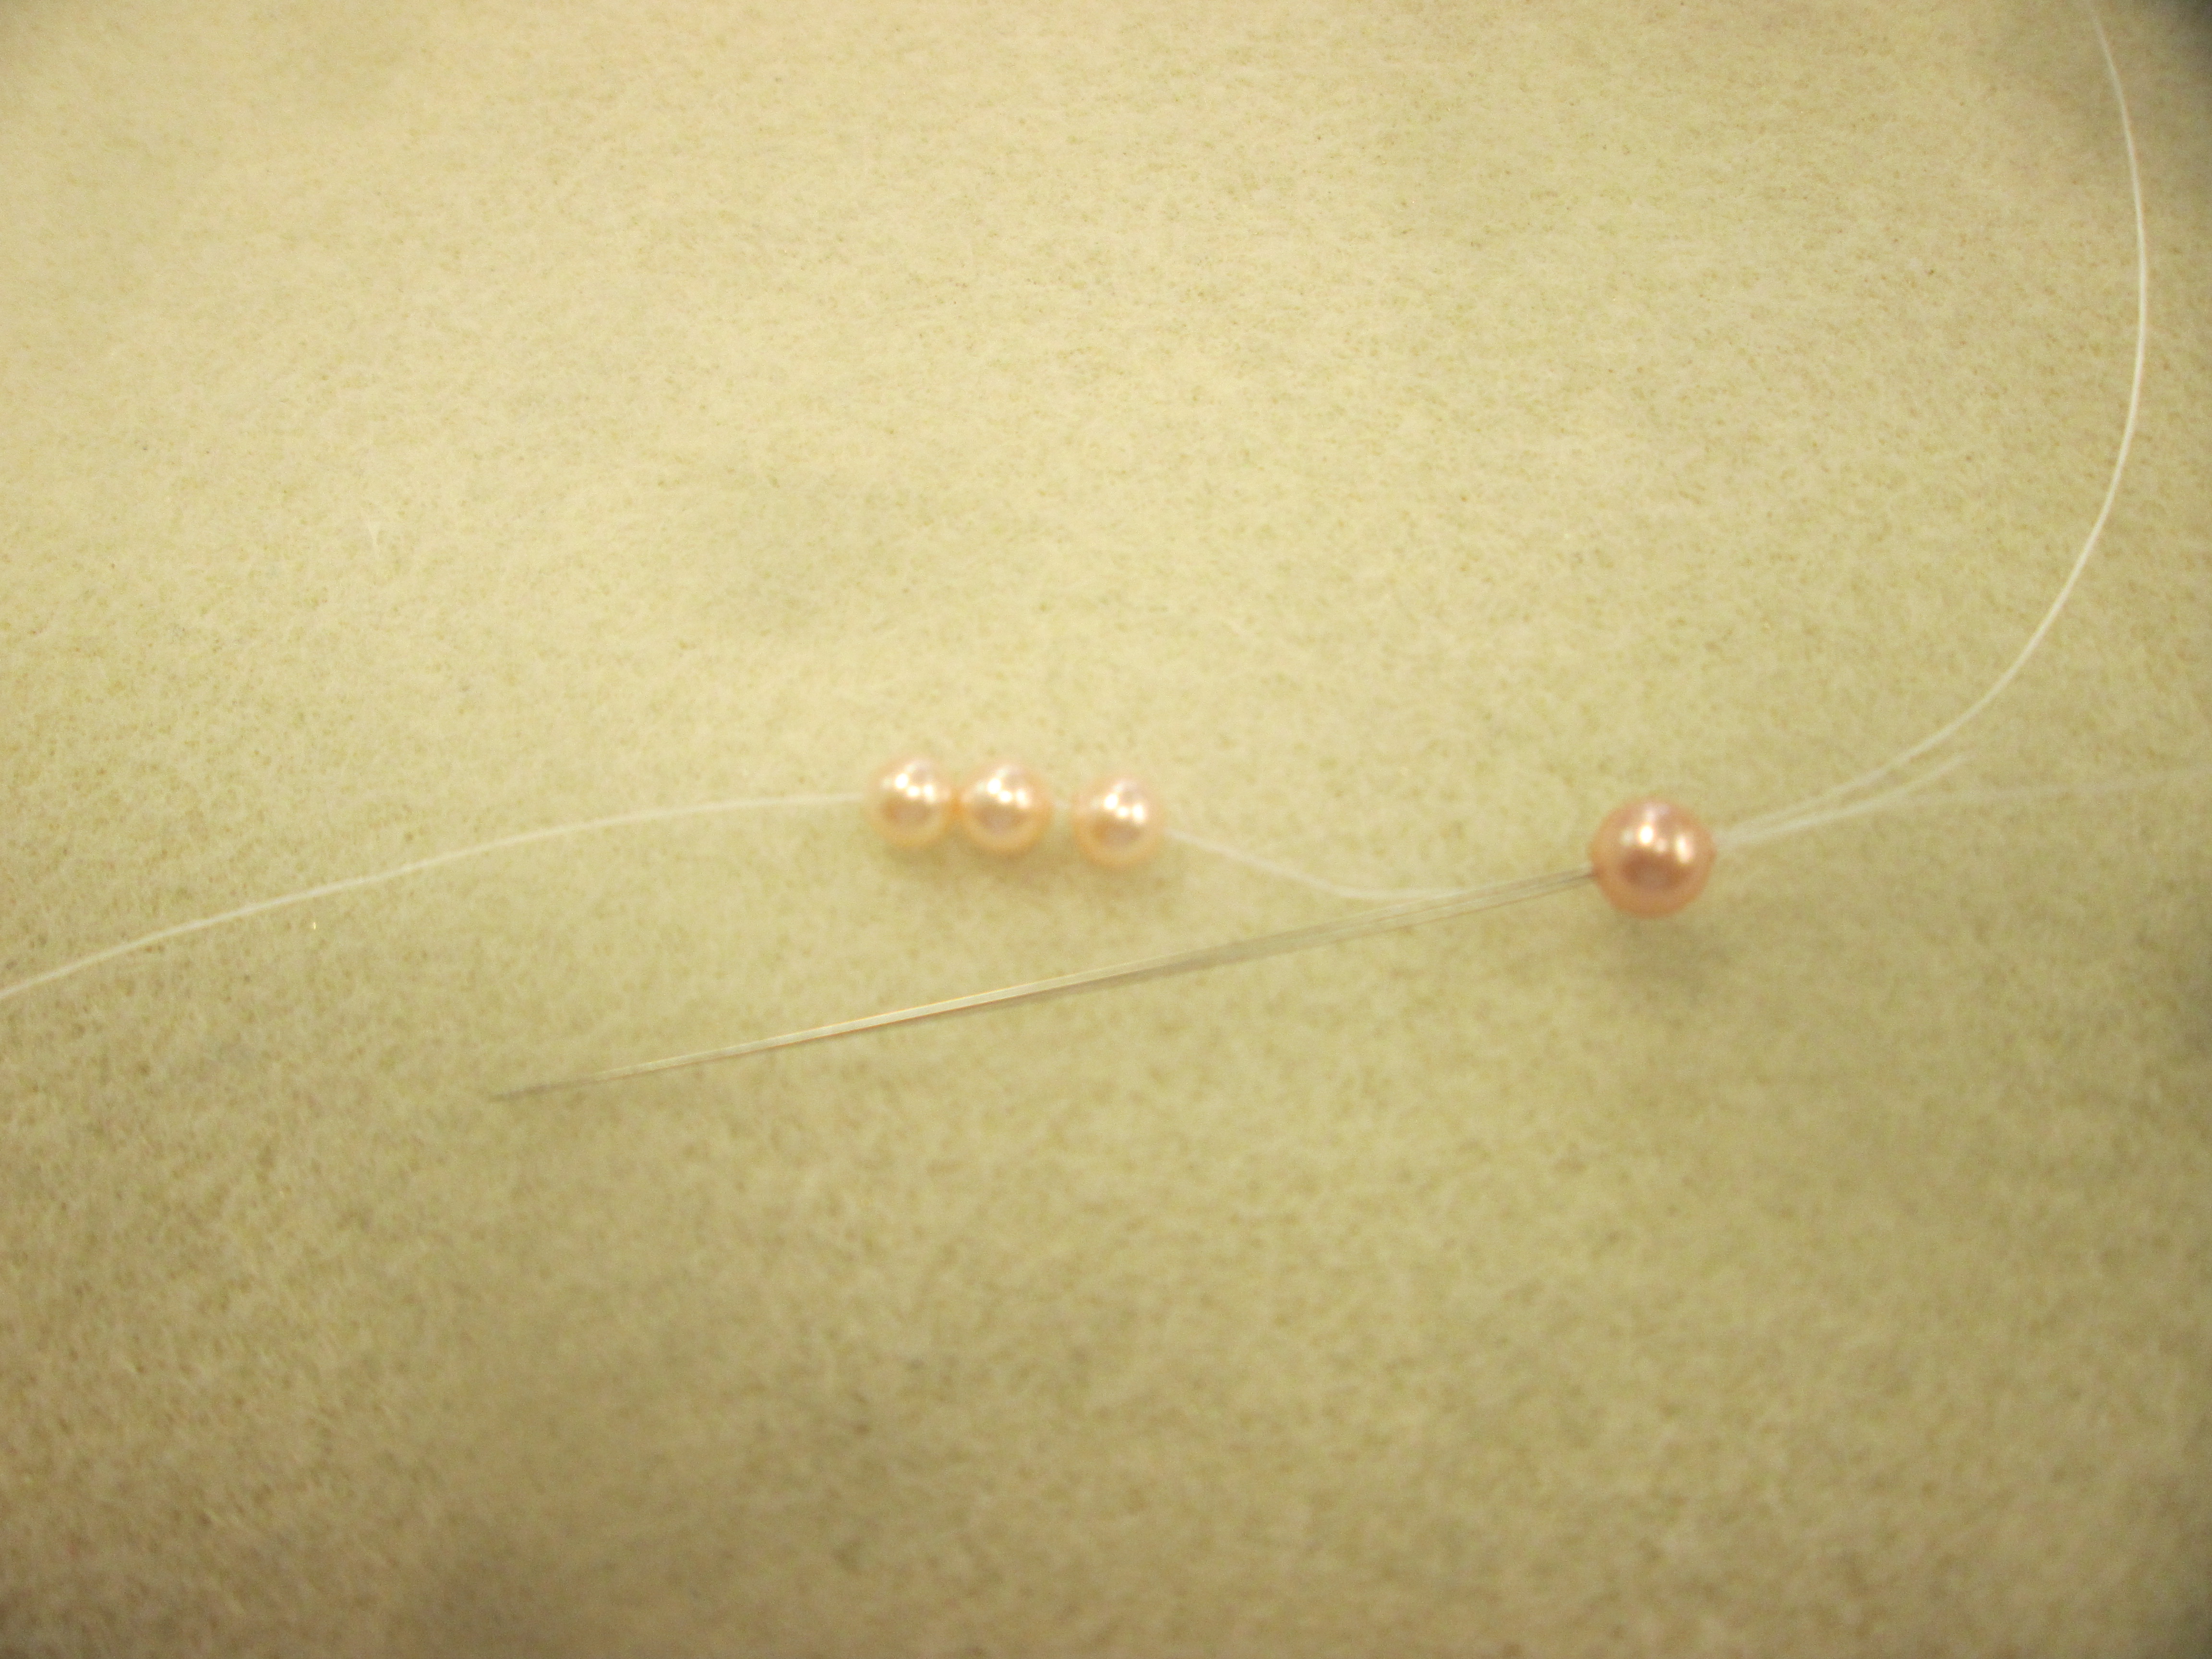
the needle on the opposite side of the string from the large bead has to loop over and pass through the large bead from the opposite side to form the beginning of the chain.
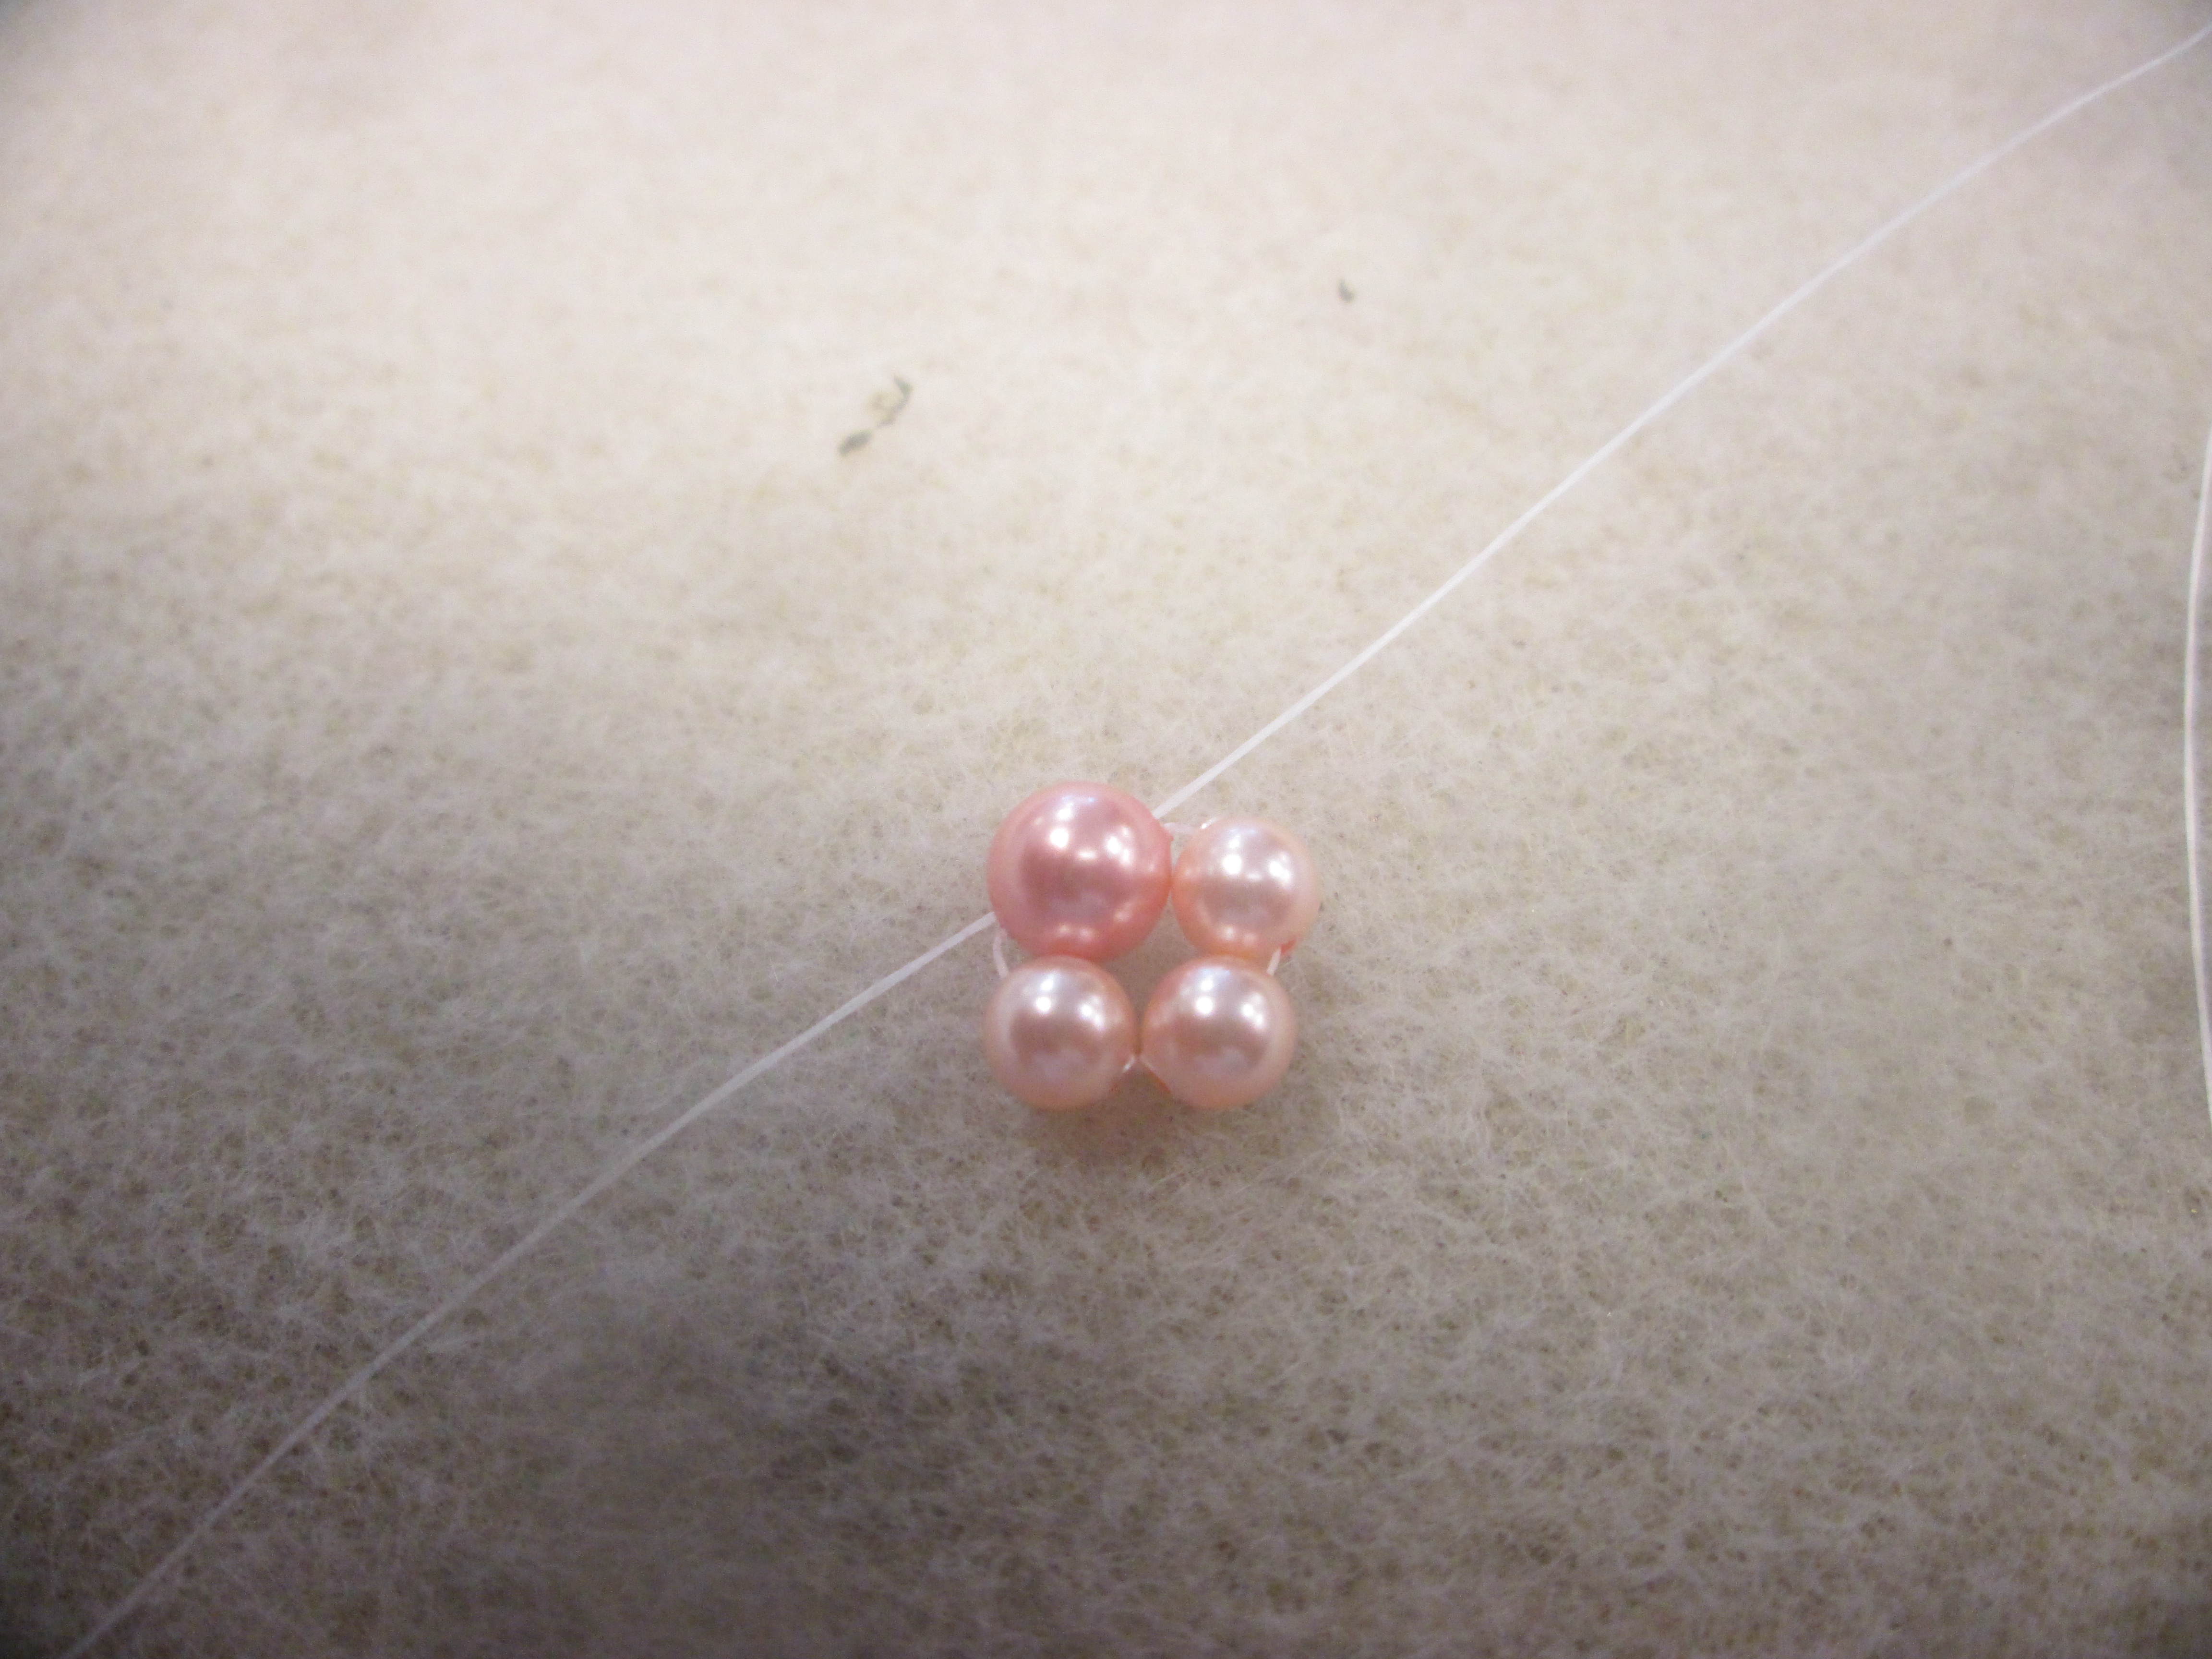
From here, to continue the chain, one puts 1 small bead on one needle, and 1 small bead, then 1 big bead on the other needle.

The looping process is done here again, and the 3 bead step is repeated over and over
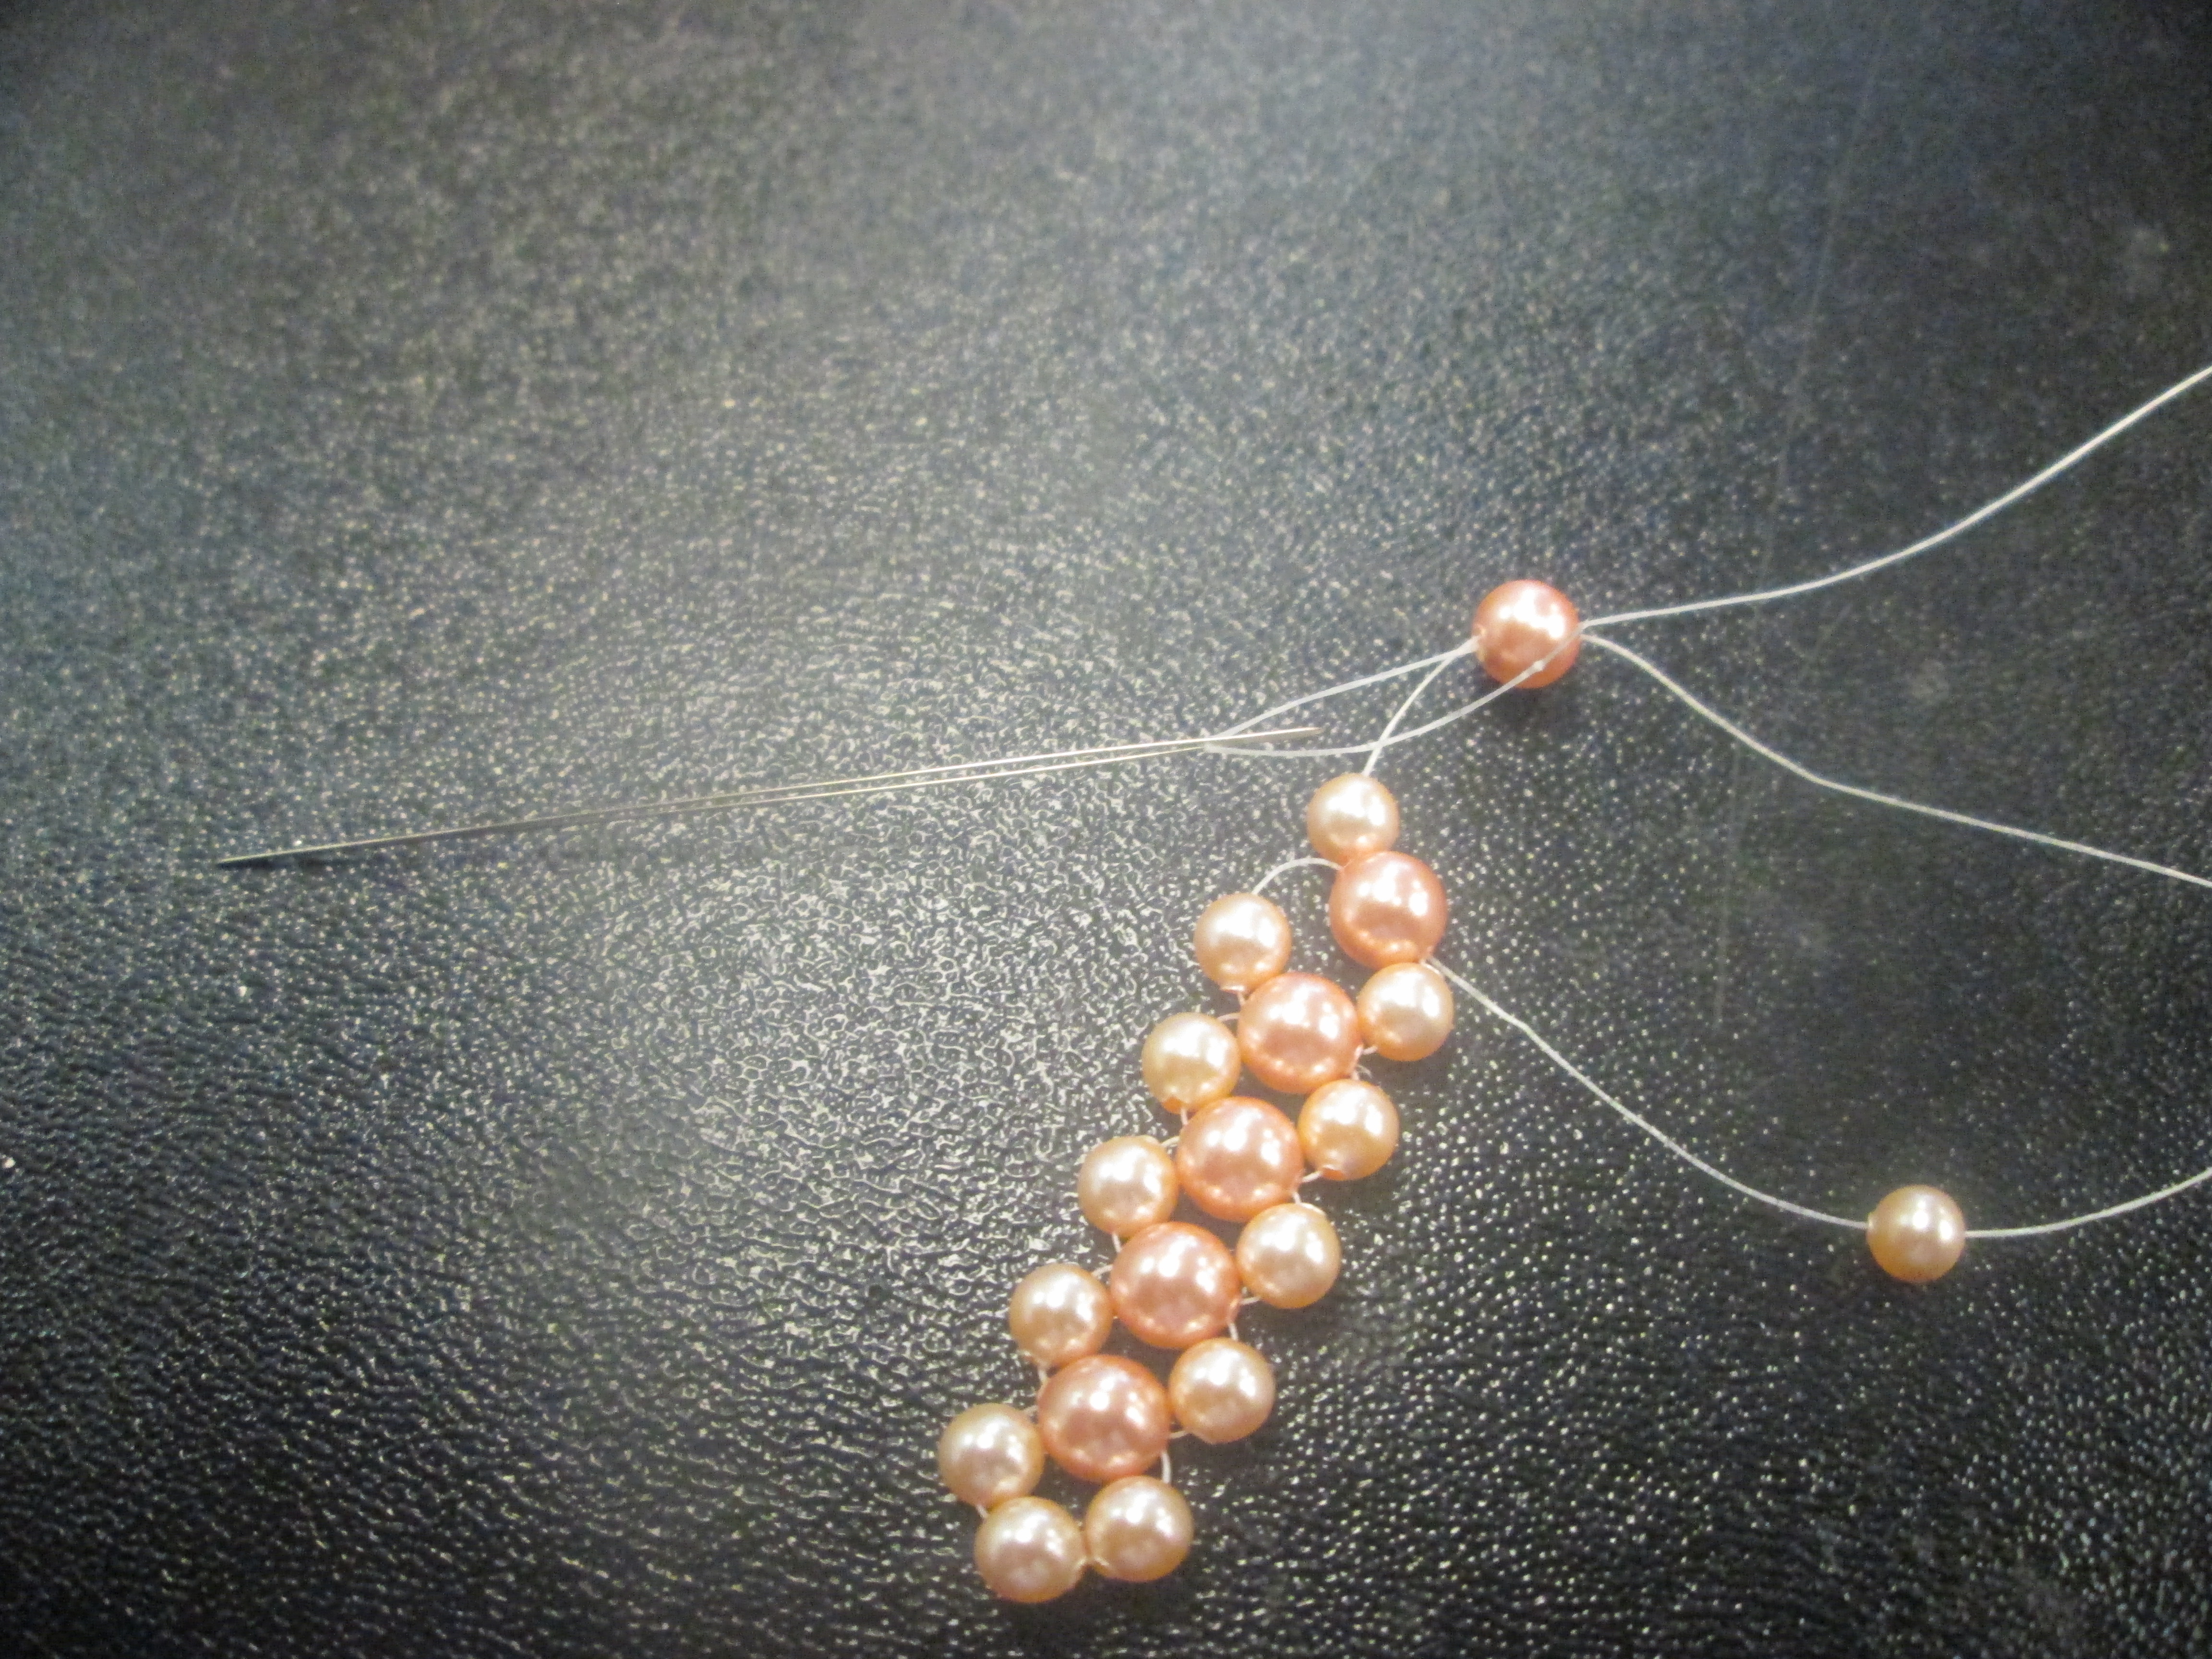
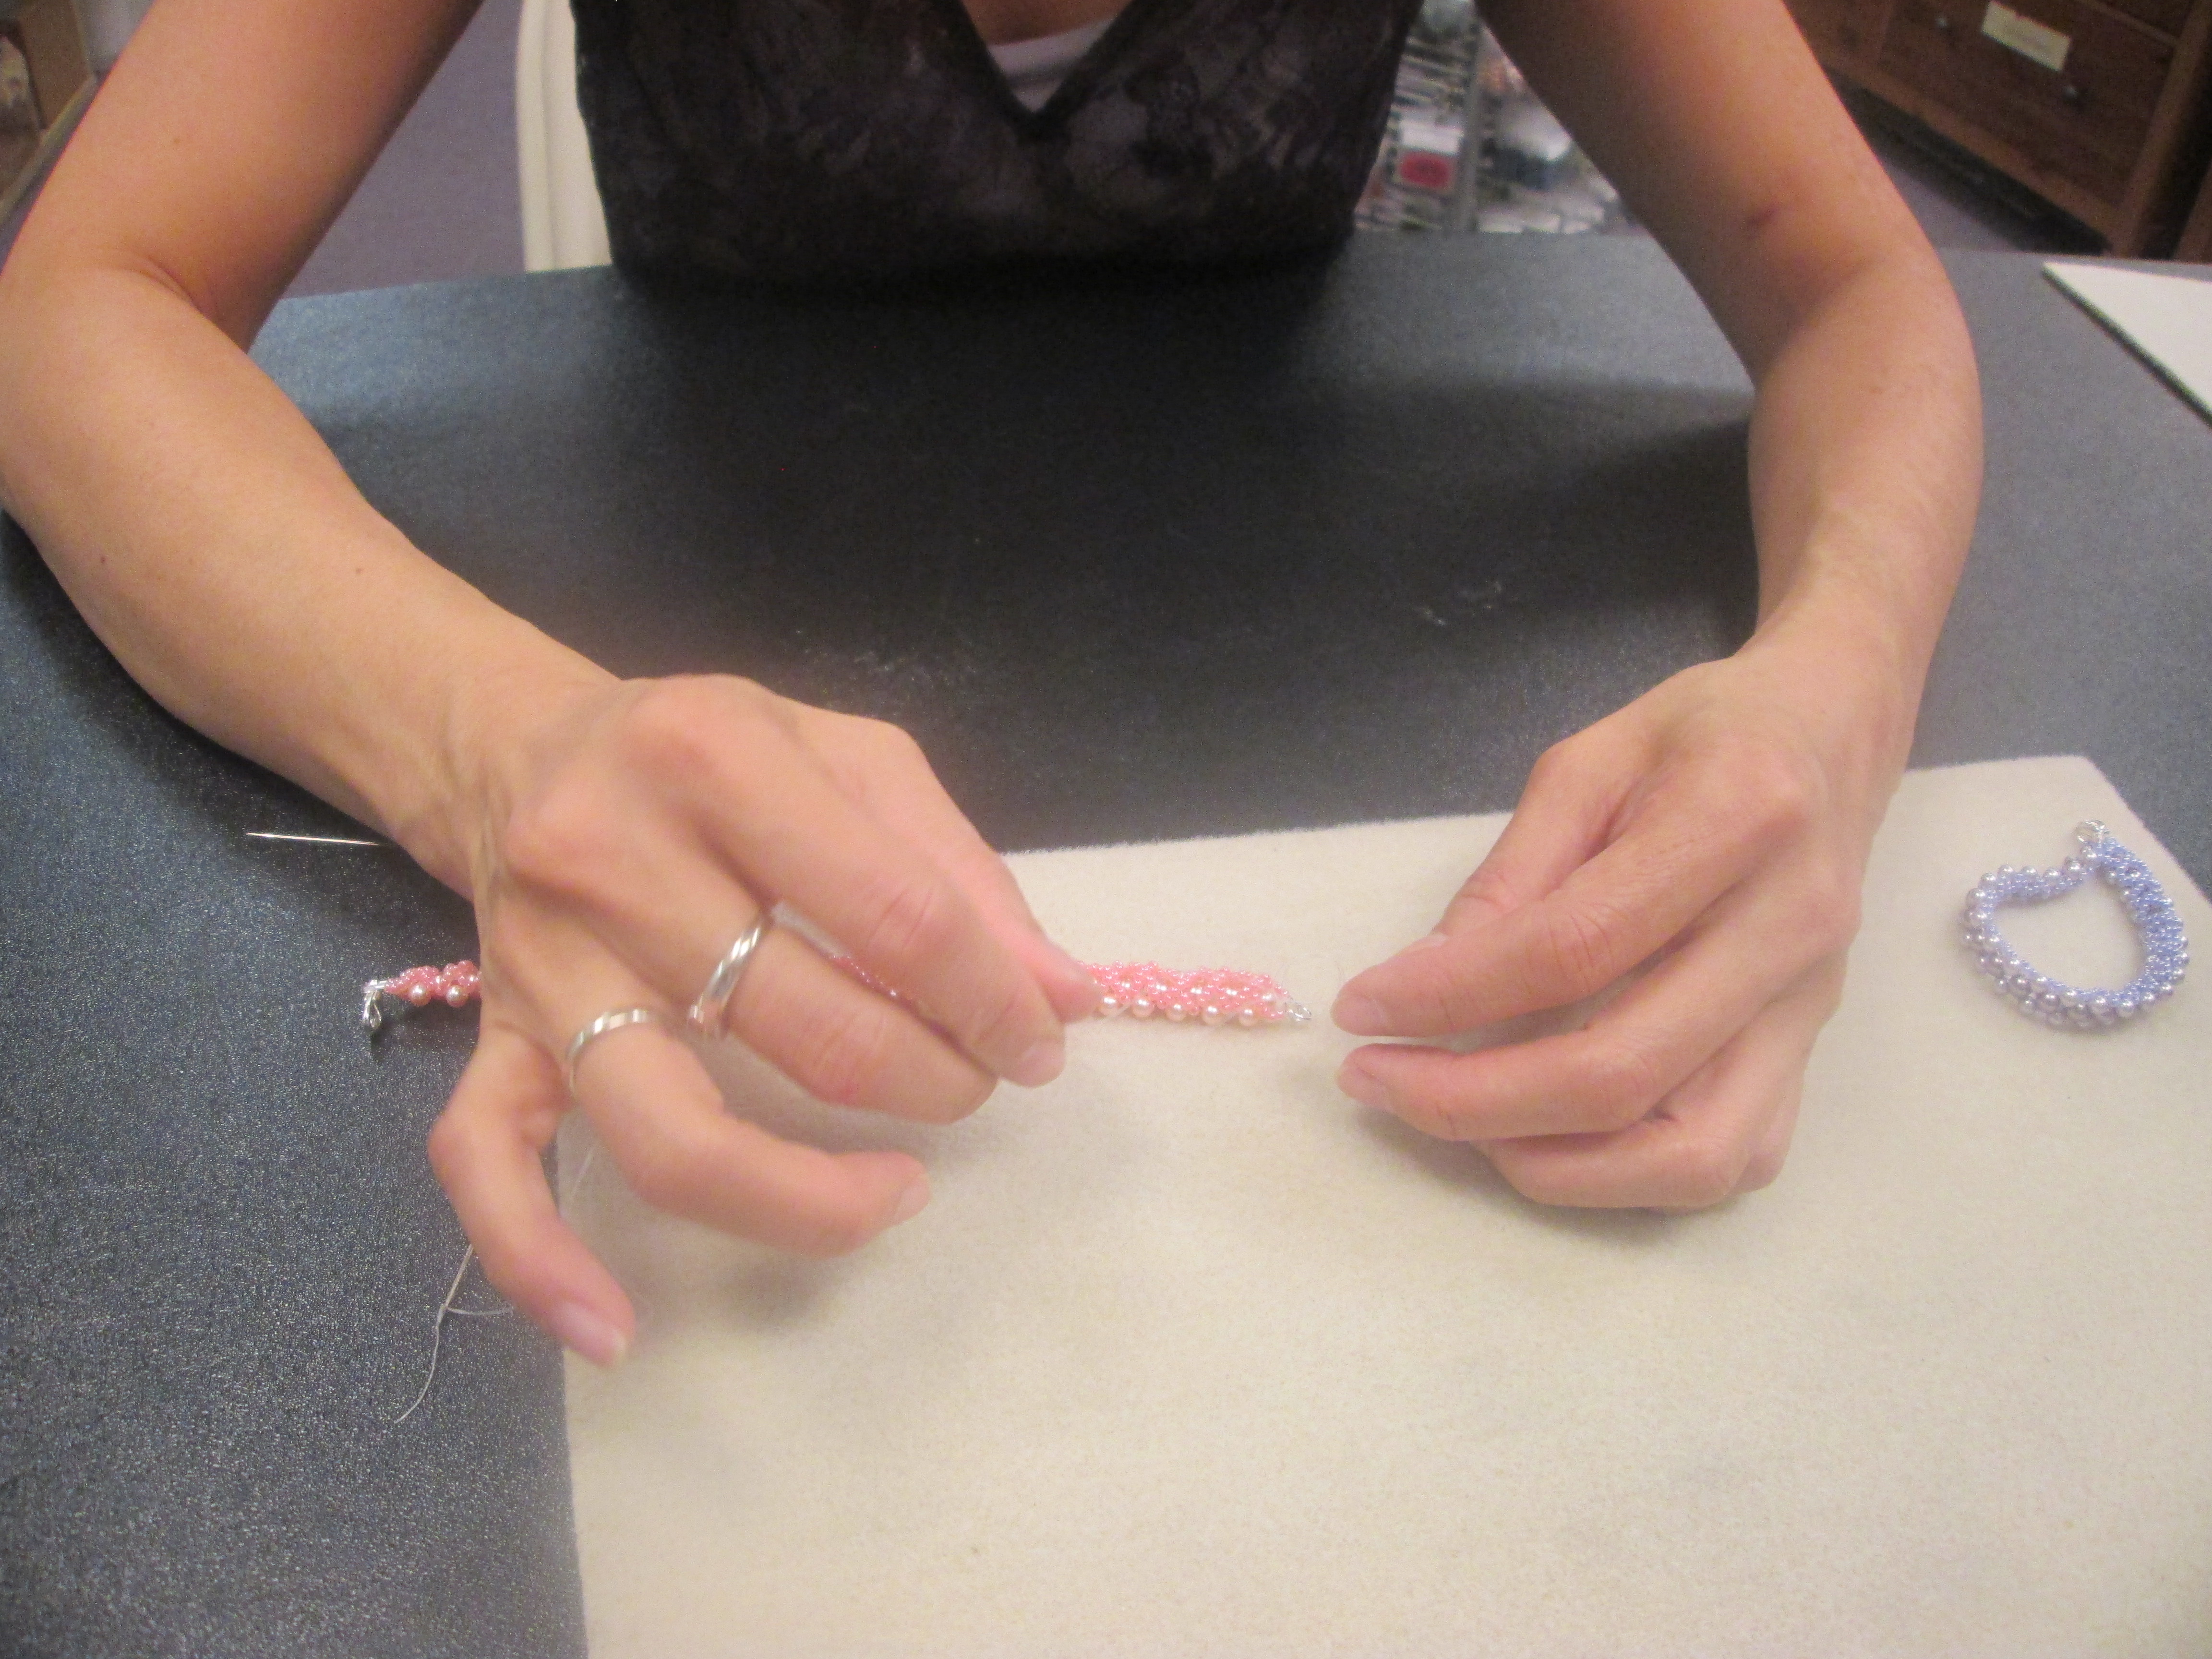
until the desired length of bracelet is reached, which has to fit the wrist of the wearer.
At the very end, 3 small beads are used instead to cap off the chain.
It is safer to have it too short and then extend it using other pieces, while it being too long cannot be shortened.
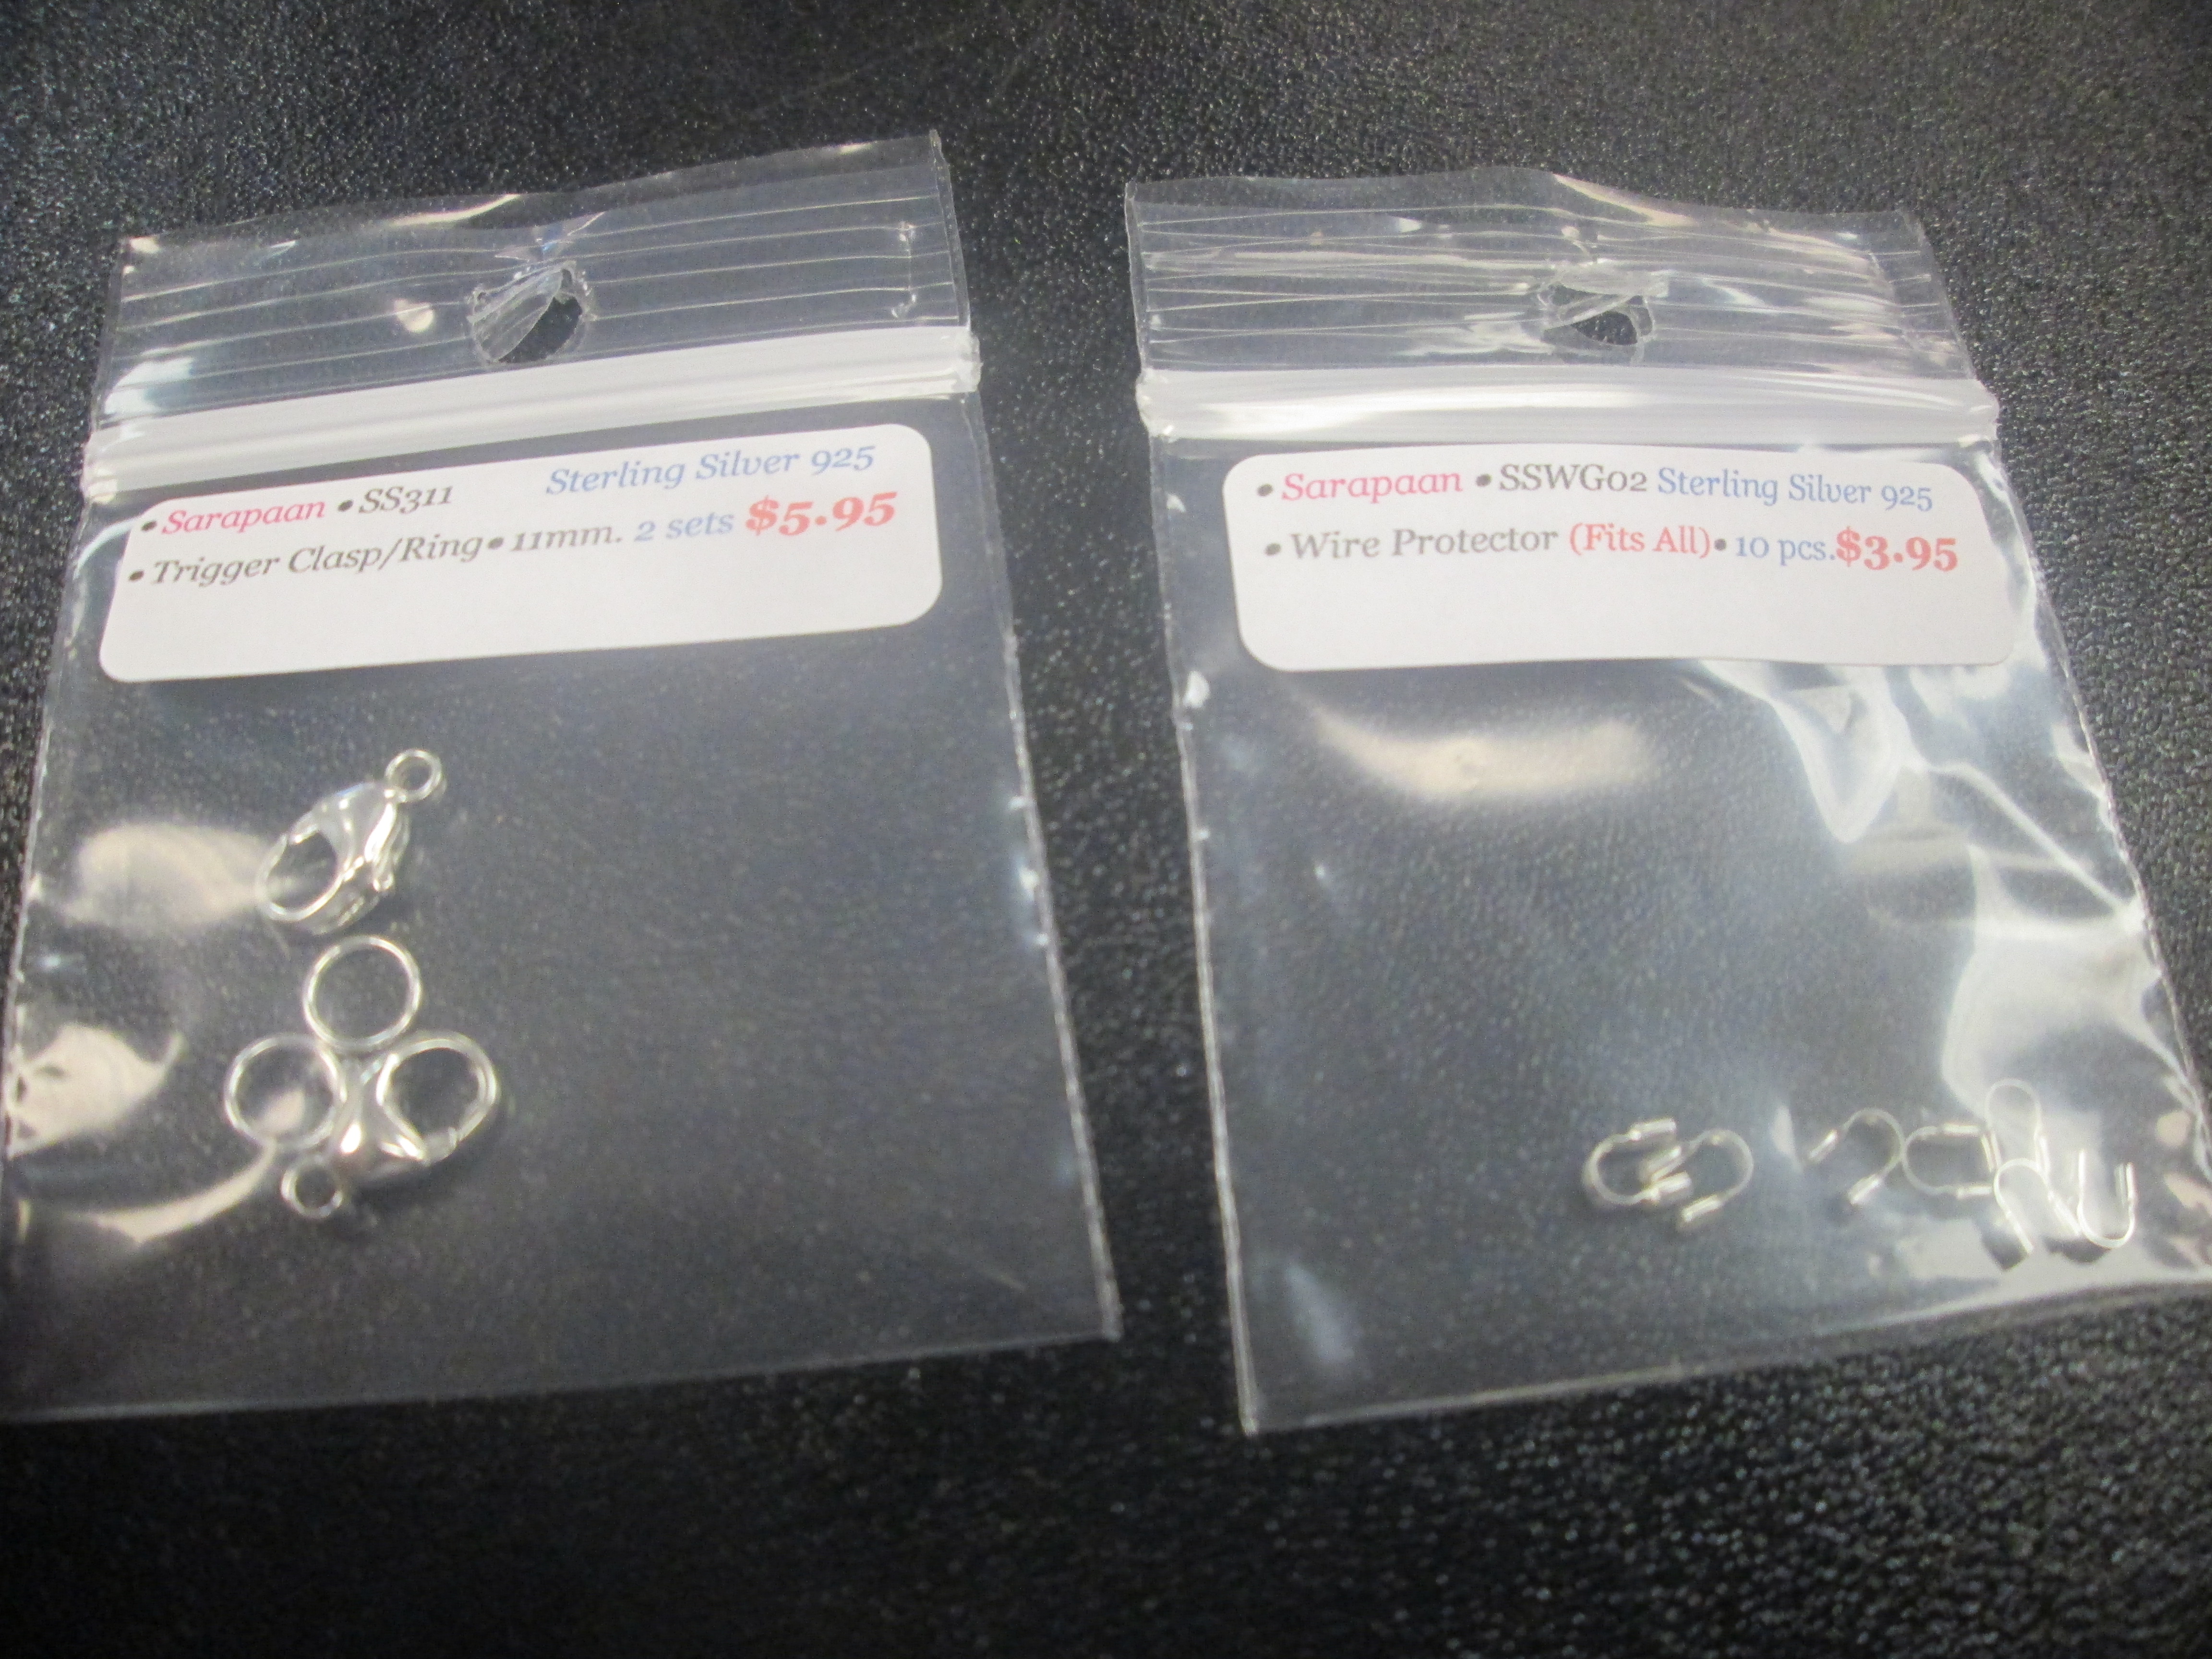
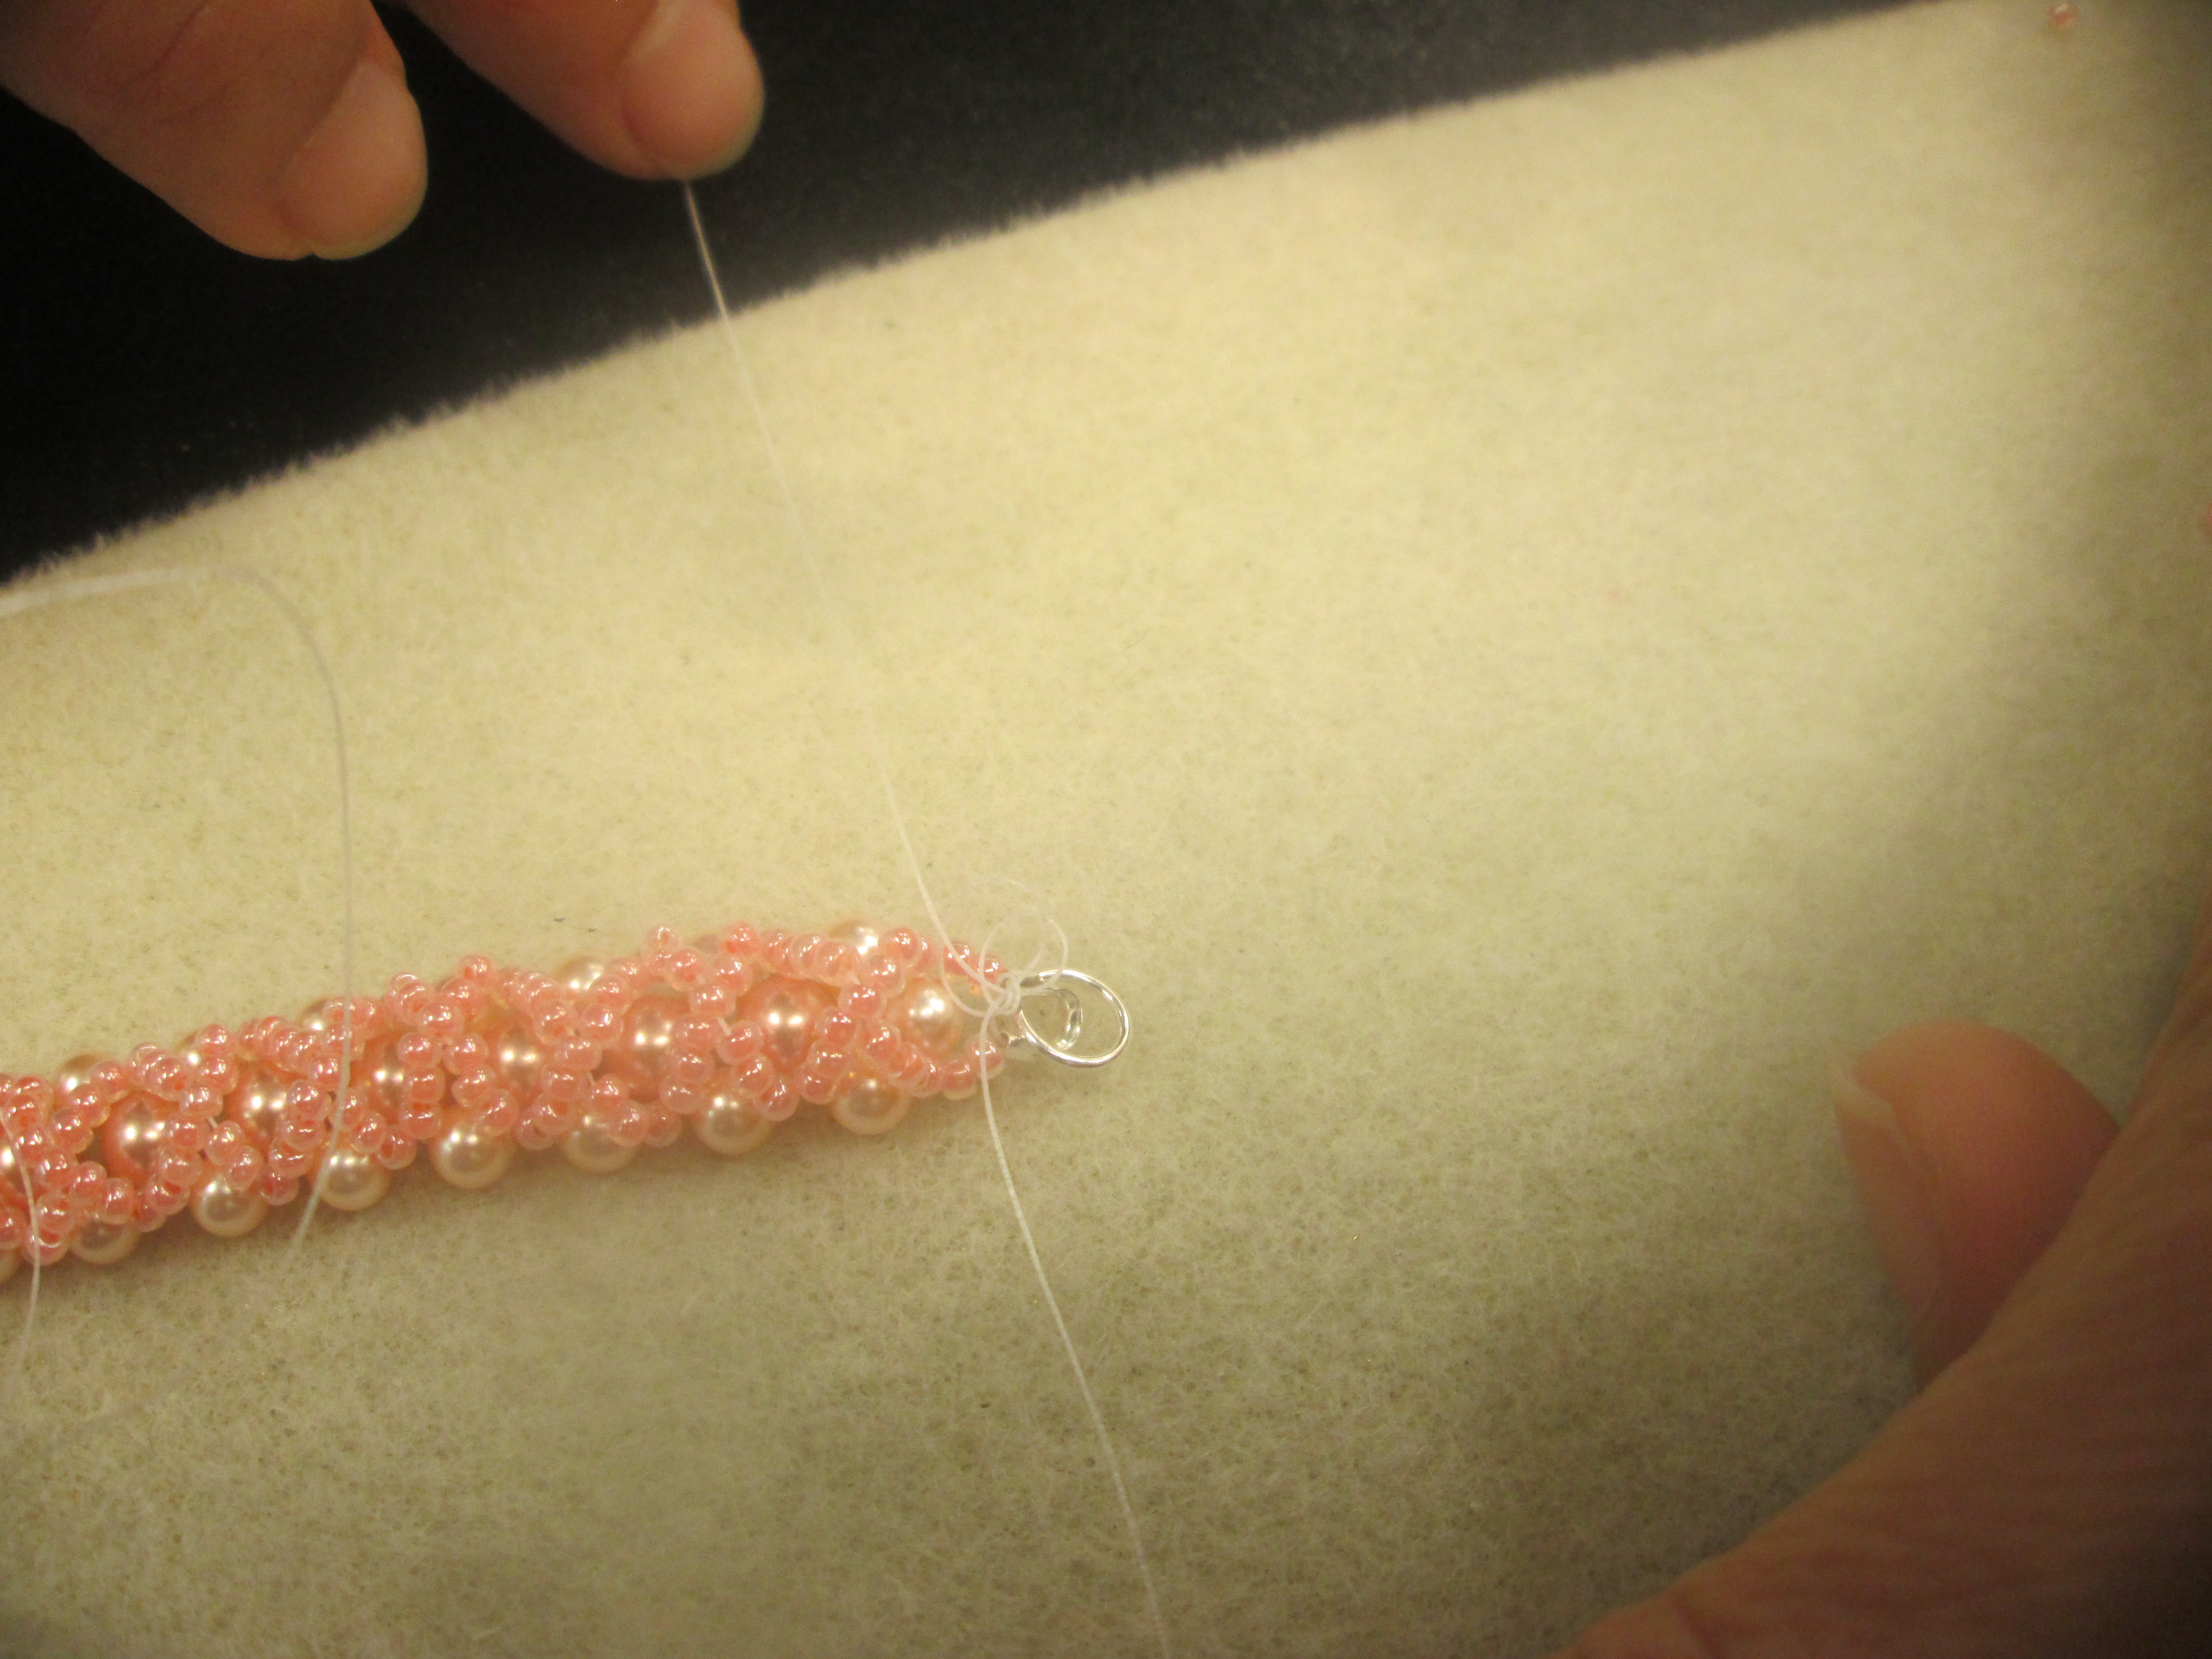
 Before starting the next part of the bracelet, the clasps need to be attached.
After putting 3 small beads and 1 large one onto the string and positioning it in the center of the entire length of string, which I failed to do at first and my instructor had to finagle it to shift it back to the center,
the needle on the opposite side of the string from the large bead has to loop over and pass through the large bead from the opposite side to form the beginning of the chain.
until the desired length of bracelet is reached, which has to fit the wrist of the wearer.
It is safer to have it too short and then extend it using other pieces, while it being too long cannot be shortened.
This is done by first placing 2 mini beads on each side of the bracelet,
then passing one needle through both ends of the wire protector, subsquently slipping the clasp onto the wire protector, and then sealing the setup by threading the other needle through the other end of the wire protector and going through the final end of the wire protector.
 After bringing the clasp setup flush with the mini-beads, it is time to resume the second part of the beading by first passing the needles through the mini- beads on their side of the chain, then passing through the very first center bead to the other side.

The cyclic step to continue to the end of the chain is then what follows. Firstly, 3 mini beads are strung on one side, and 4 on the other. The needle with 3 beads is then looped through the 4th bead on the other side to complete the first loop.
The second loop is made by putting 3 mini-beads on each side, with the needle passing through the next center bead to get to the other side.

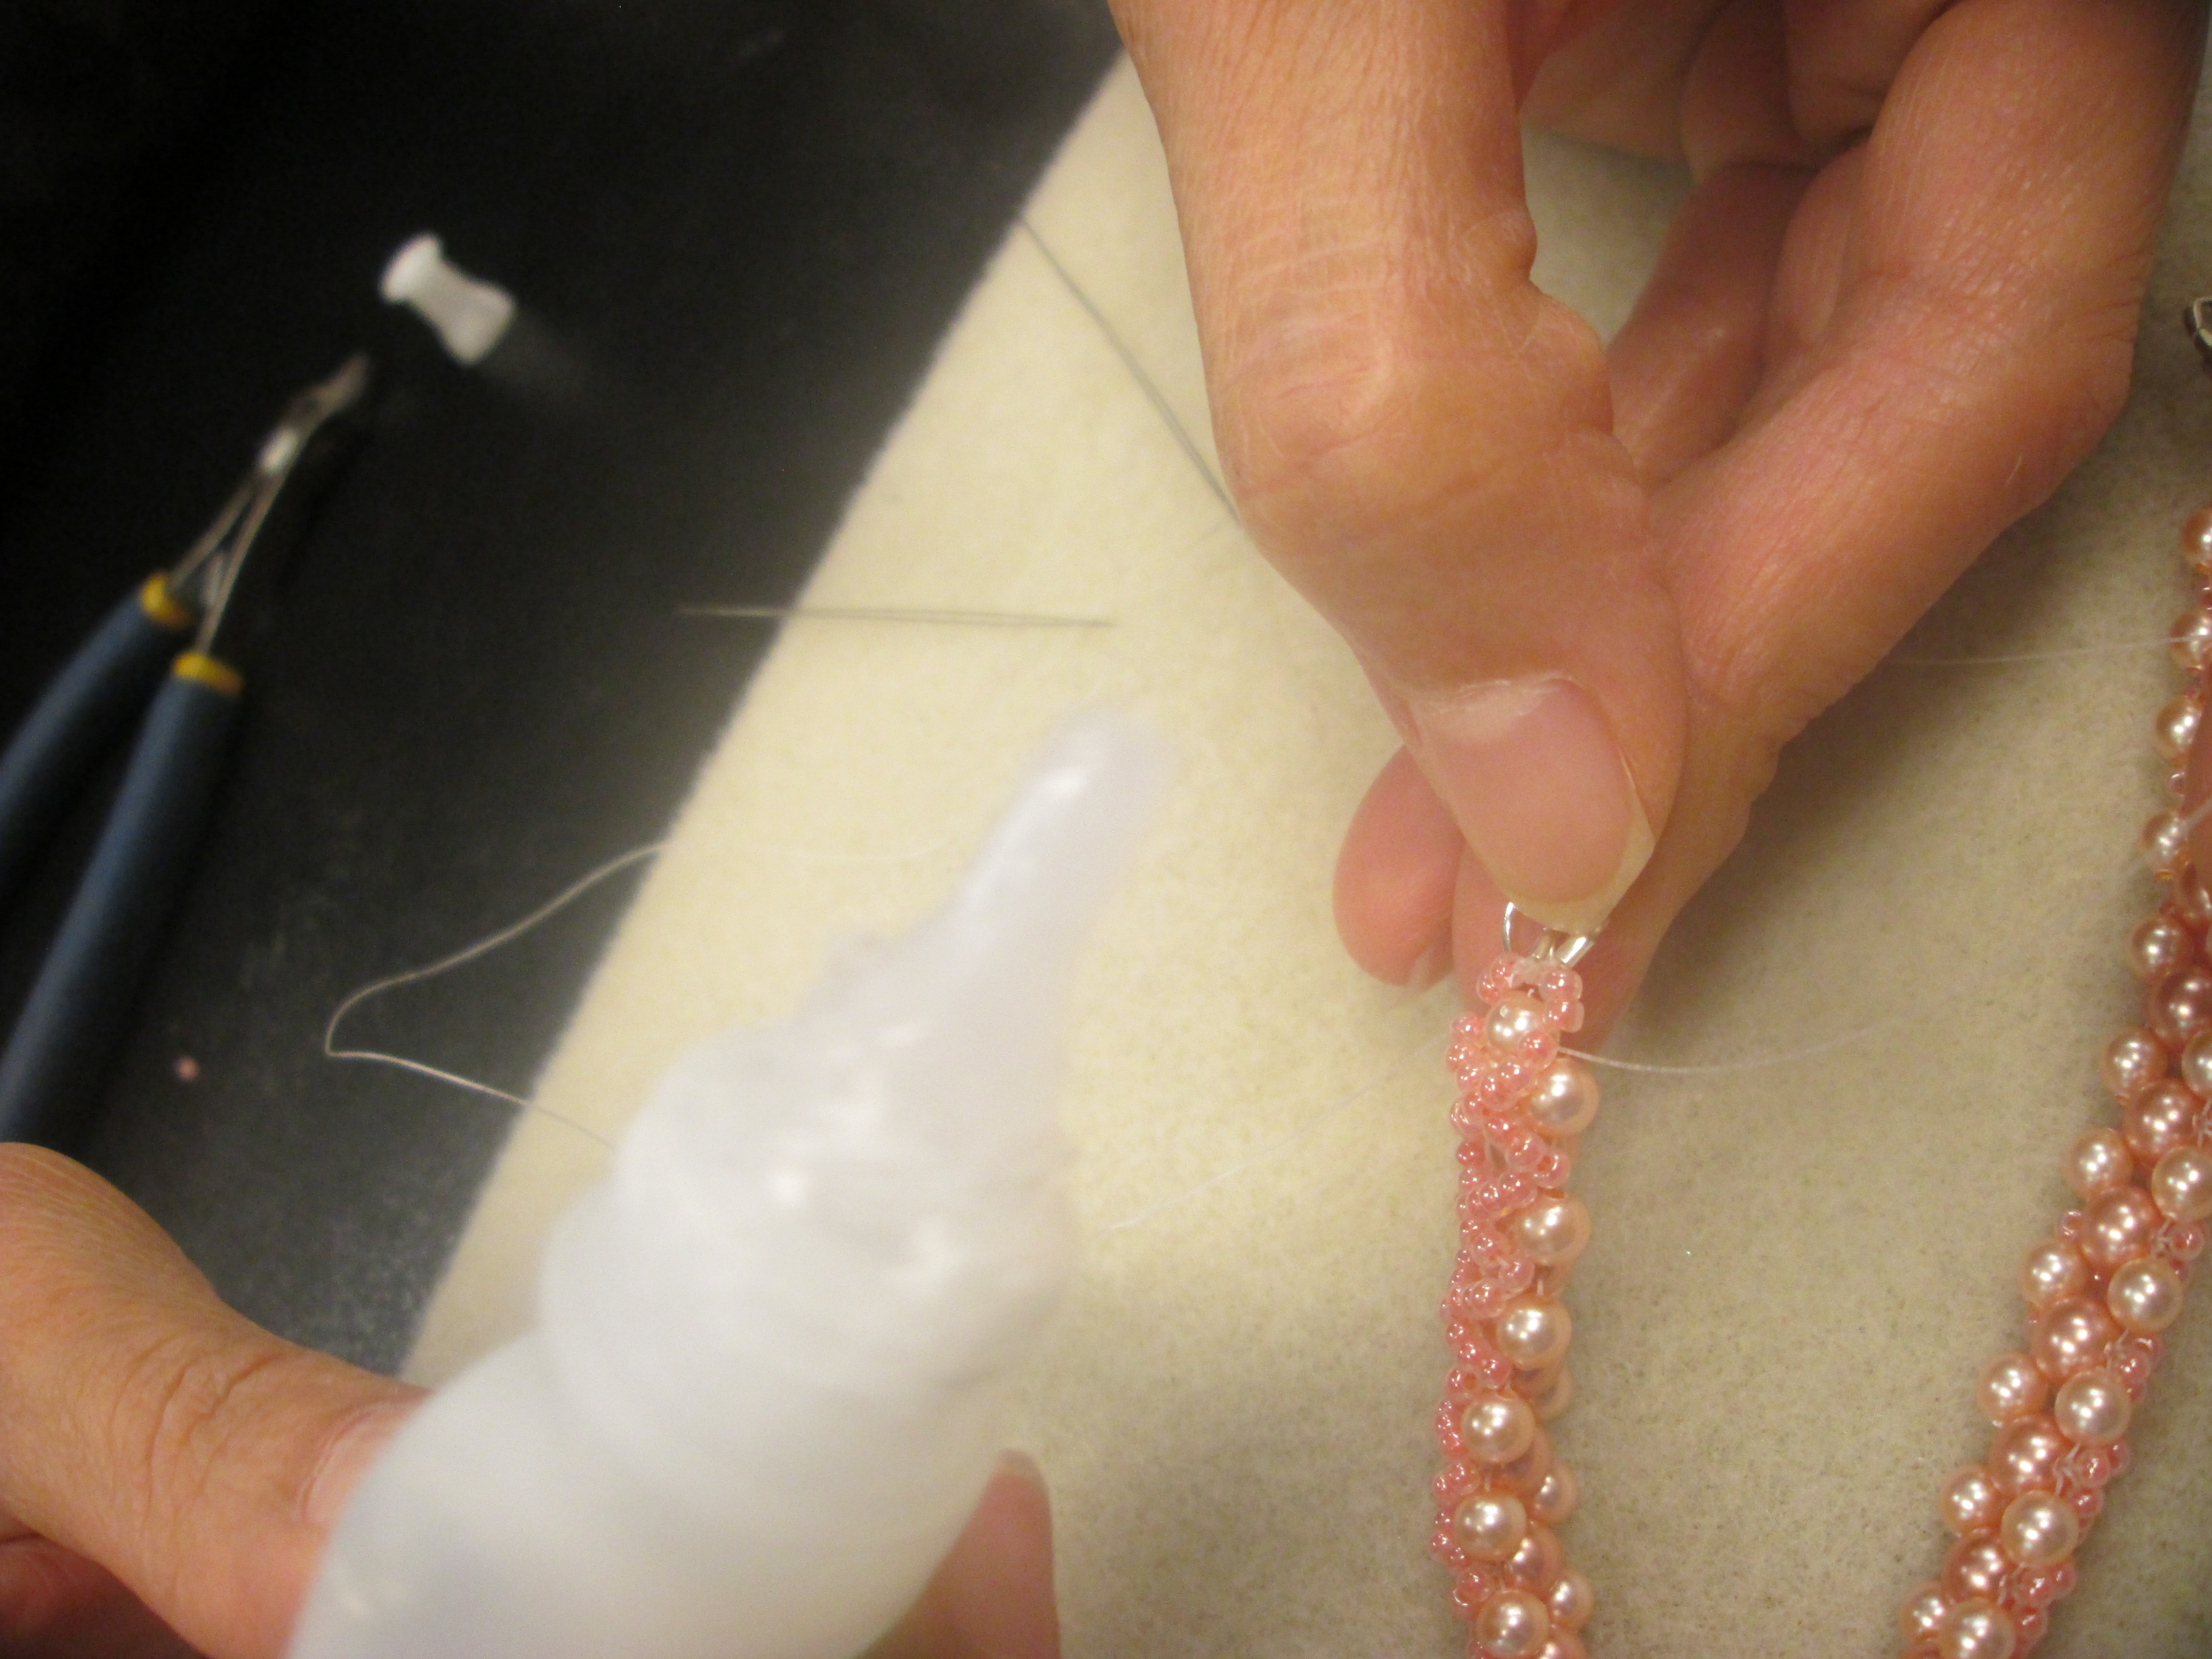
At the very end, after finishing the second loop in the cycle, 2 mini-beads are strung onto each side, and then passed through the holes of another wire protector holding the ring end of the clasp. After knotting the two sides together,
the needles are then passed through the last 2 mini-beads and the top center bead to the other side to seal the ends,
and then comes a knotting sequence which I can't quite pin down, ending with the gluing of the ends and cutting off of excess wire.
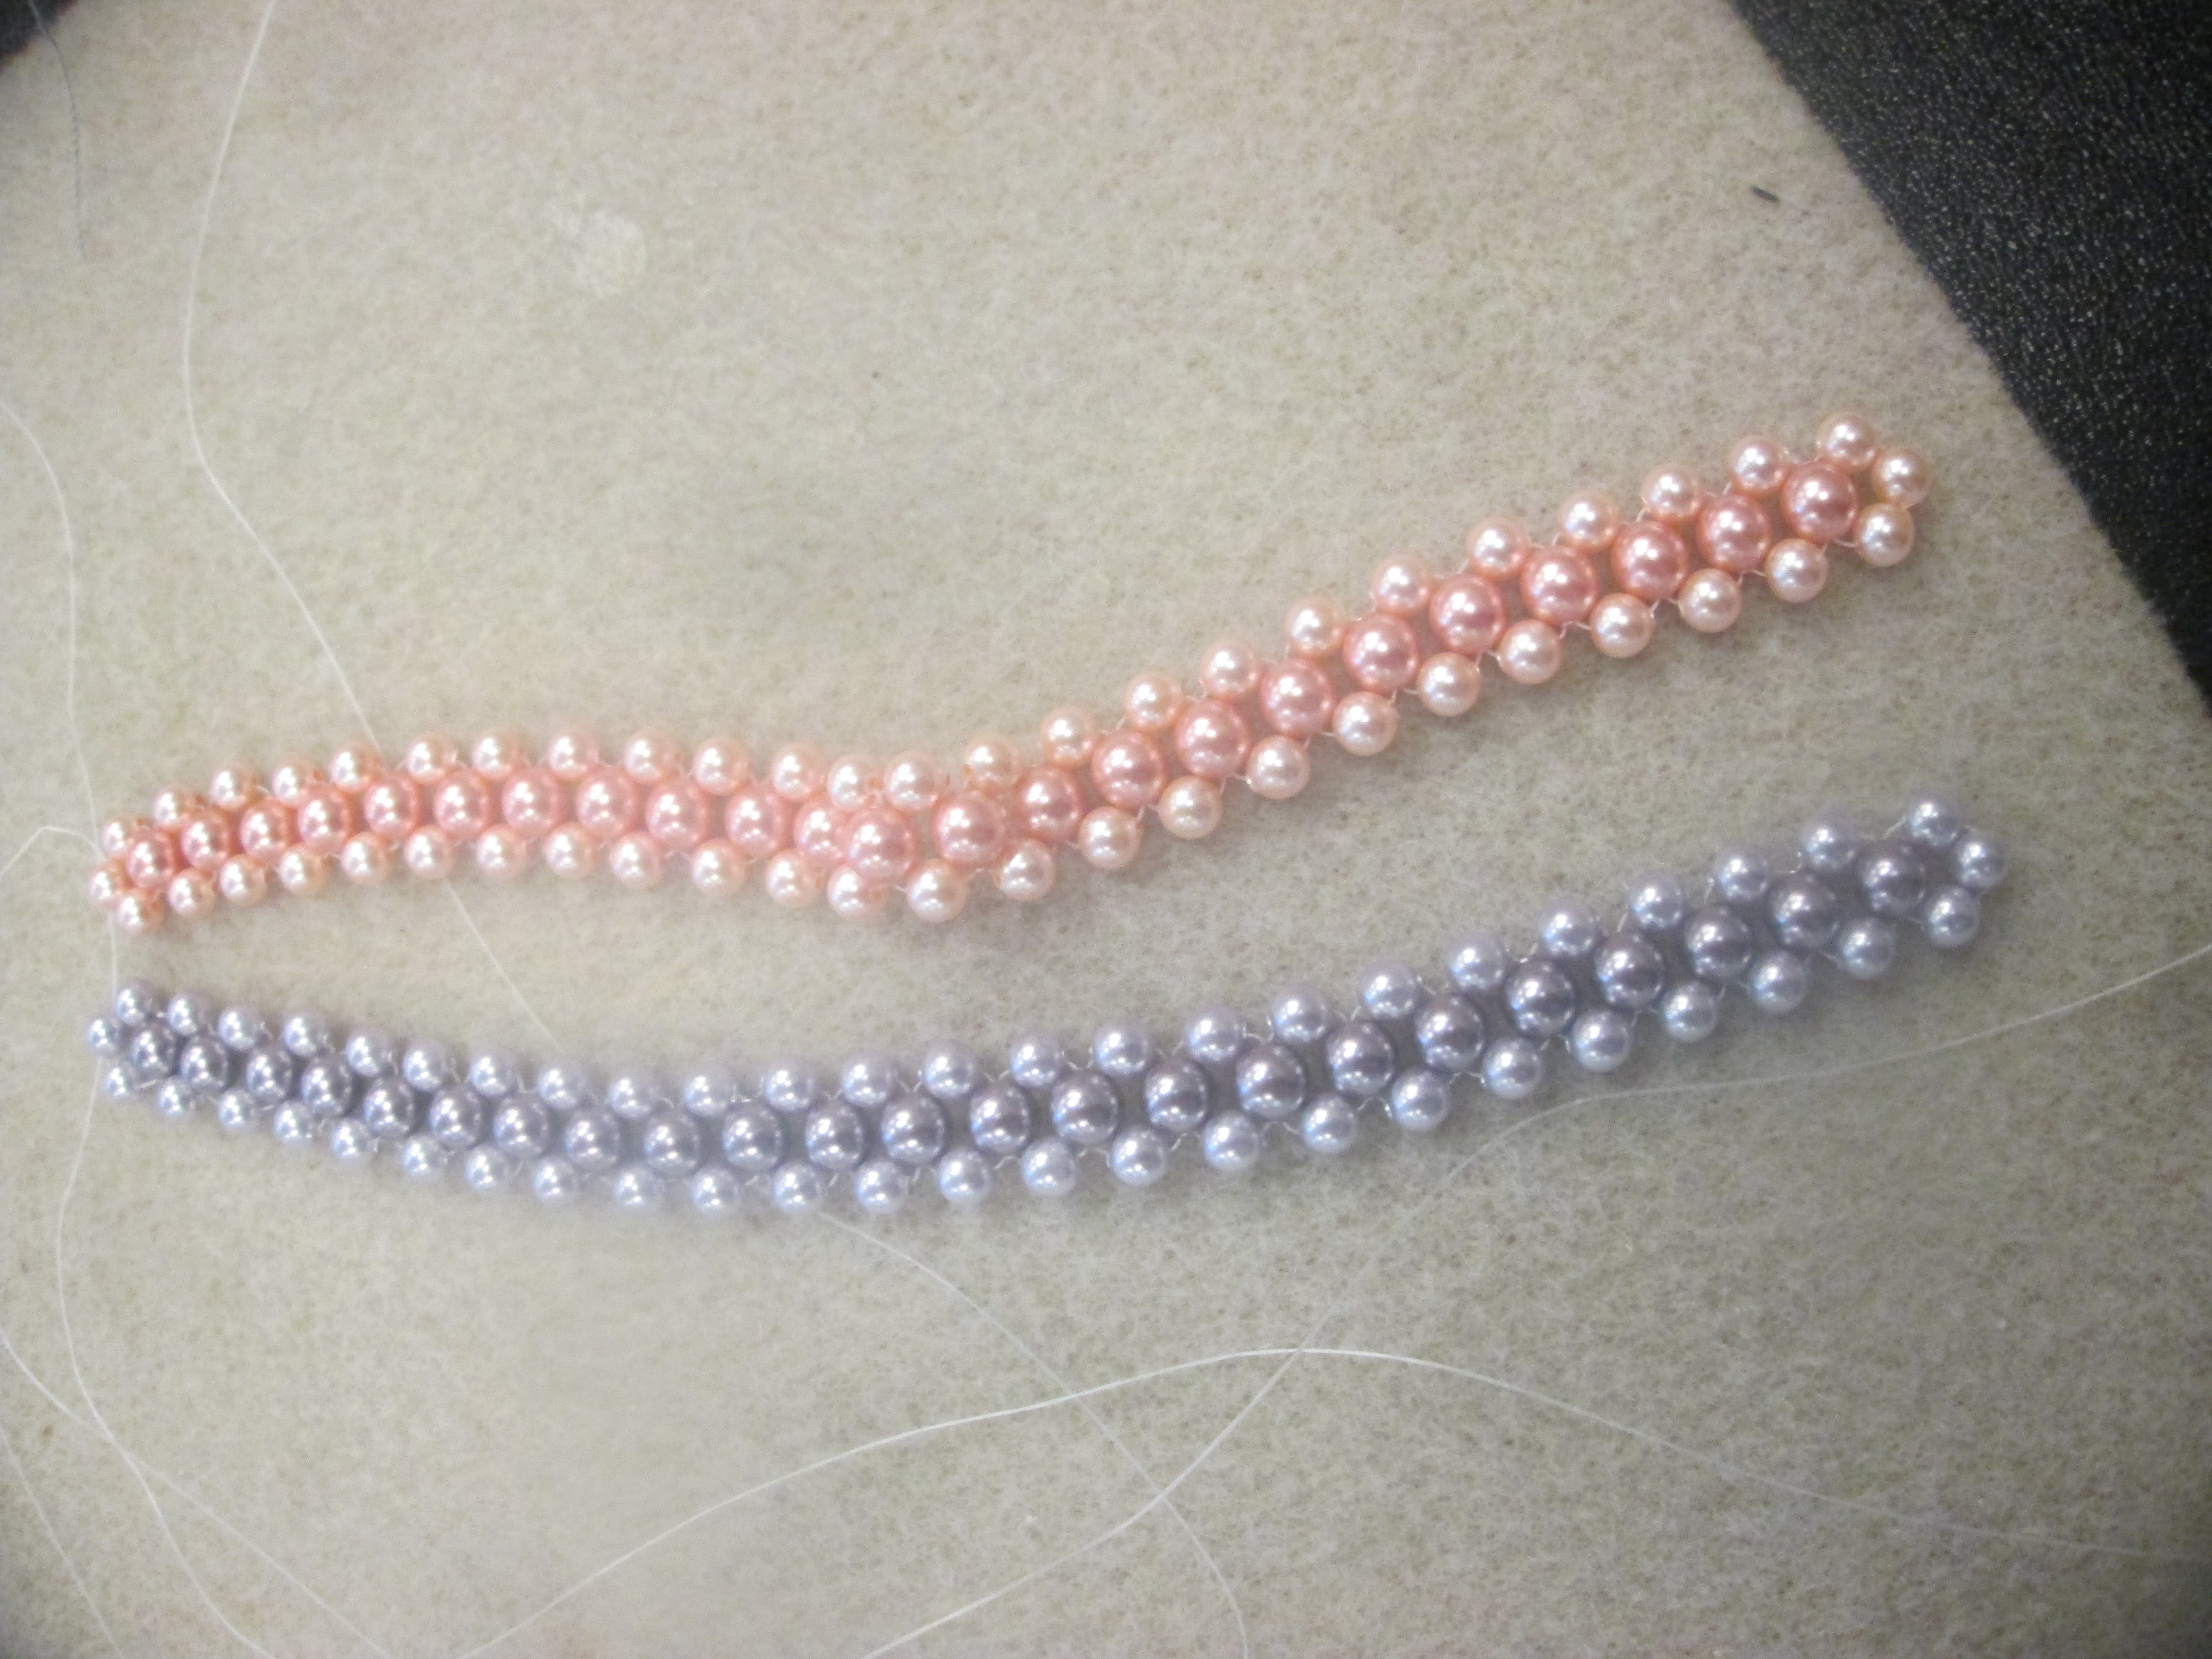
And wah lah, 2 beautiful bracelets, which turned out to be too big for thin girls' hands. Oh well.
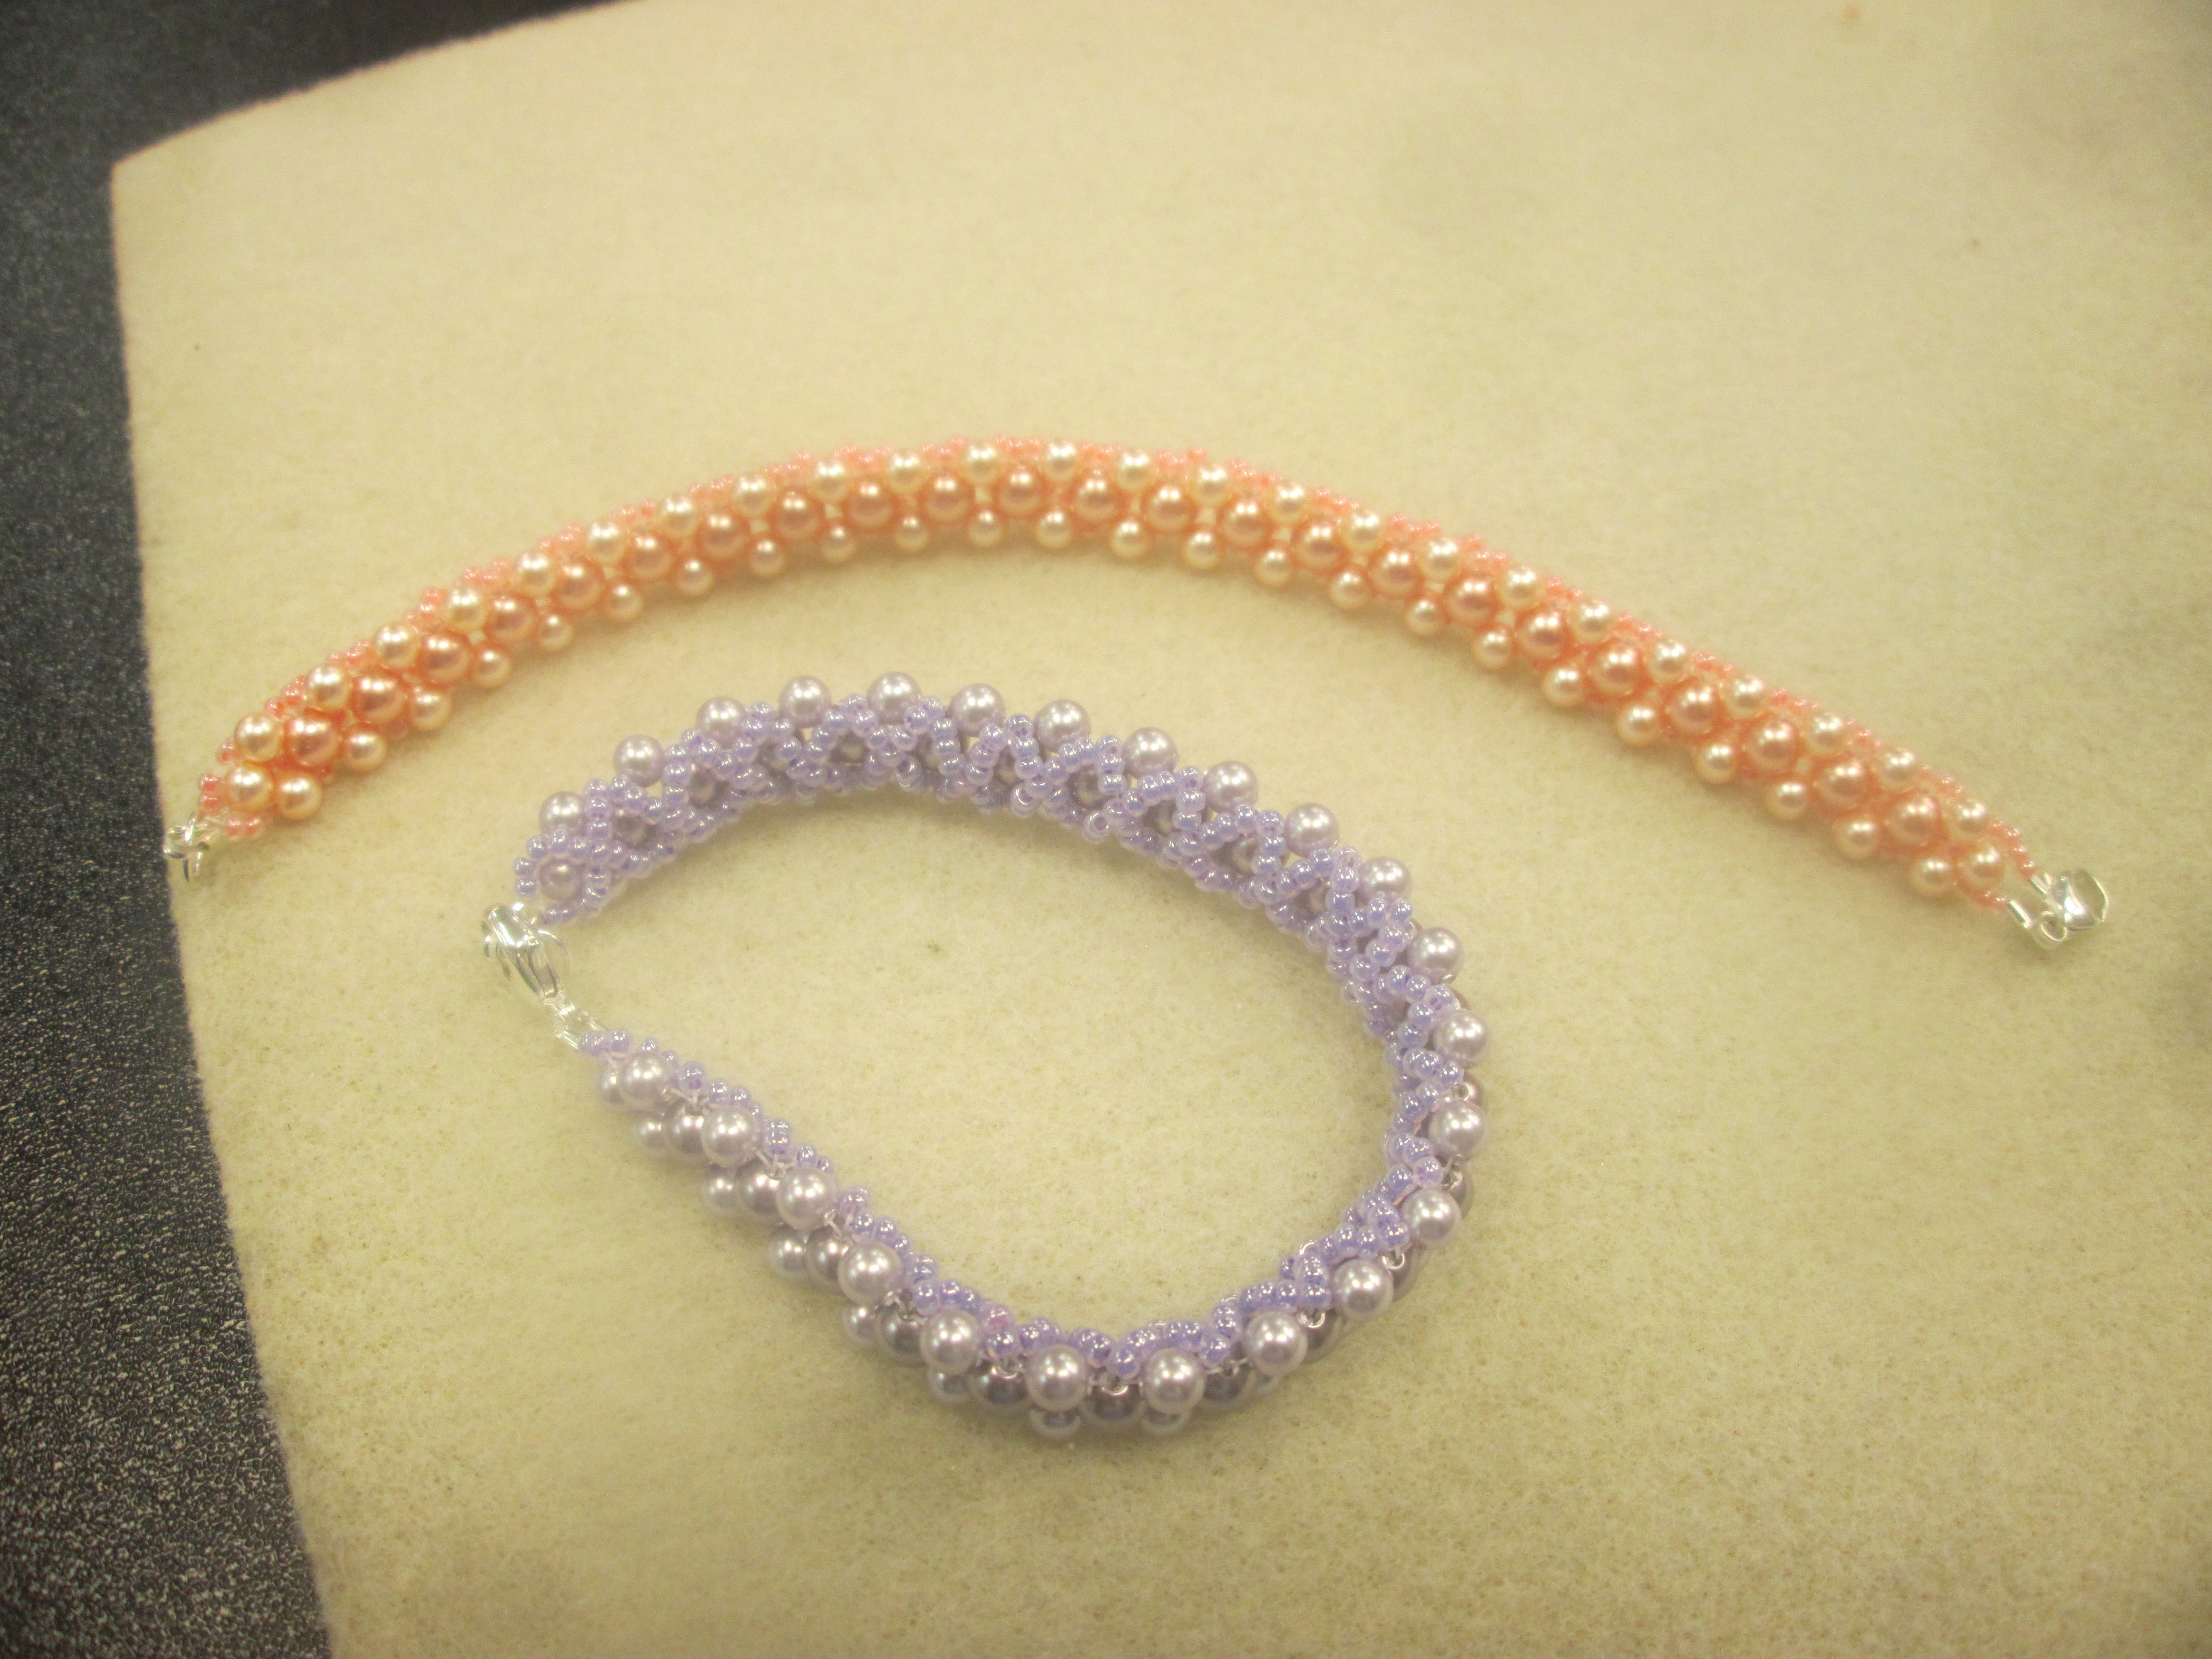
With that, a fun day of learning to make bracelets came to an end.
the needles are then passed through the last 2 mini-beads and the top center bead to the other side to seal the ends,
and then comes a knotting sequence which I can't quite pin down, ending with the gluing of the ends and cutting off of excess wire.
With that, a fun day of learning to make bracelets came to an end.
No comments:
Post a Comment