Today after work, I had an appointment to learn how to make stained glass art at
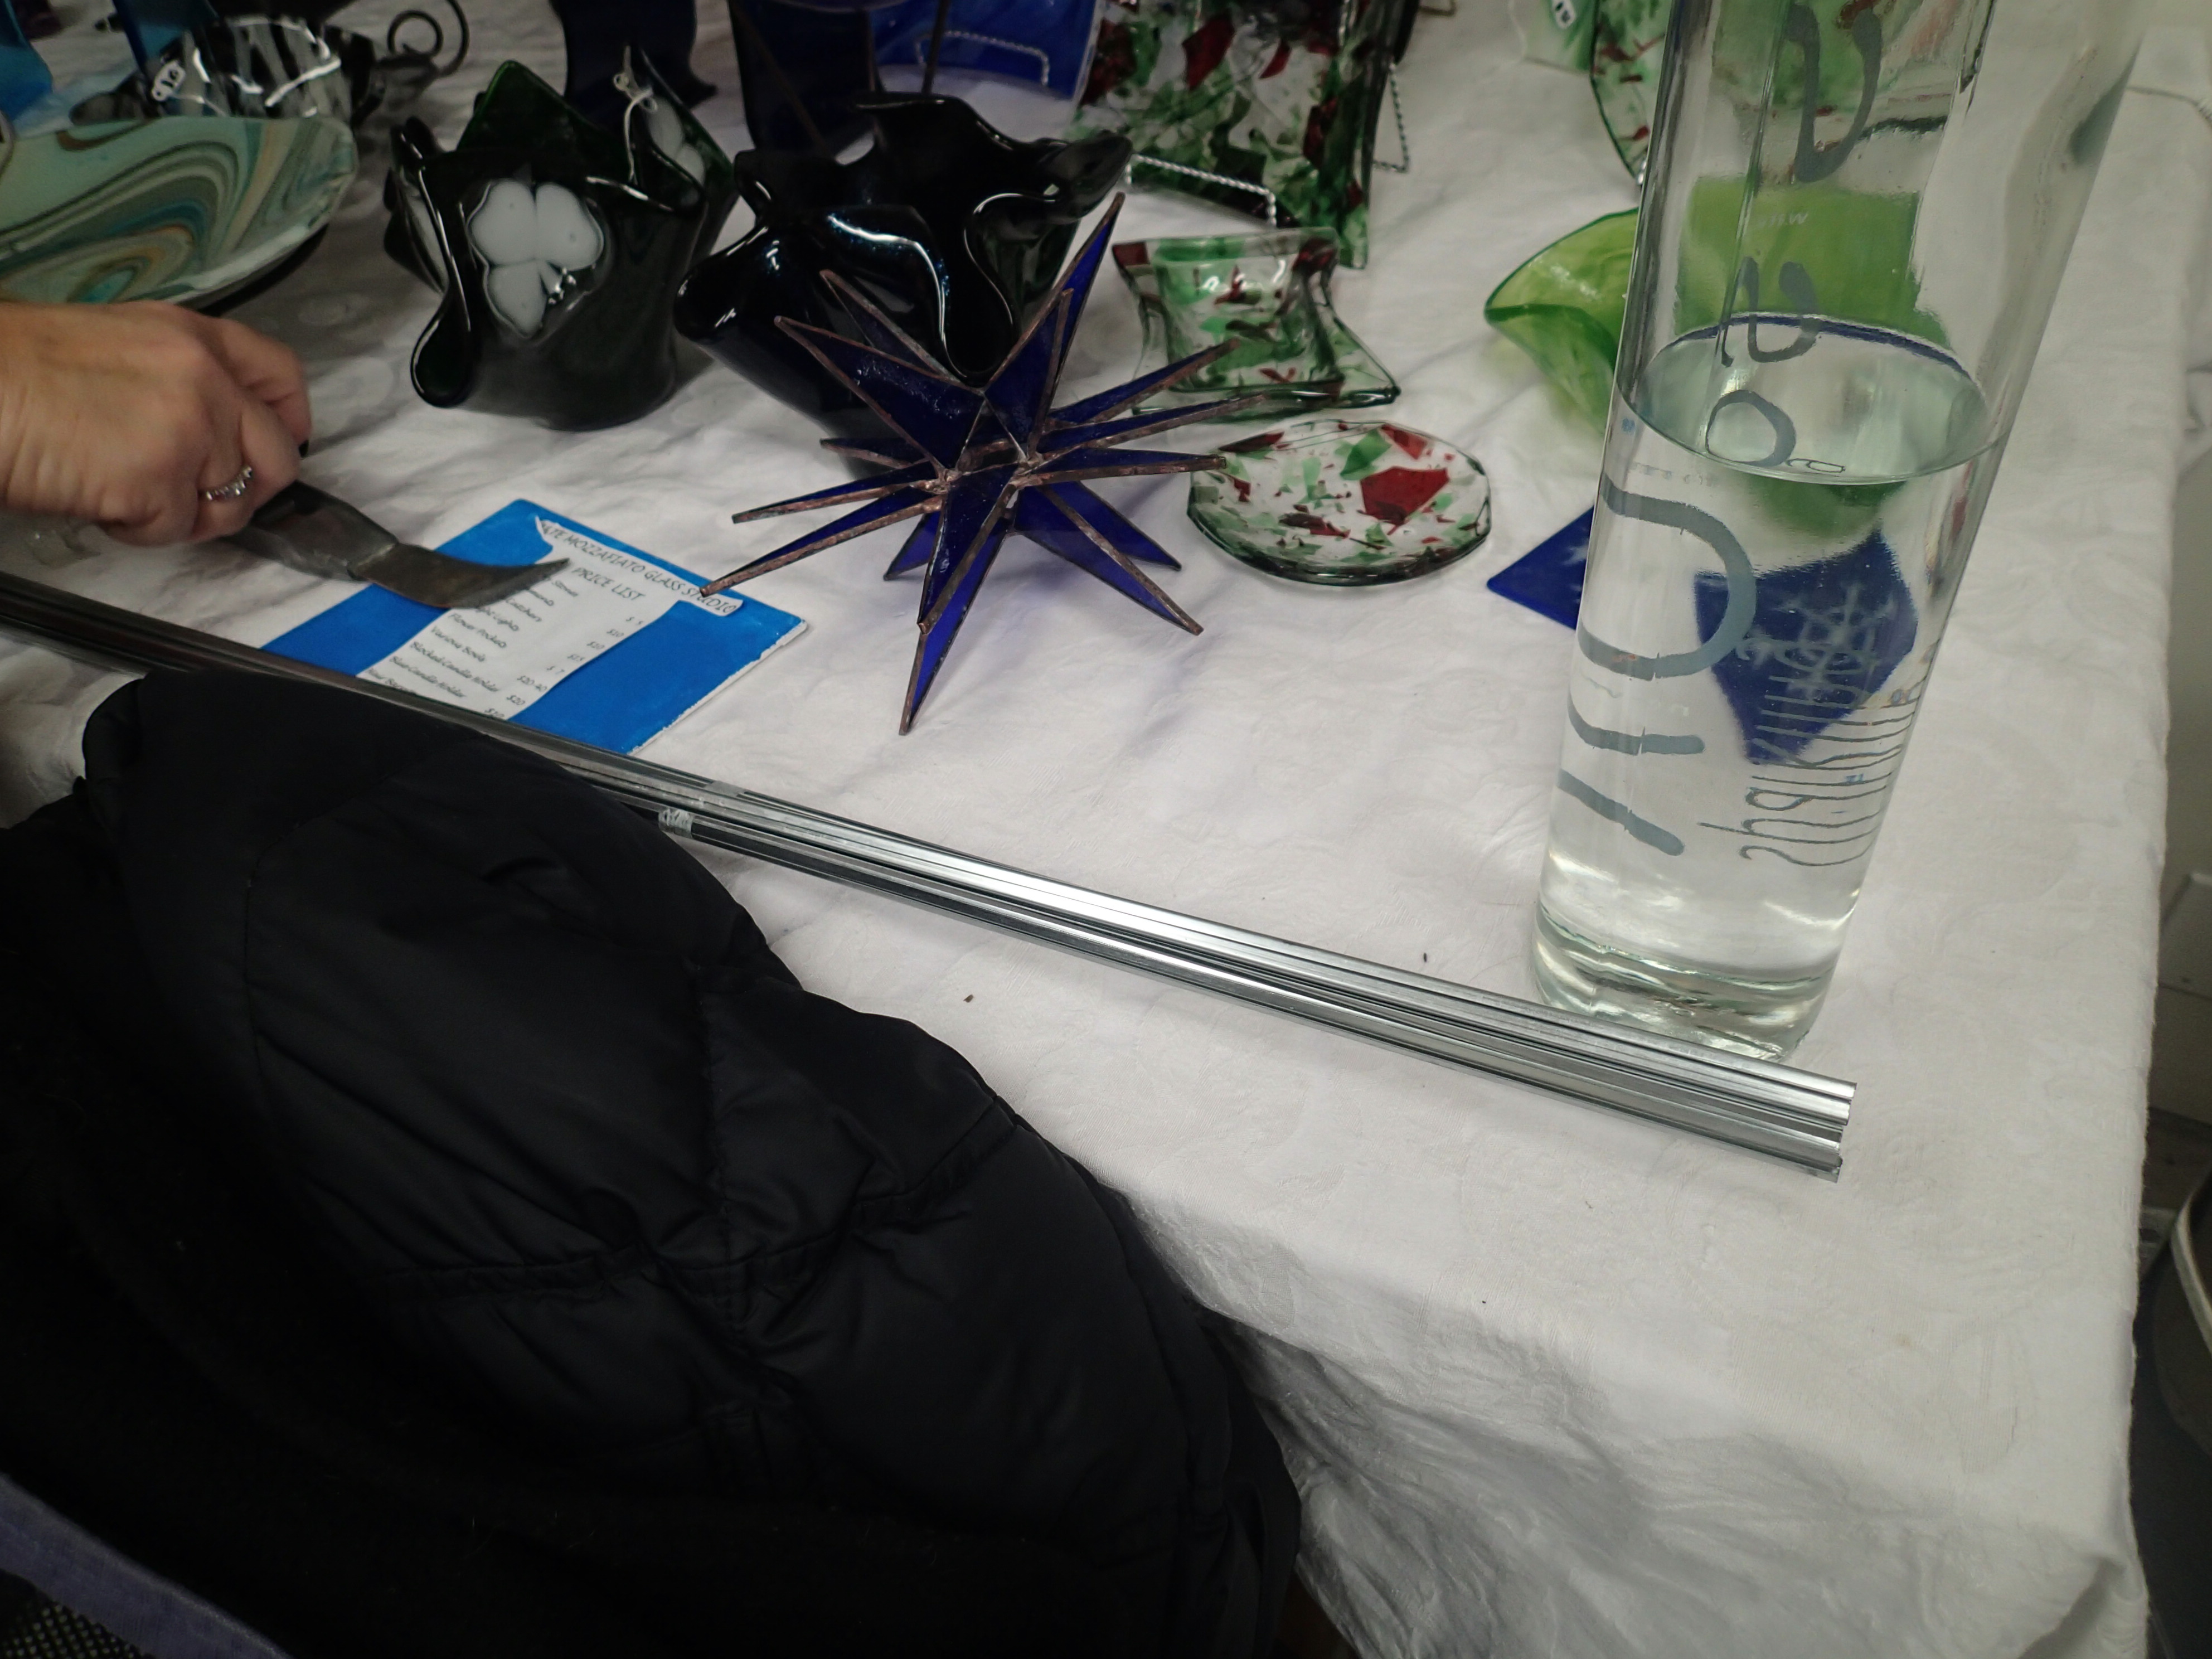
Arte Mozzafiato in the town of Needham. The
last time I was here, I made a pair of earrings and a matching pendant which my sister absolutely loved, so I was looking forward to more good artwork tonight.
Before that, I decided to grab some Thai food for dinner from
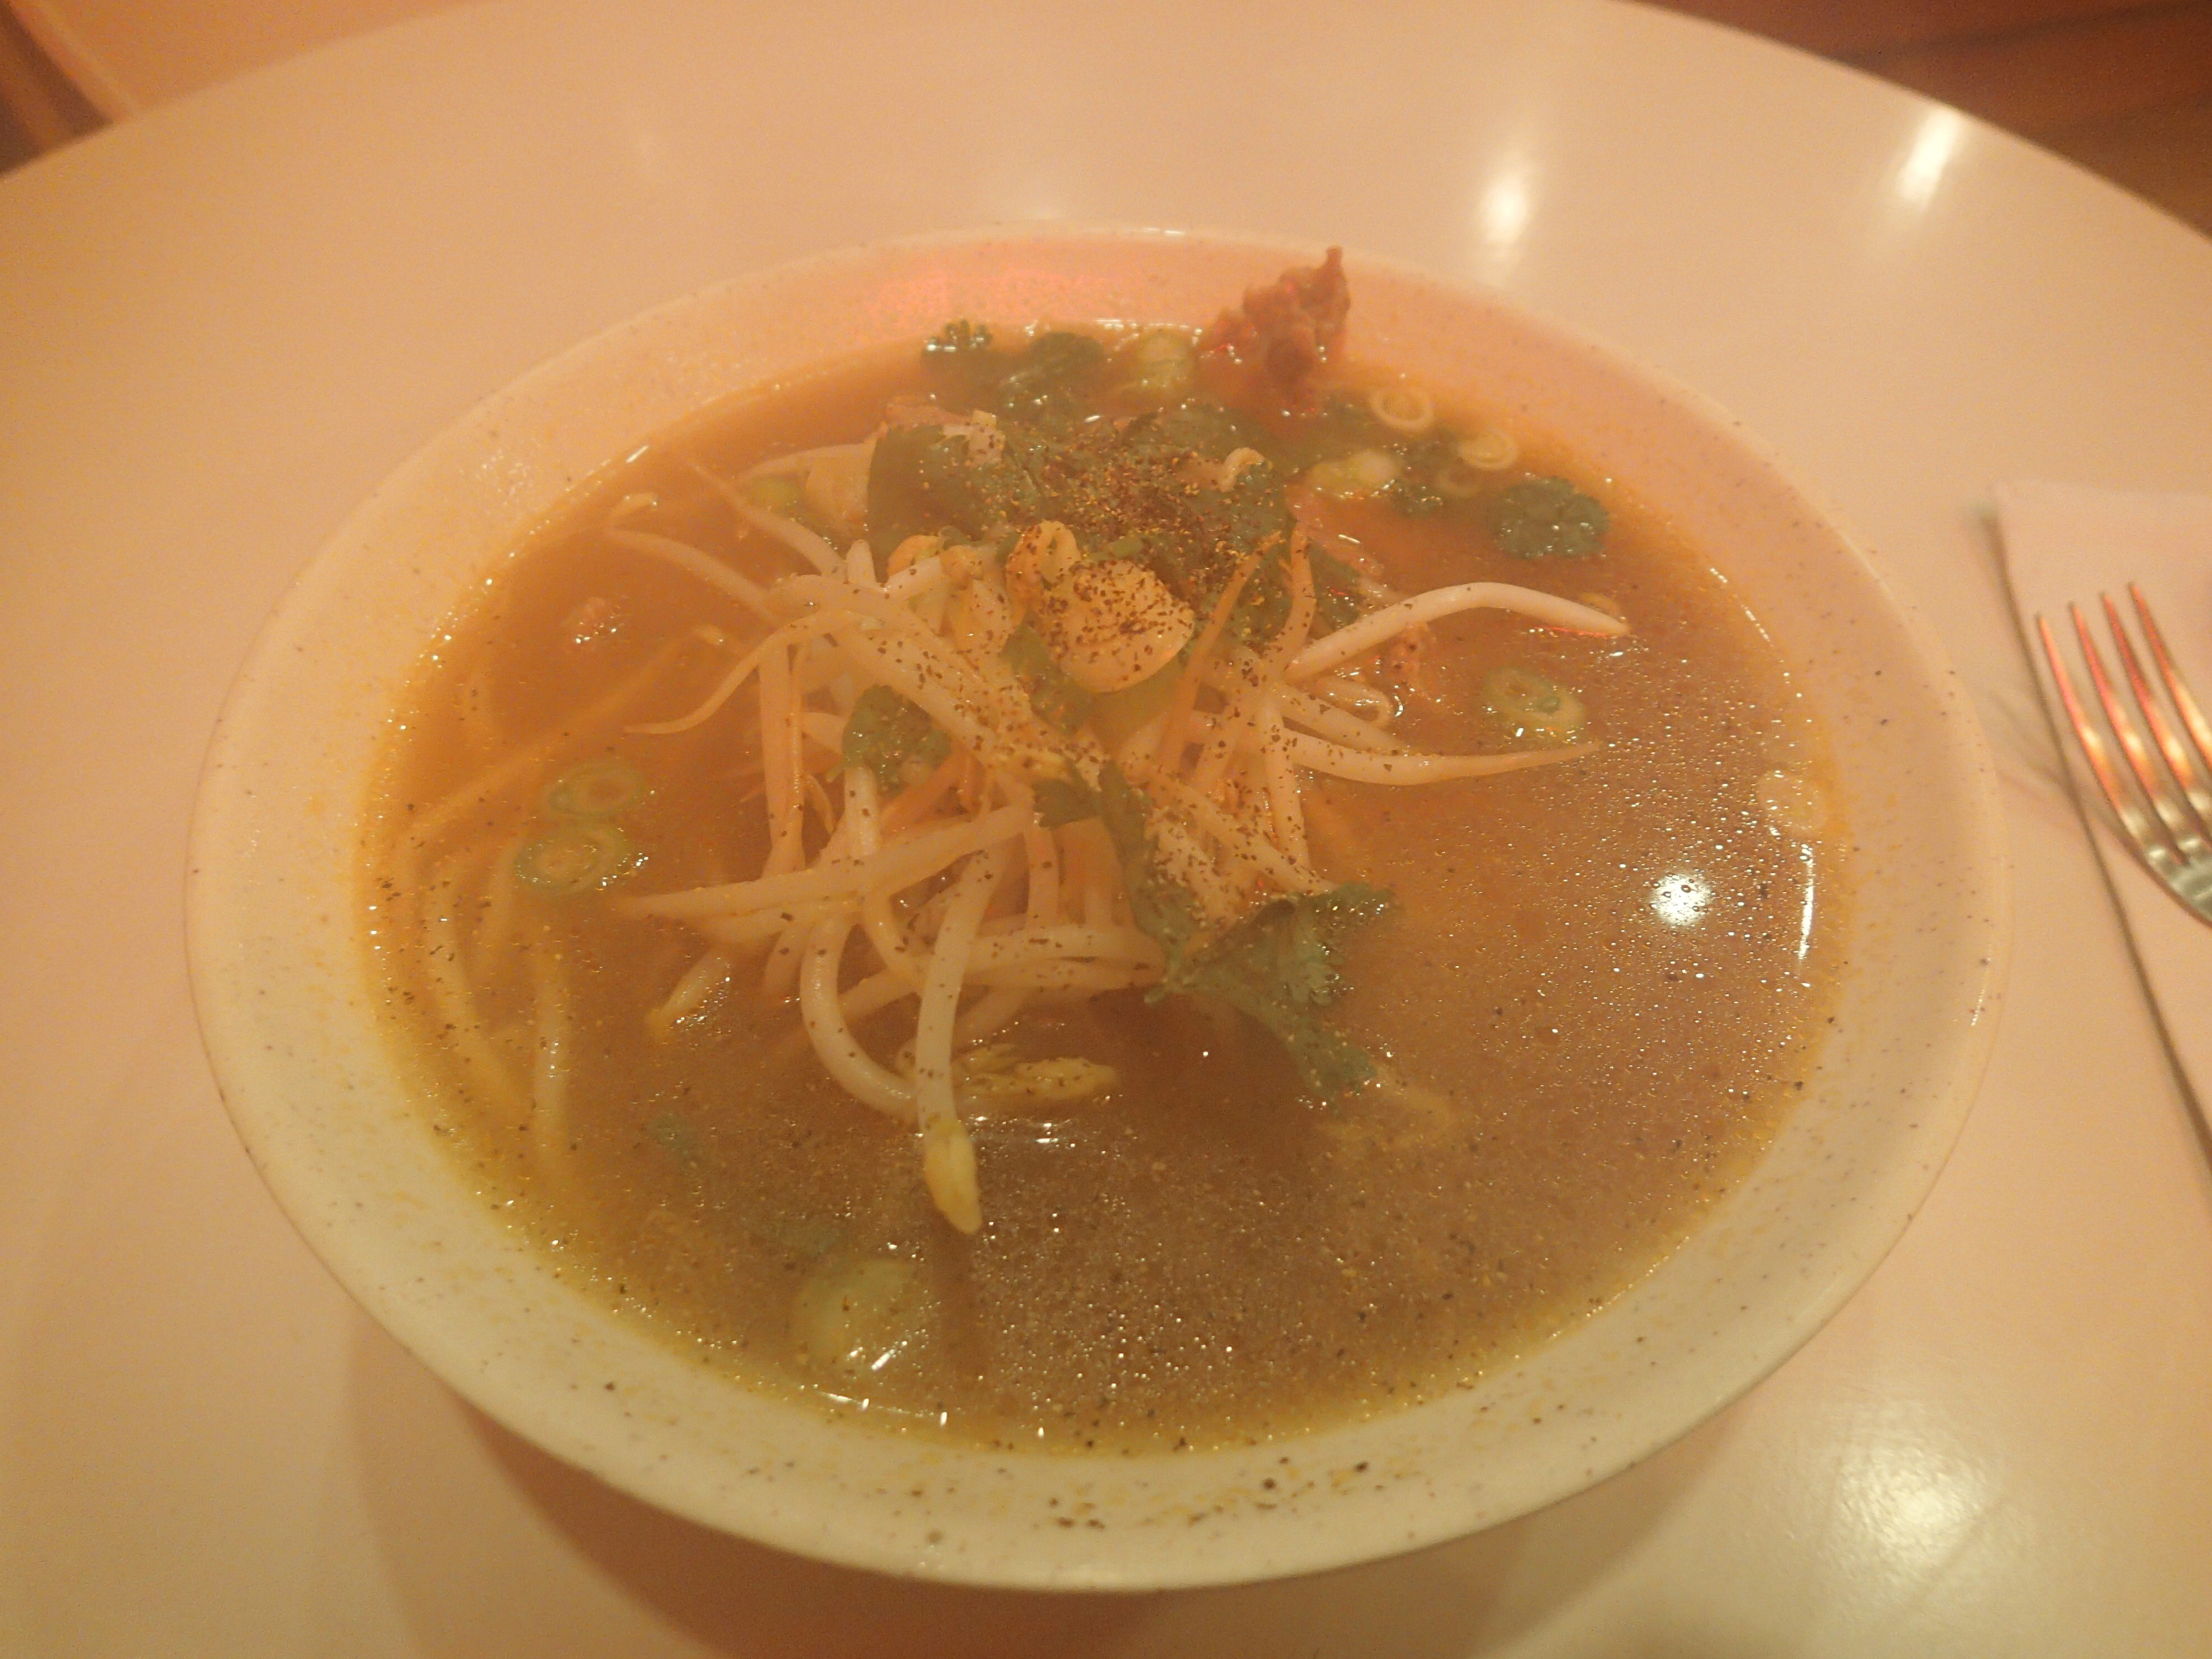
Thai Spice, a small takeout place located in the West Roxbury area of Boston. I originally thought this place was a restaurant, so I was really surprised when I arrived. The food I ordered was also pretty unsuitable for takeout, namely the Thai Herb Noodle Soup with beef,
the Thai Wings with sweet spicy sauce,
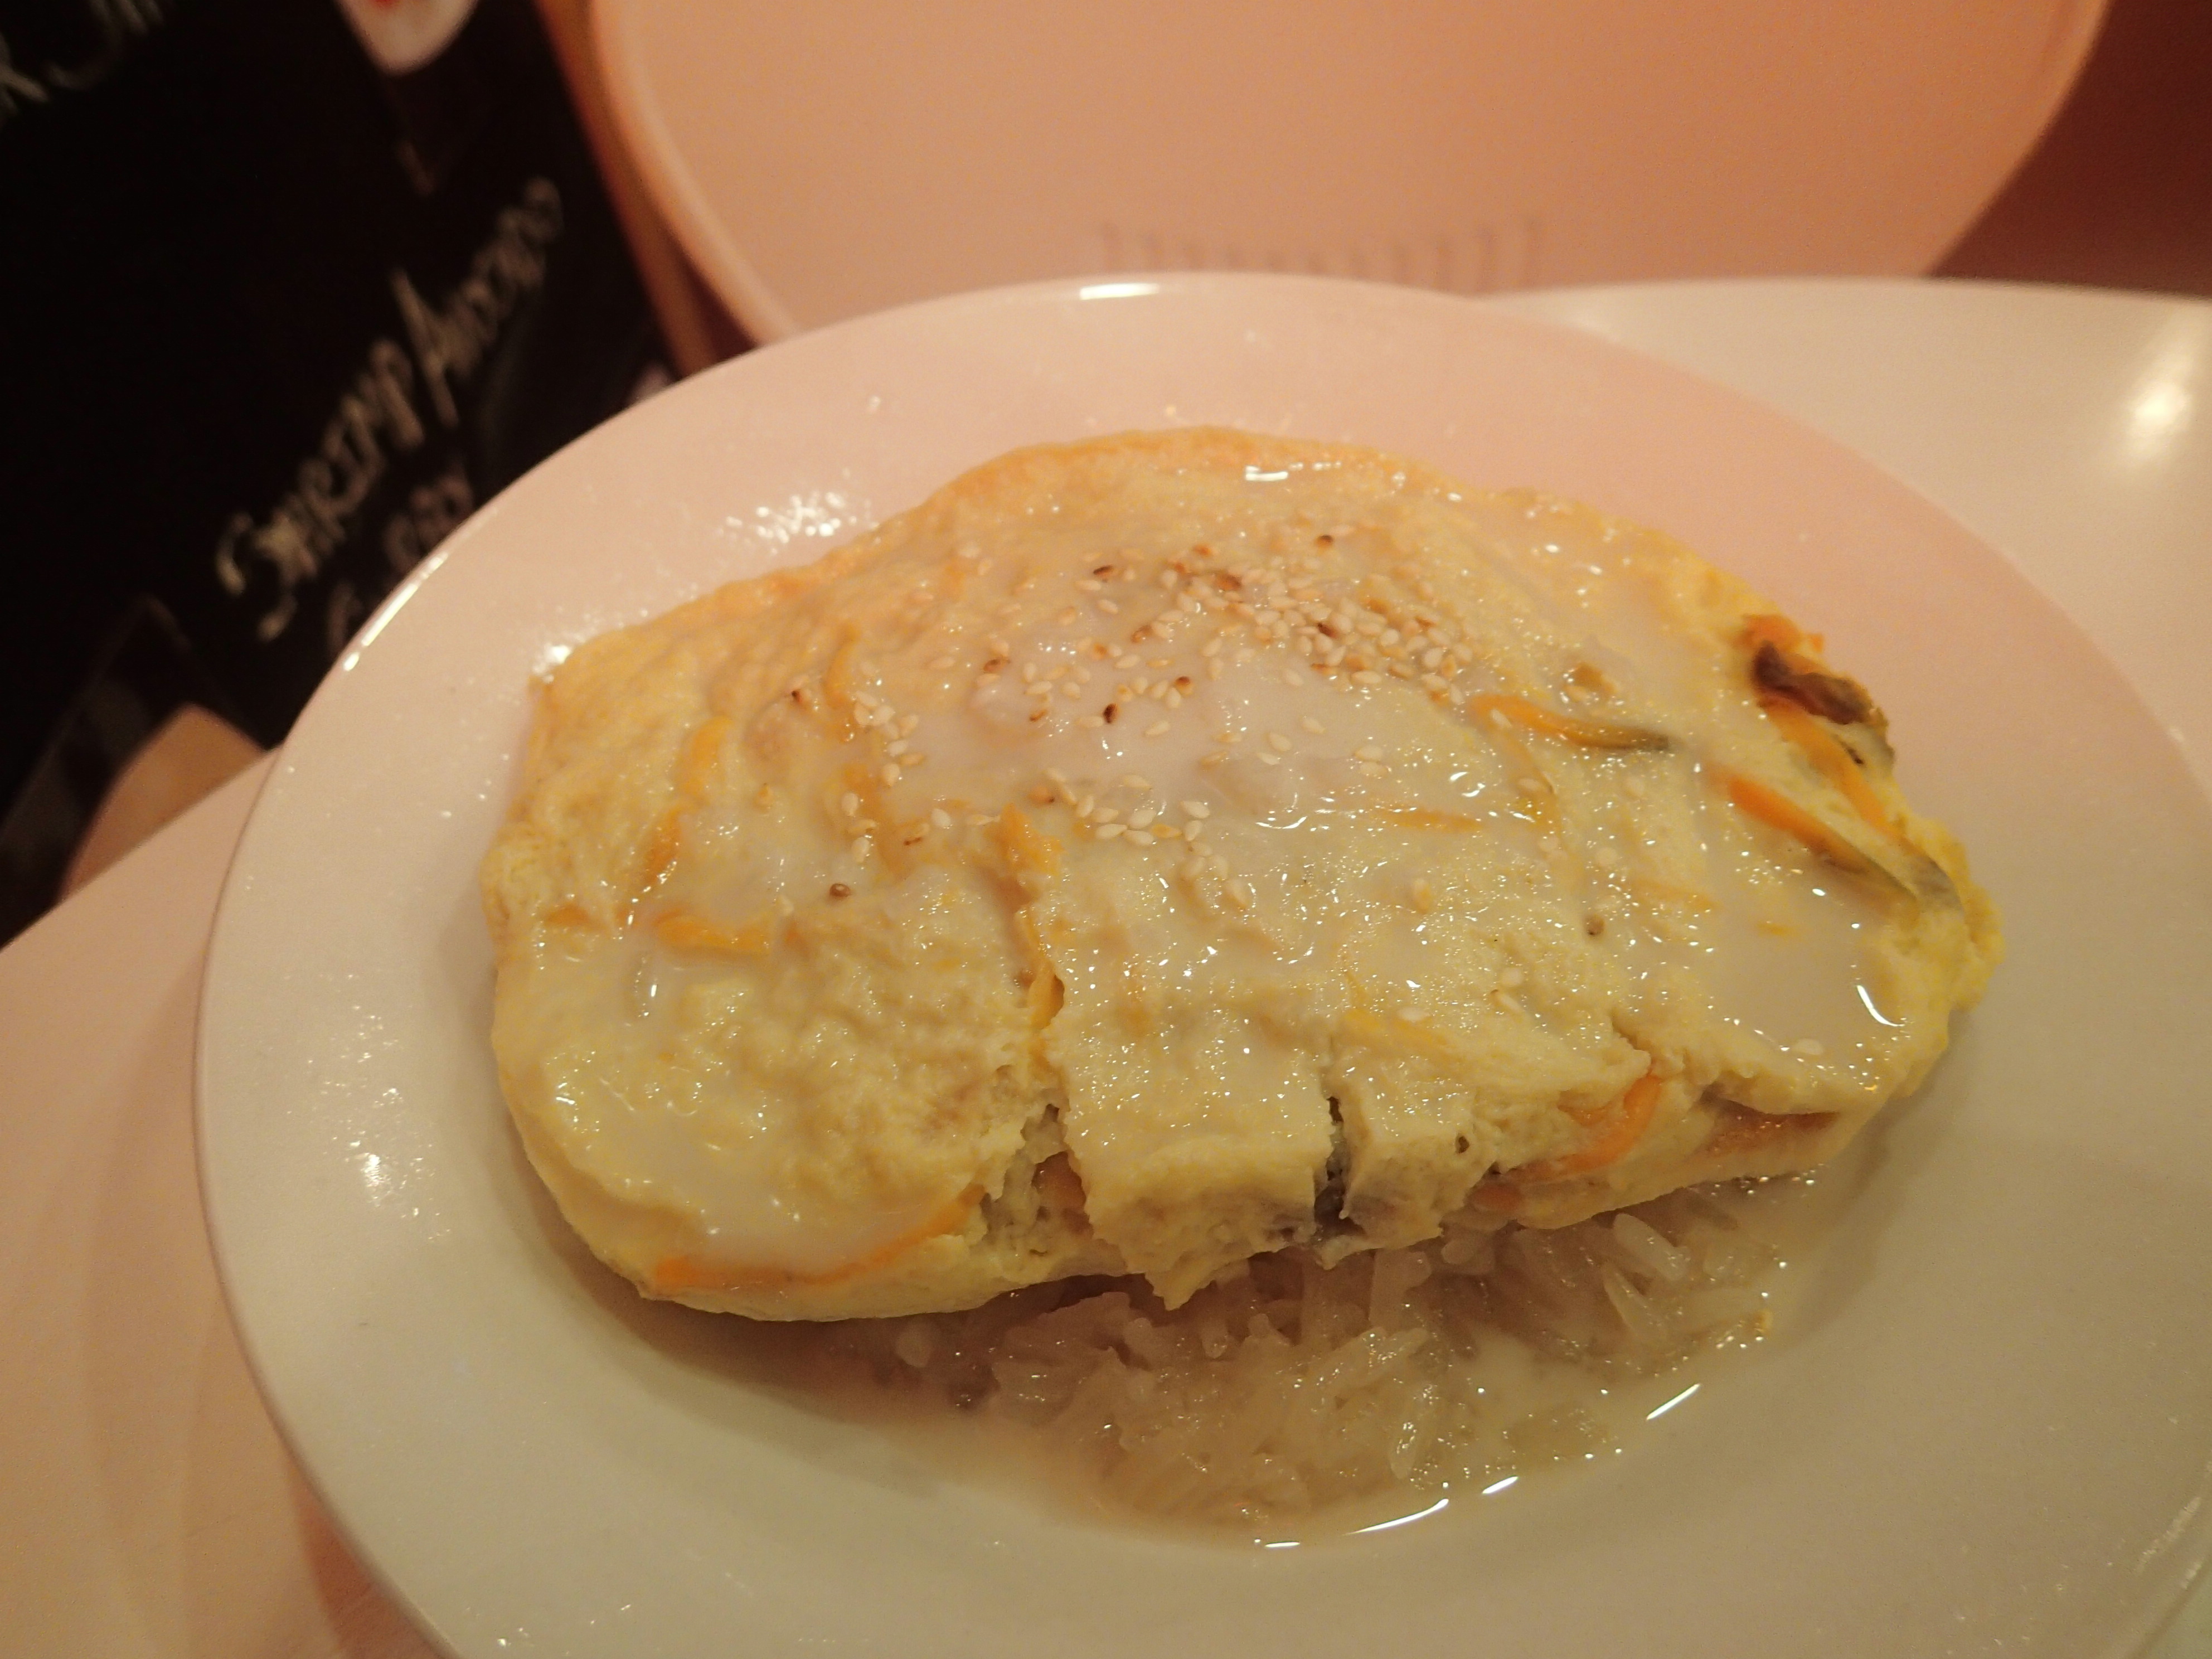
and the Custard Sticky Rice for dessert.
The noodles were really flavorful with the soup, while the chicken was extremely crispy as well. The dessert came in a pretty big portion as well. To say the least I had a pretty tasty and filling dinner, with leftovers to boot.
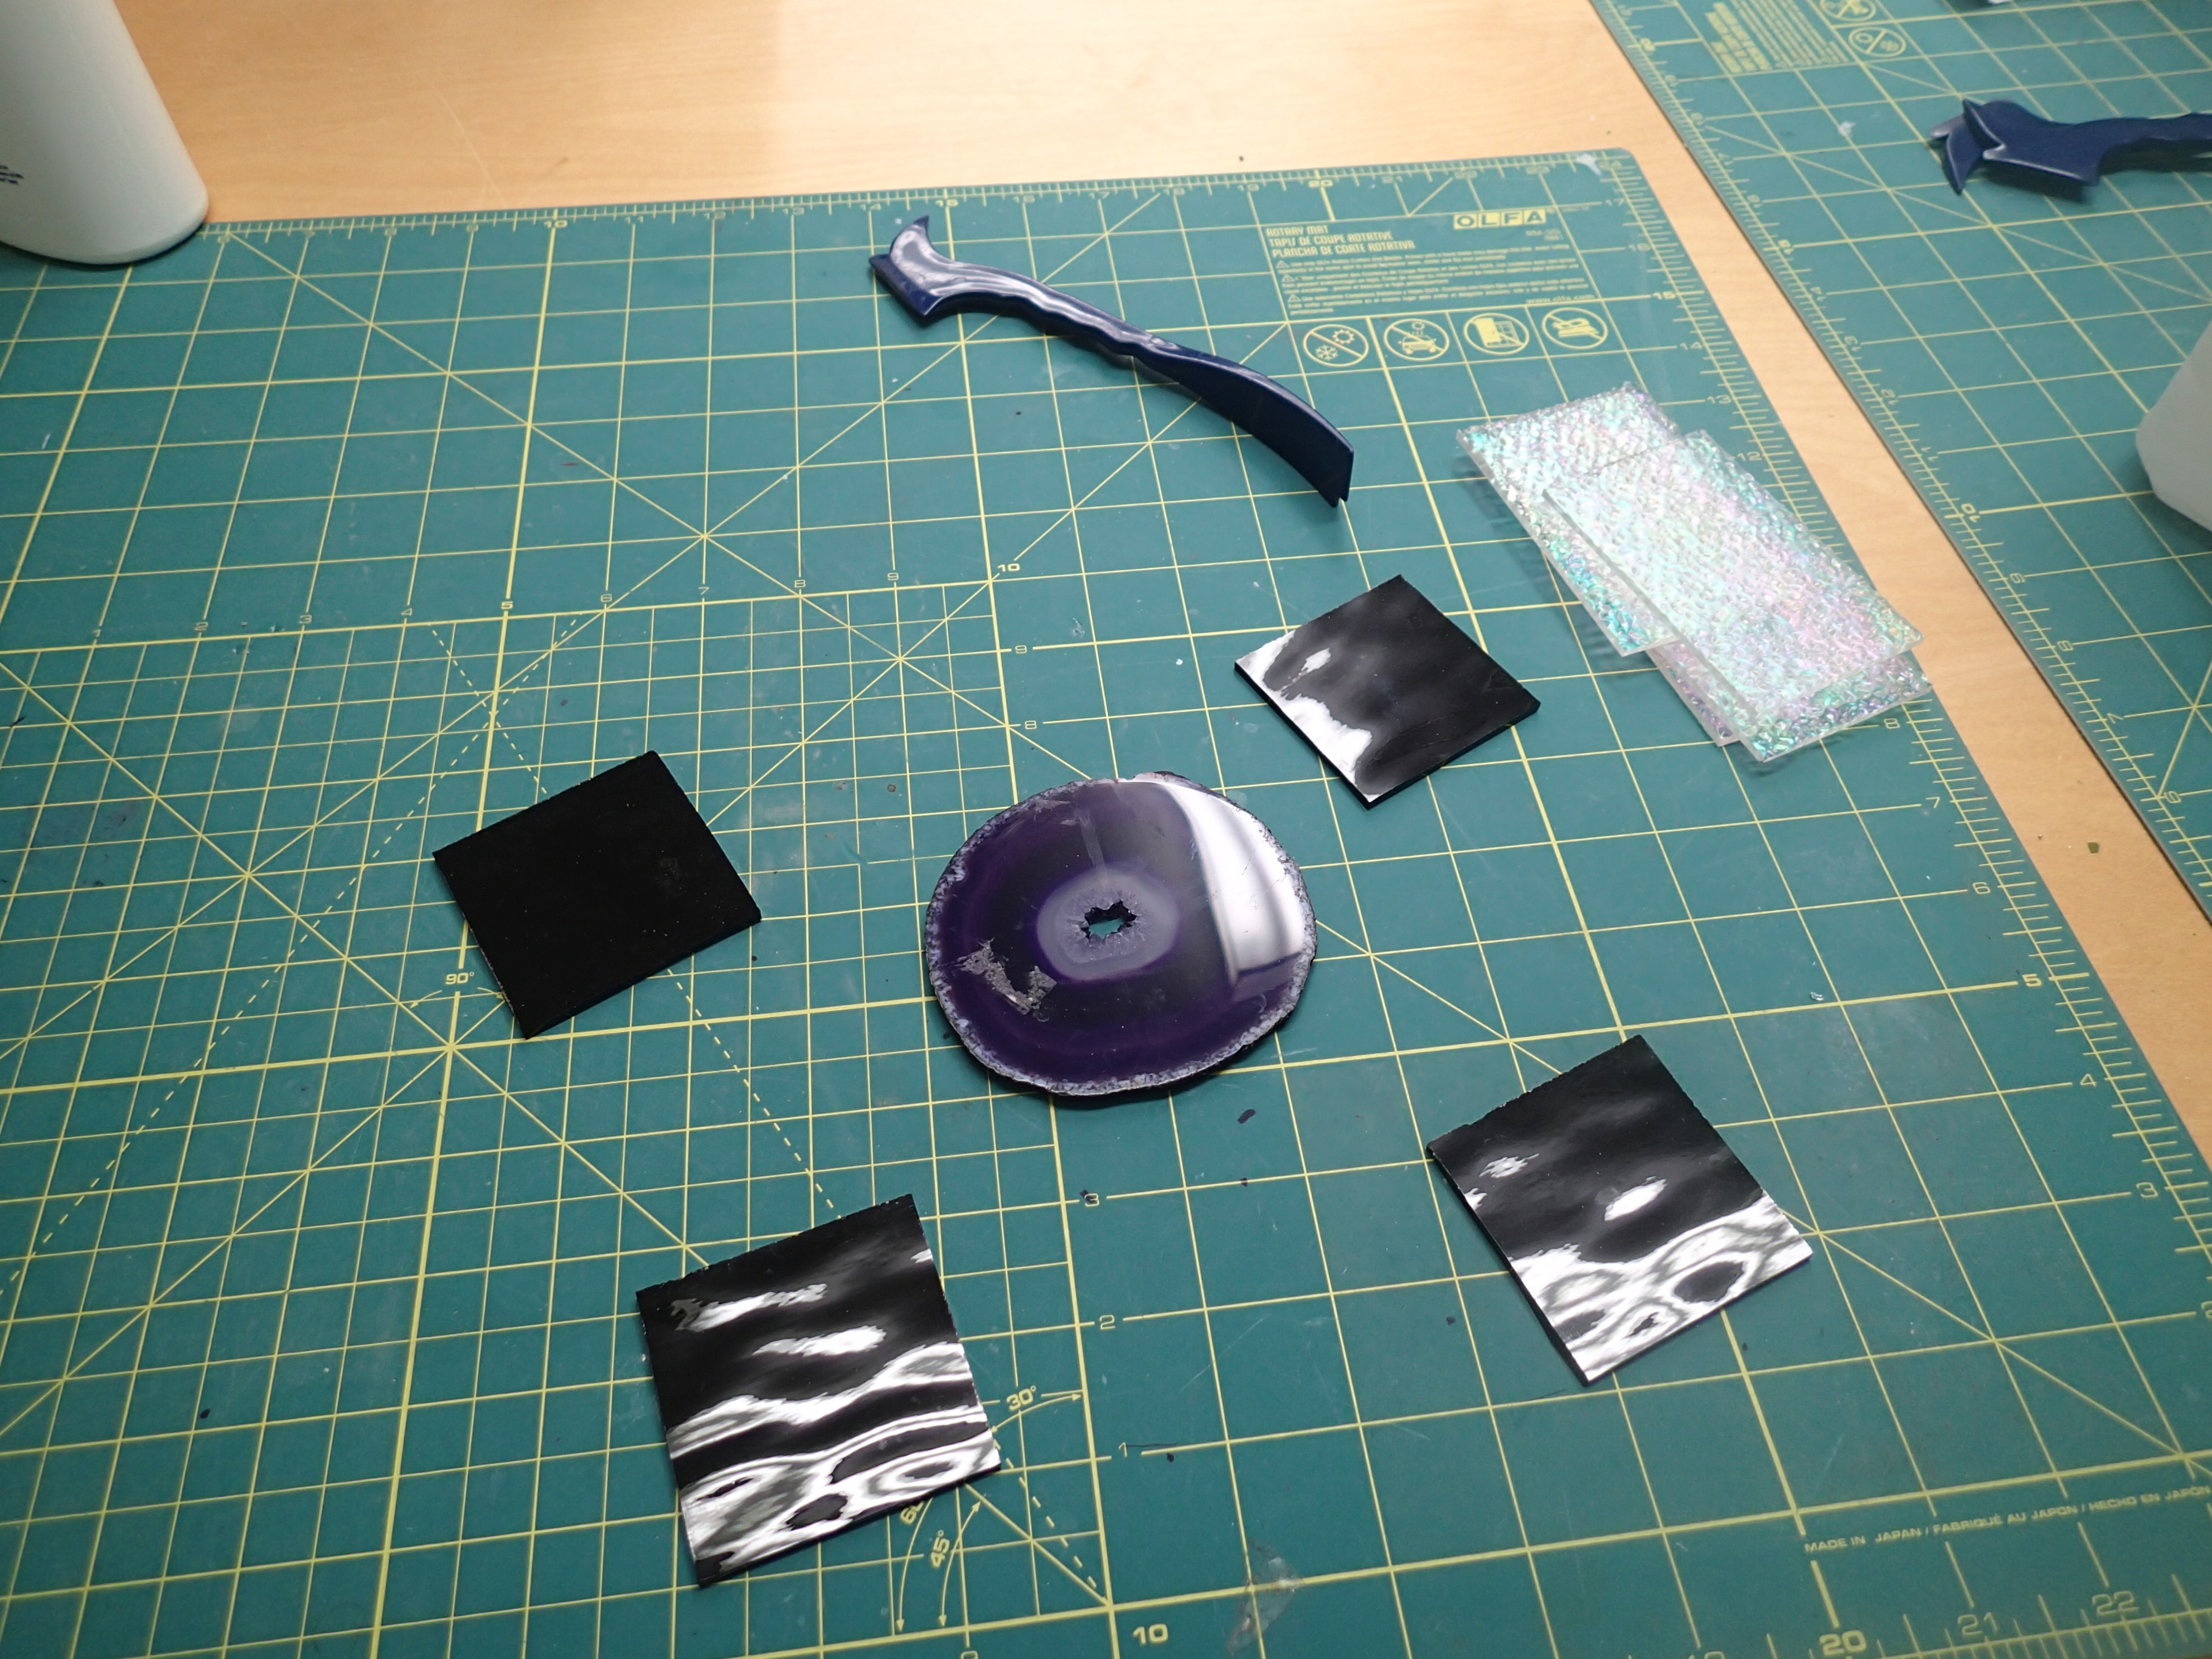
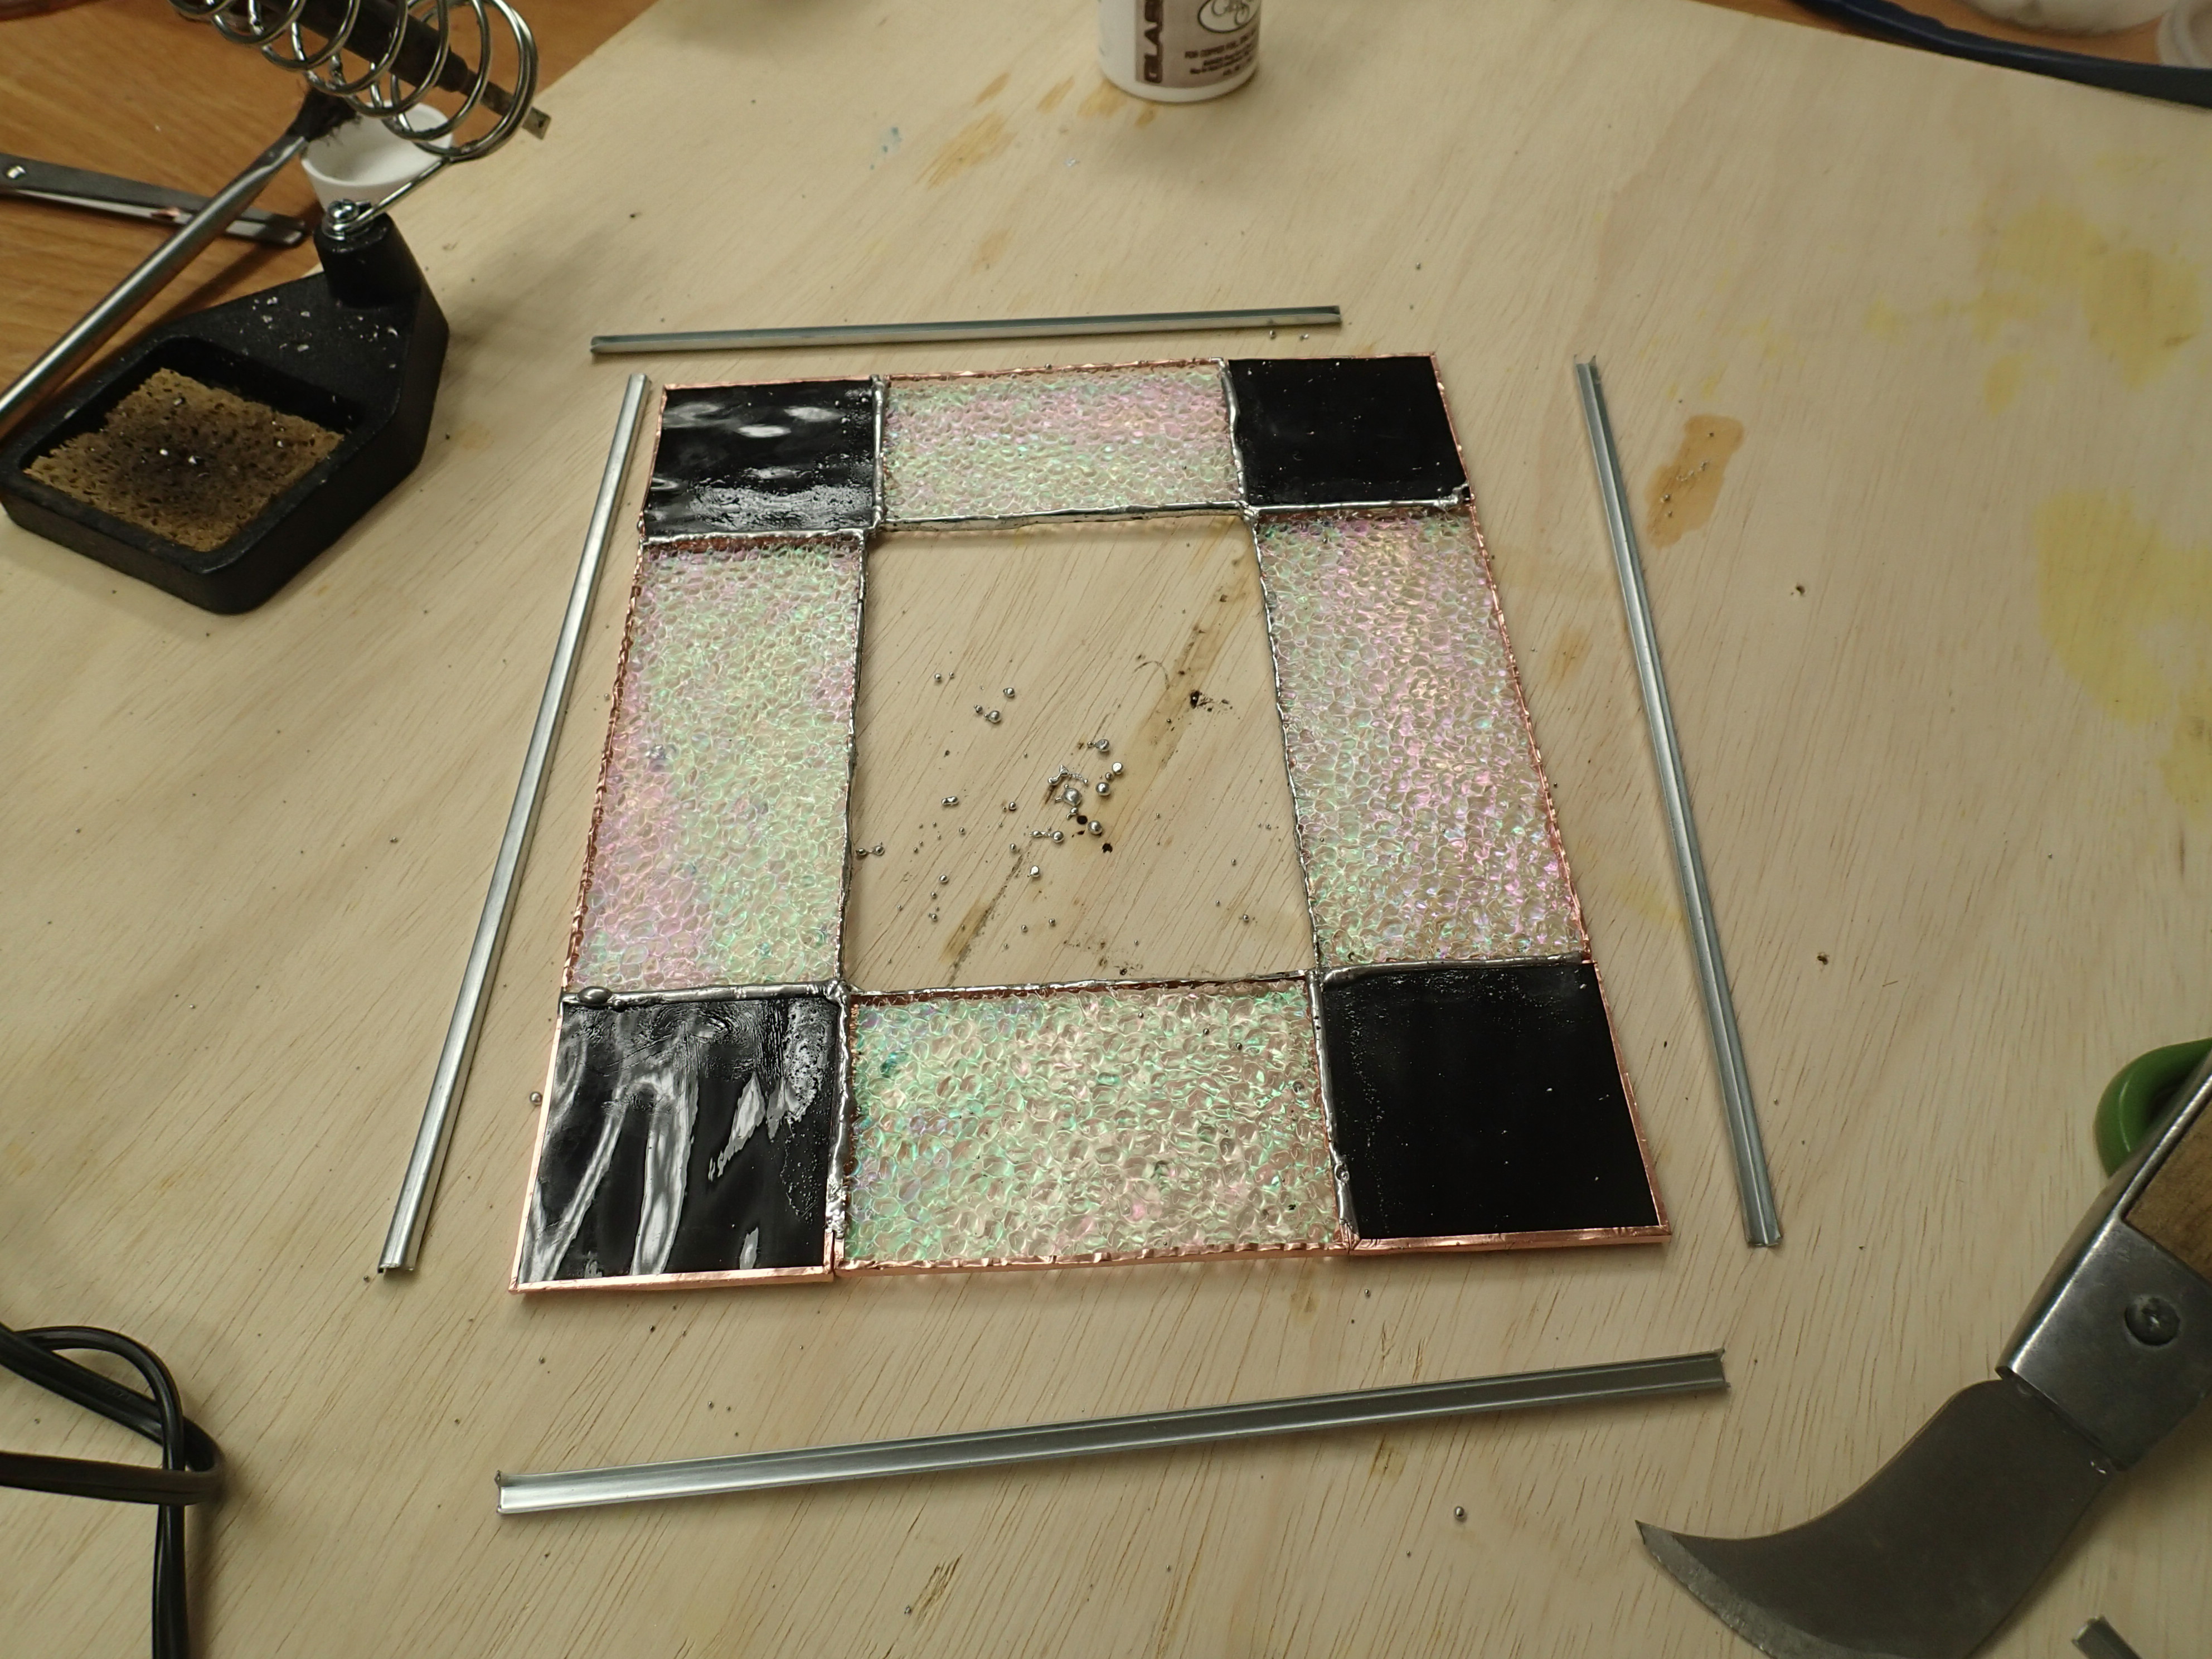
From here, I headed to Needham for some glassmaking. When I arrived, the instructor was still preparing for class, but we got right to work. She had already cut pieces of glass out for us, and I decided to go with the purple set, with clear, rainbow glass on the sides.
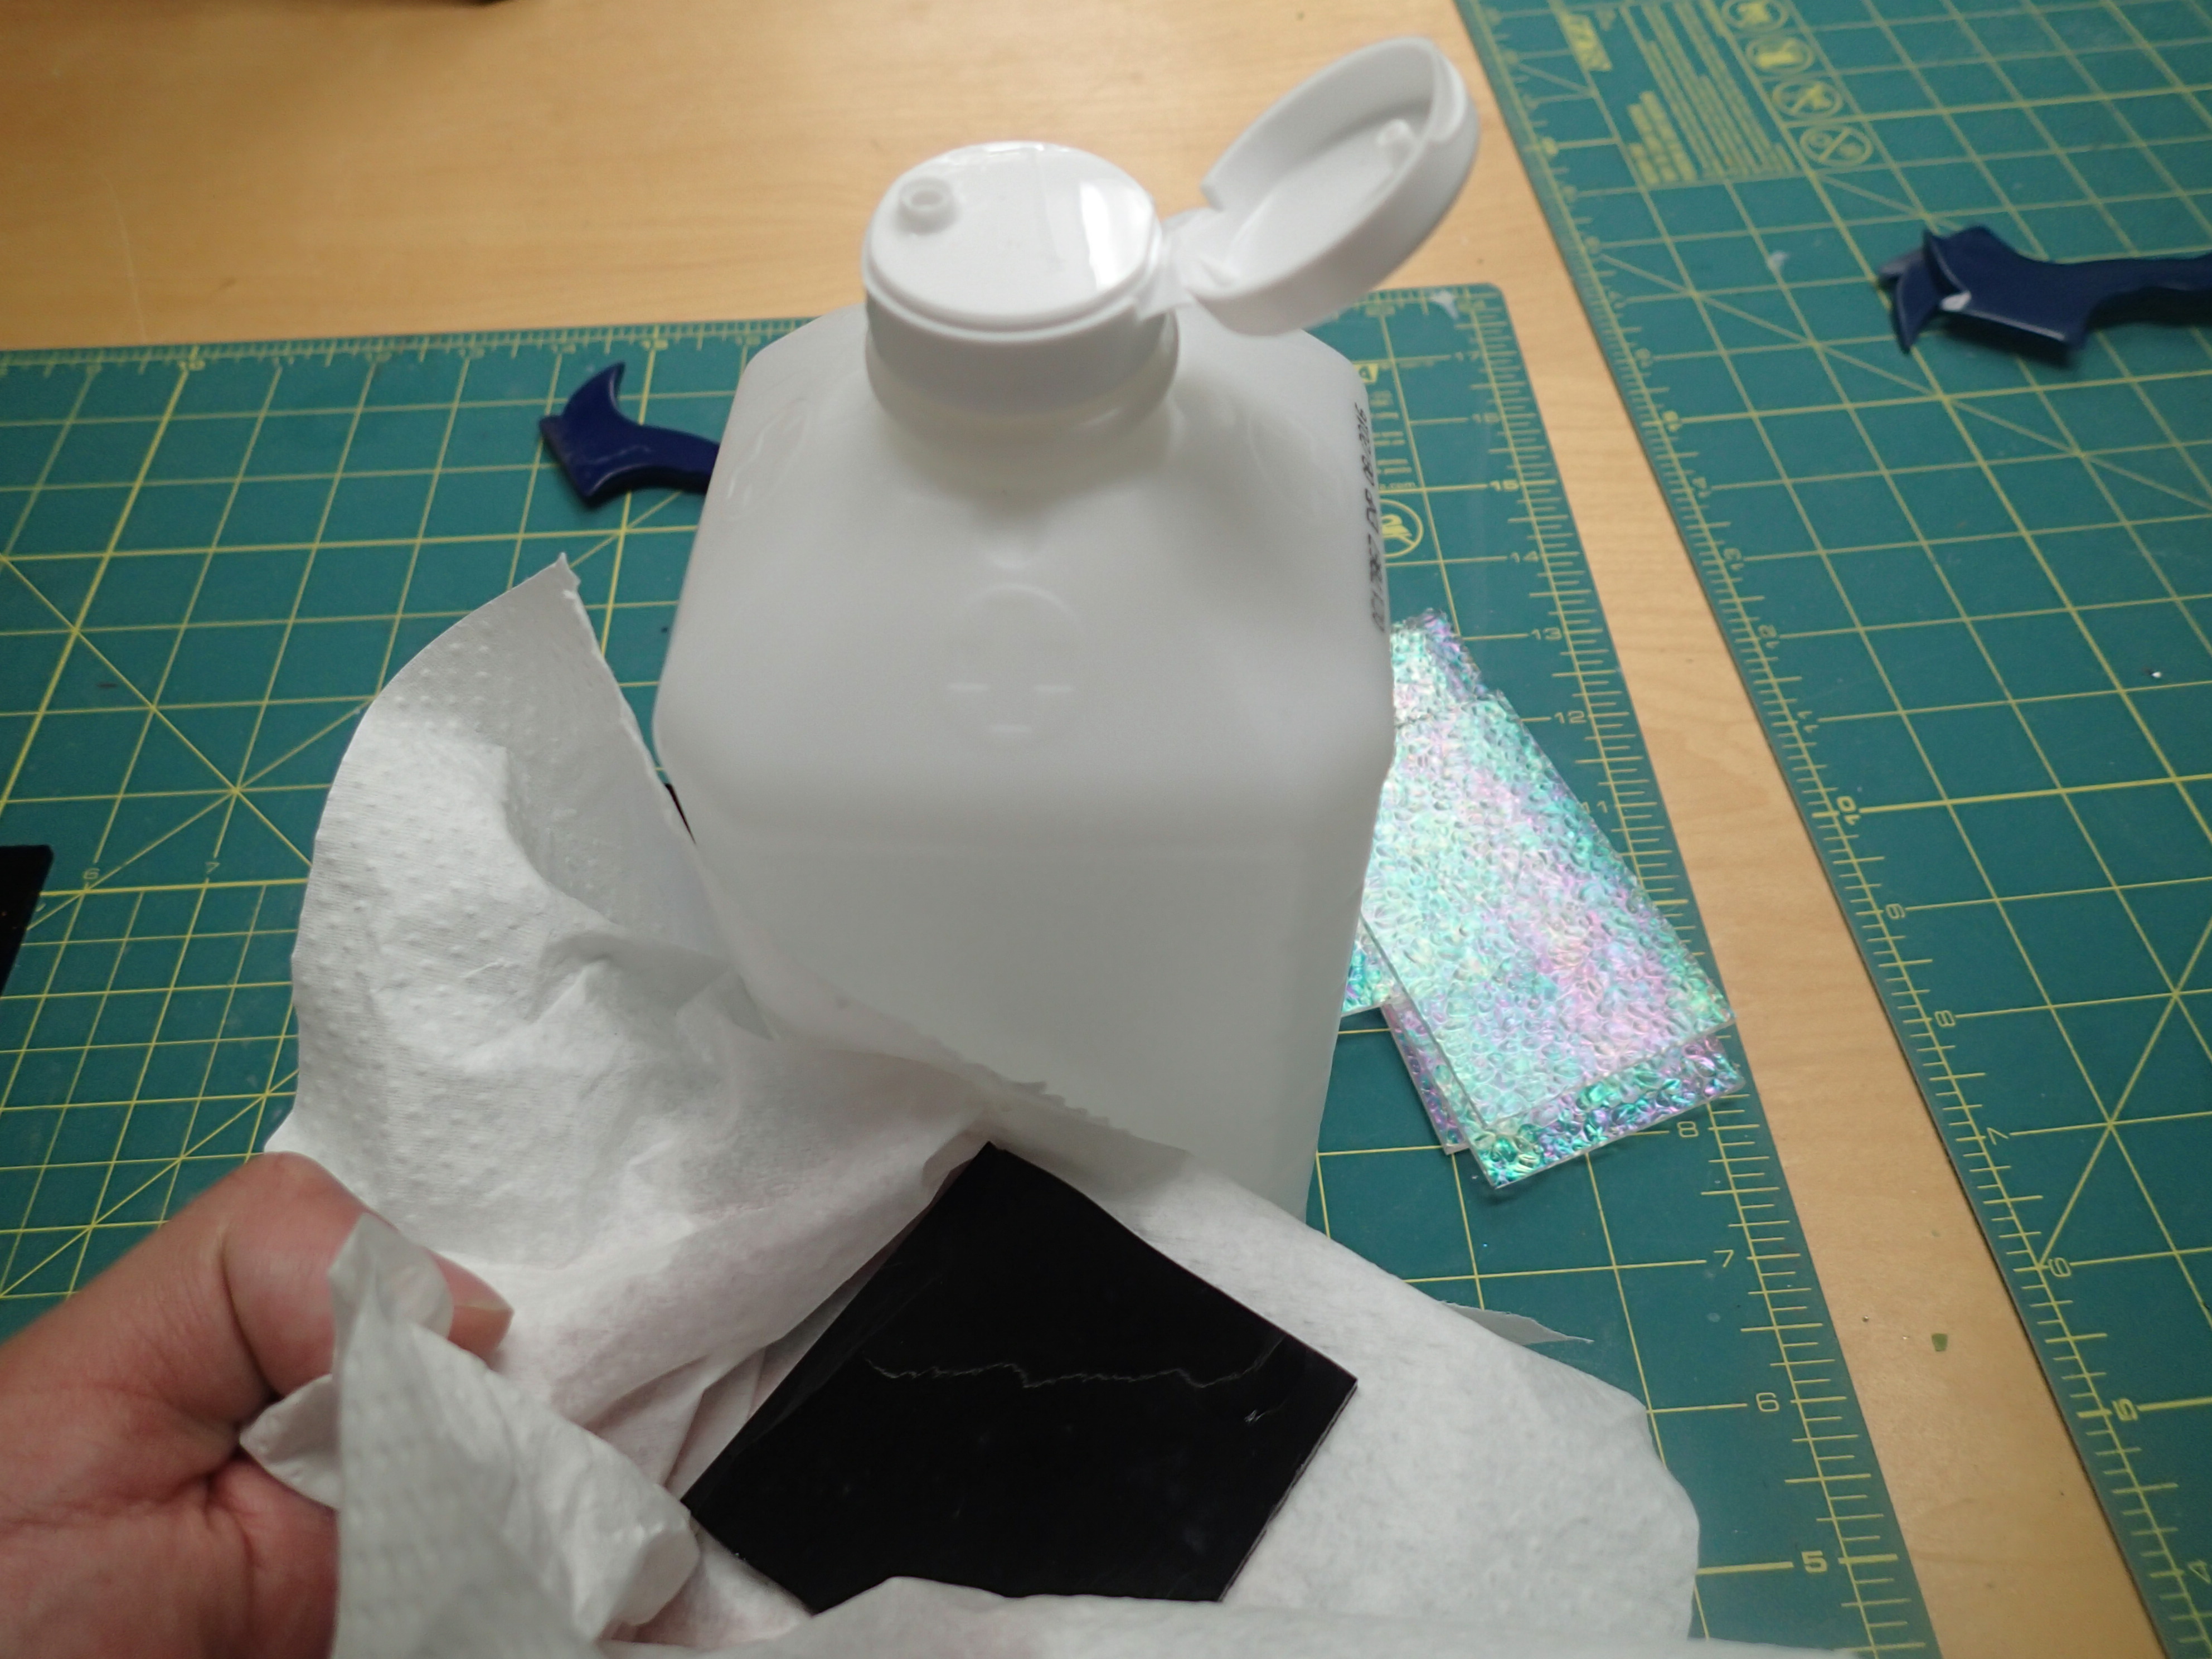
After cleaning the glass edges with alcohol to remove any remaining glass bits,
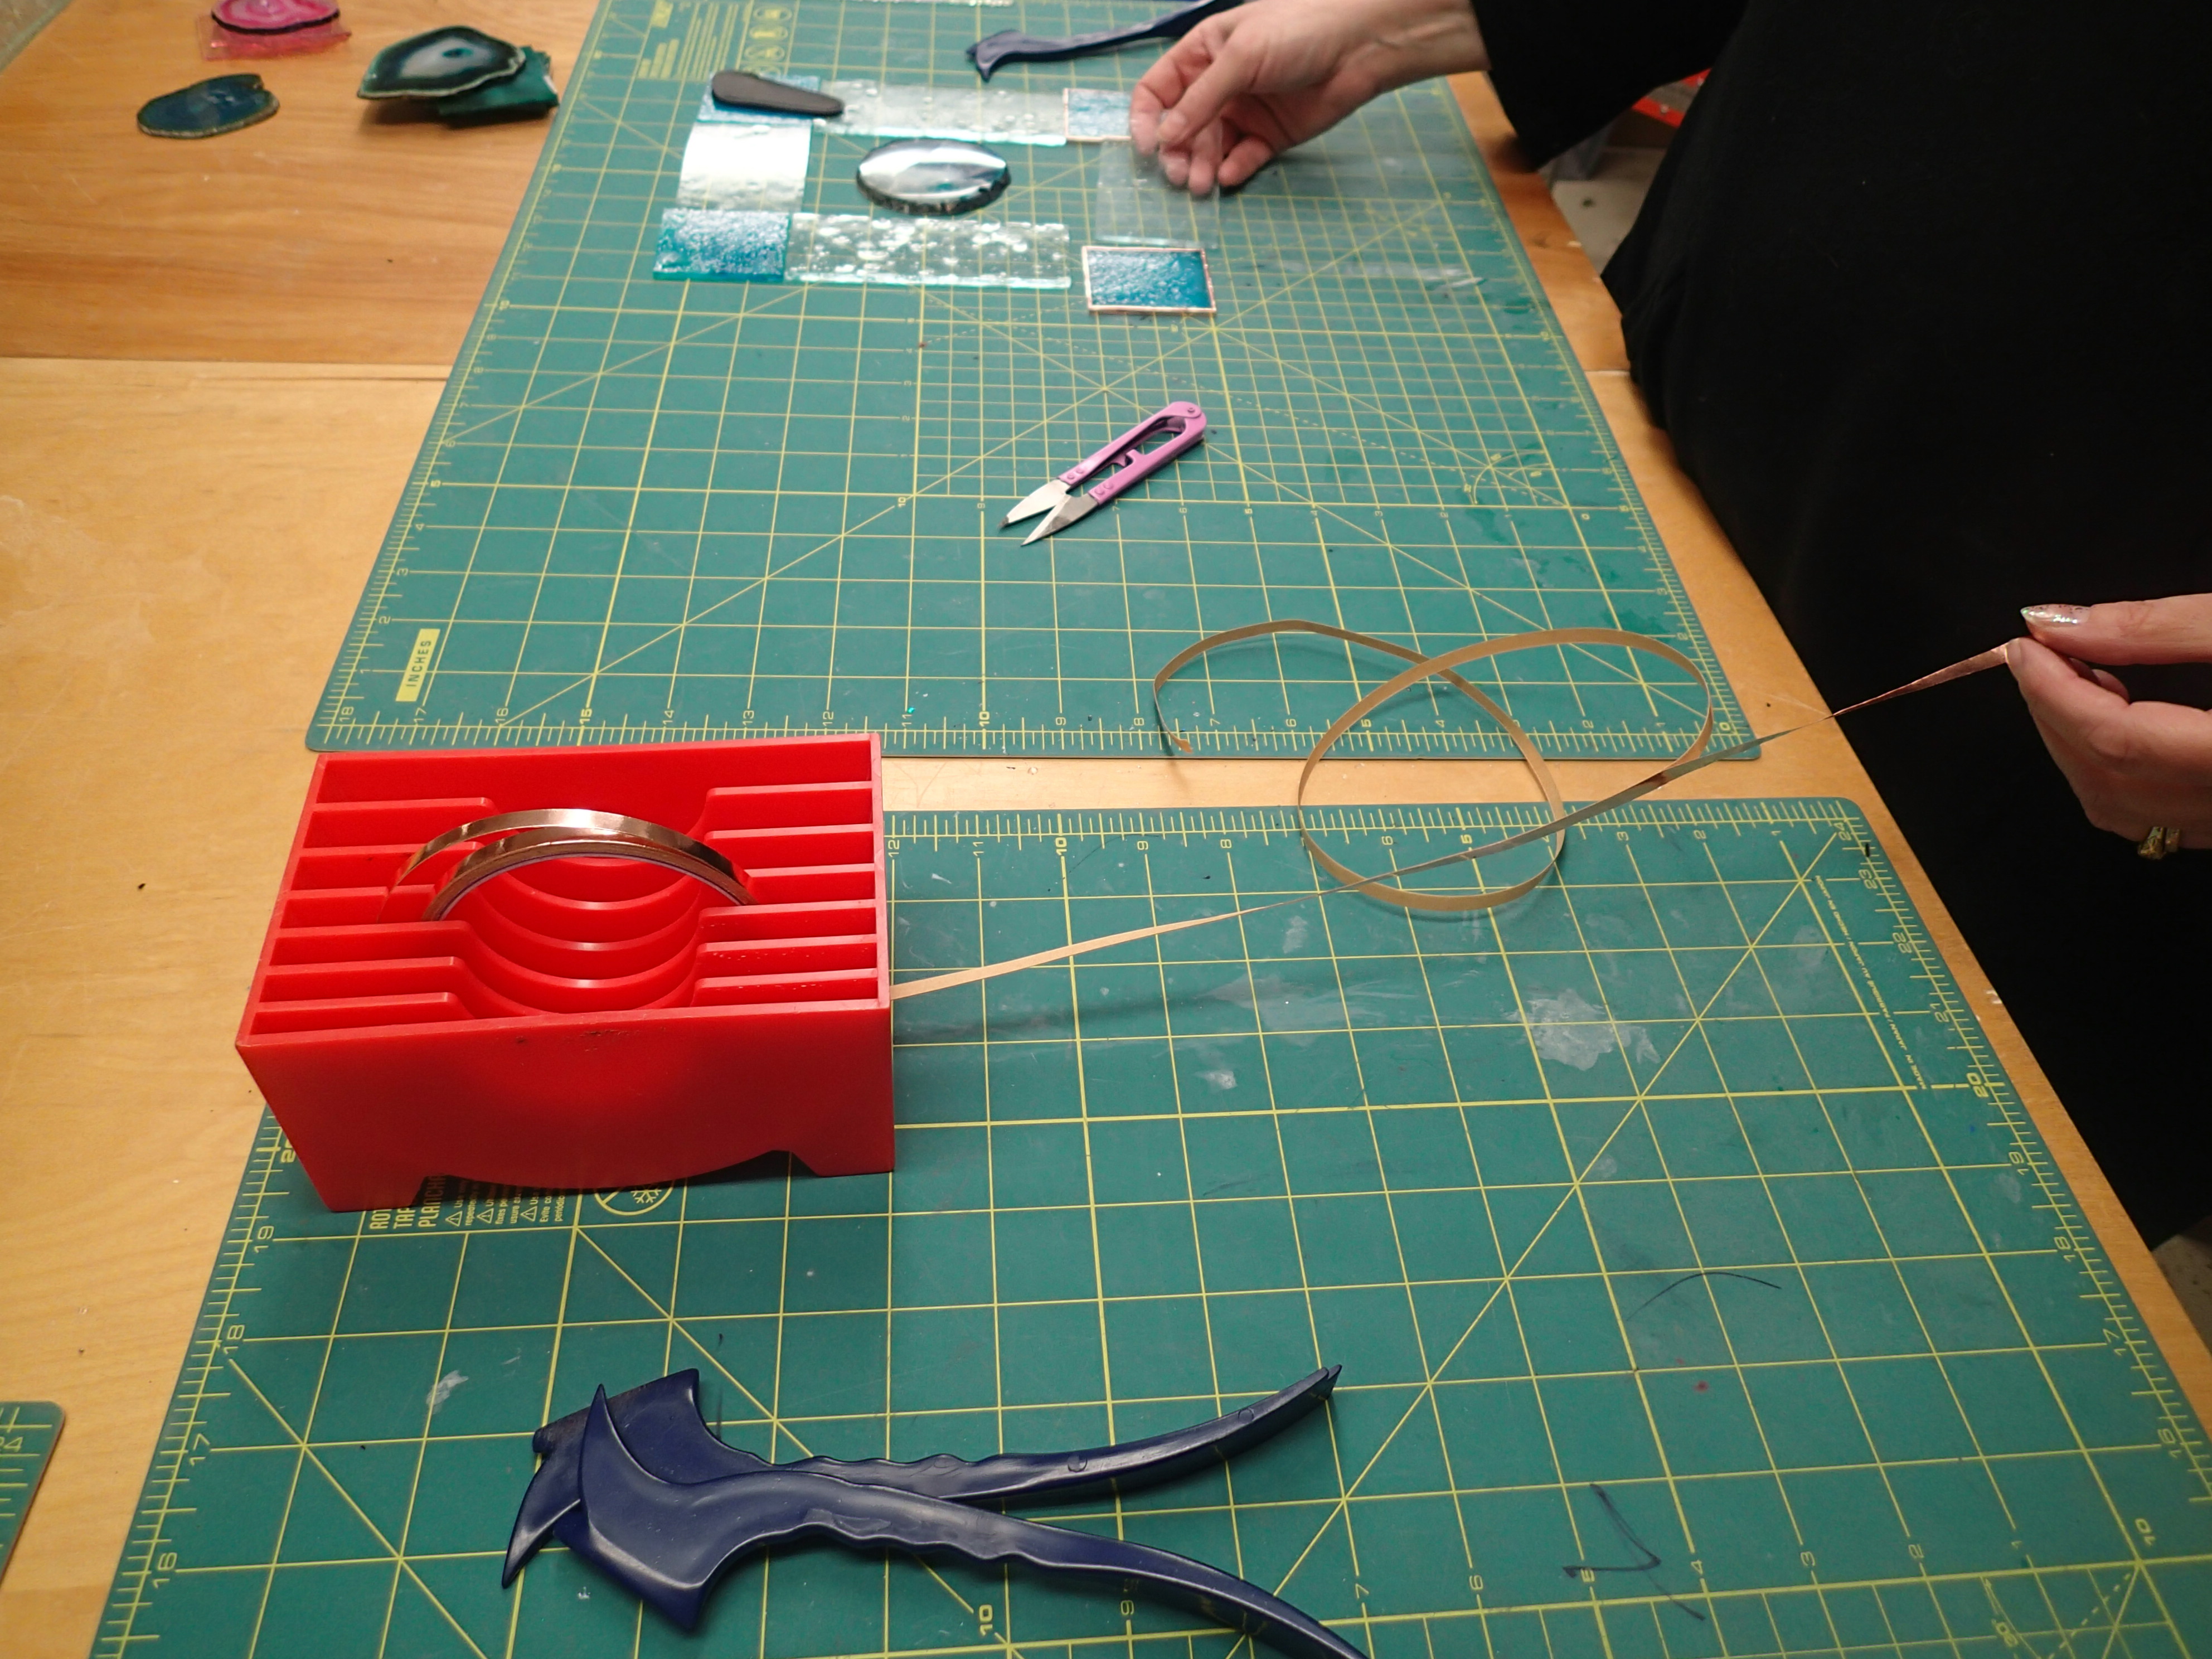
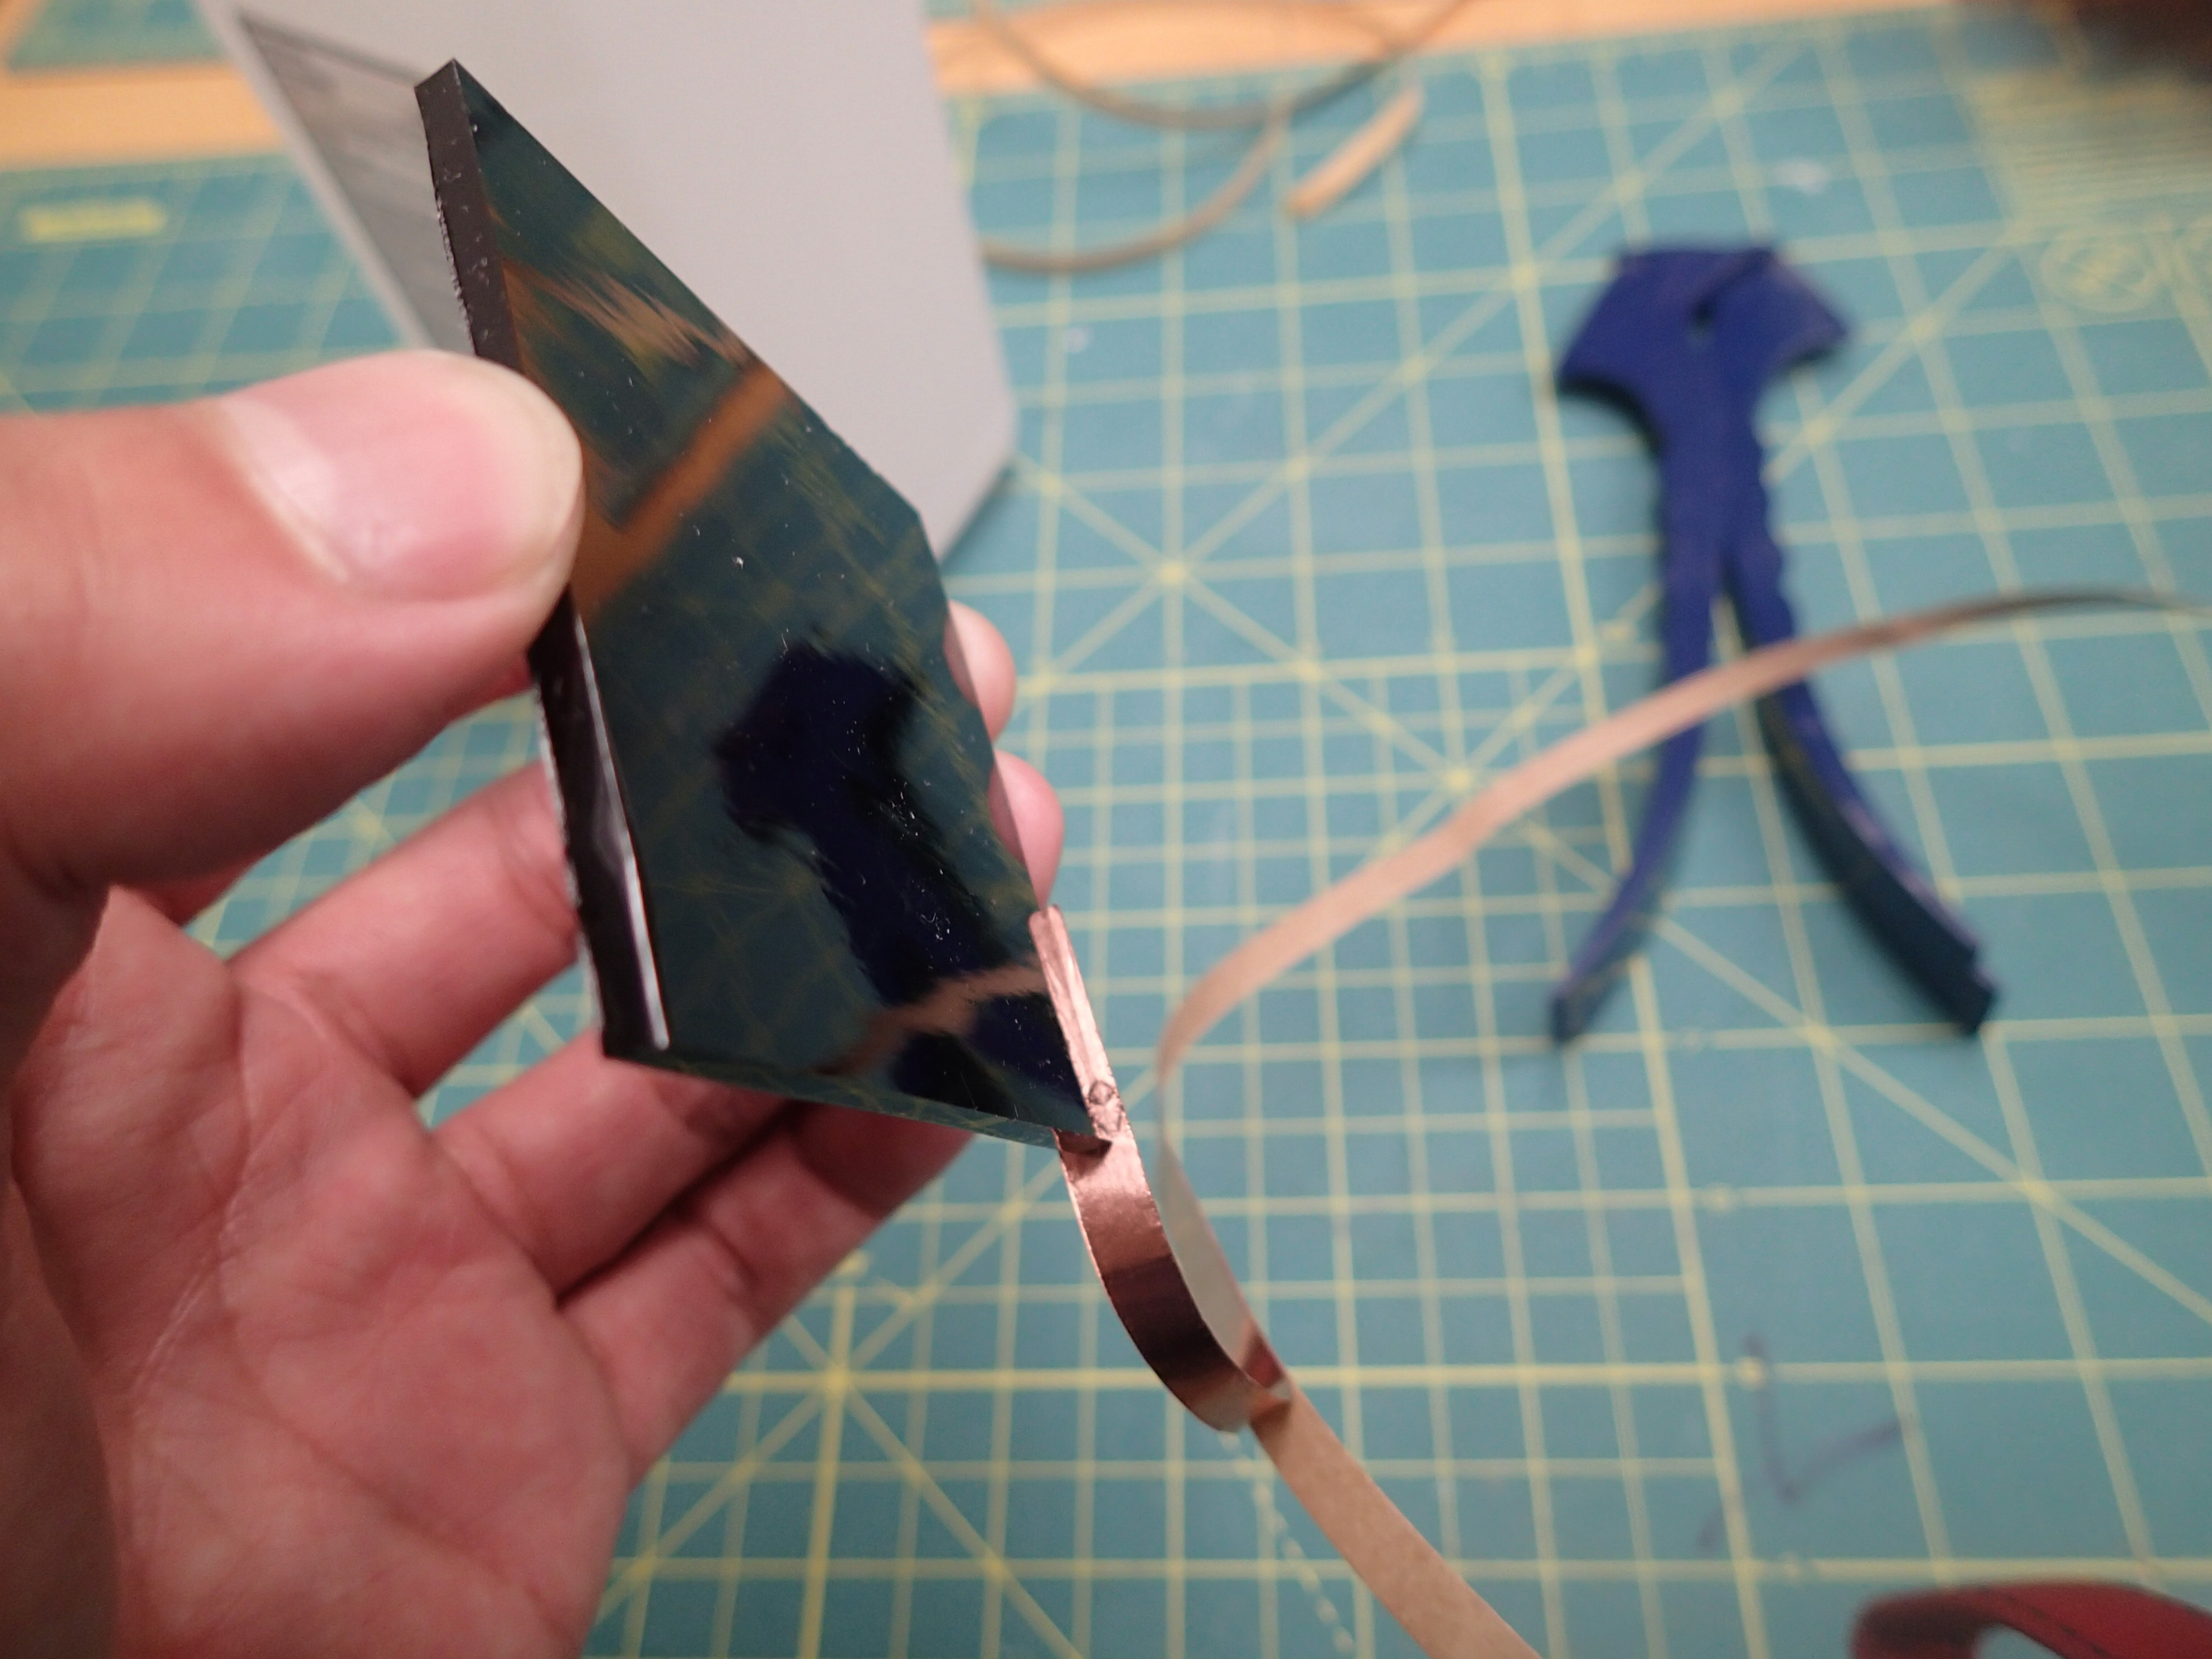
we first stick copper tape
to the entire edge of each glass piece,
ensuring that there is enough tape to wrap around the sides of the edge.
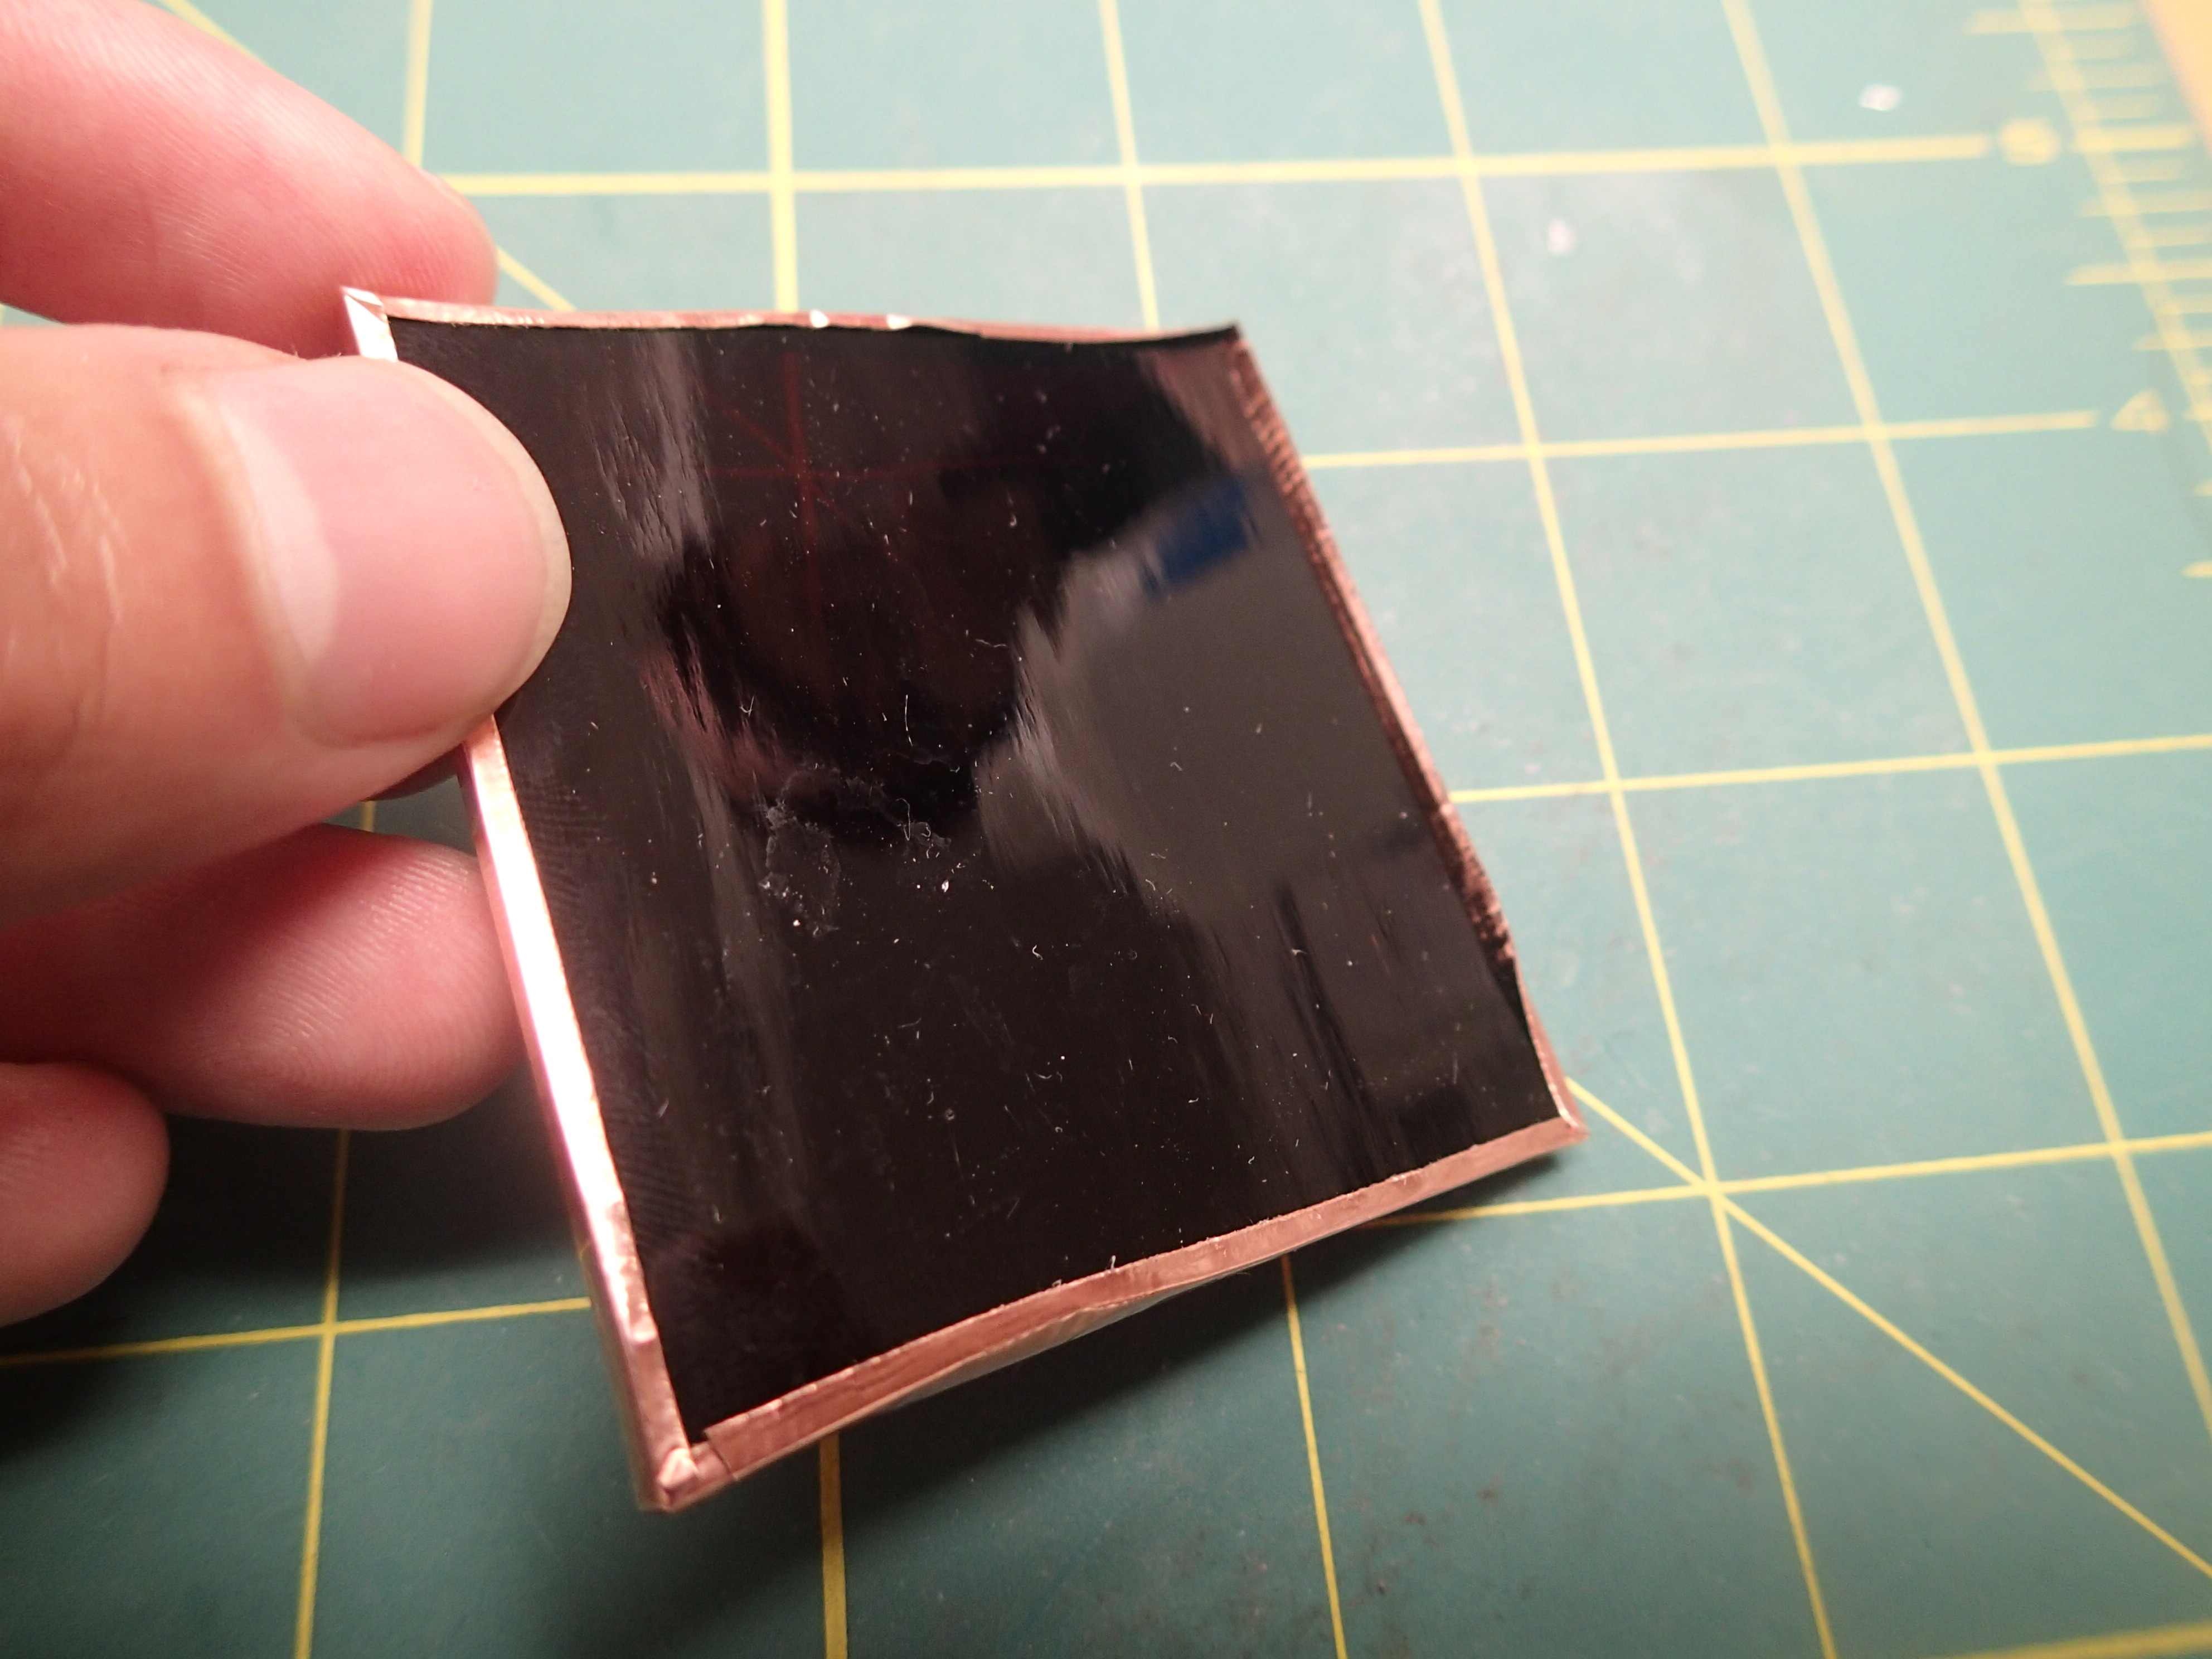
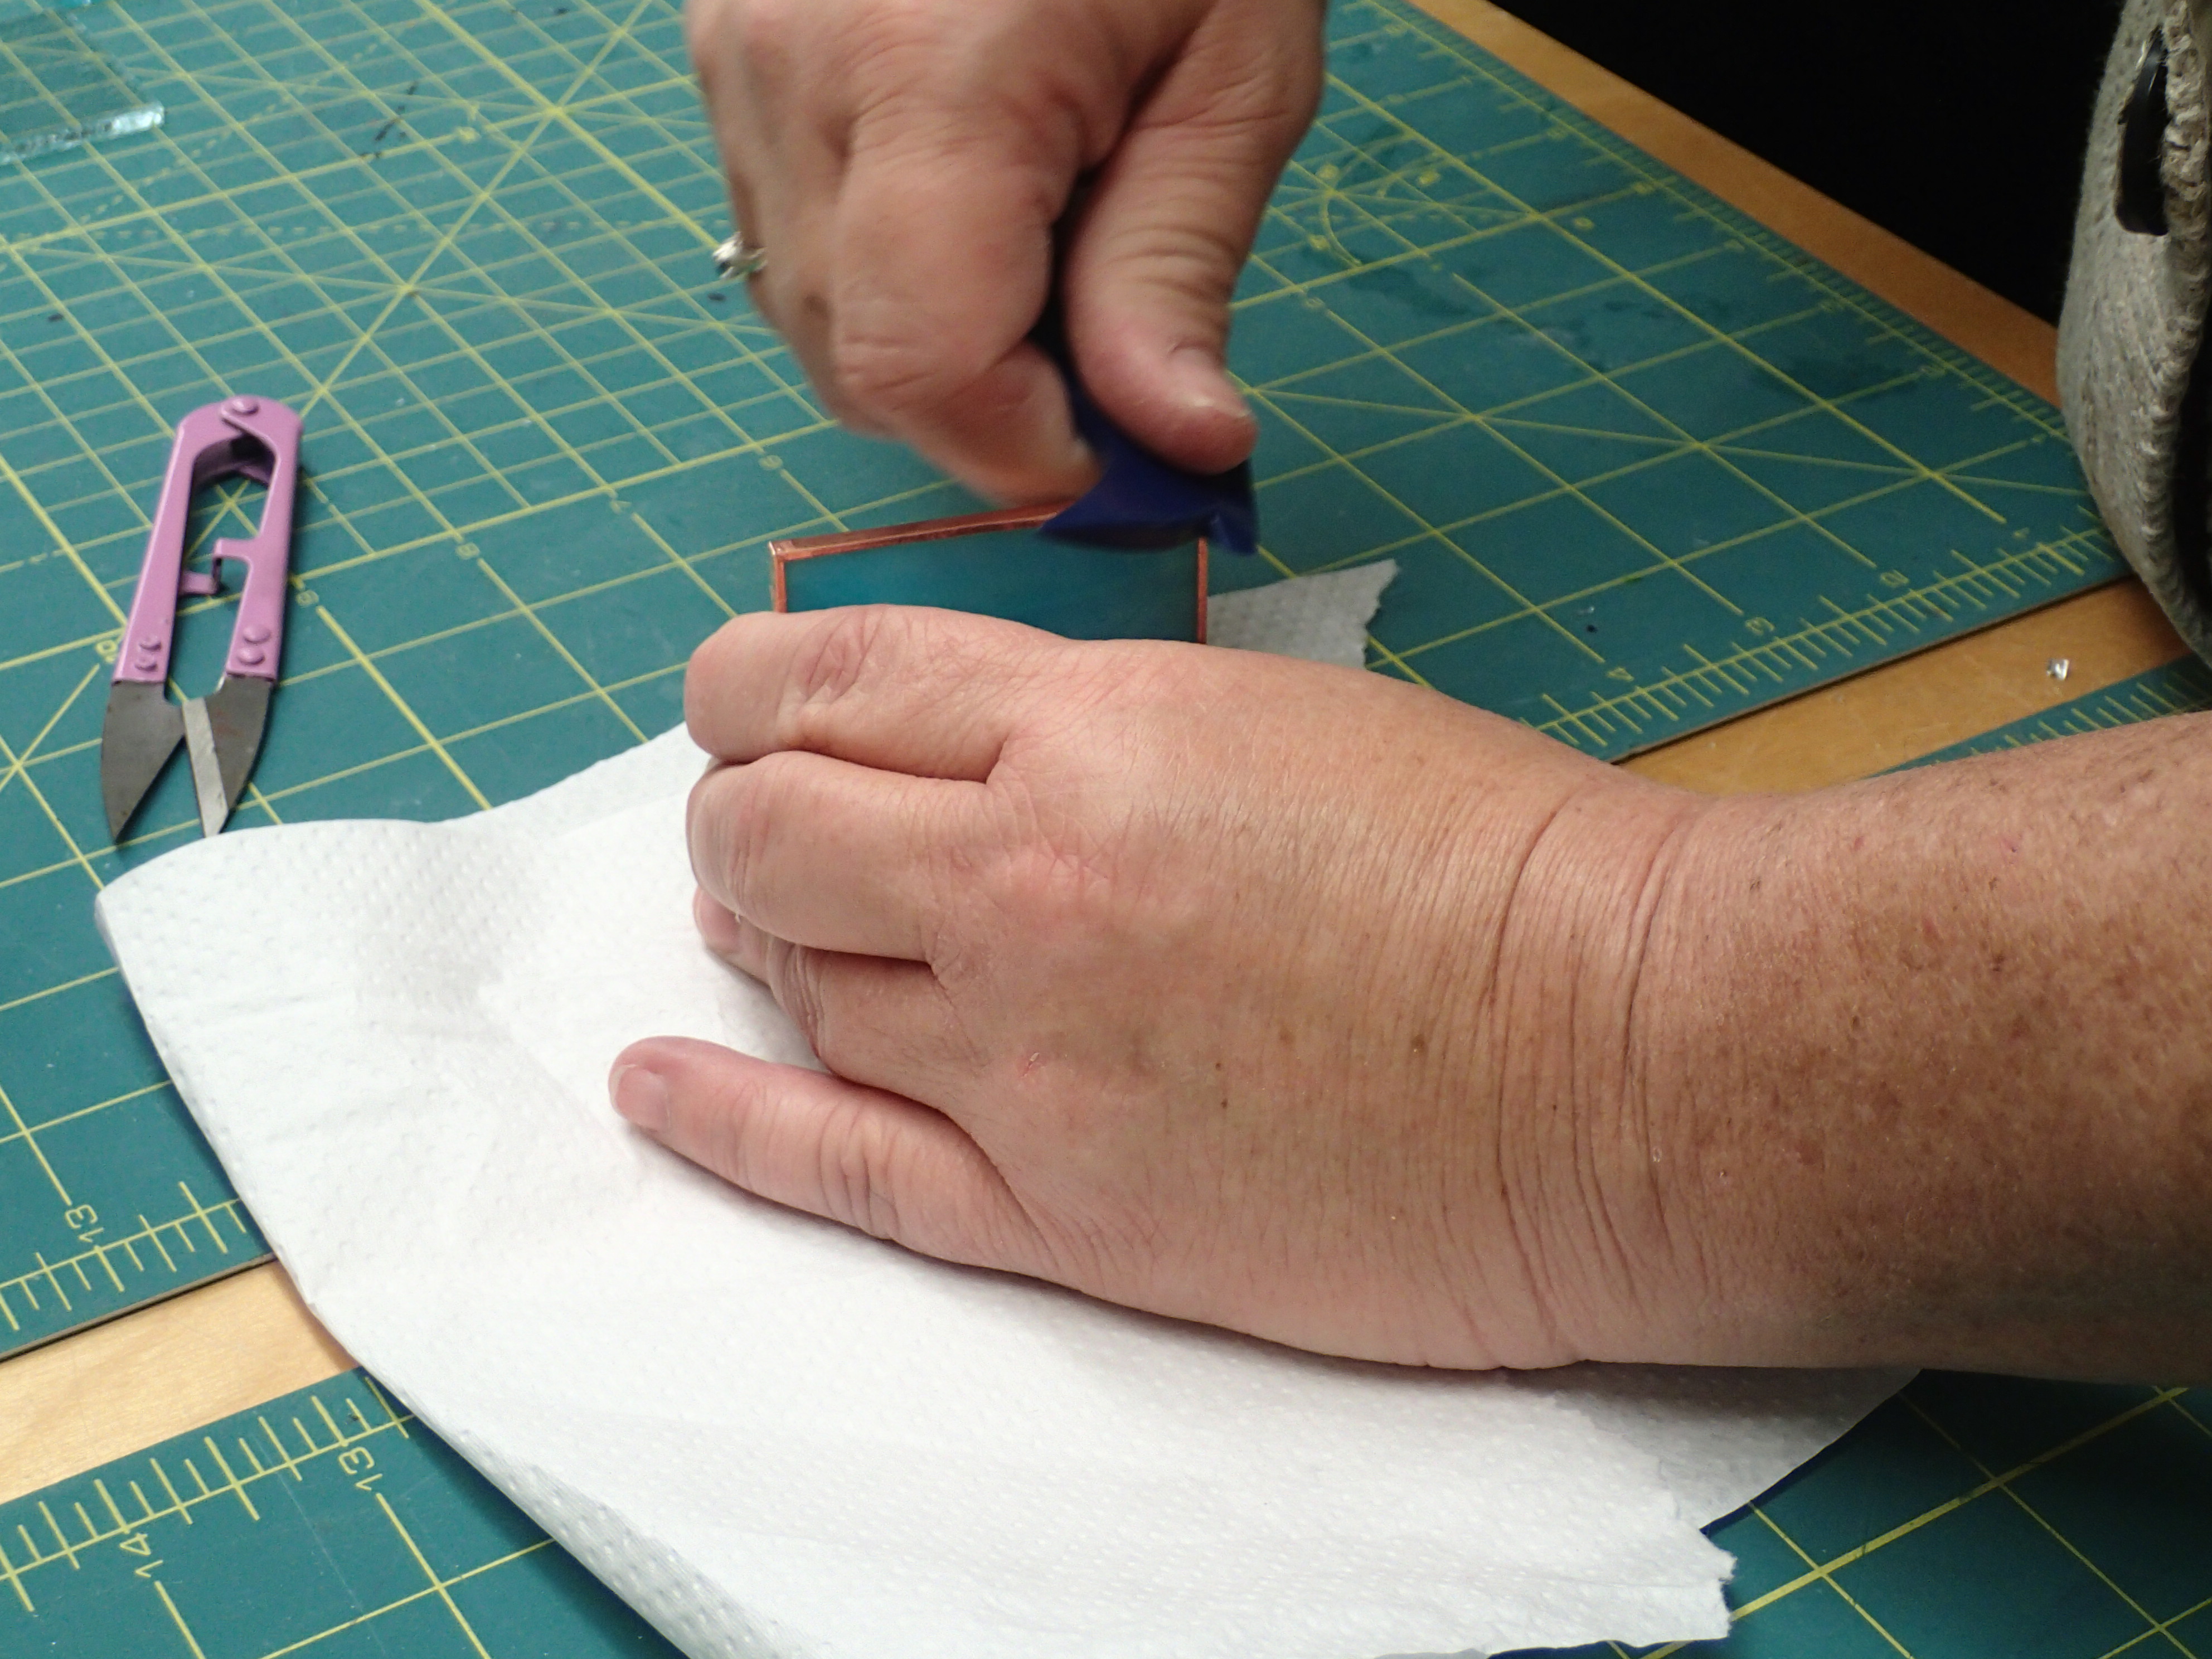
Folding the tape down over the sides of the glass piece,
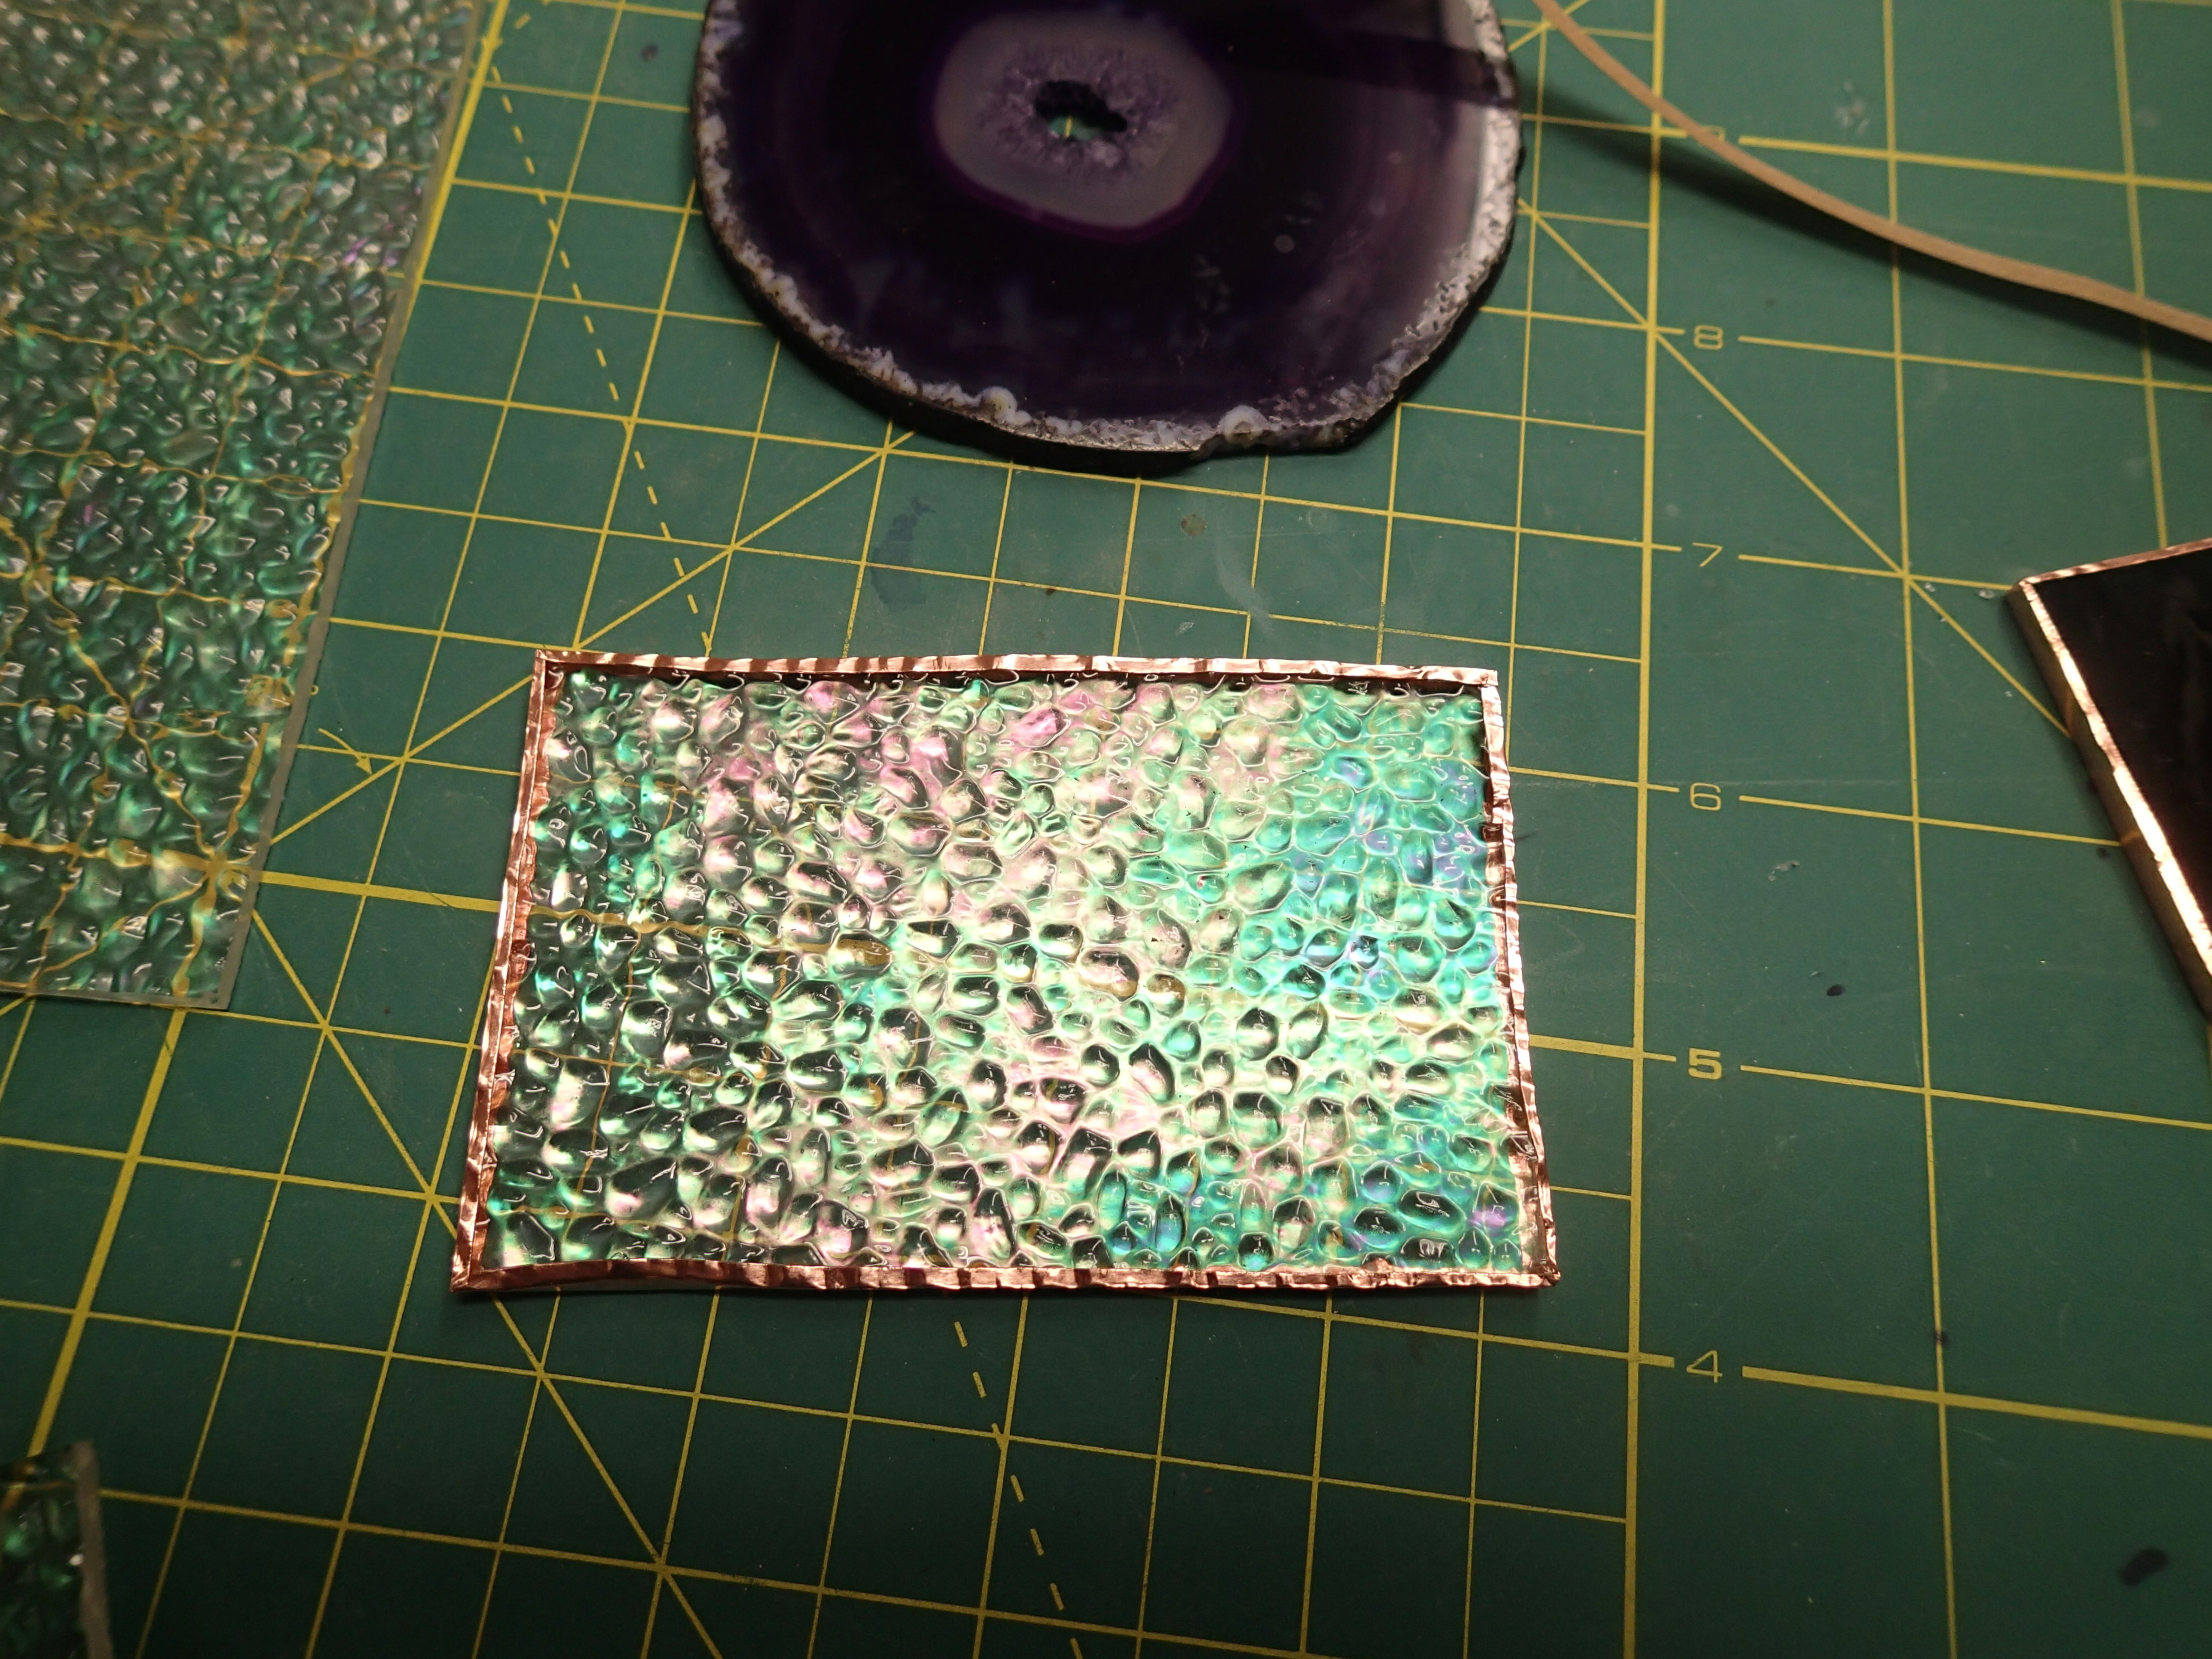
a tool is used to smoothen the tape, flattening it to ready the glass piece for soldering.
From here, the same thing is done for all the other glass pieces.
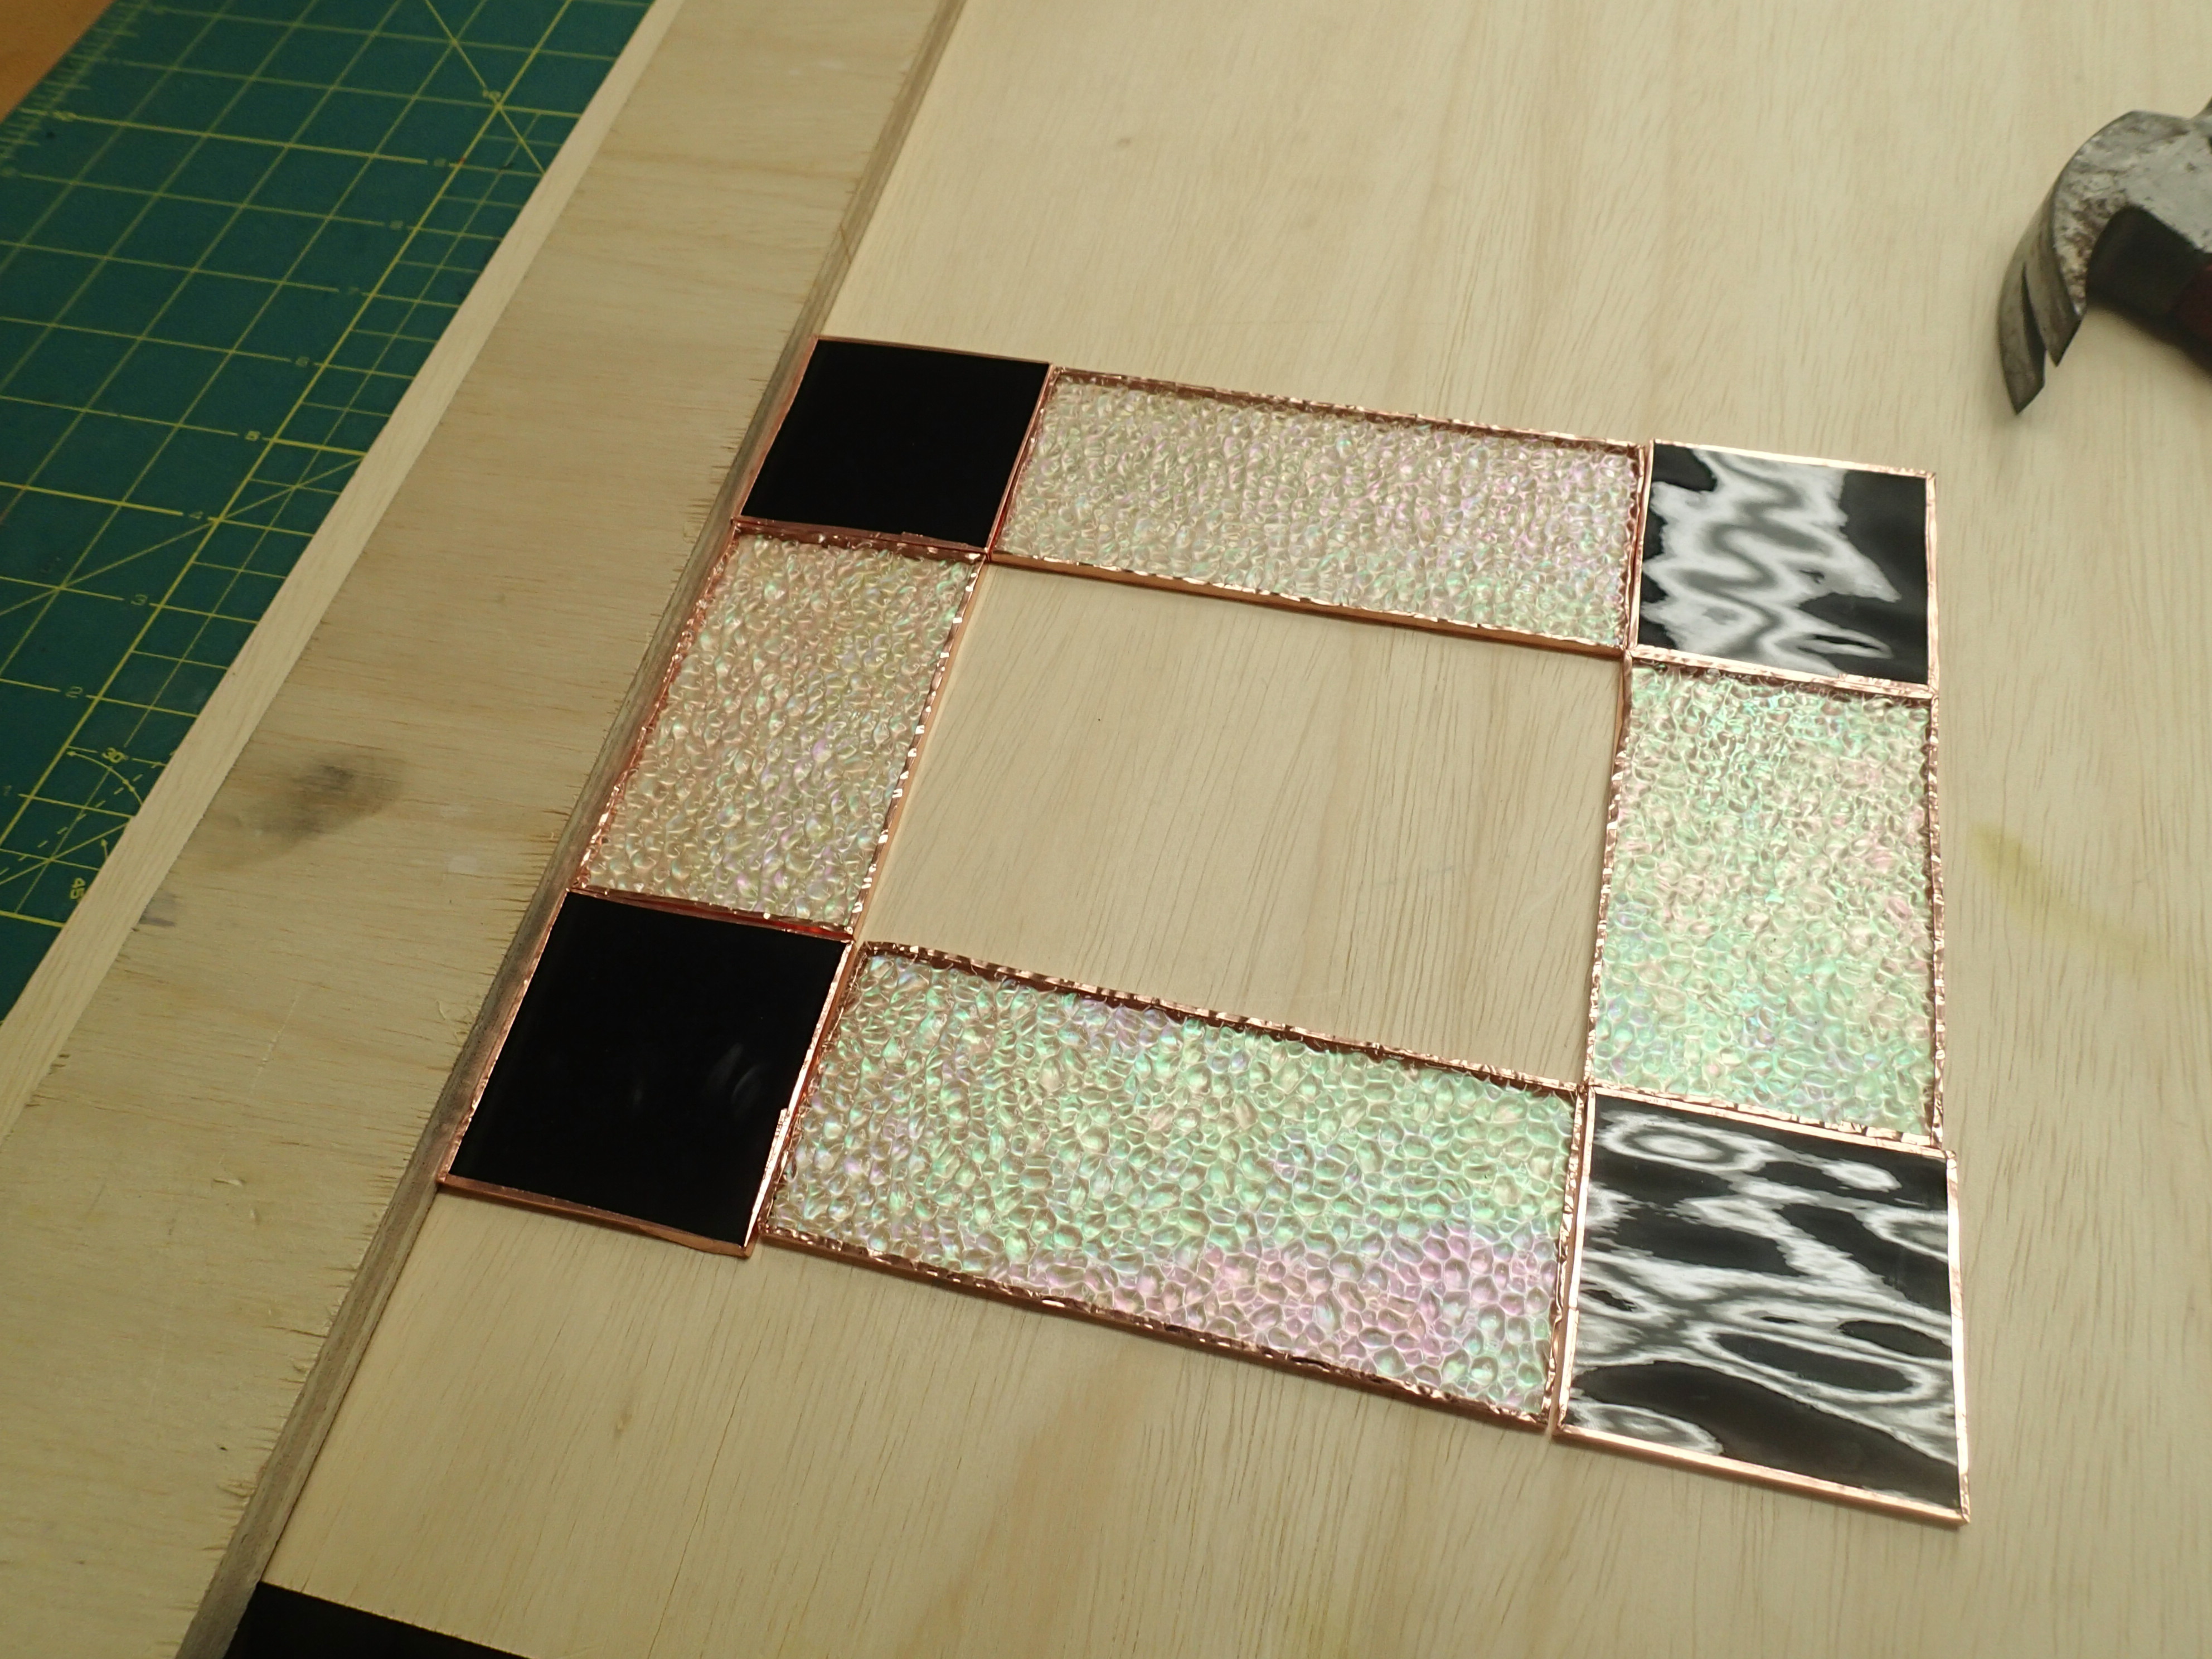
The next step is soldering. In order to do this, the wrapped pieces are assembled together to form the final picture. For the soldering to go smoothly, one needs to ensure that the pieces fit pretty well together with very few gaps, if any.
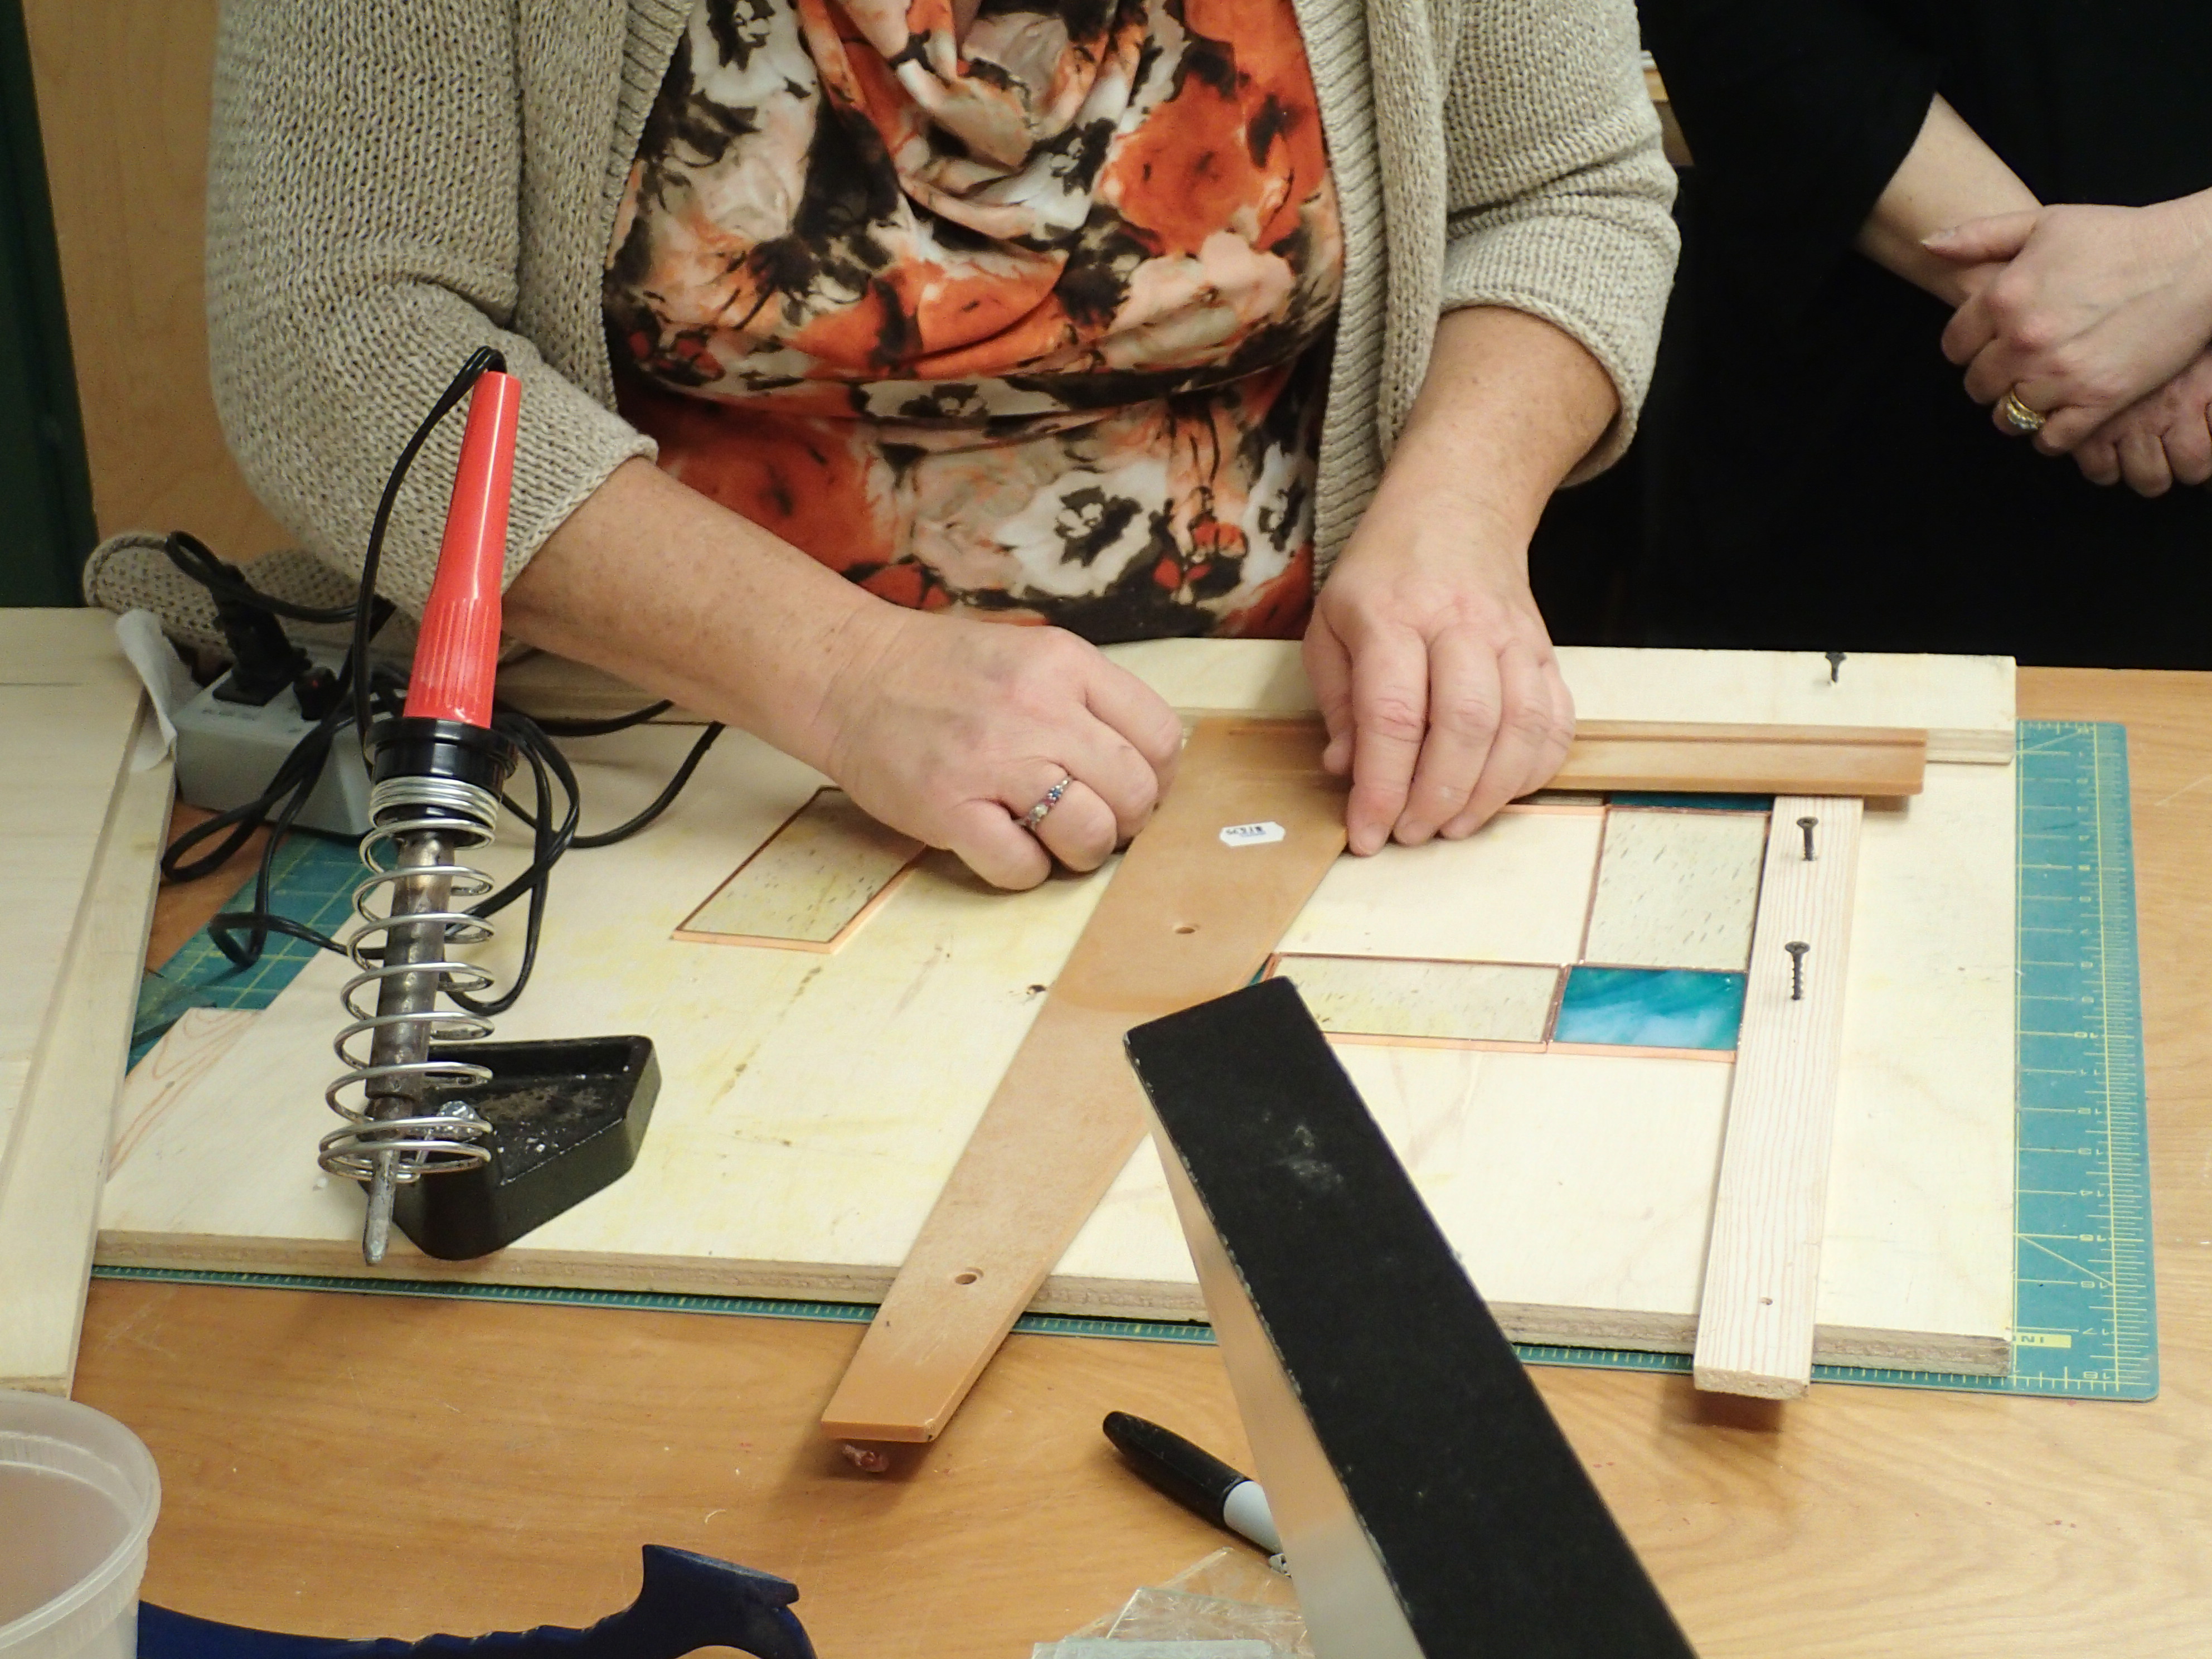
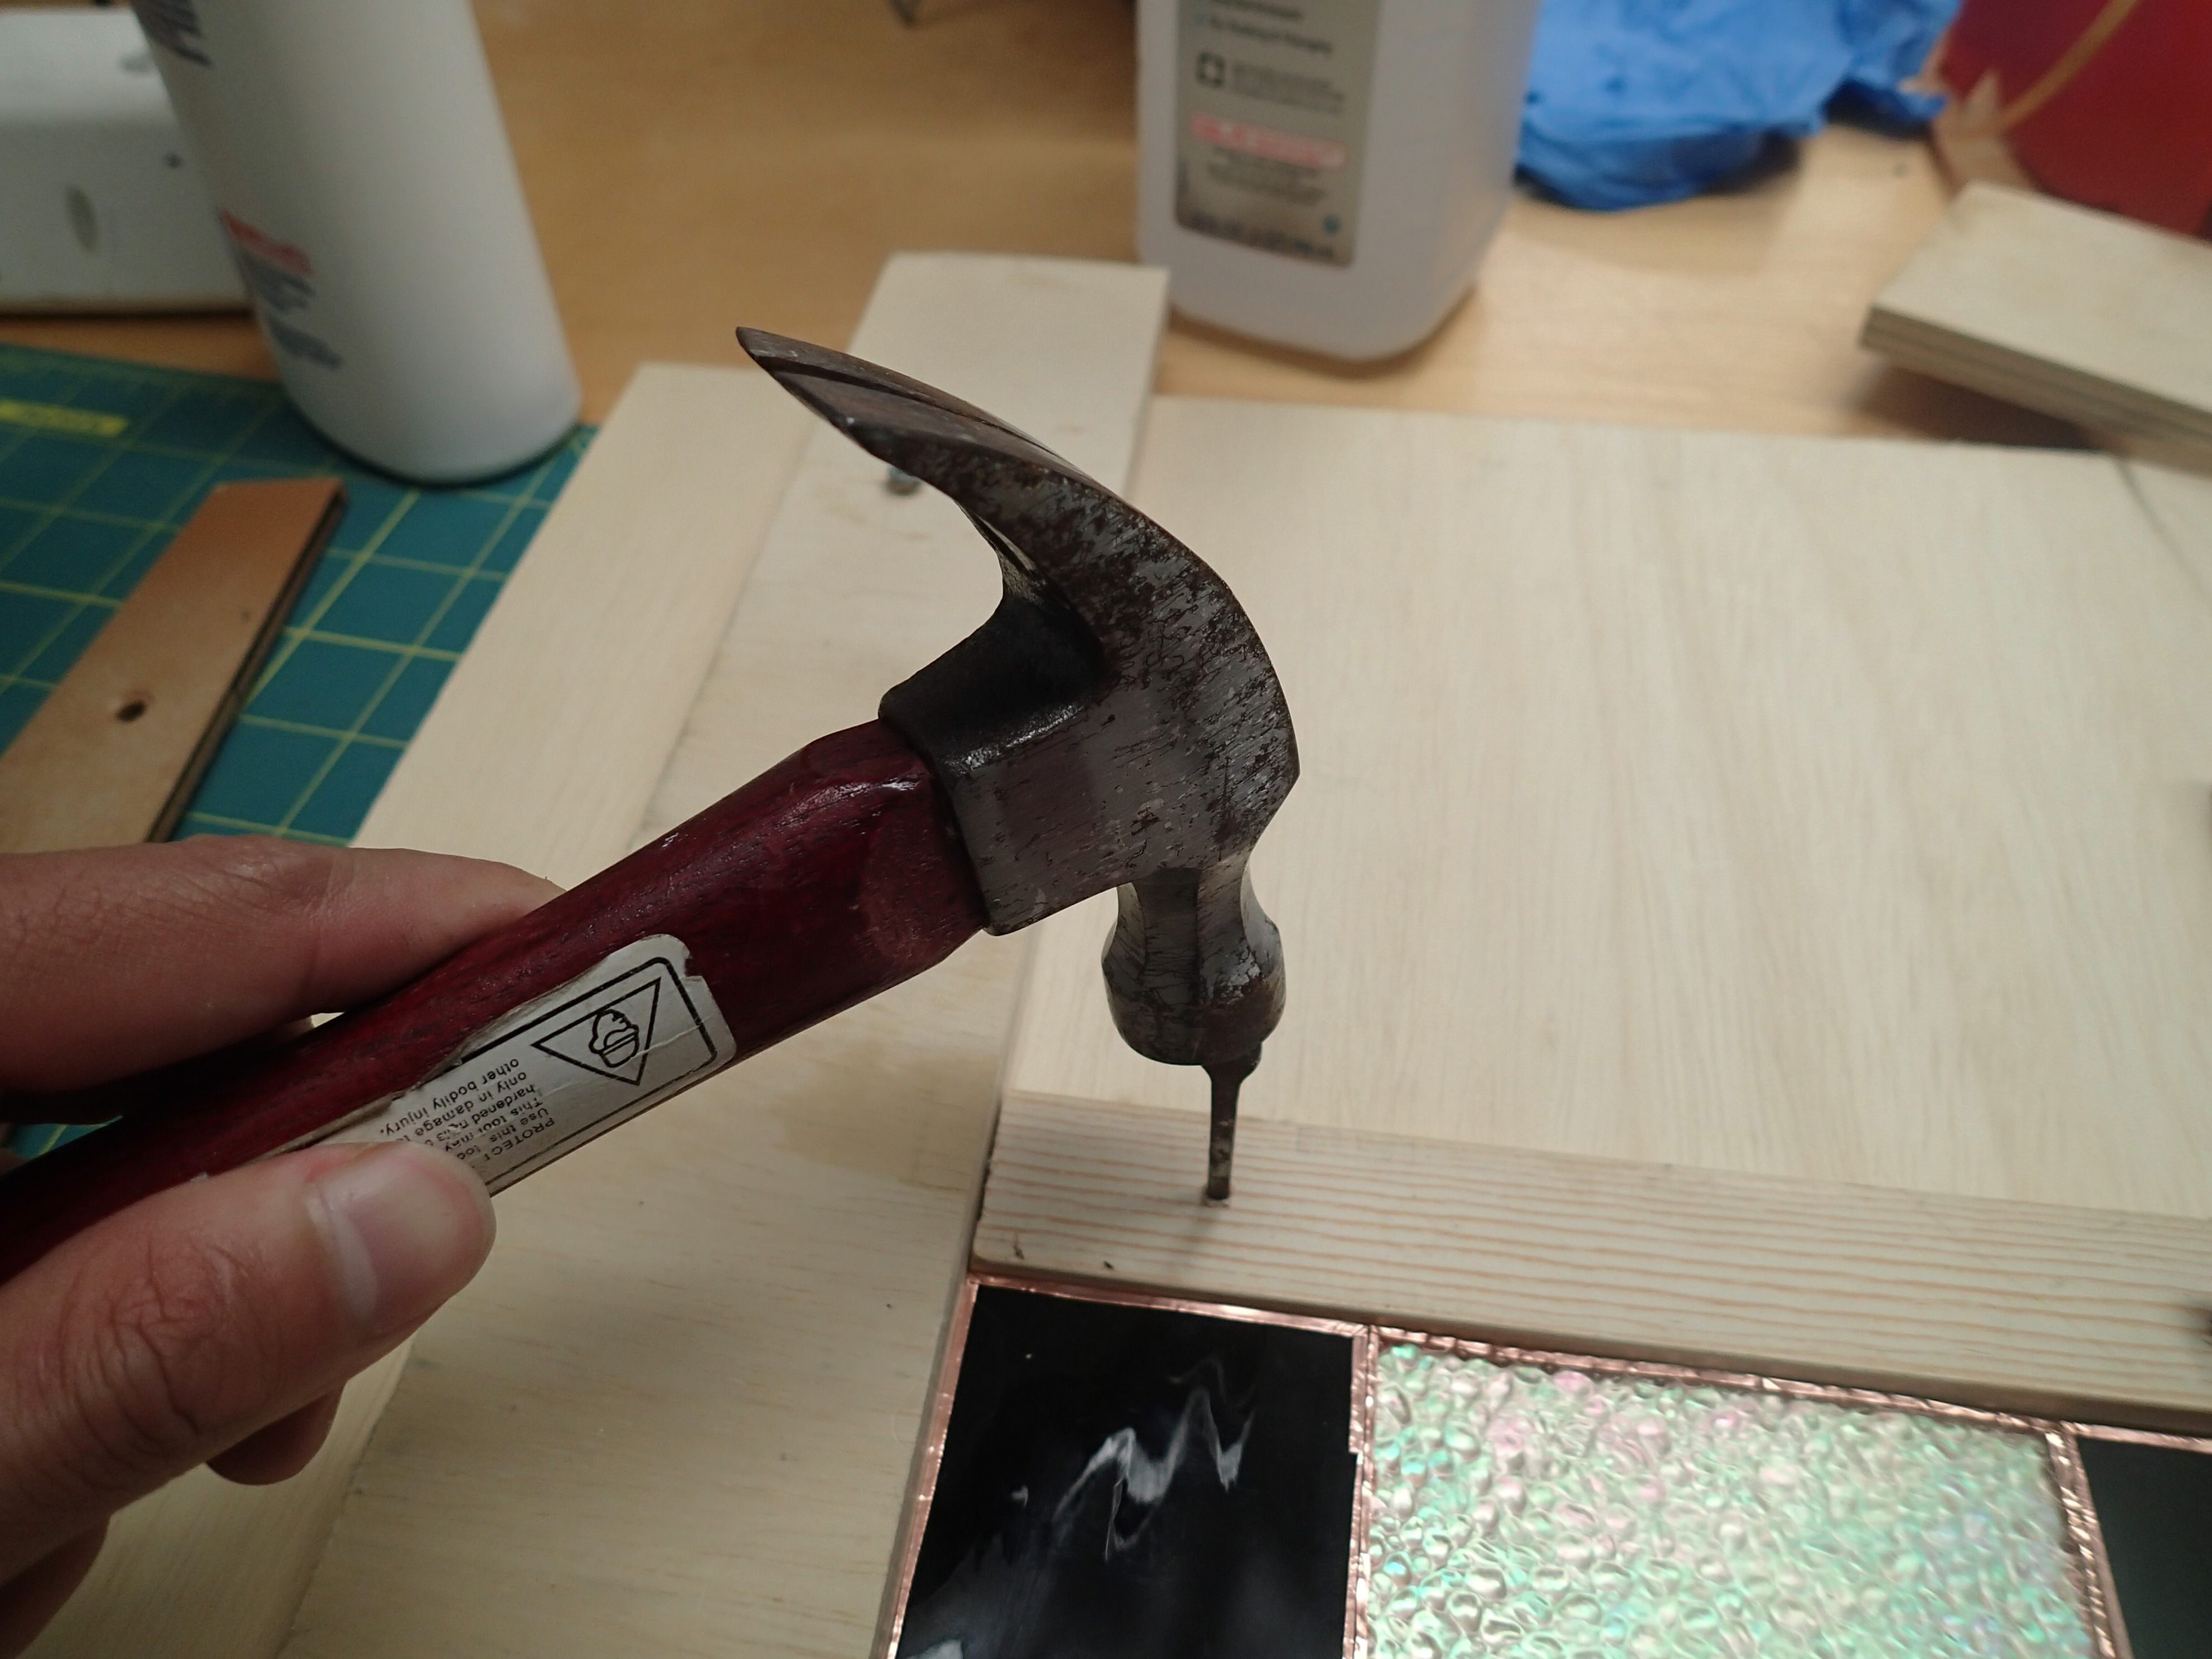
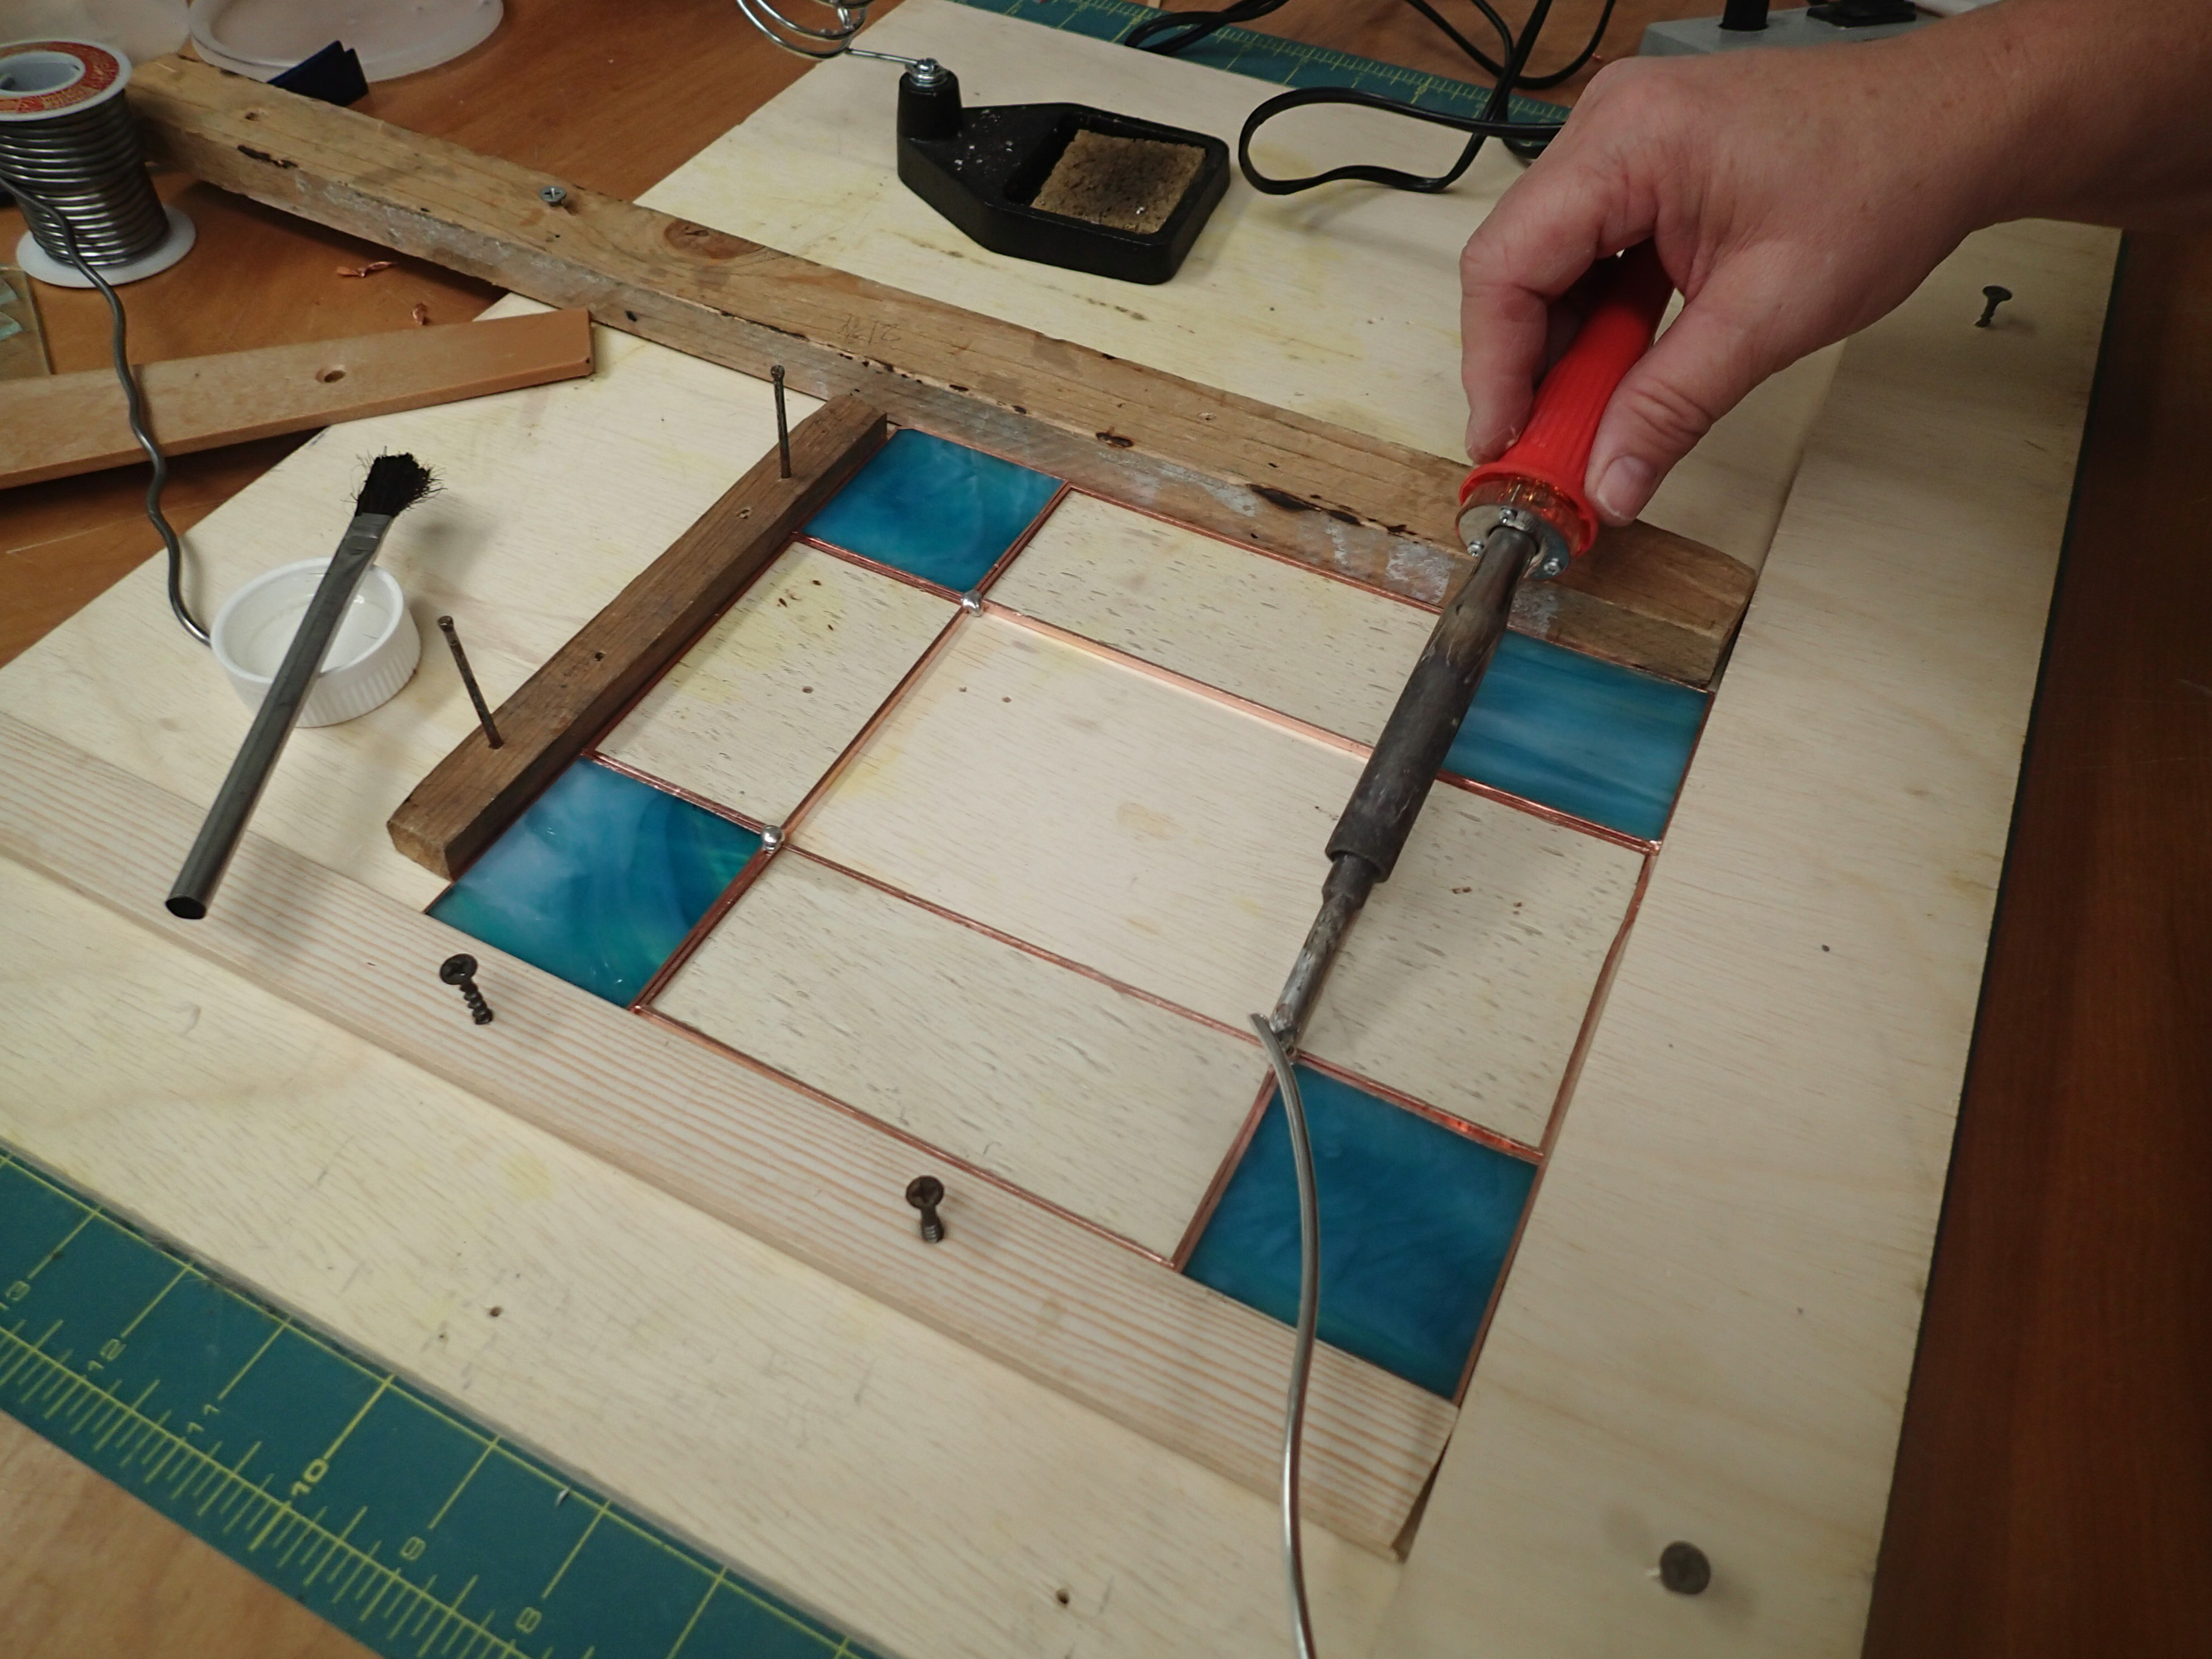
In order to ensure the pieces are soldered together properly, the glass pieces are set in place by bordering the glass with pieces of wood, aligned properly with a straight edge,
then fixed down with nails,
giving the resultant setup.
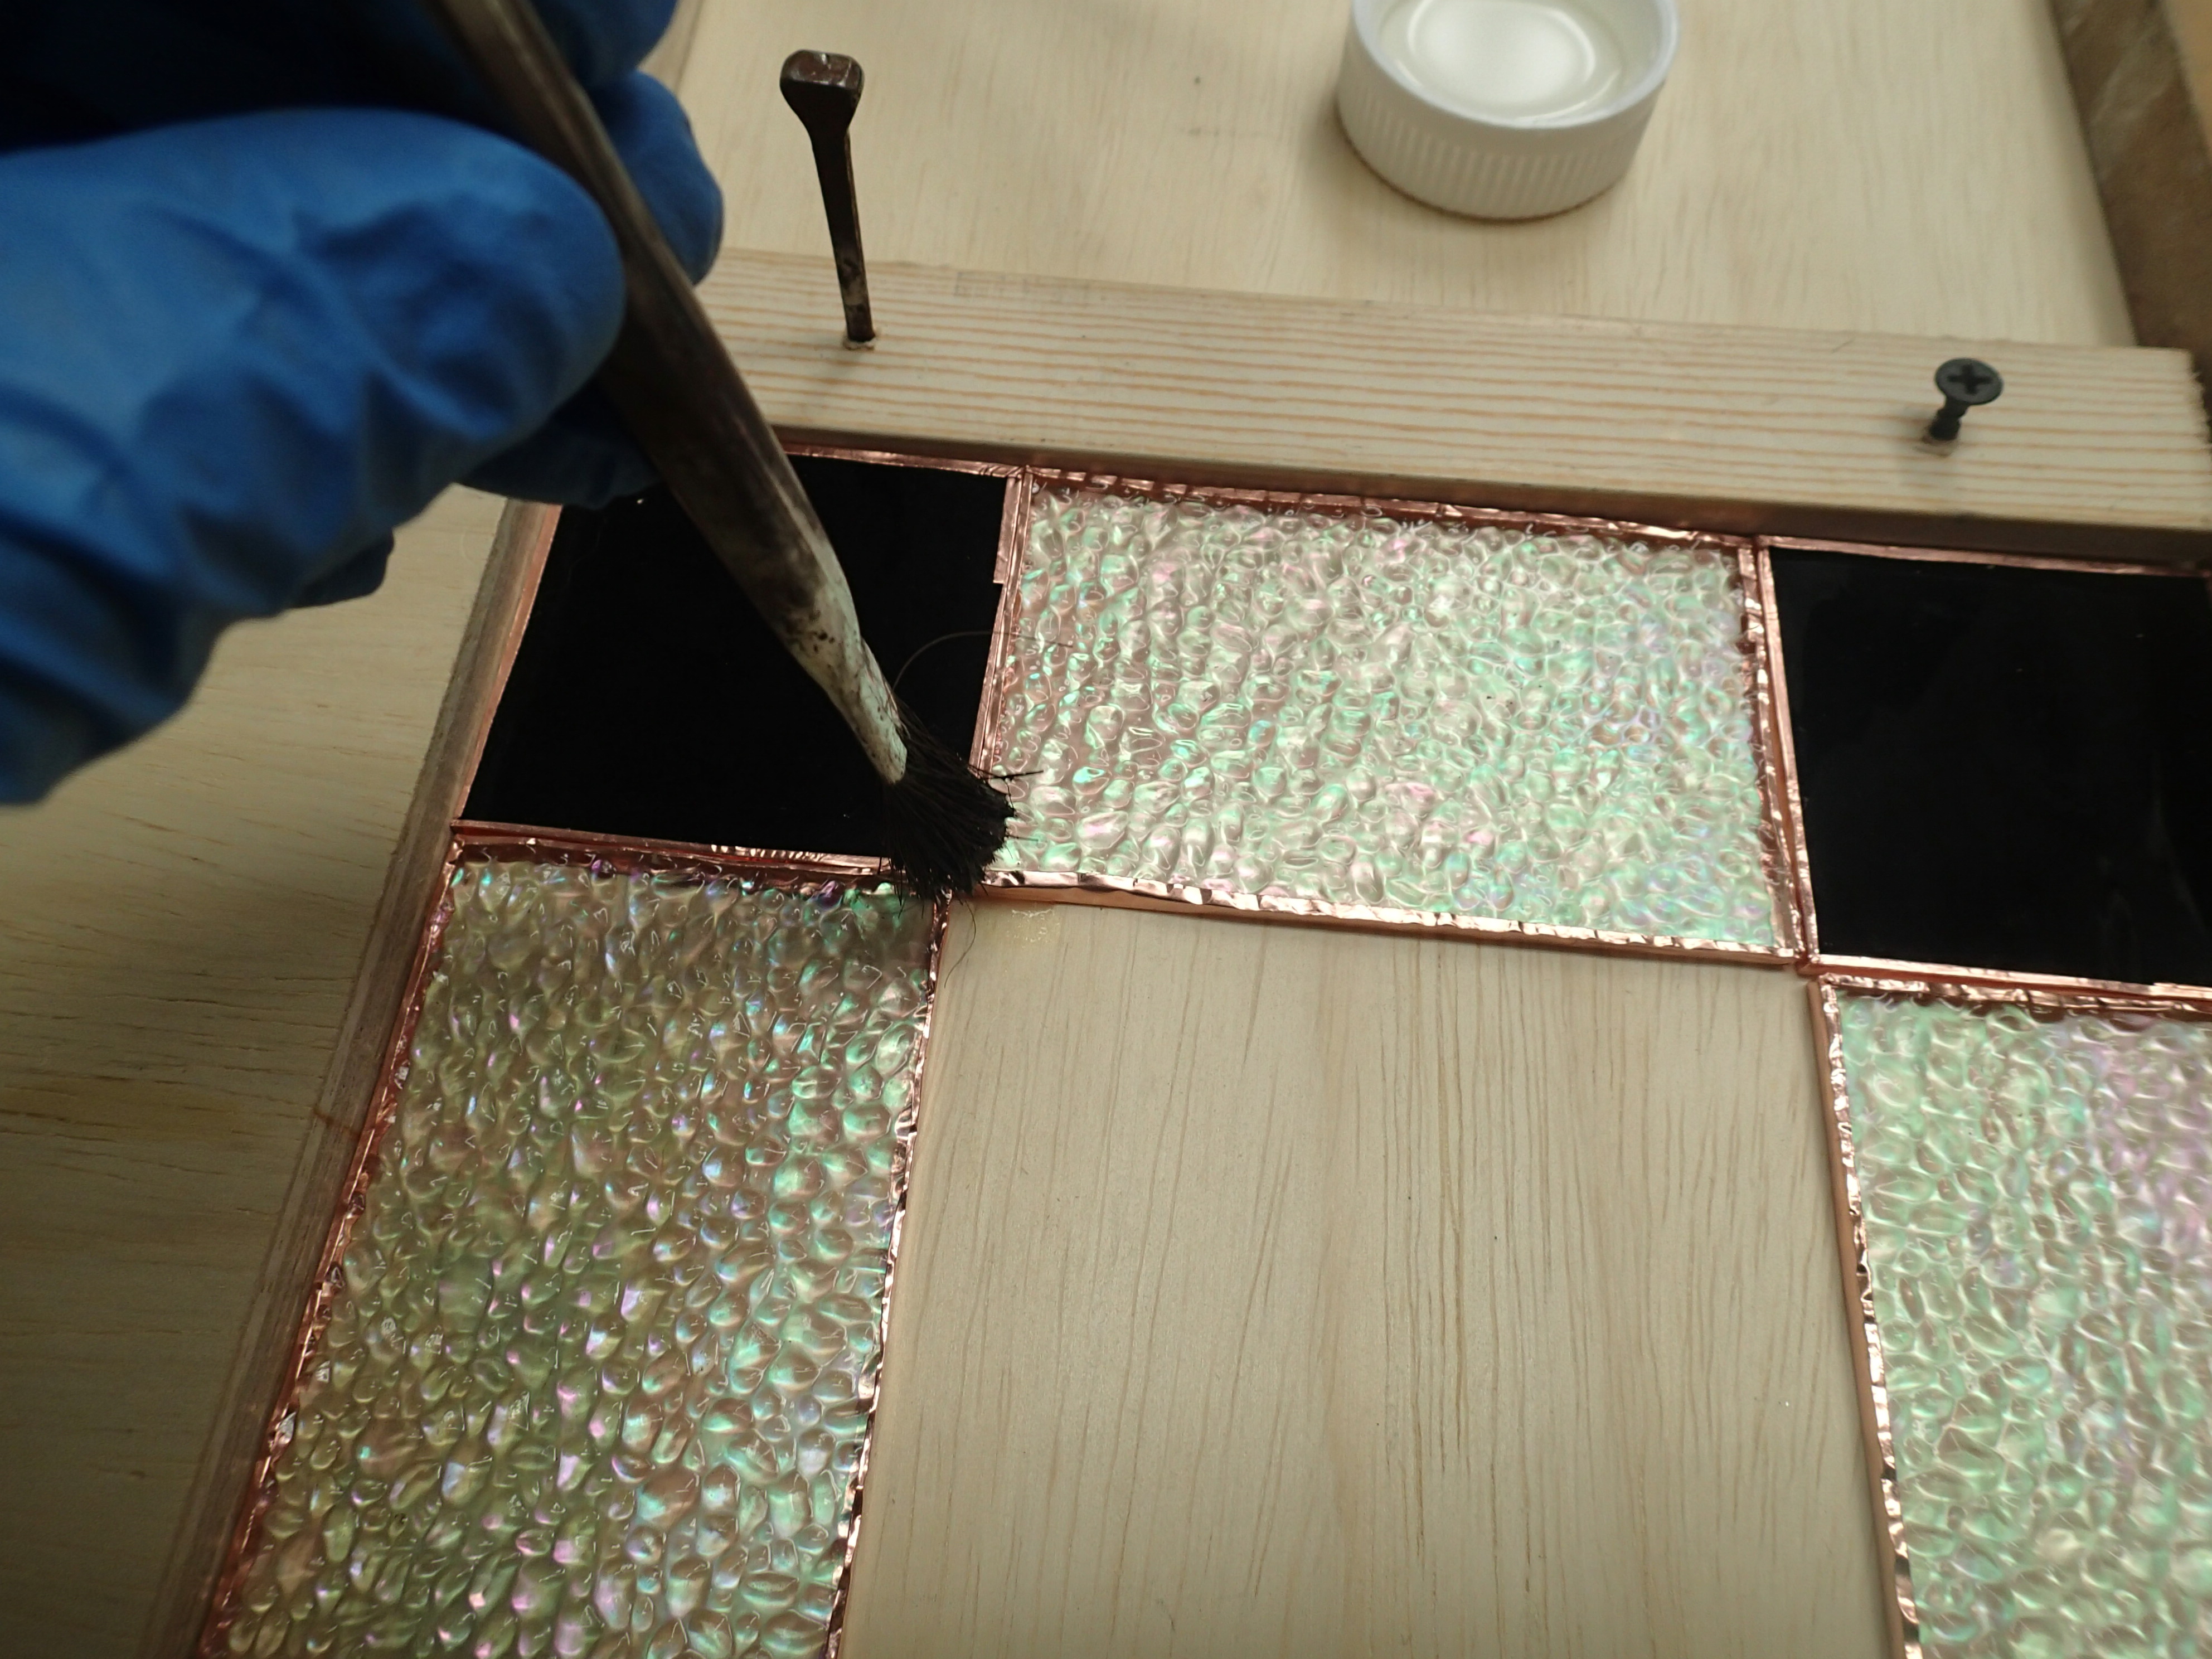
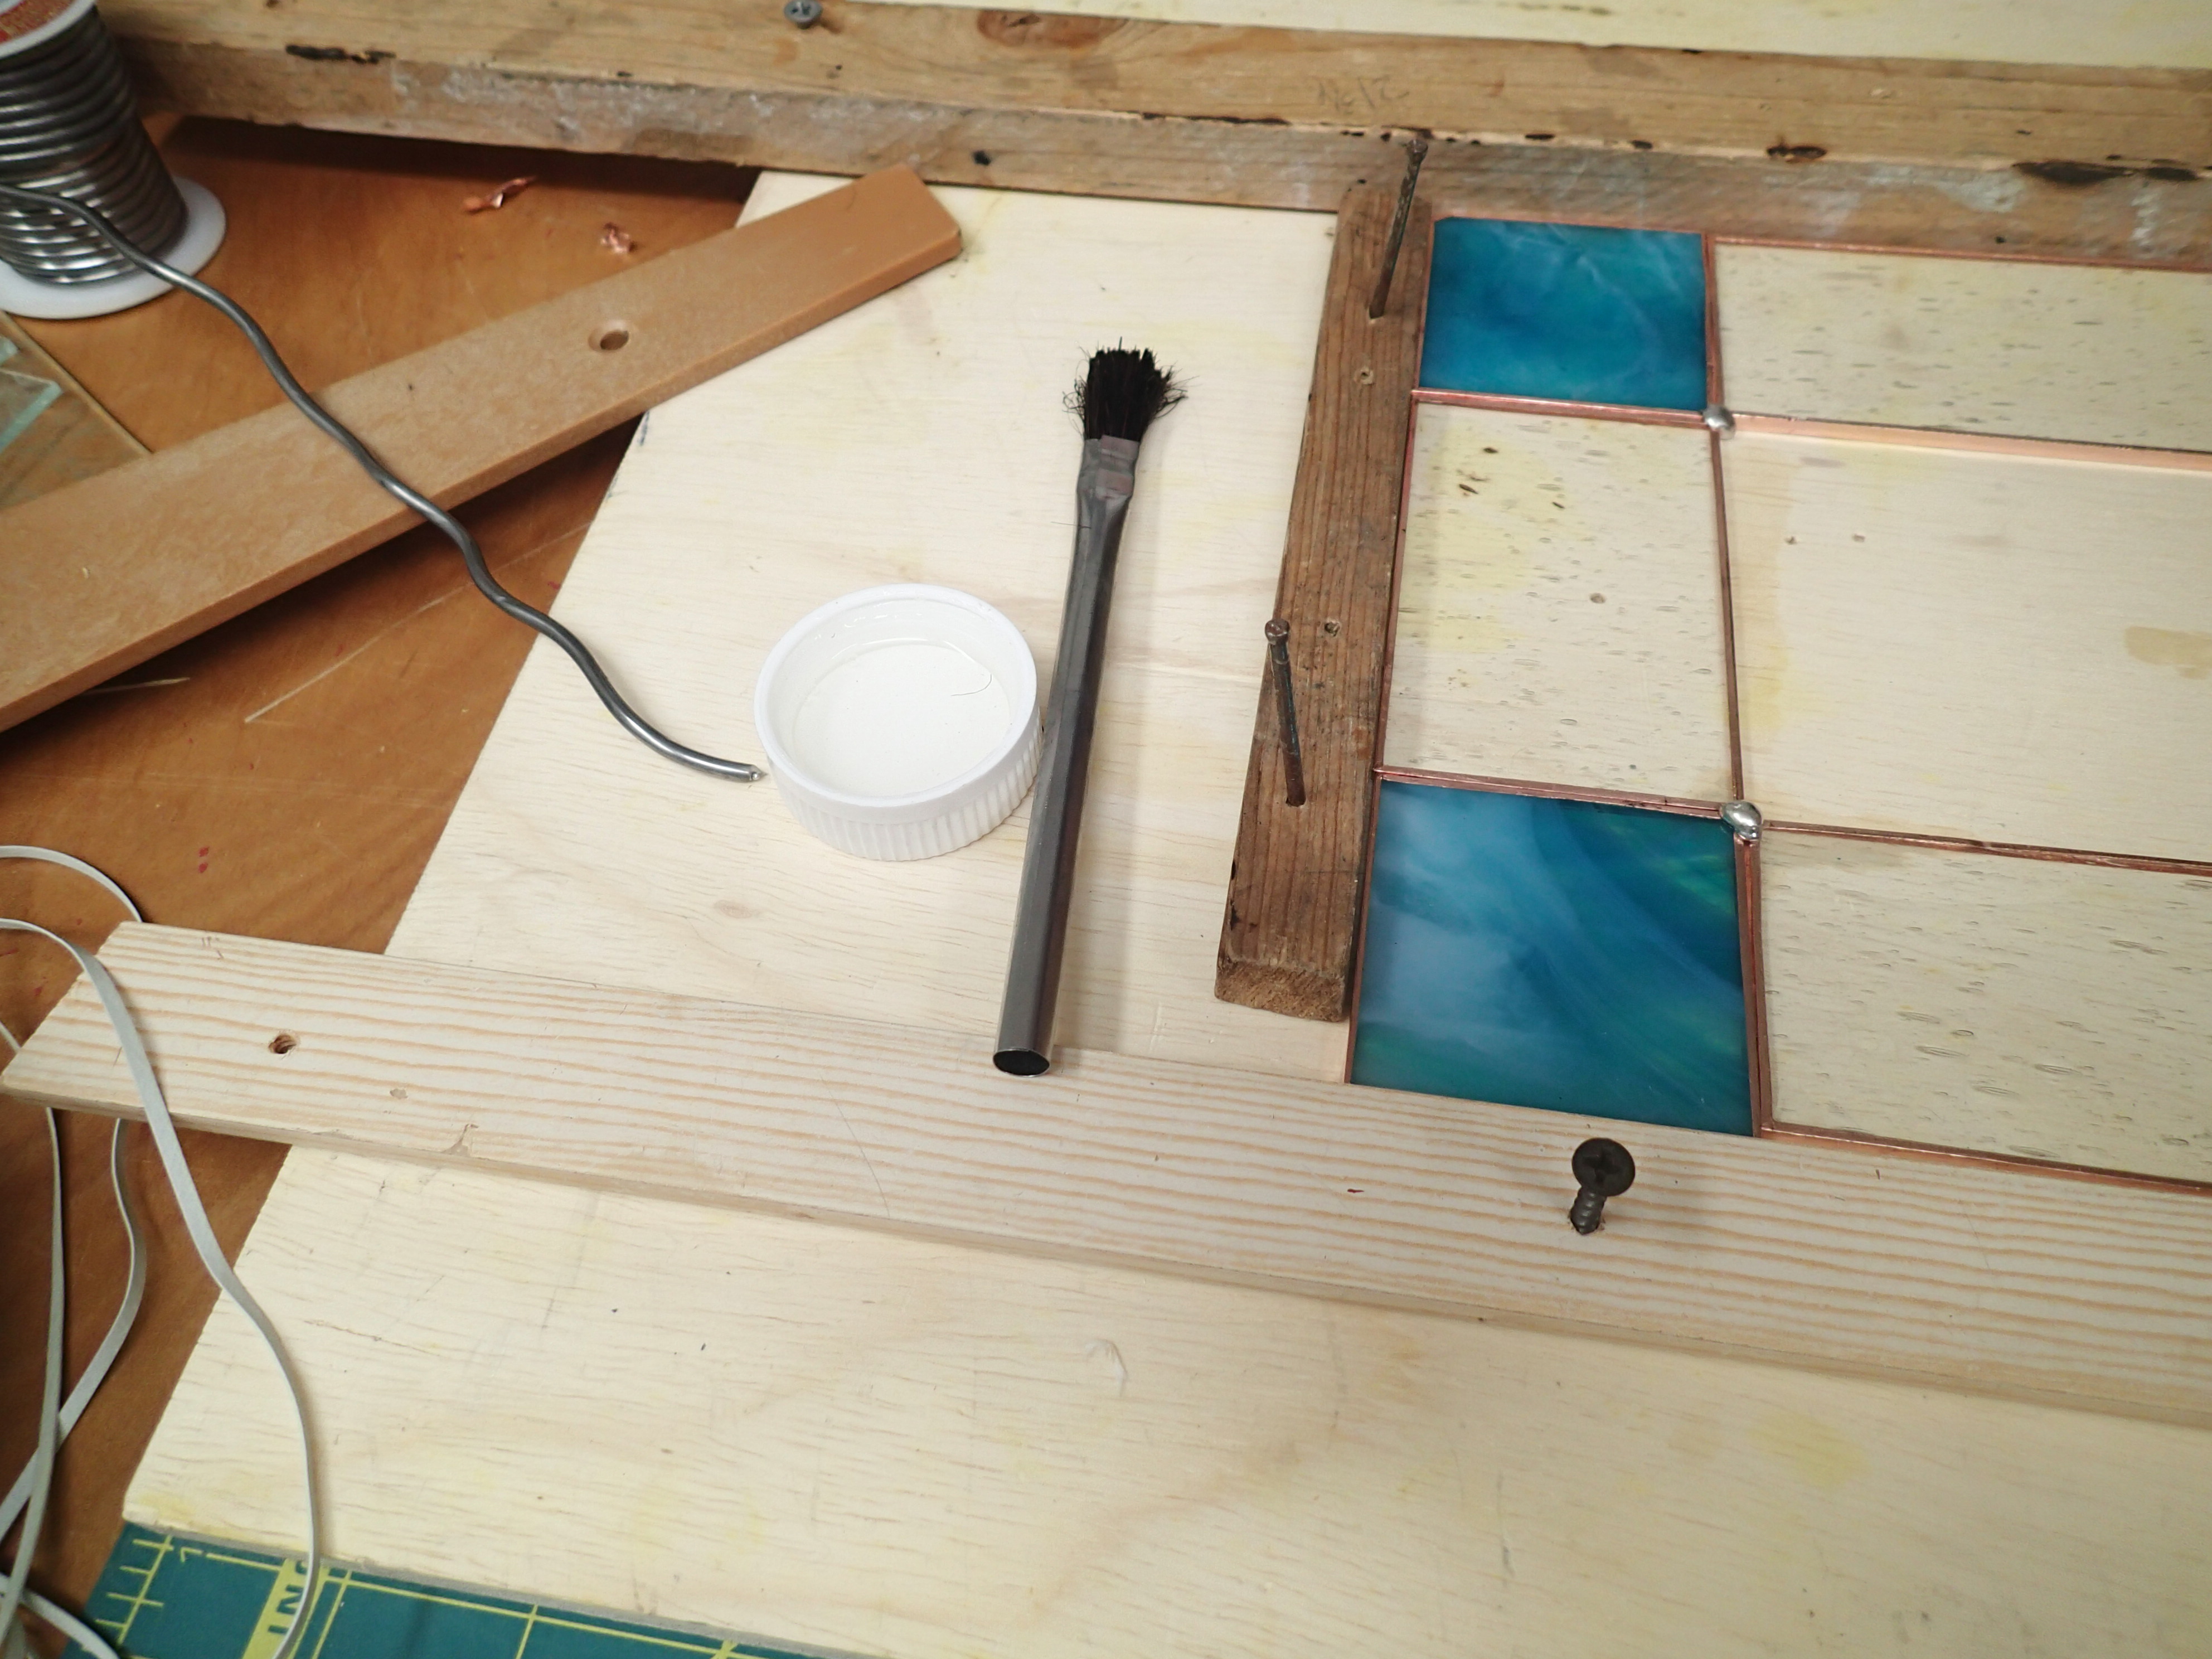
At this point, 3 things are needed: a brush with flux,
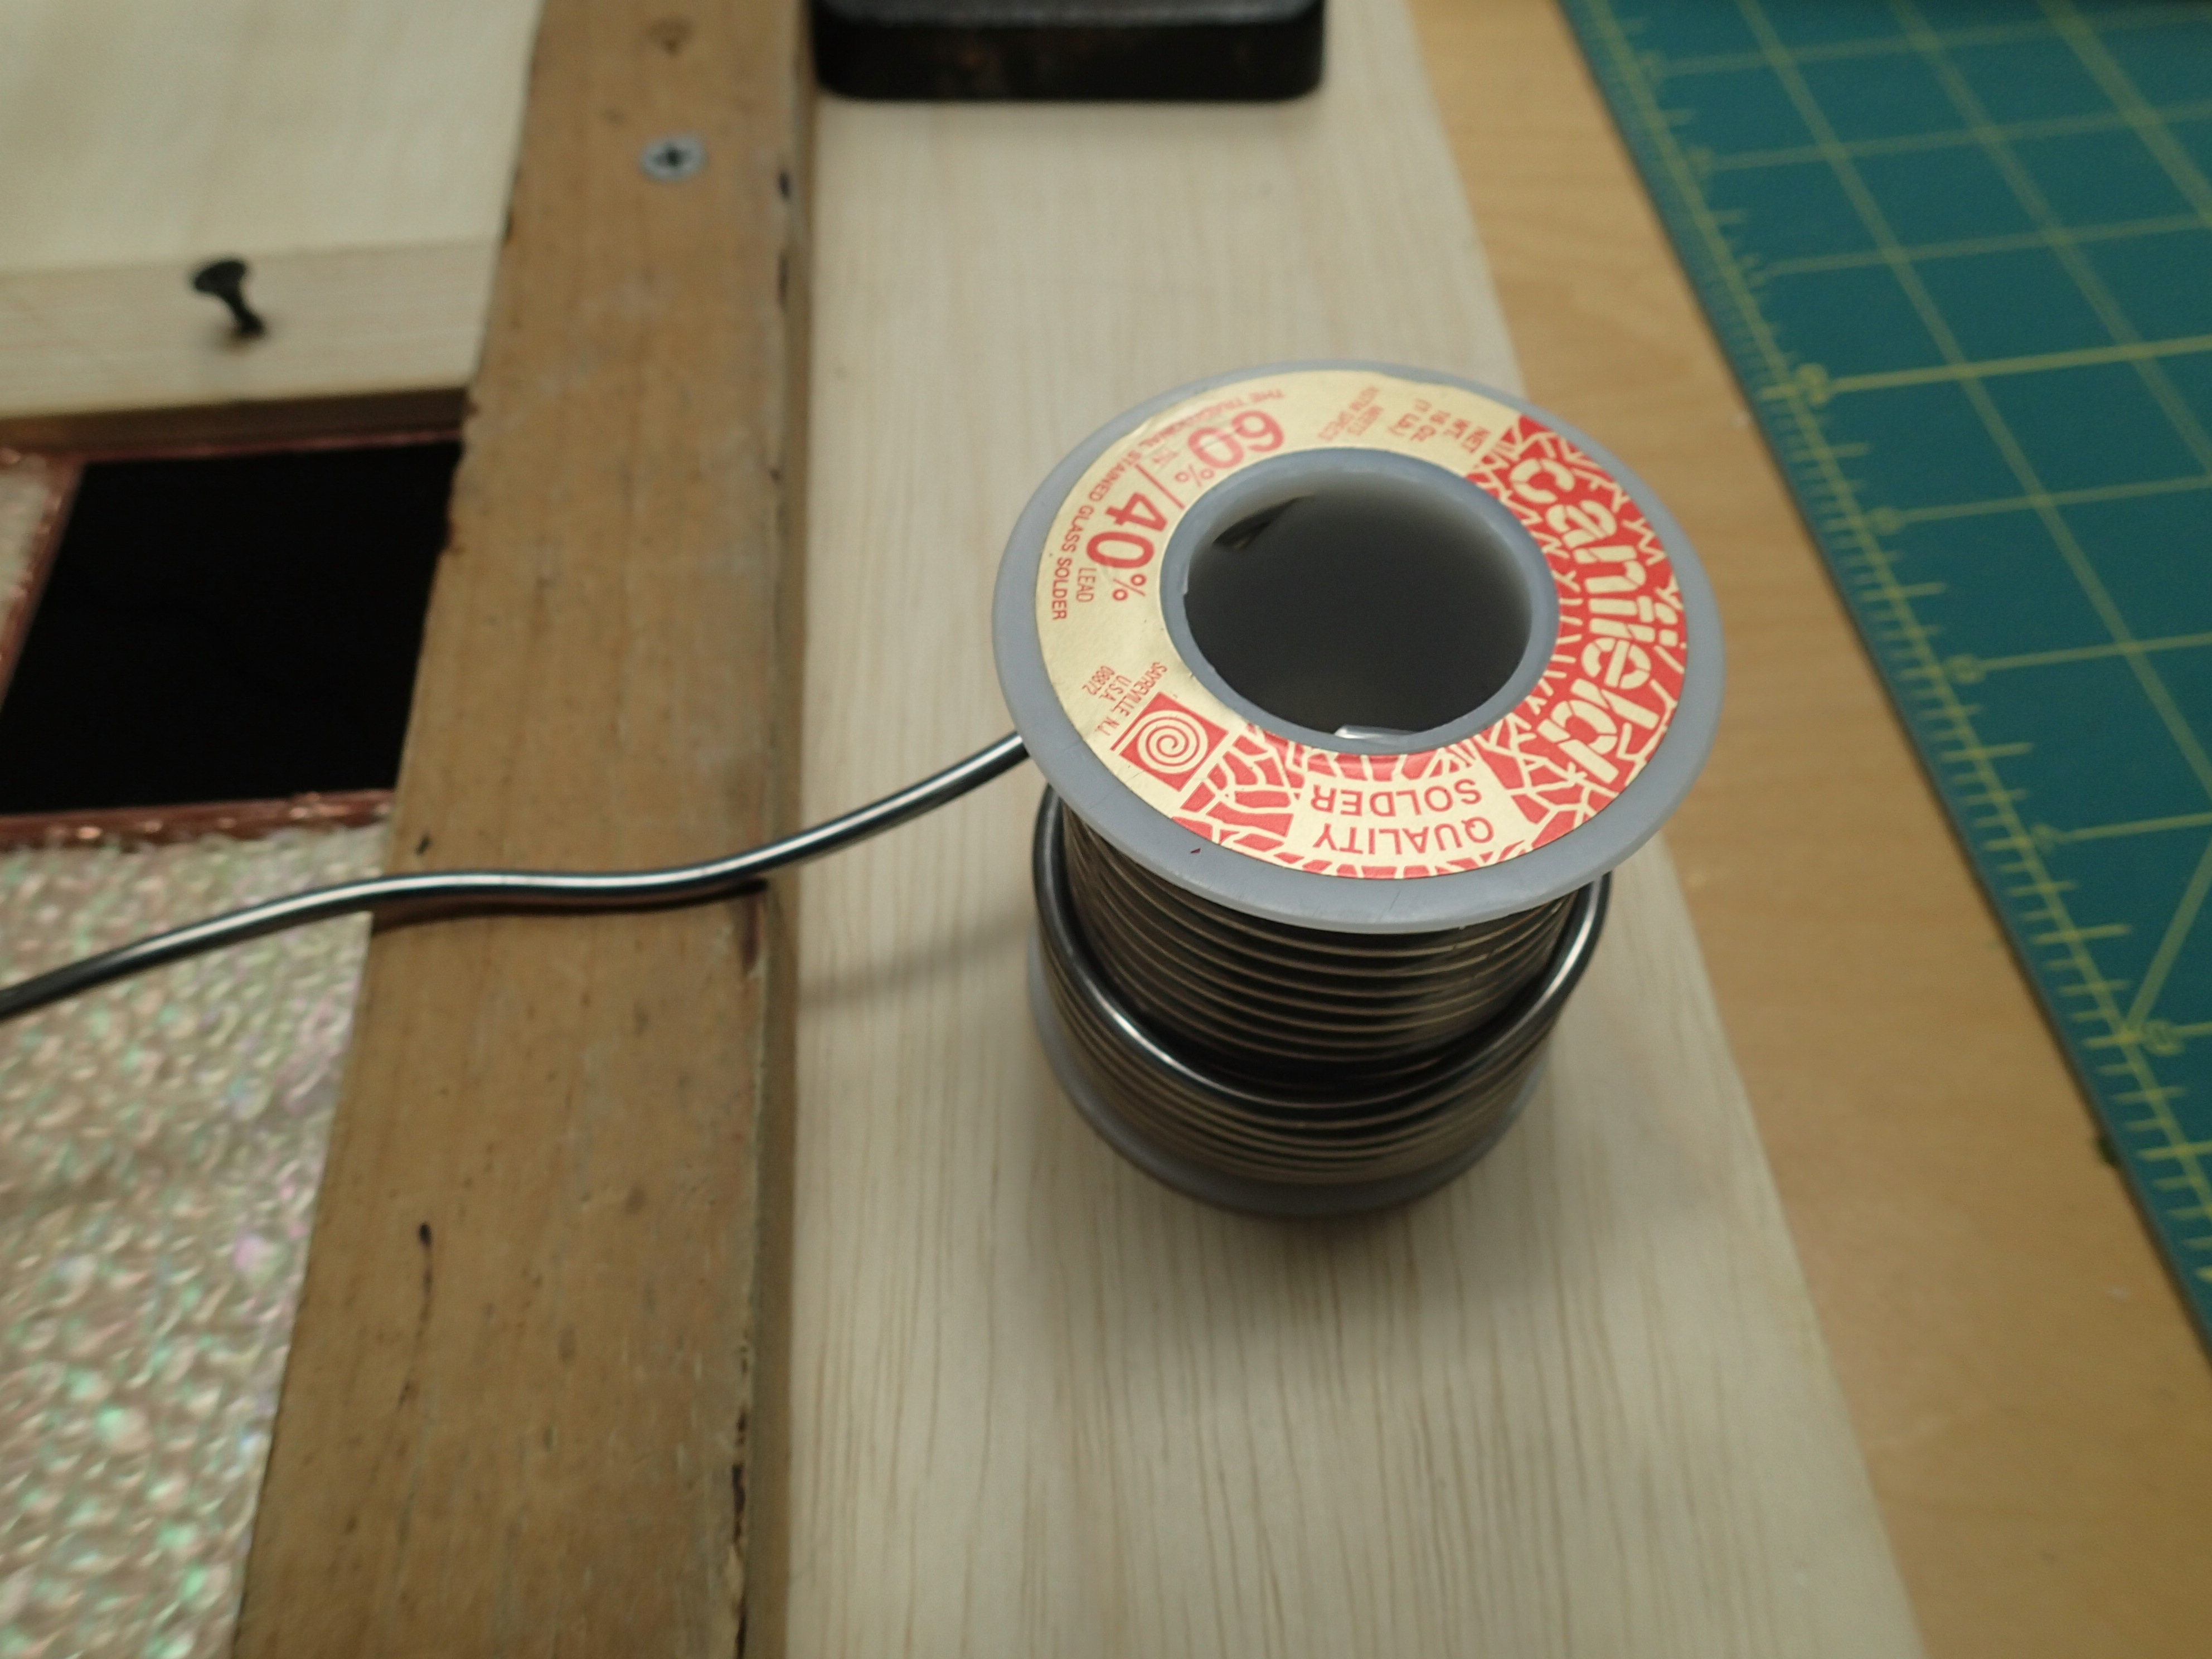
a spool of soldering metal (which has 40% lead, 60% tin, meaning a need to wear protective gear),
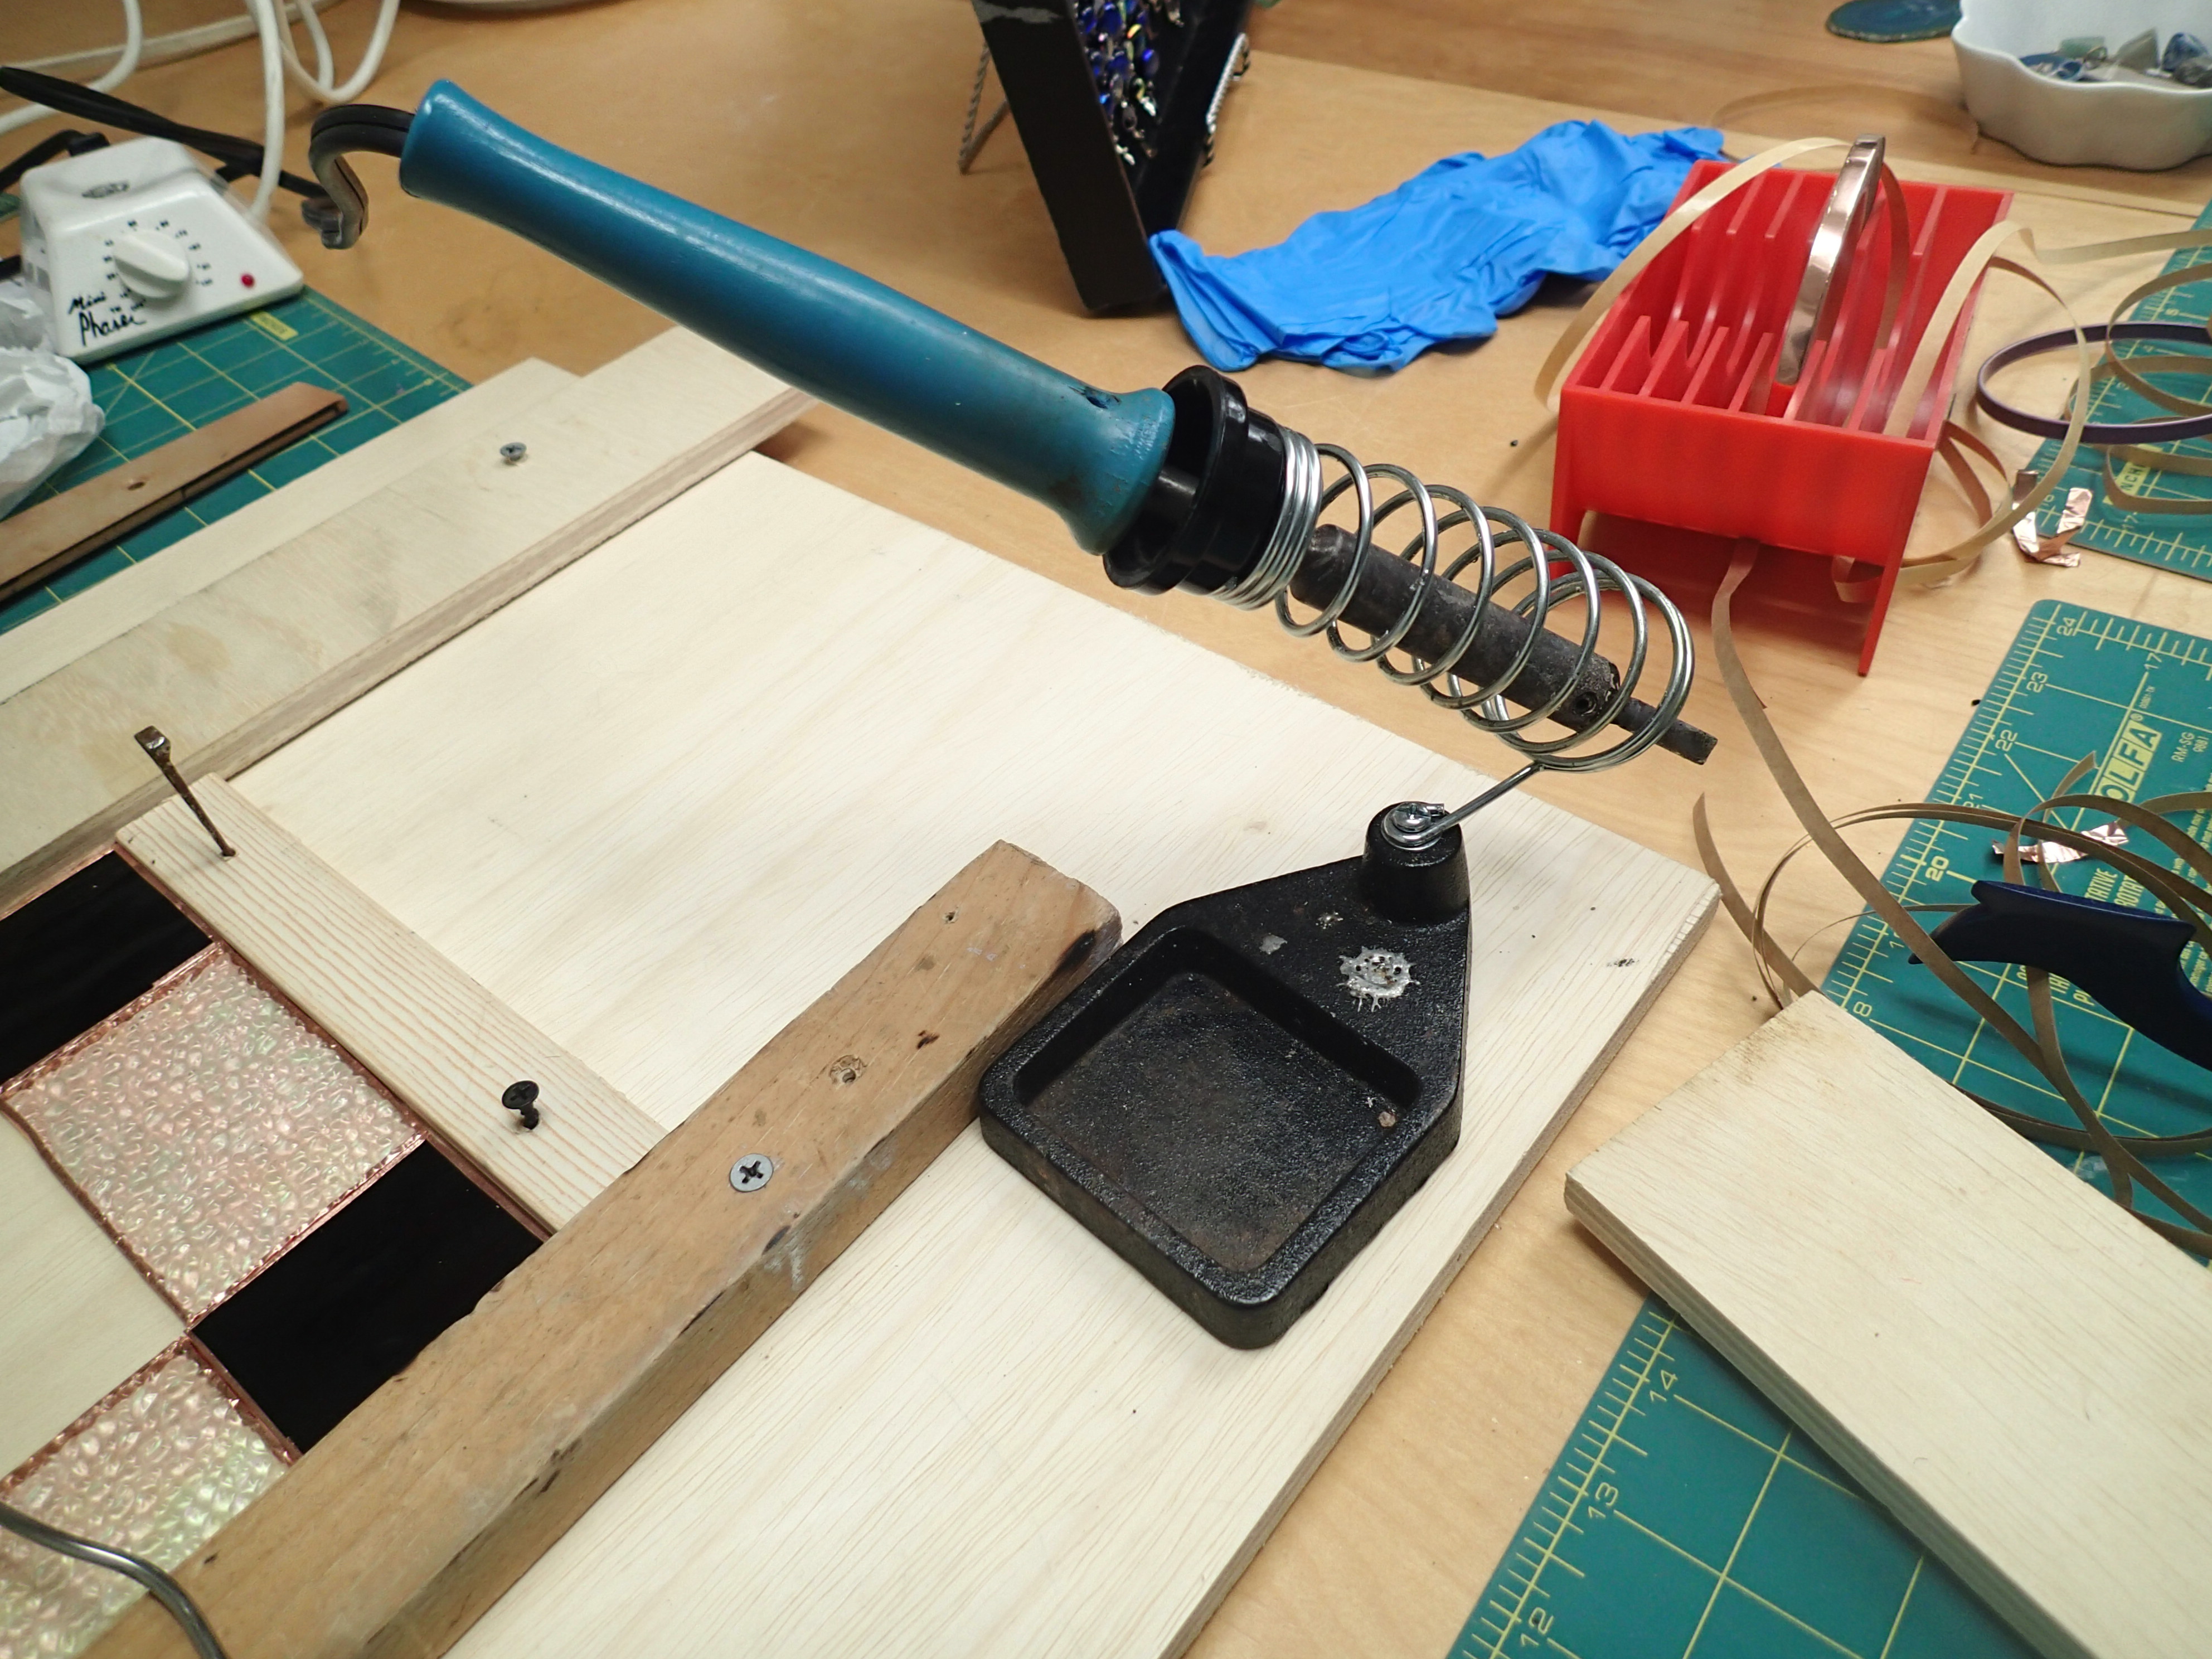
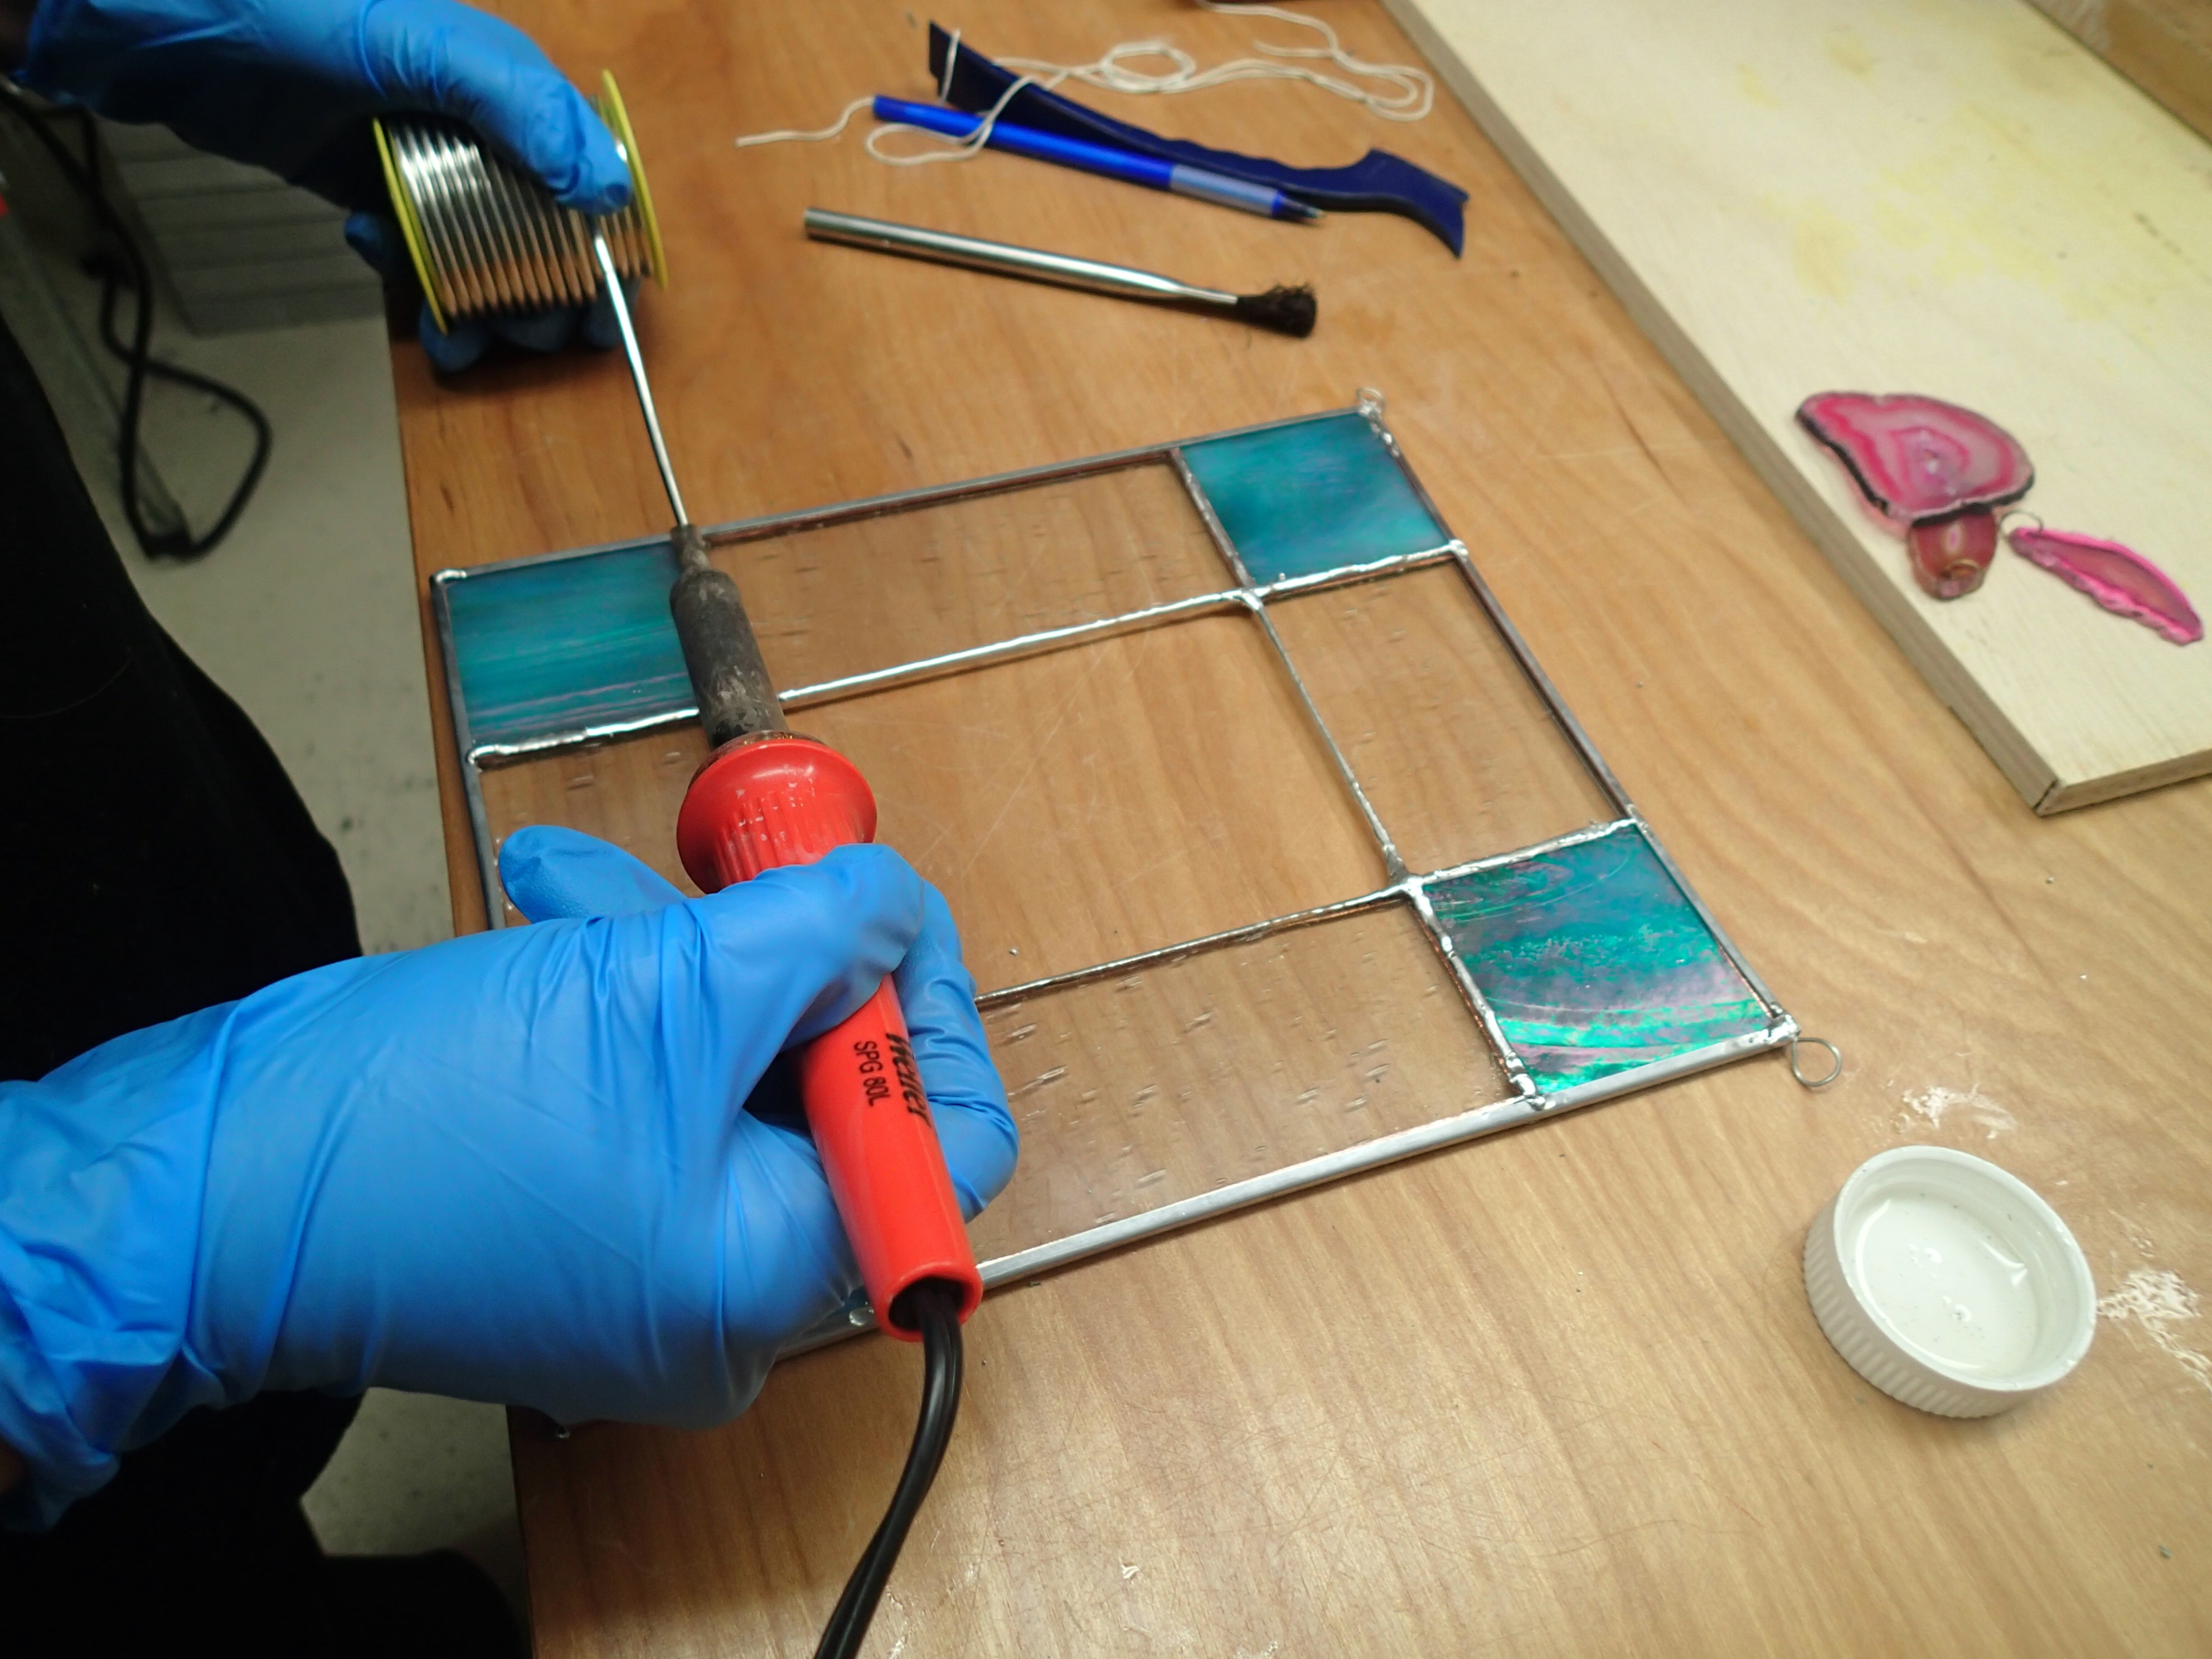
and a soldering iron.
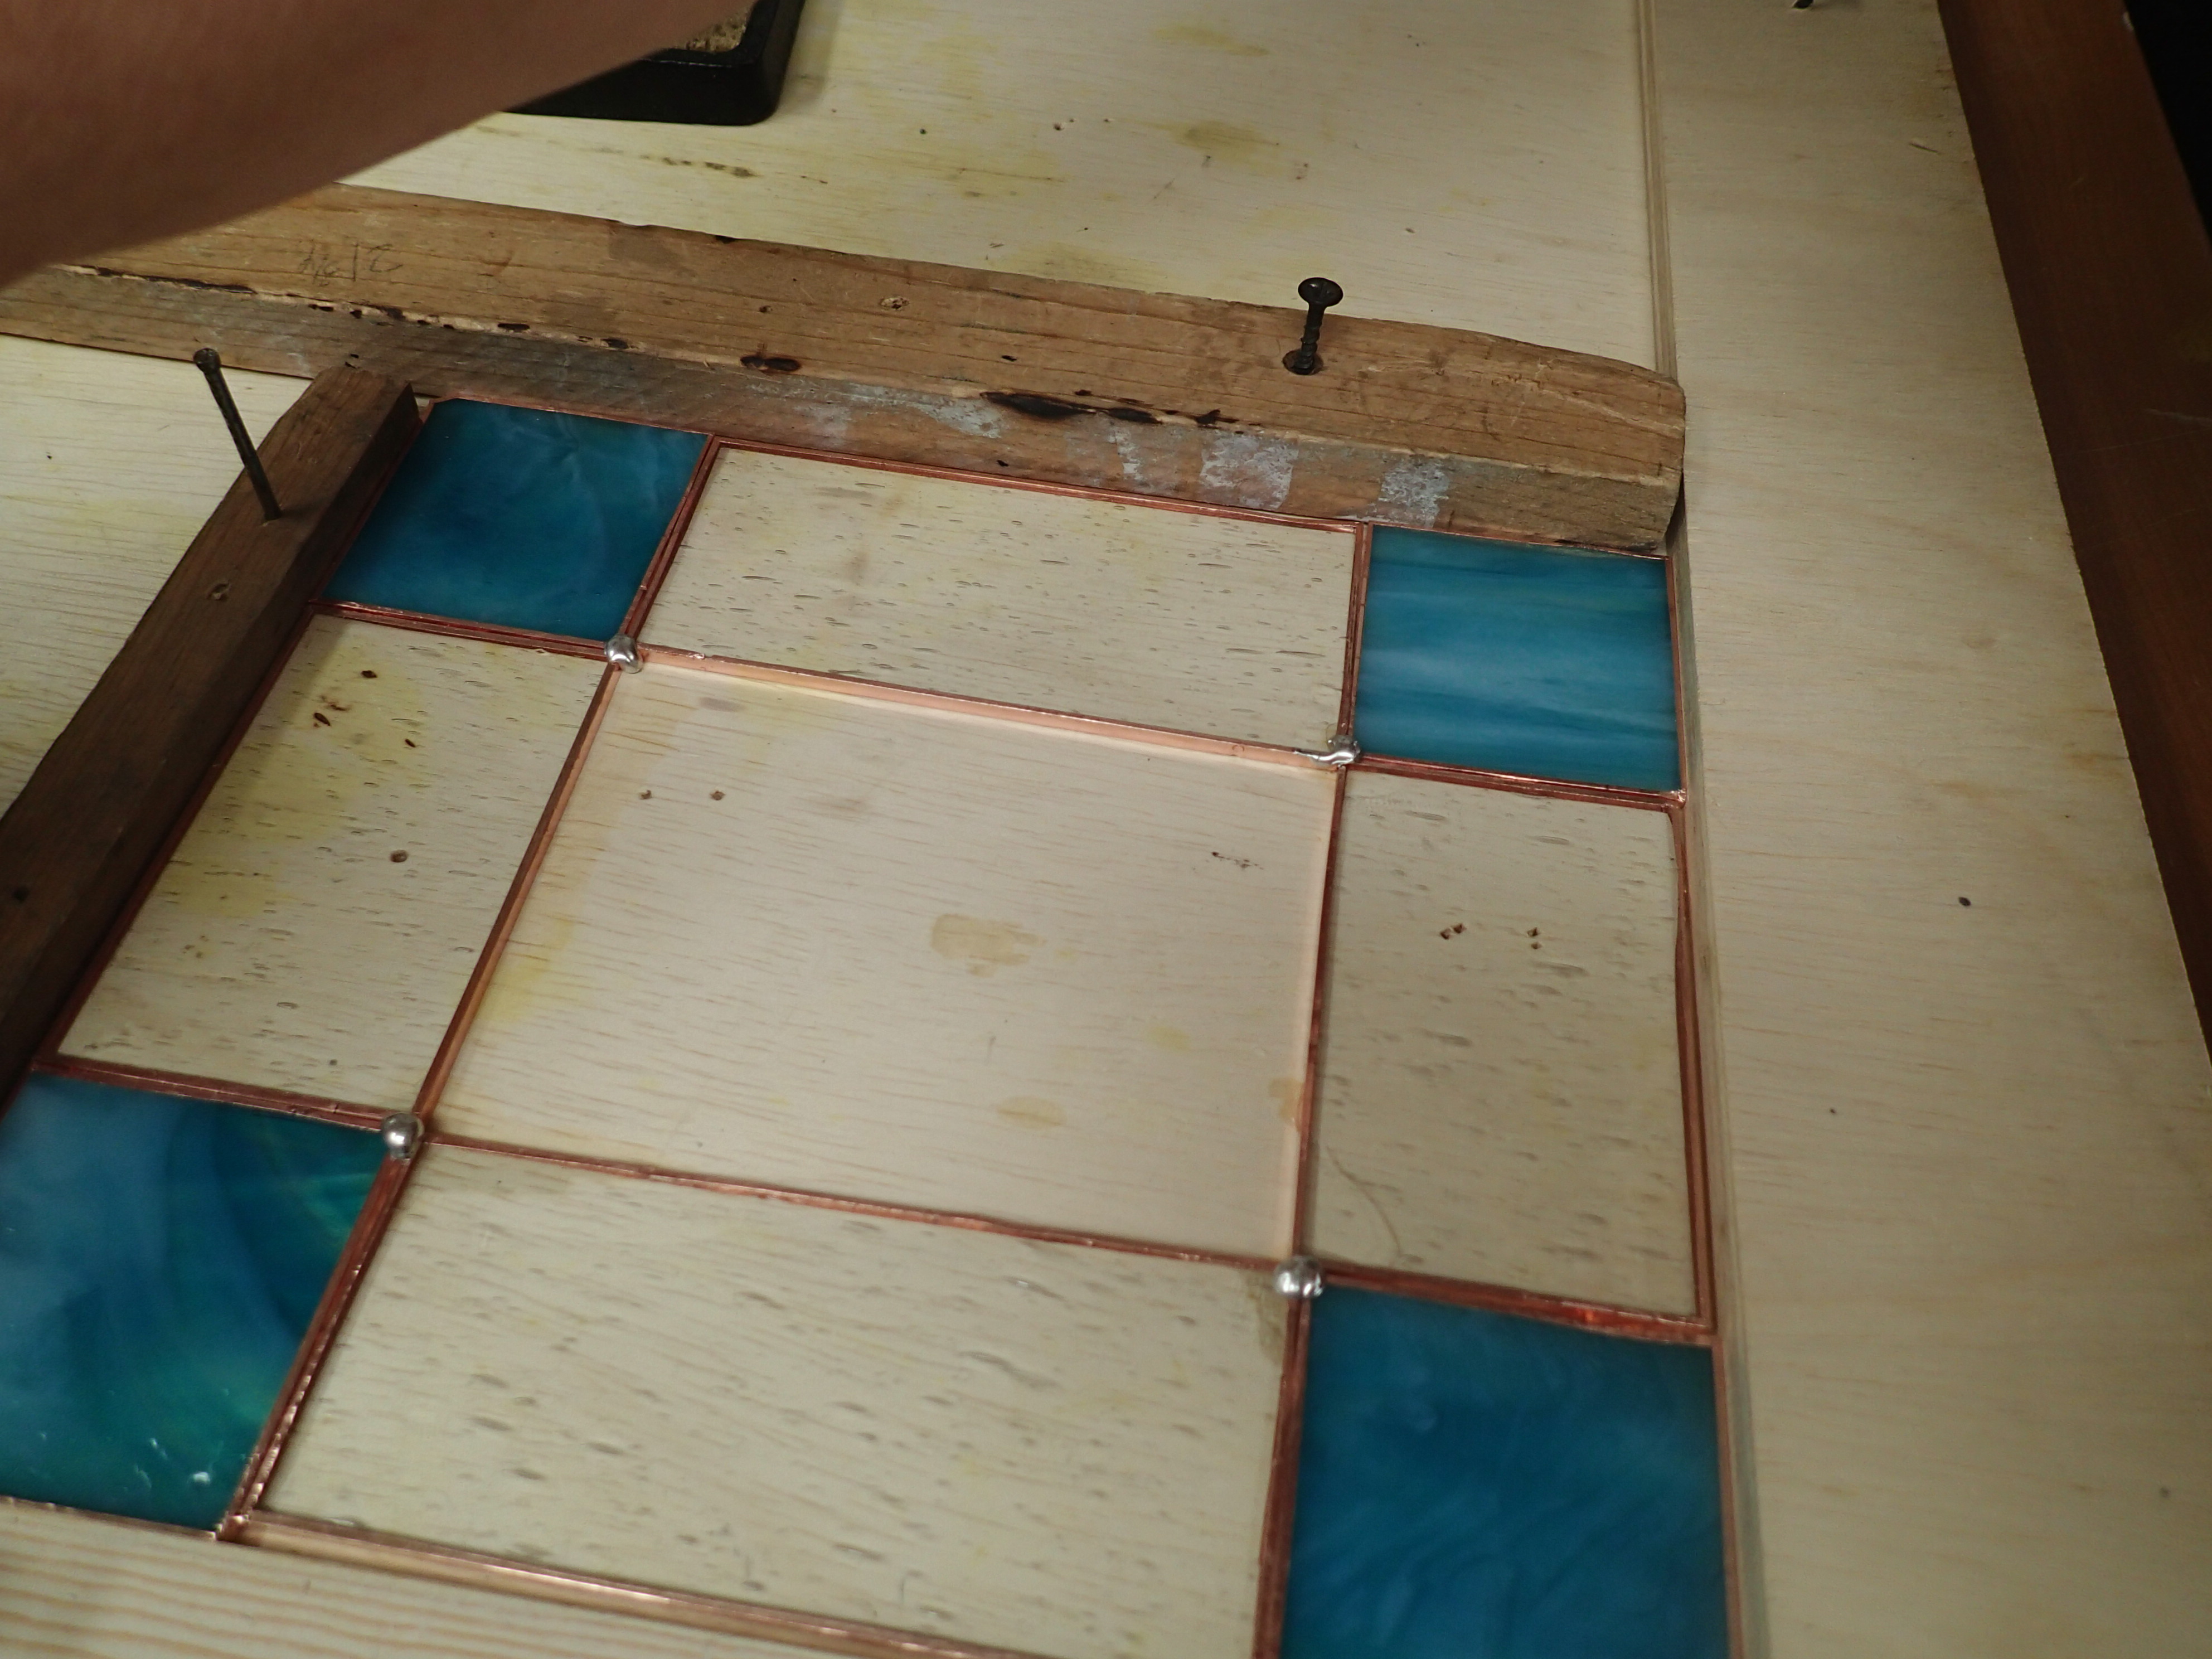
After painting the corners with flux,
the solder is melted onto the corners,
giving the following result.
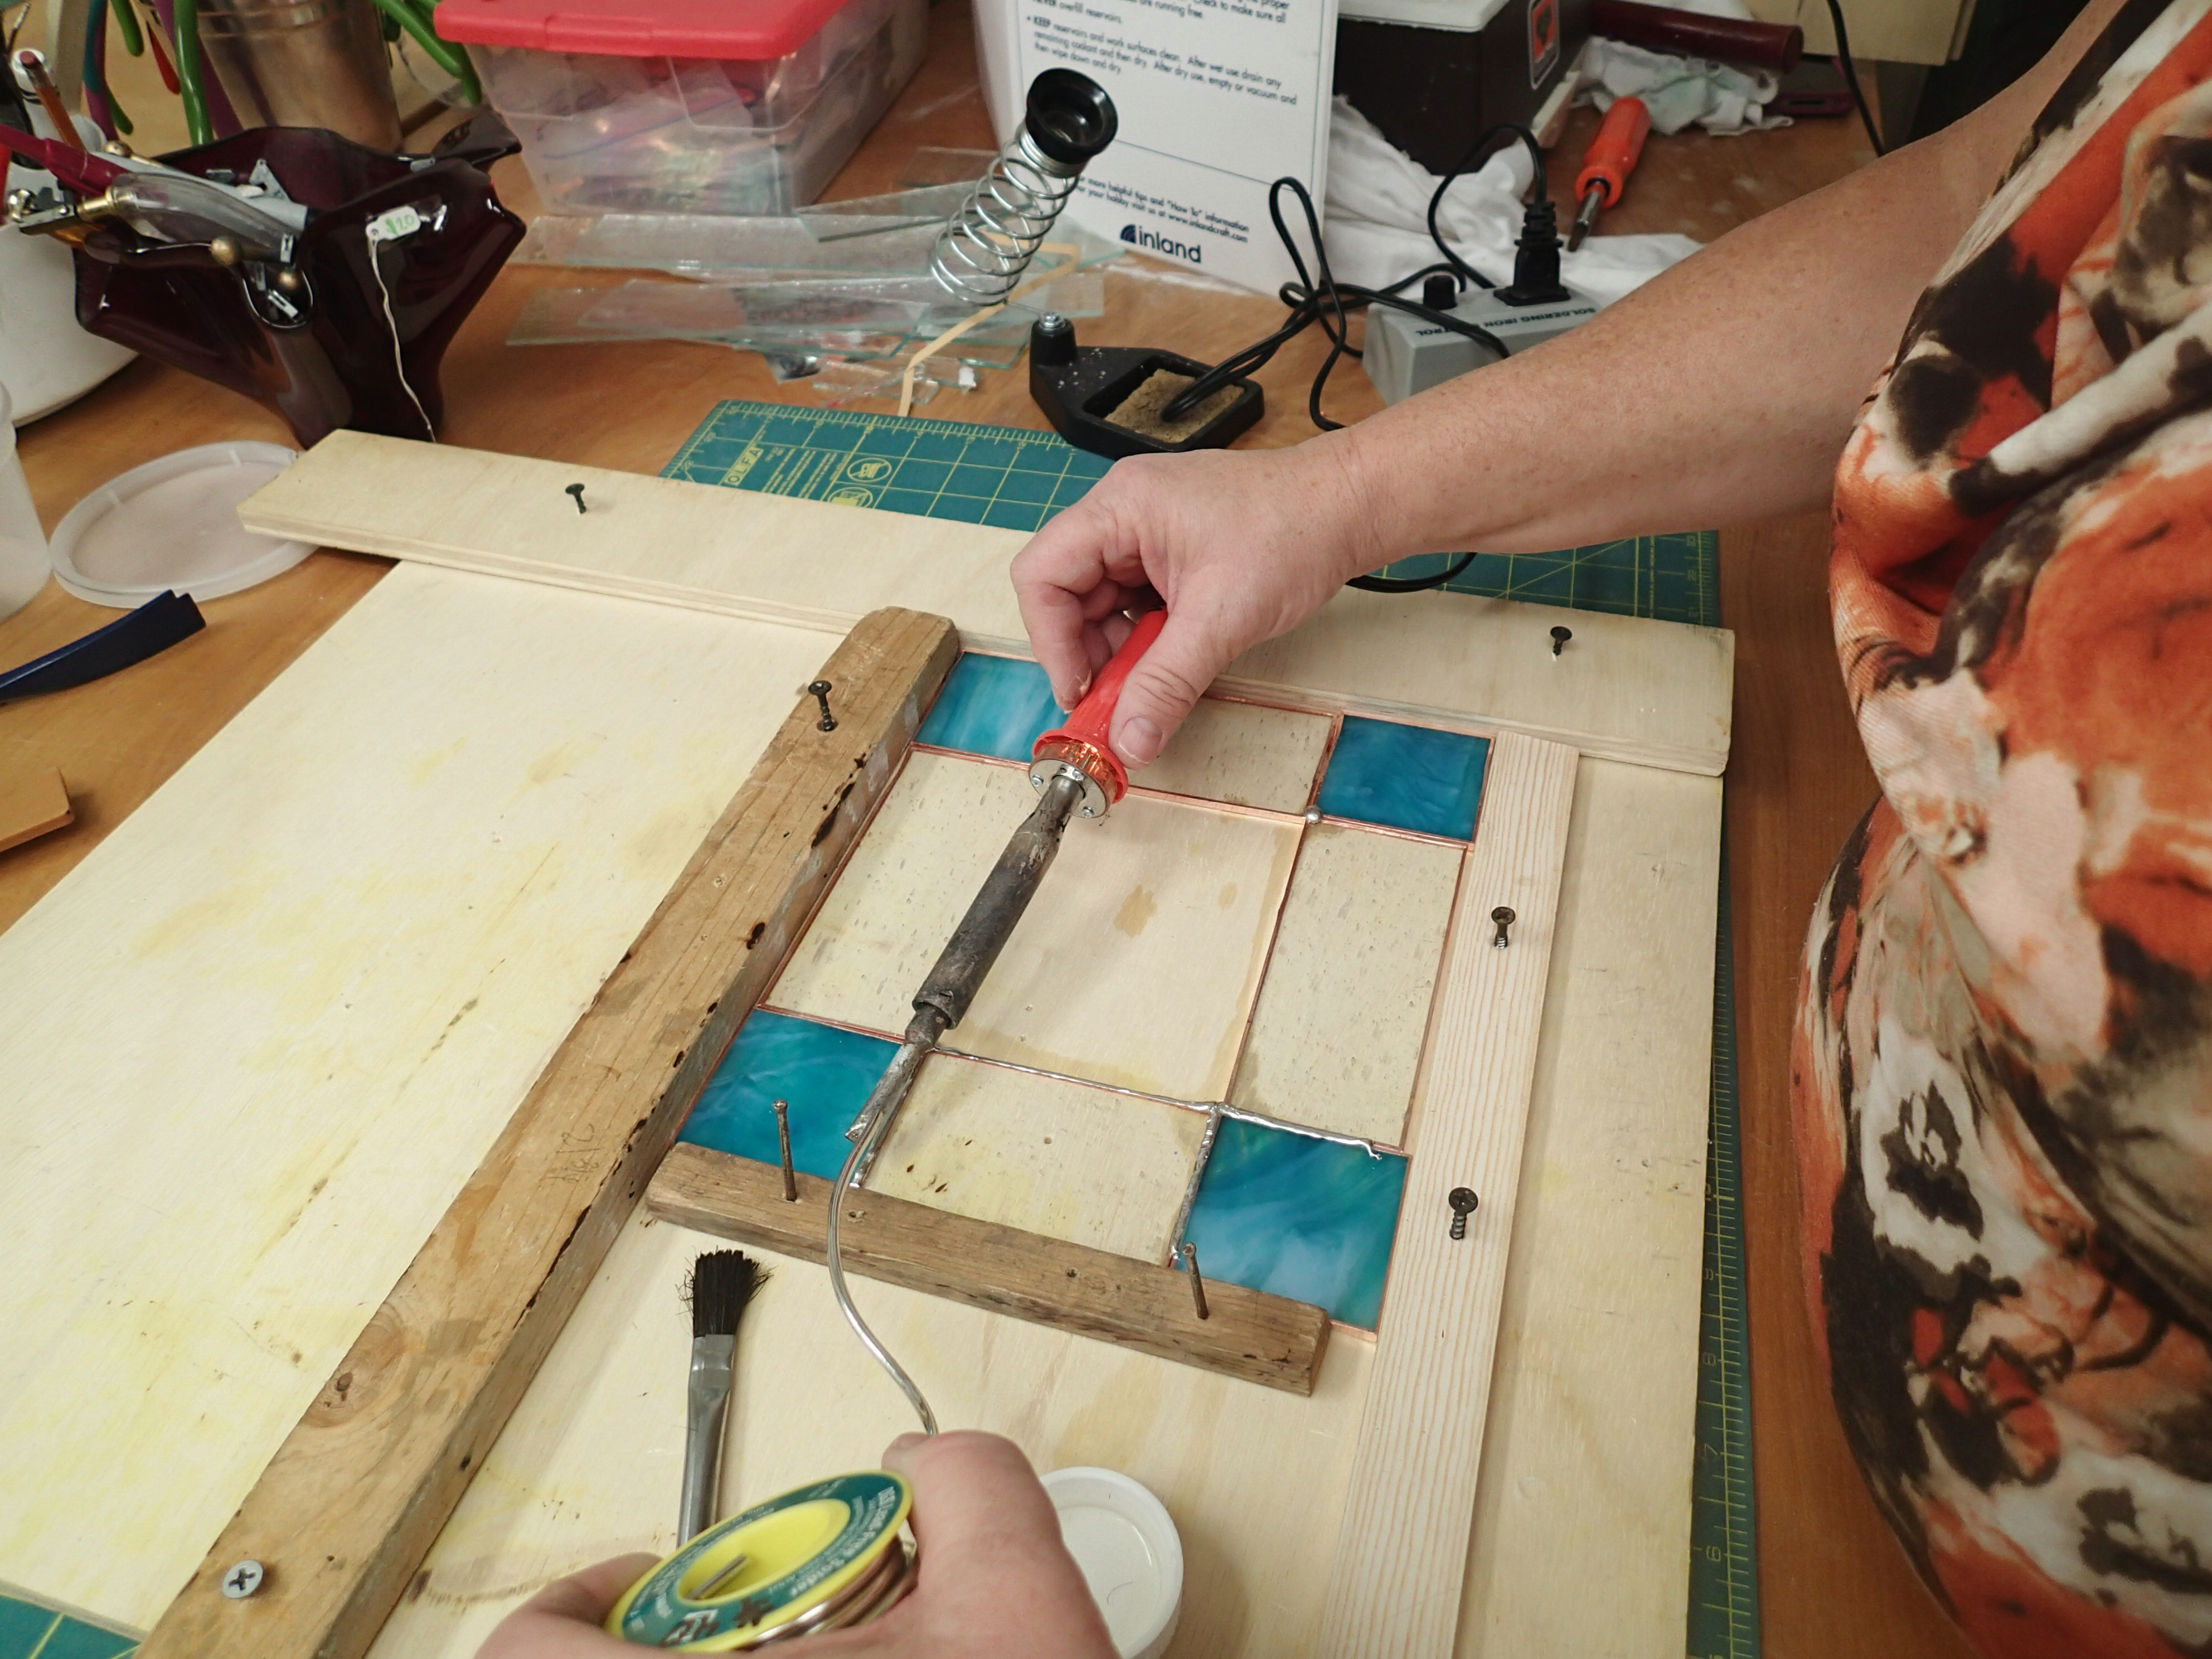
Next, the inner sides are fluxed
and soldered as well in the same fashion.
After one side is done, the piece has to be turned over, and the same thing is done on the other side of the piece.
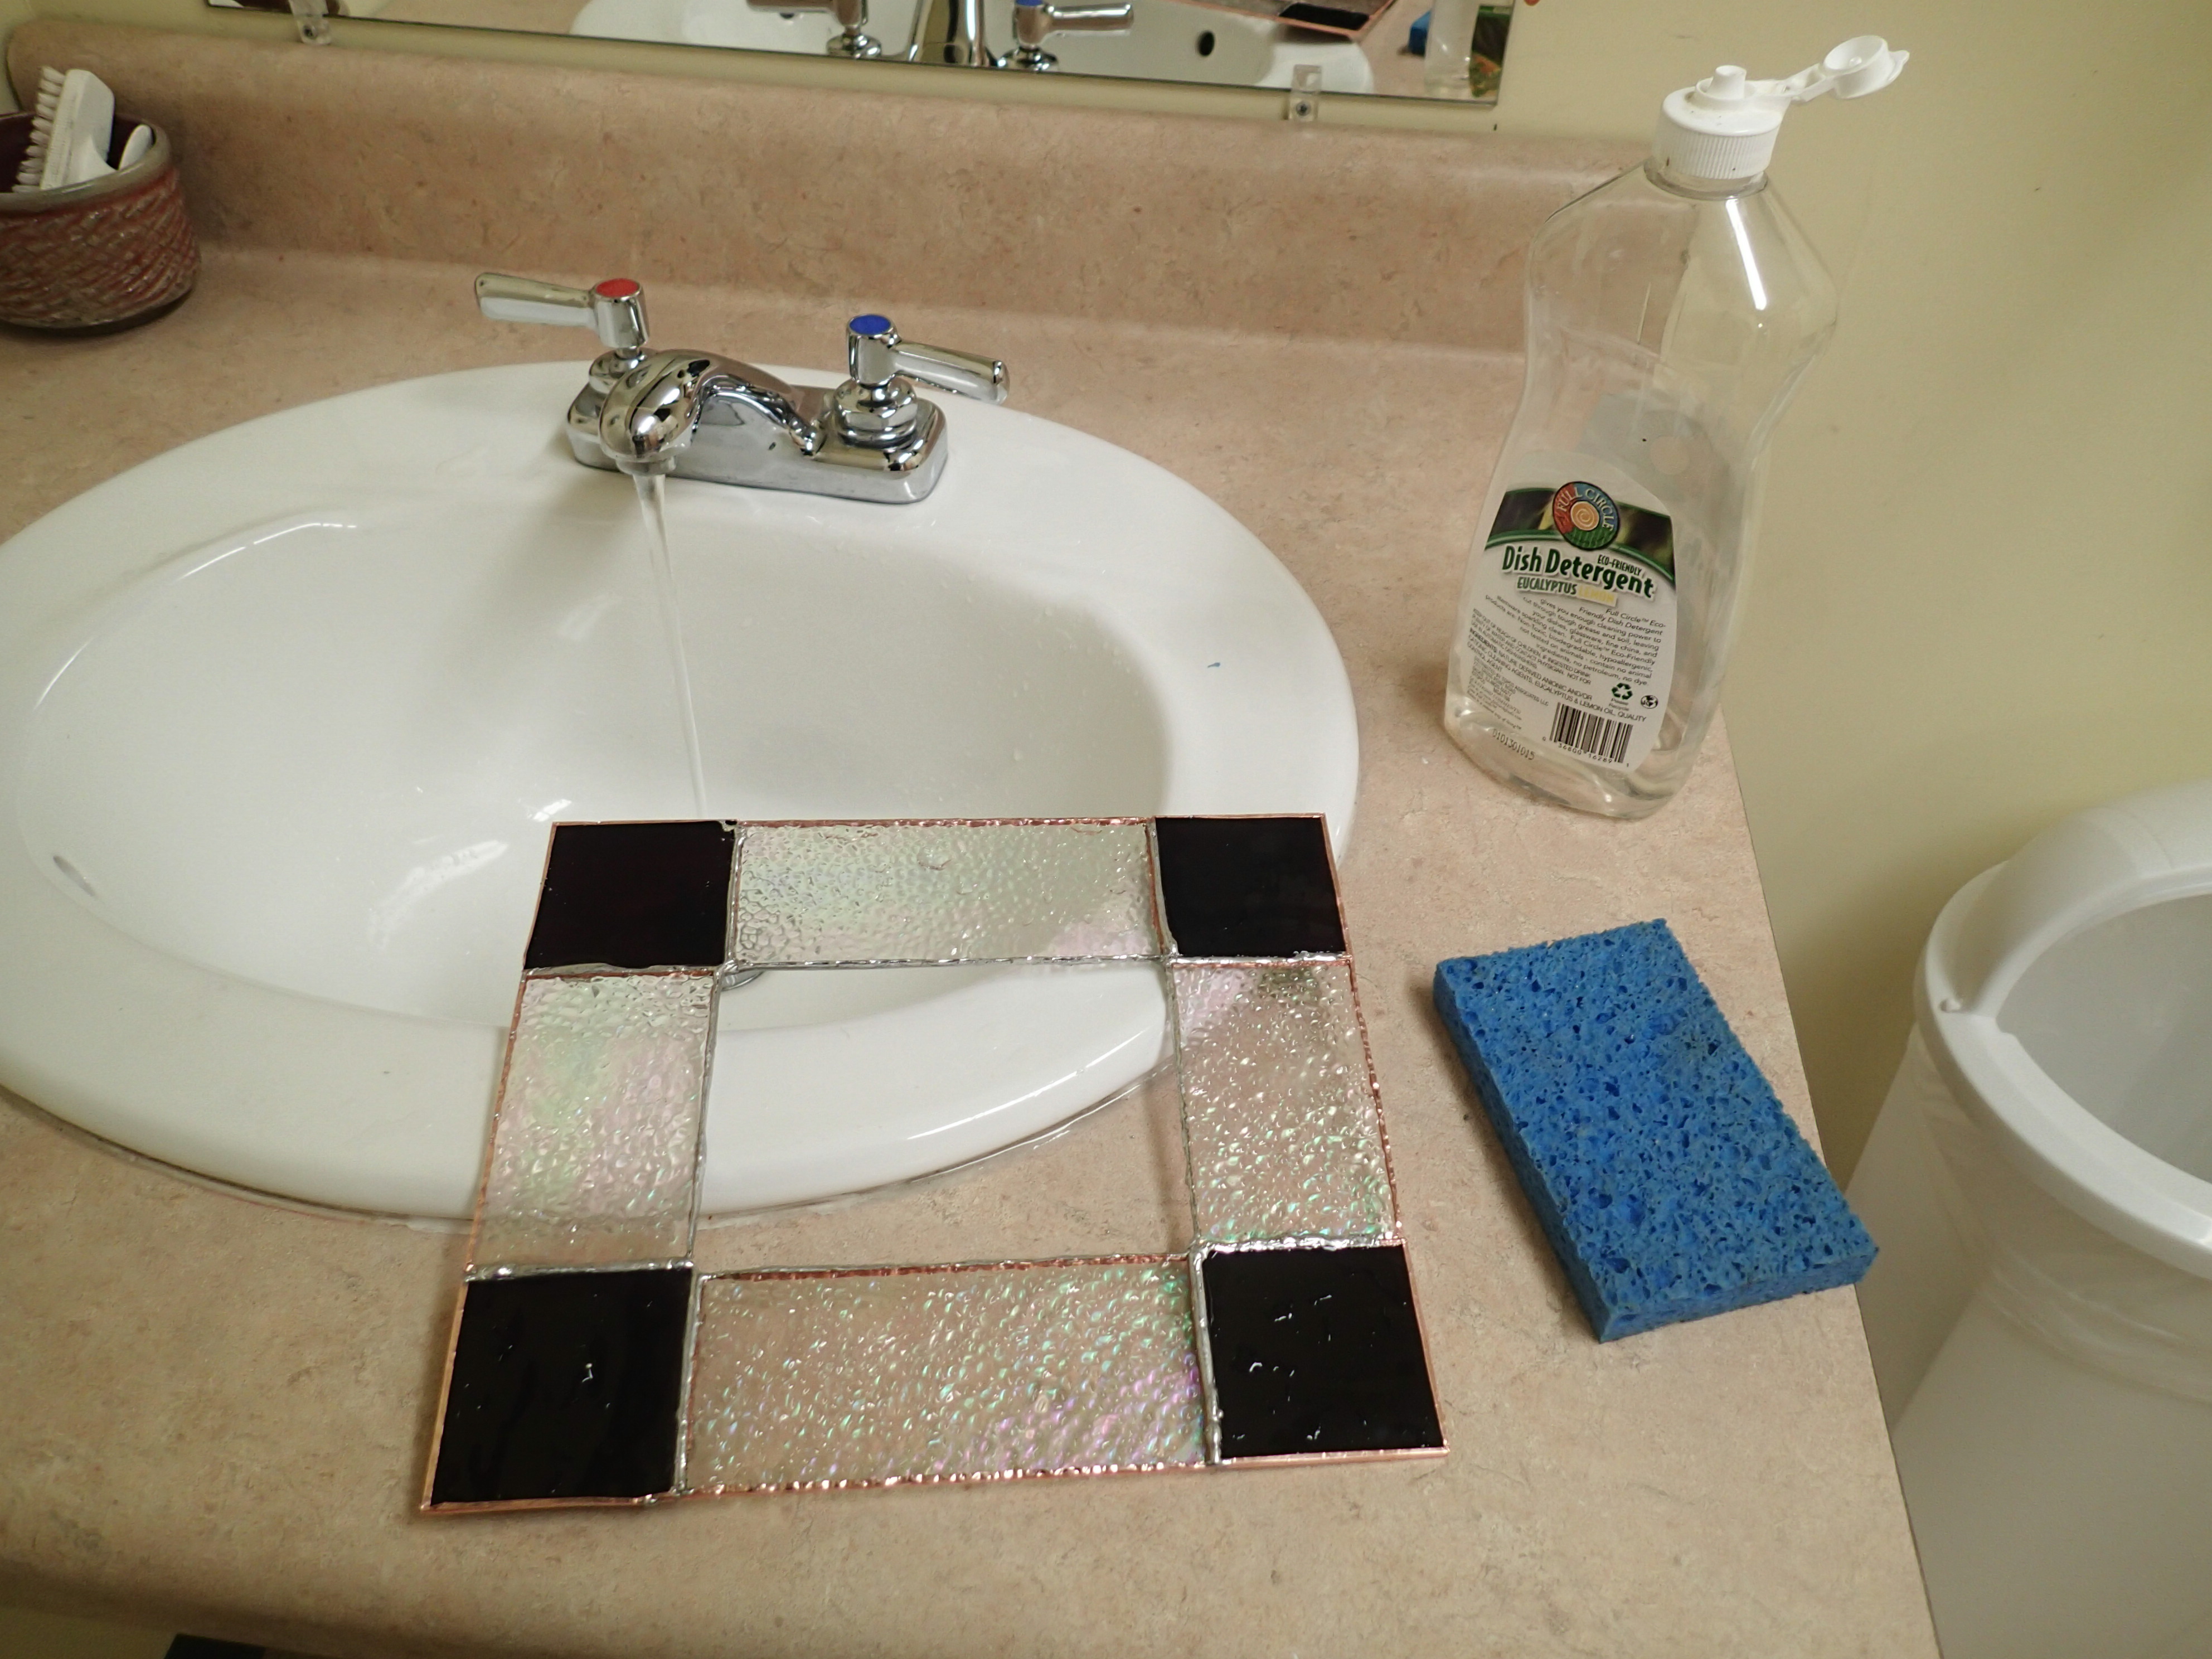
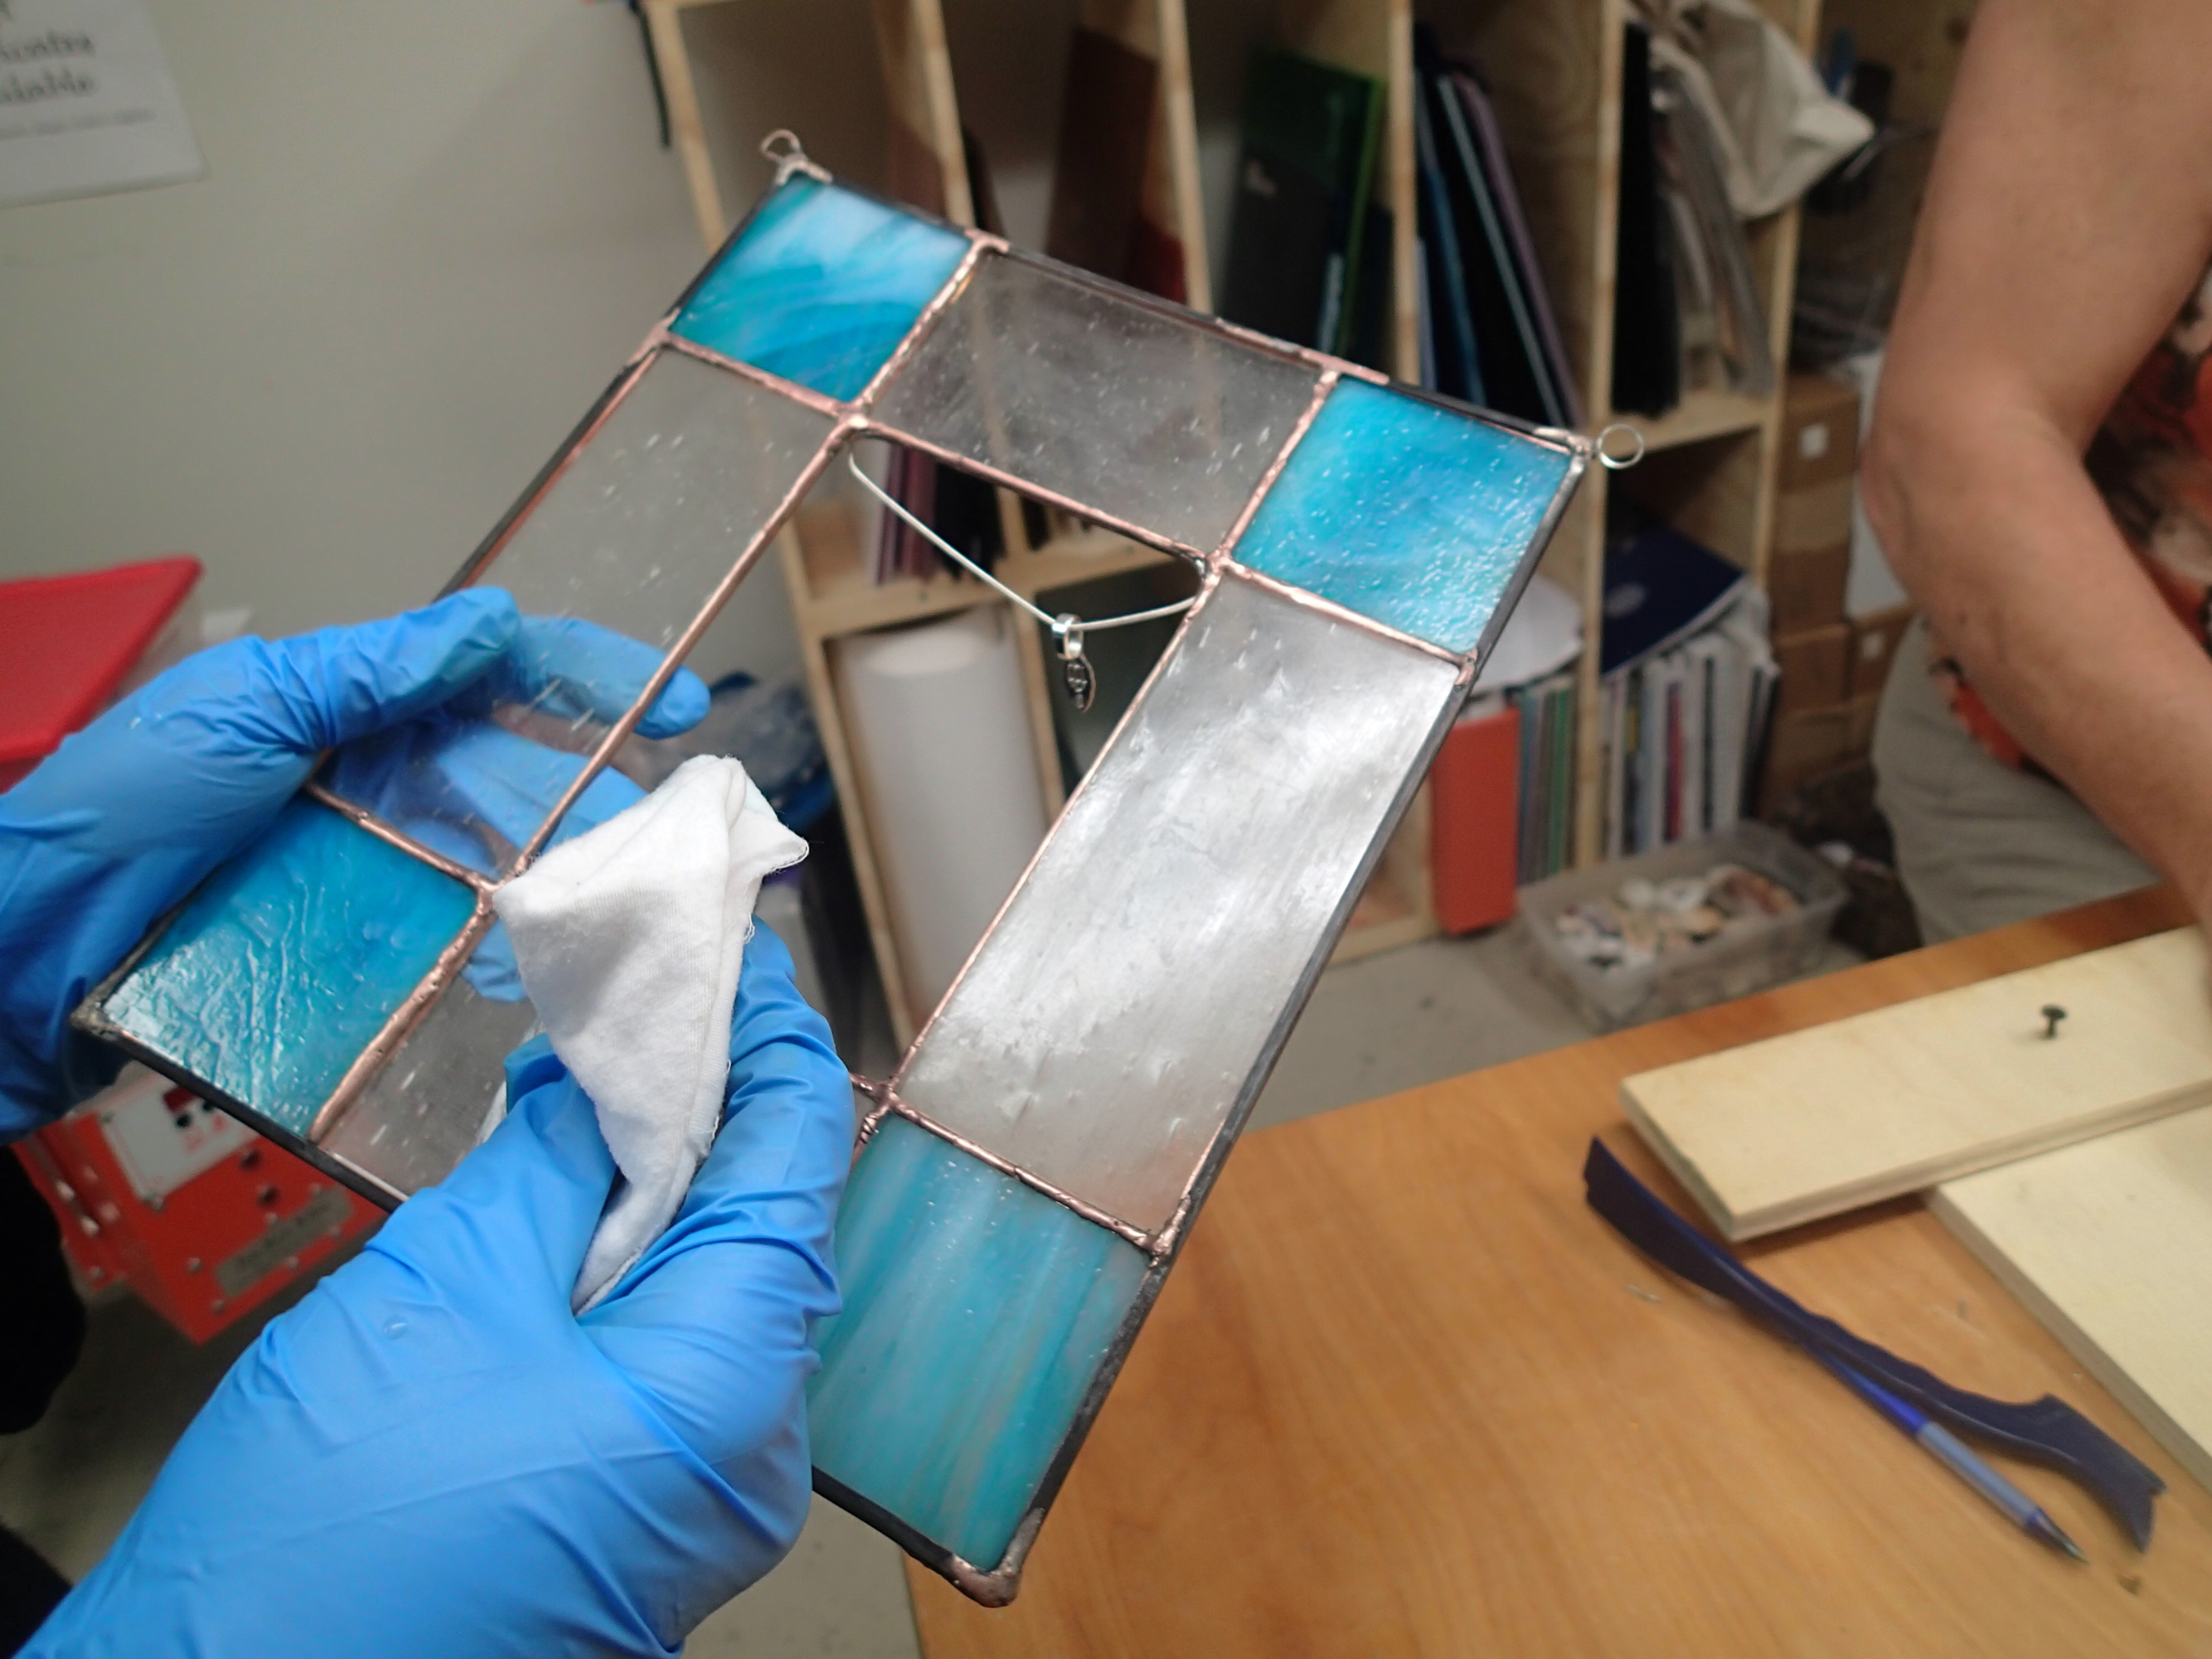
After the glass has cooled down, it is time to wash the piece to remove any dirt and unwanted material.
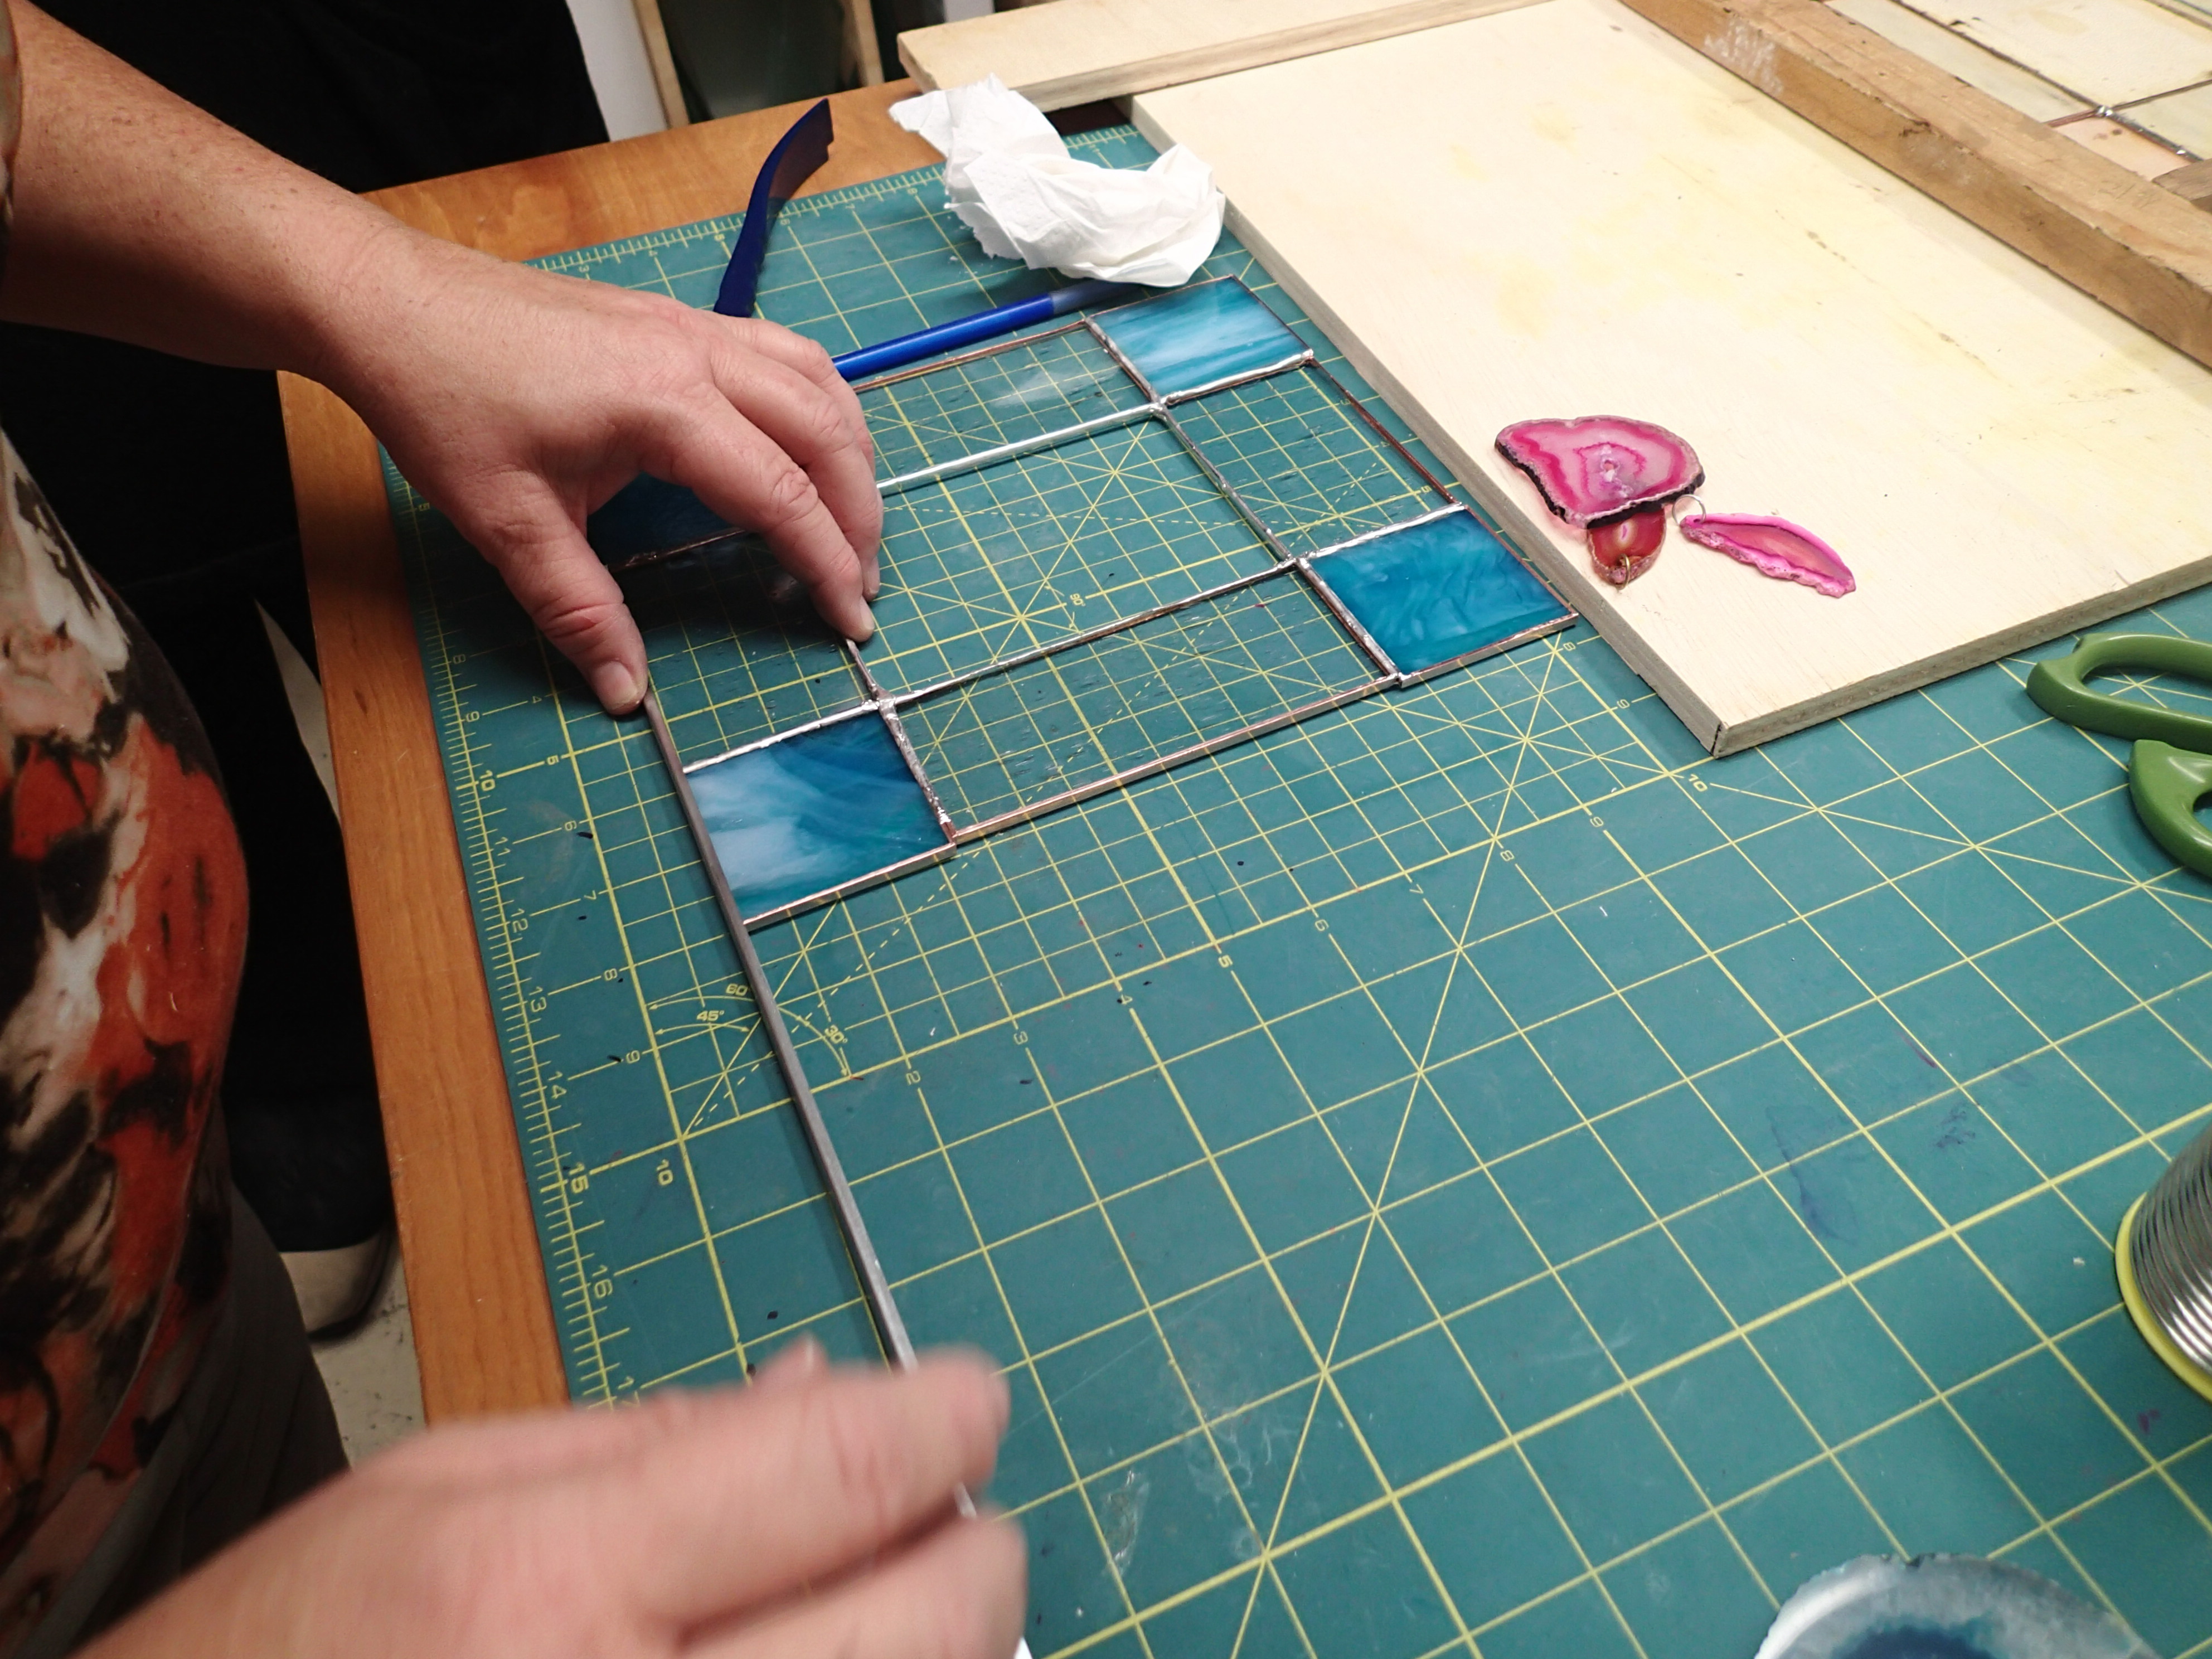
After drying, it is time to put on the borders to the piece using lead came.
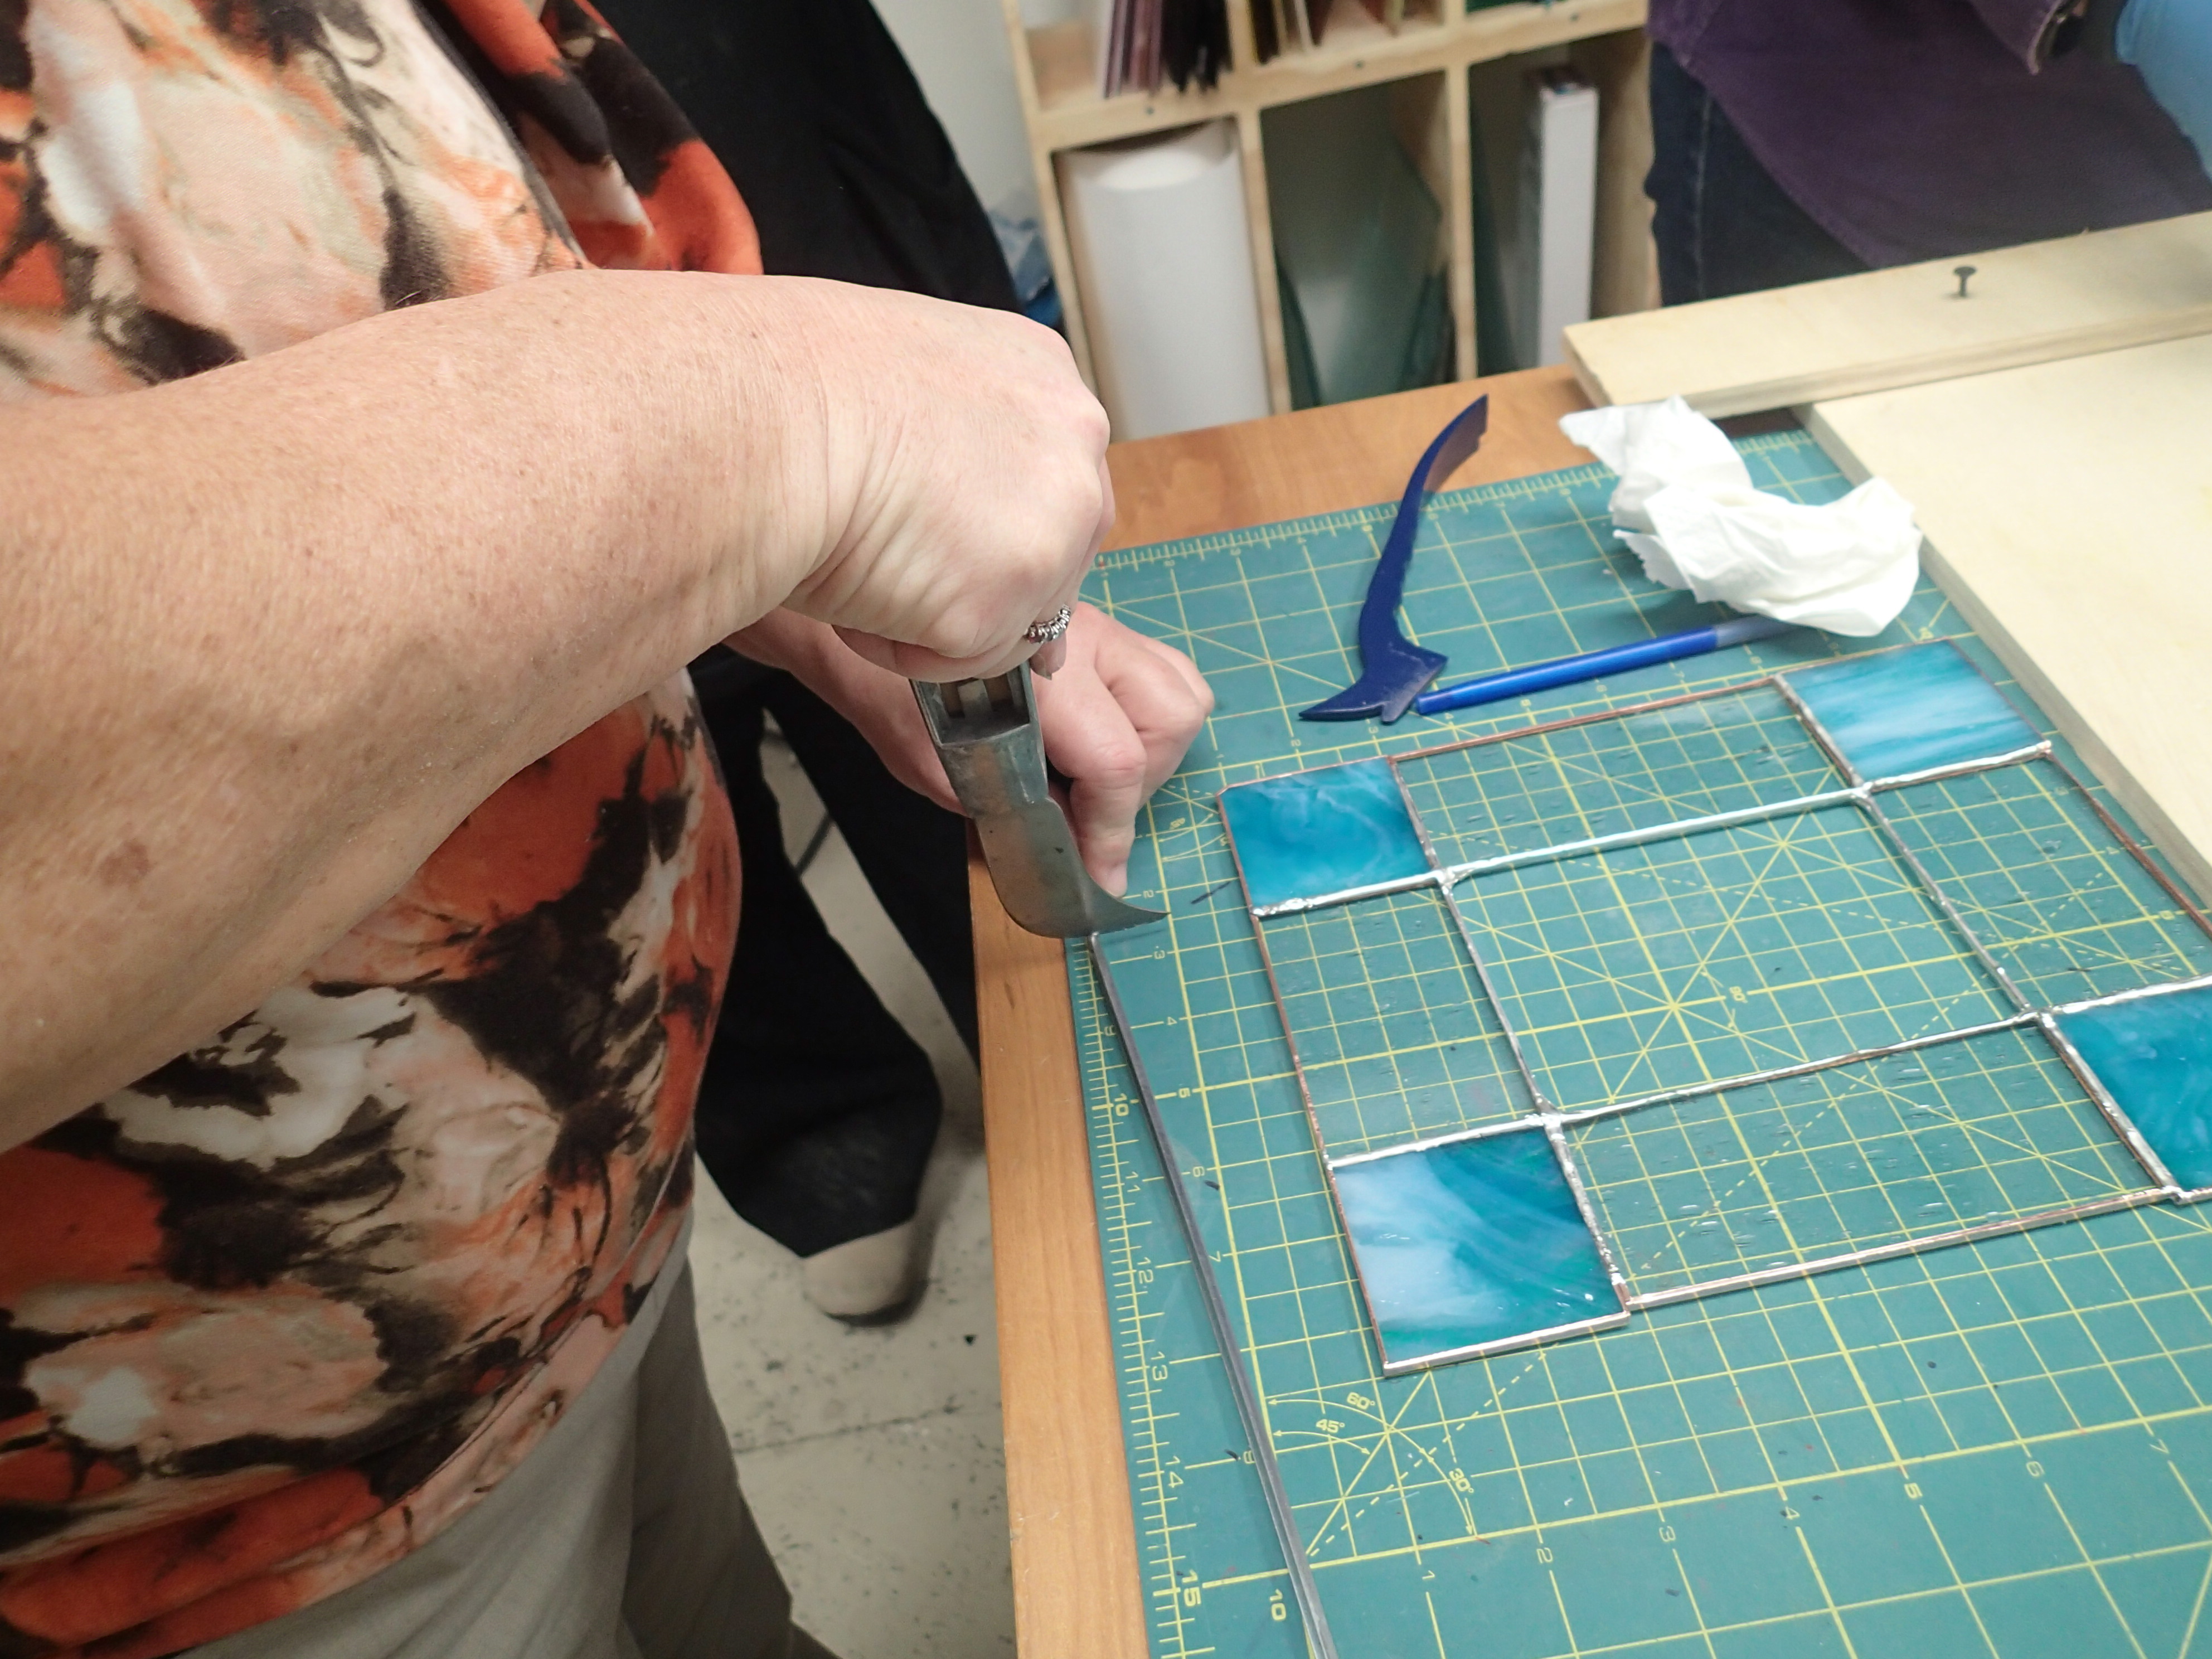
The came is first fit to the side of the piece,
and then cut.
After all 4 pieces have been cut,
it is time to solder the came onto the glass piece.
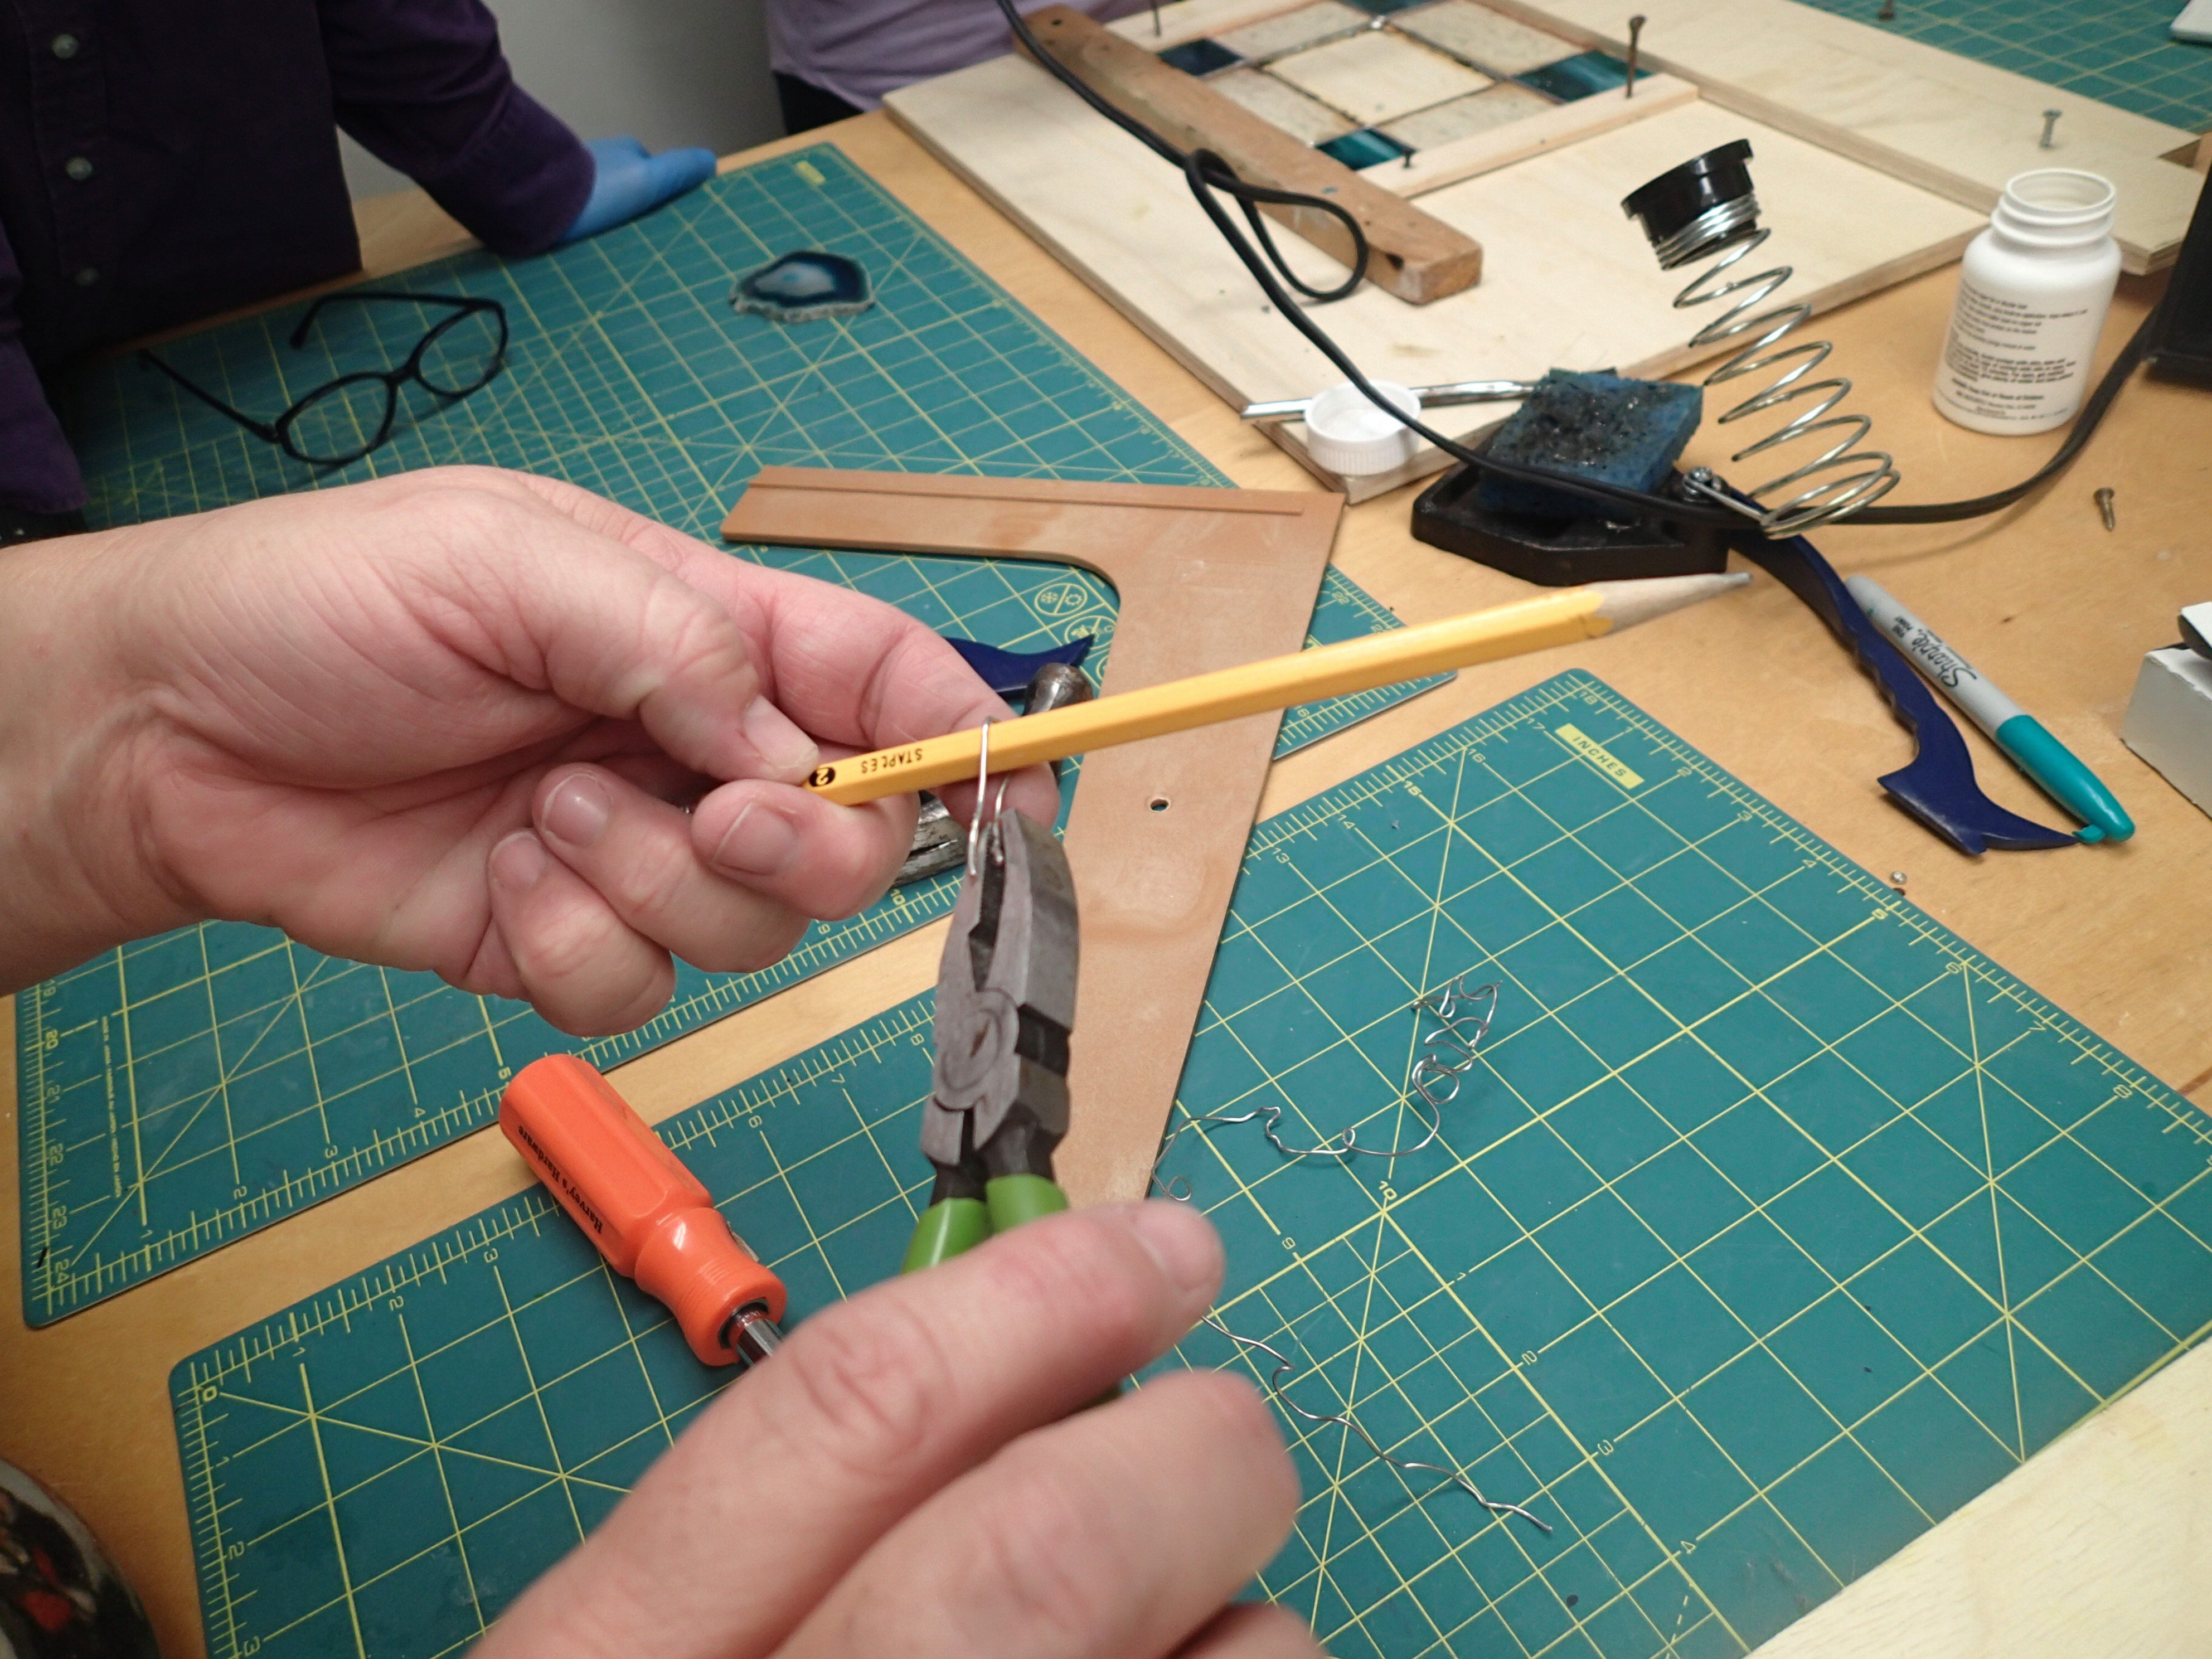
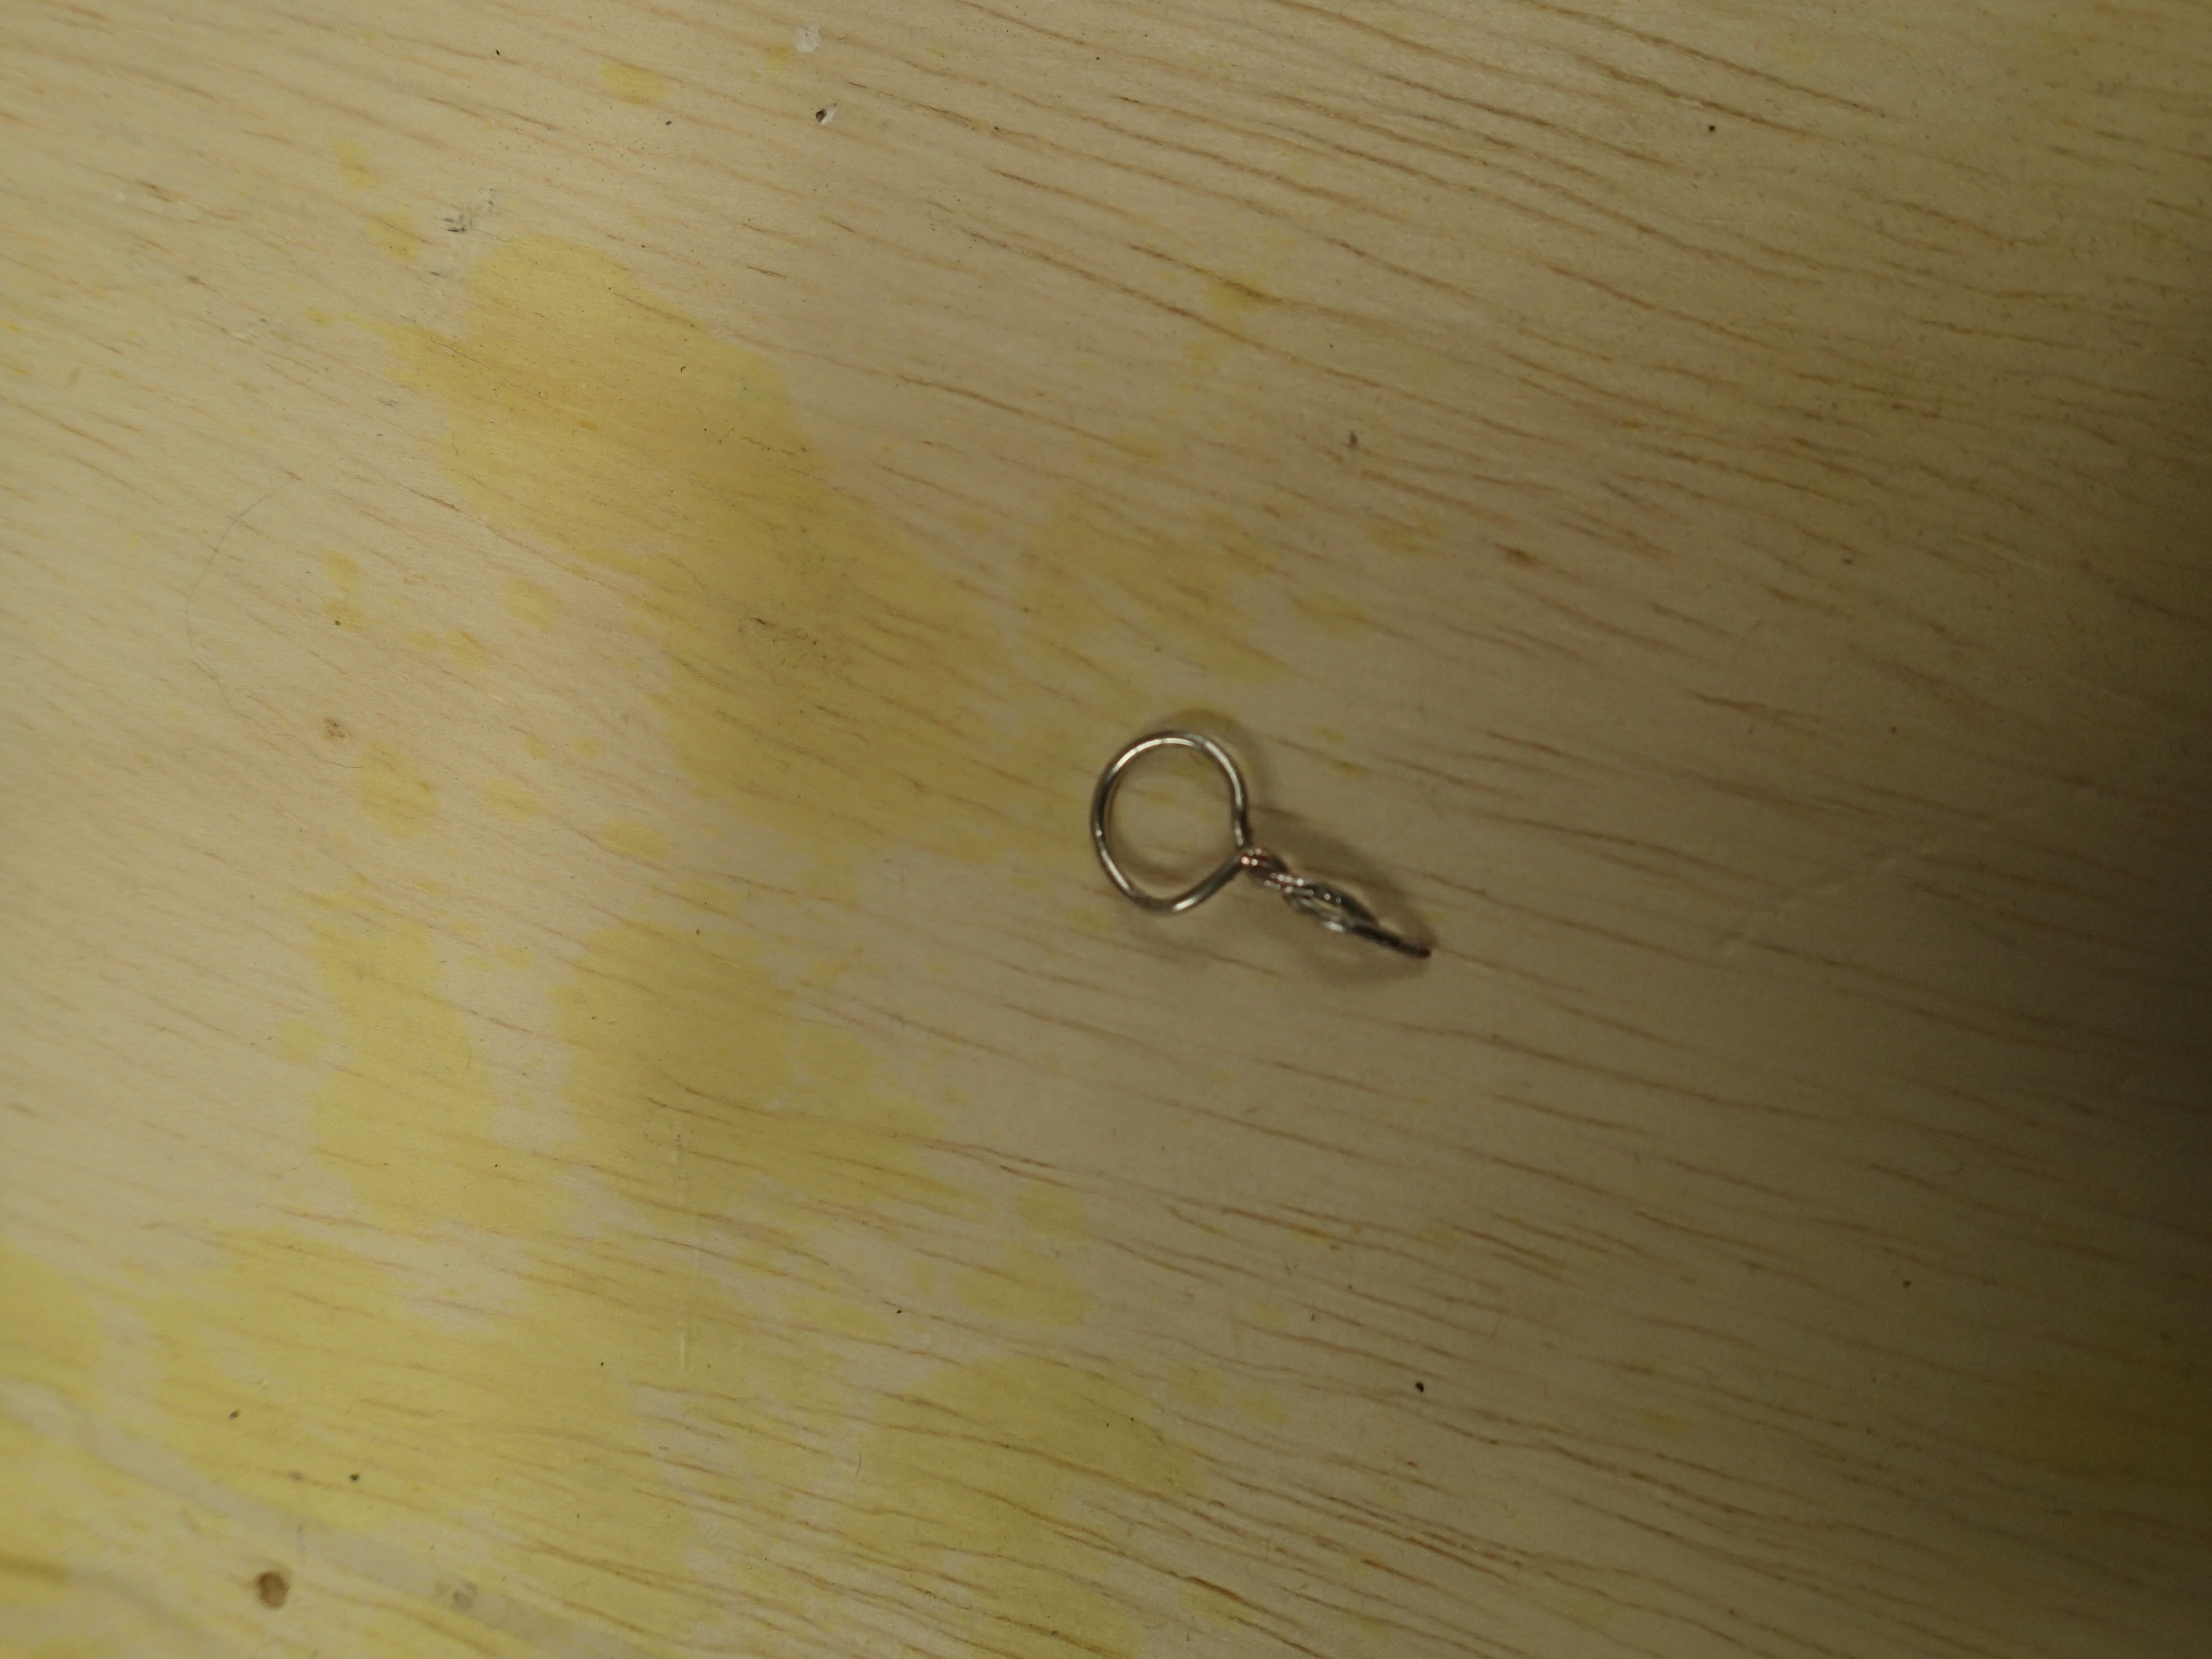
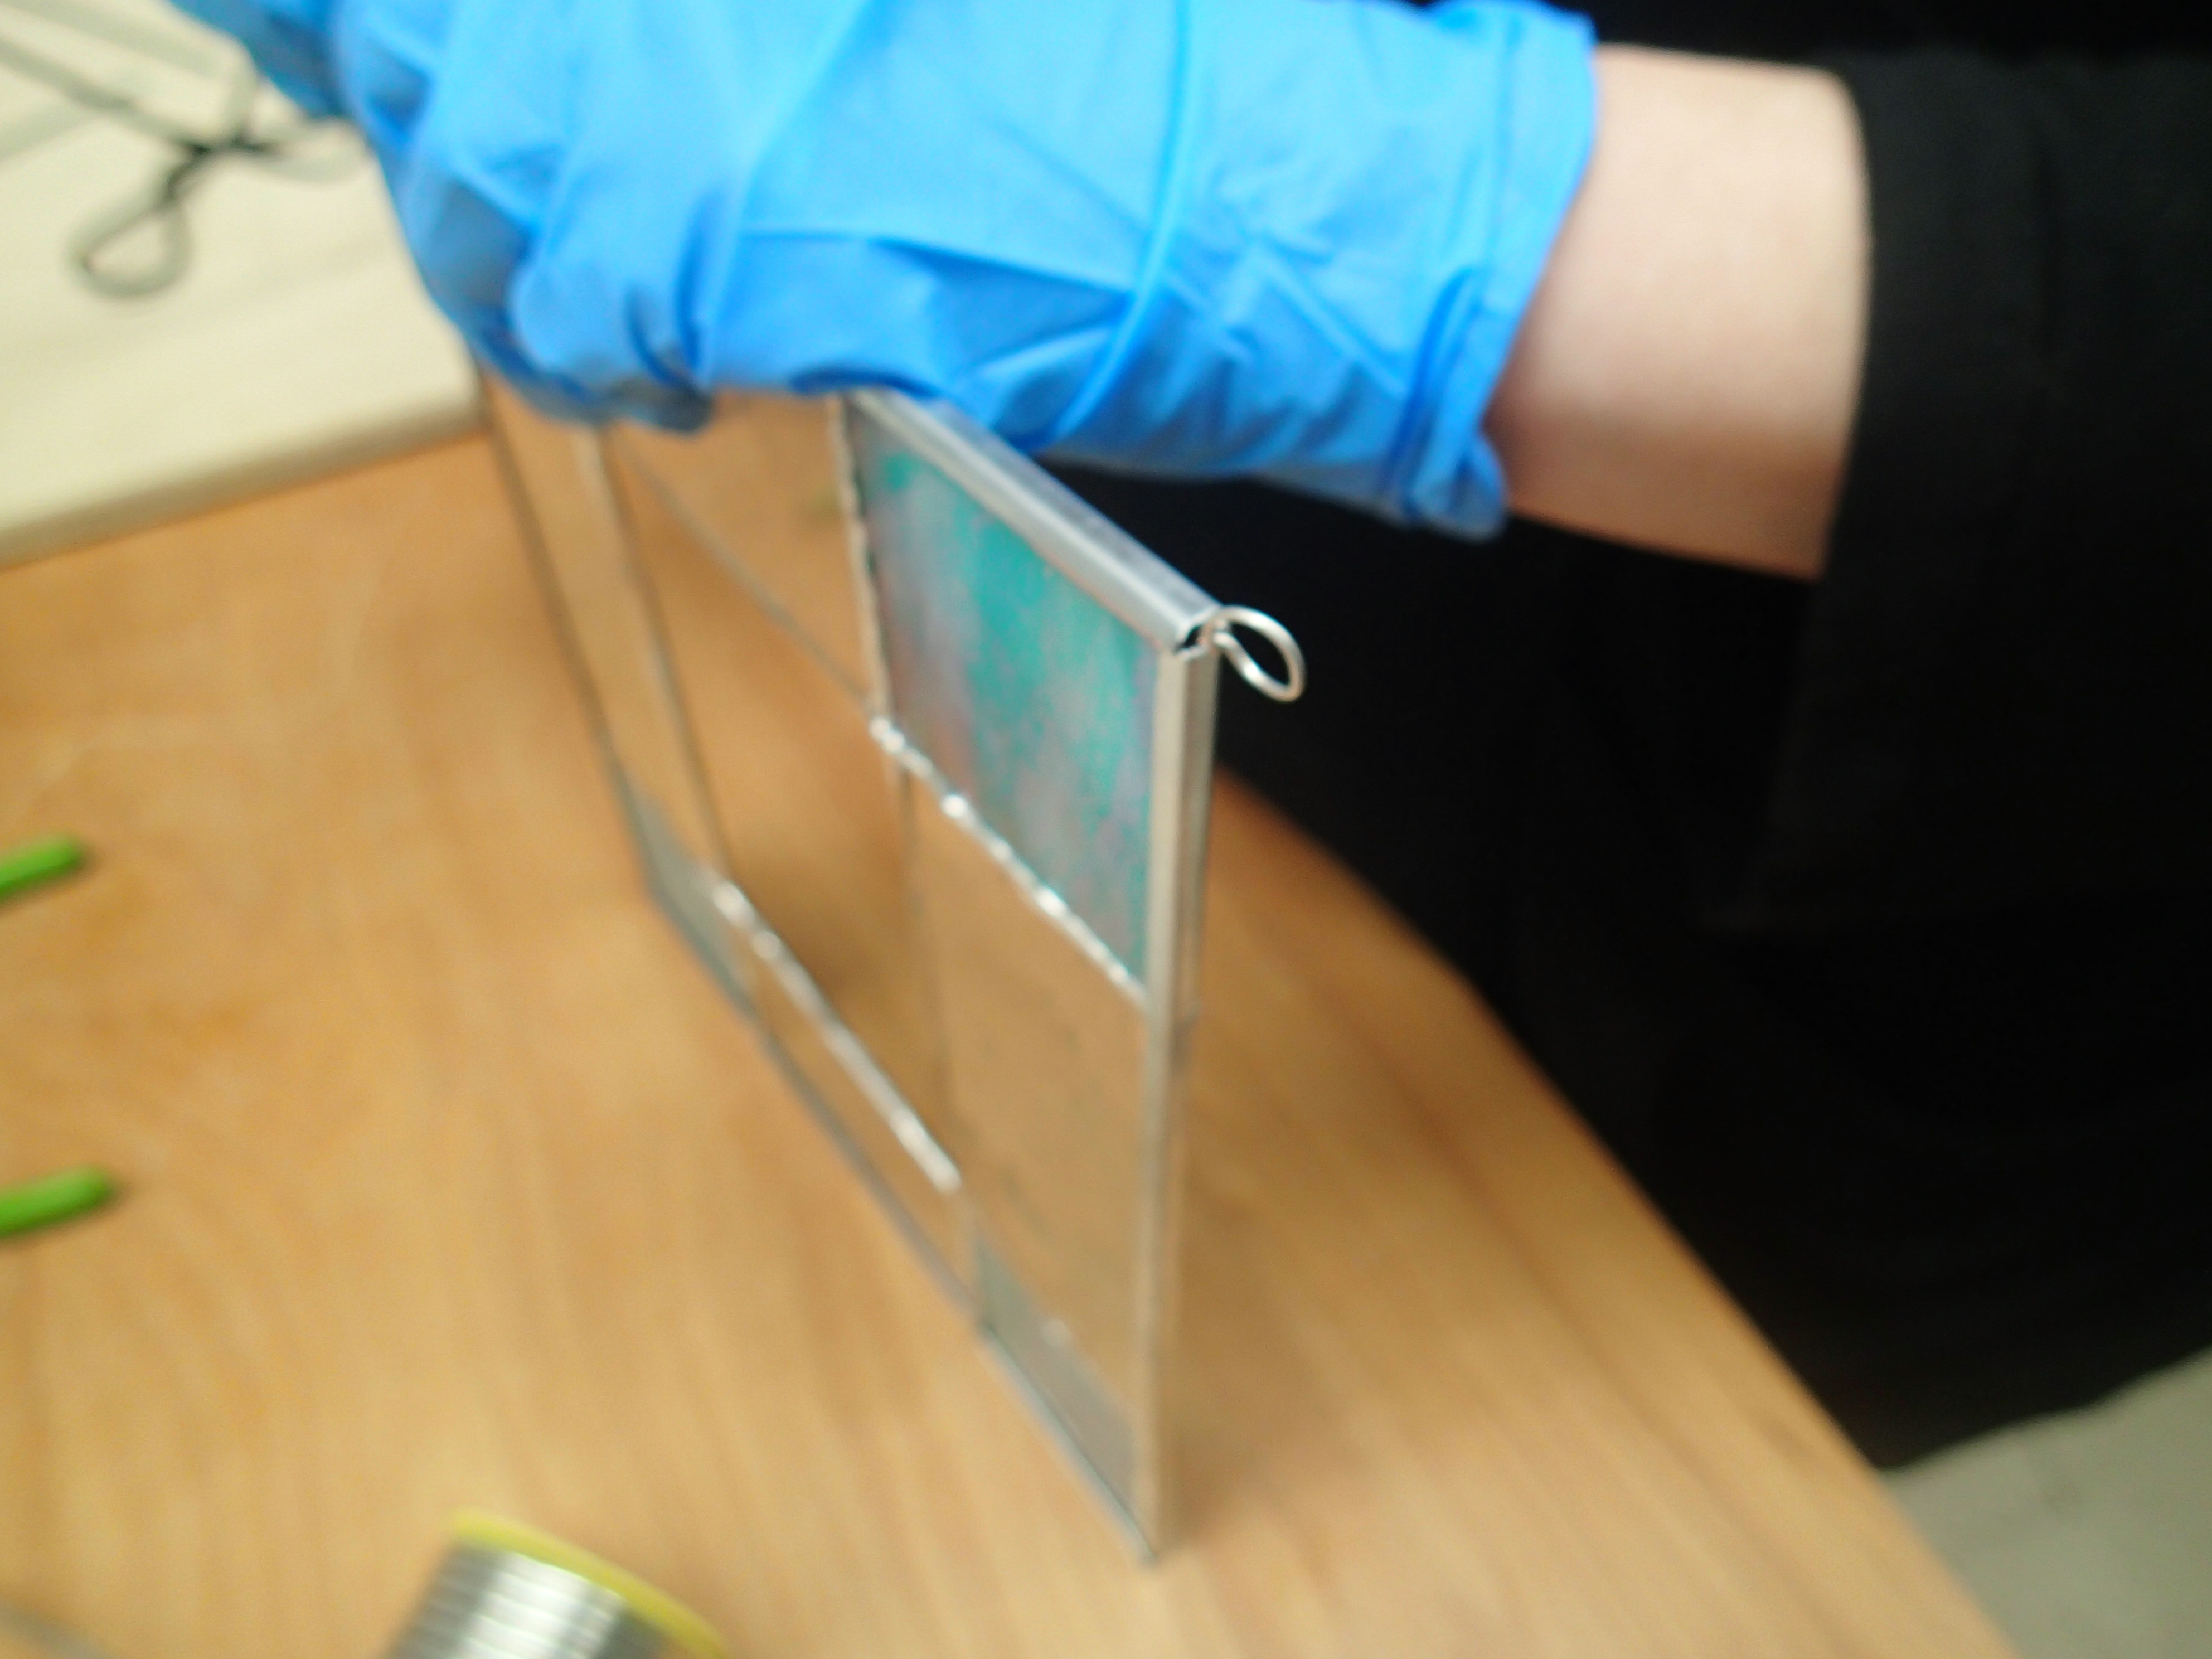
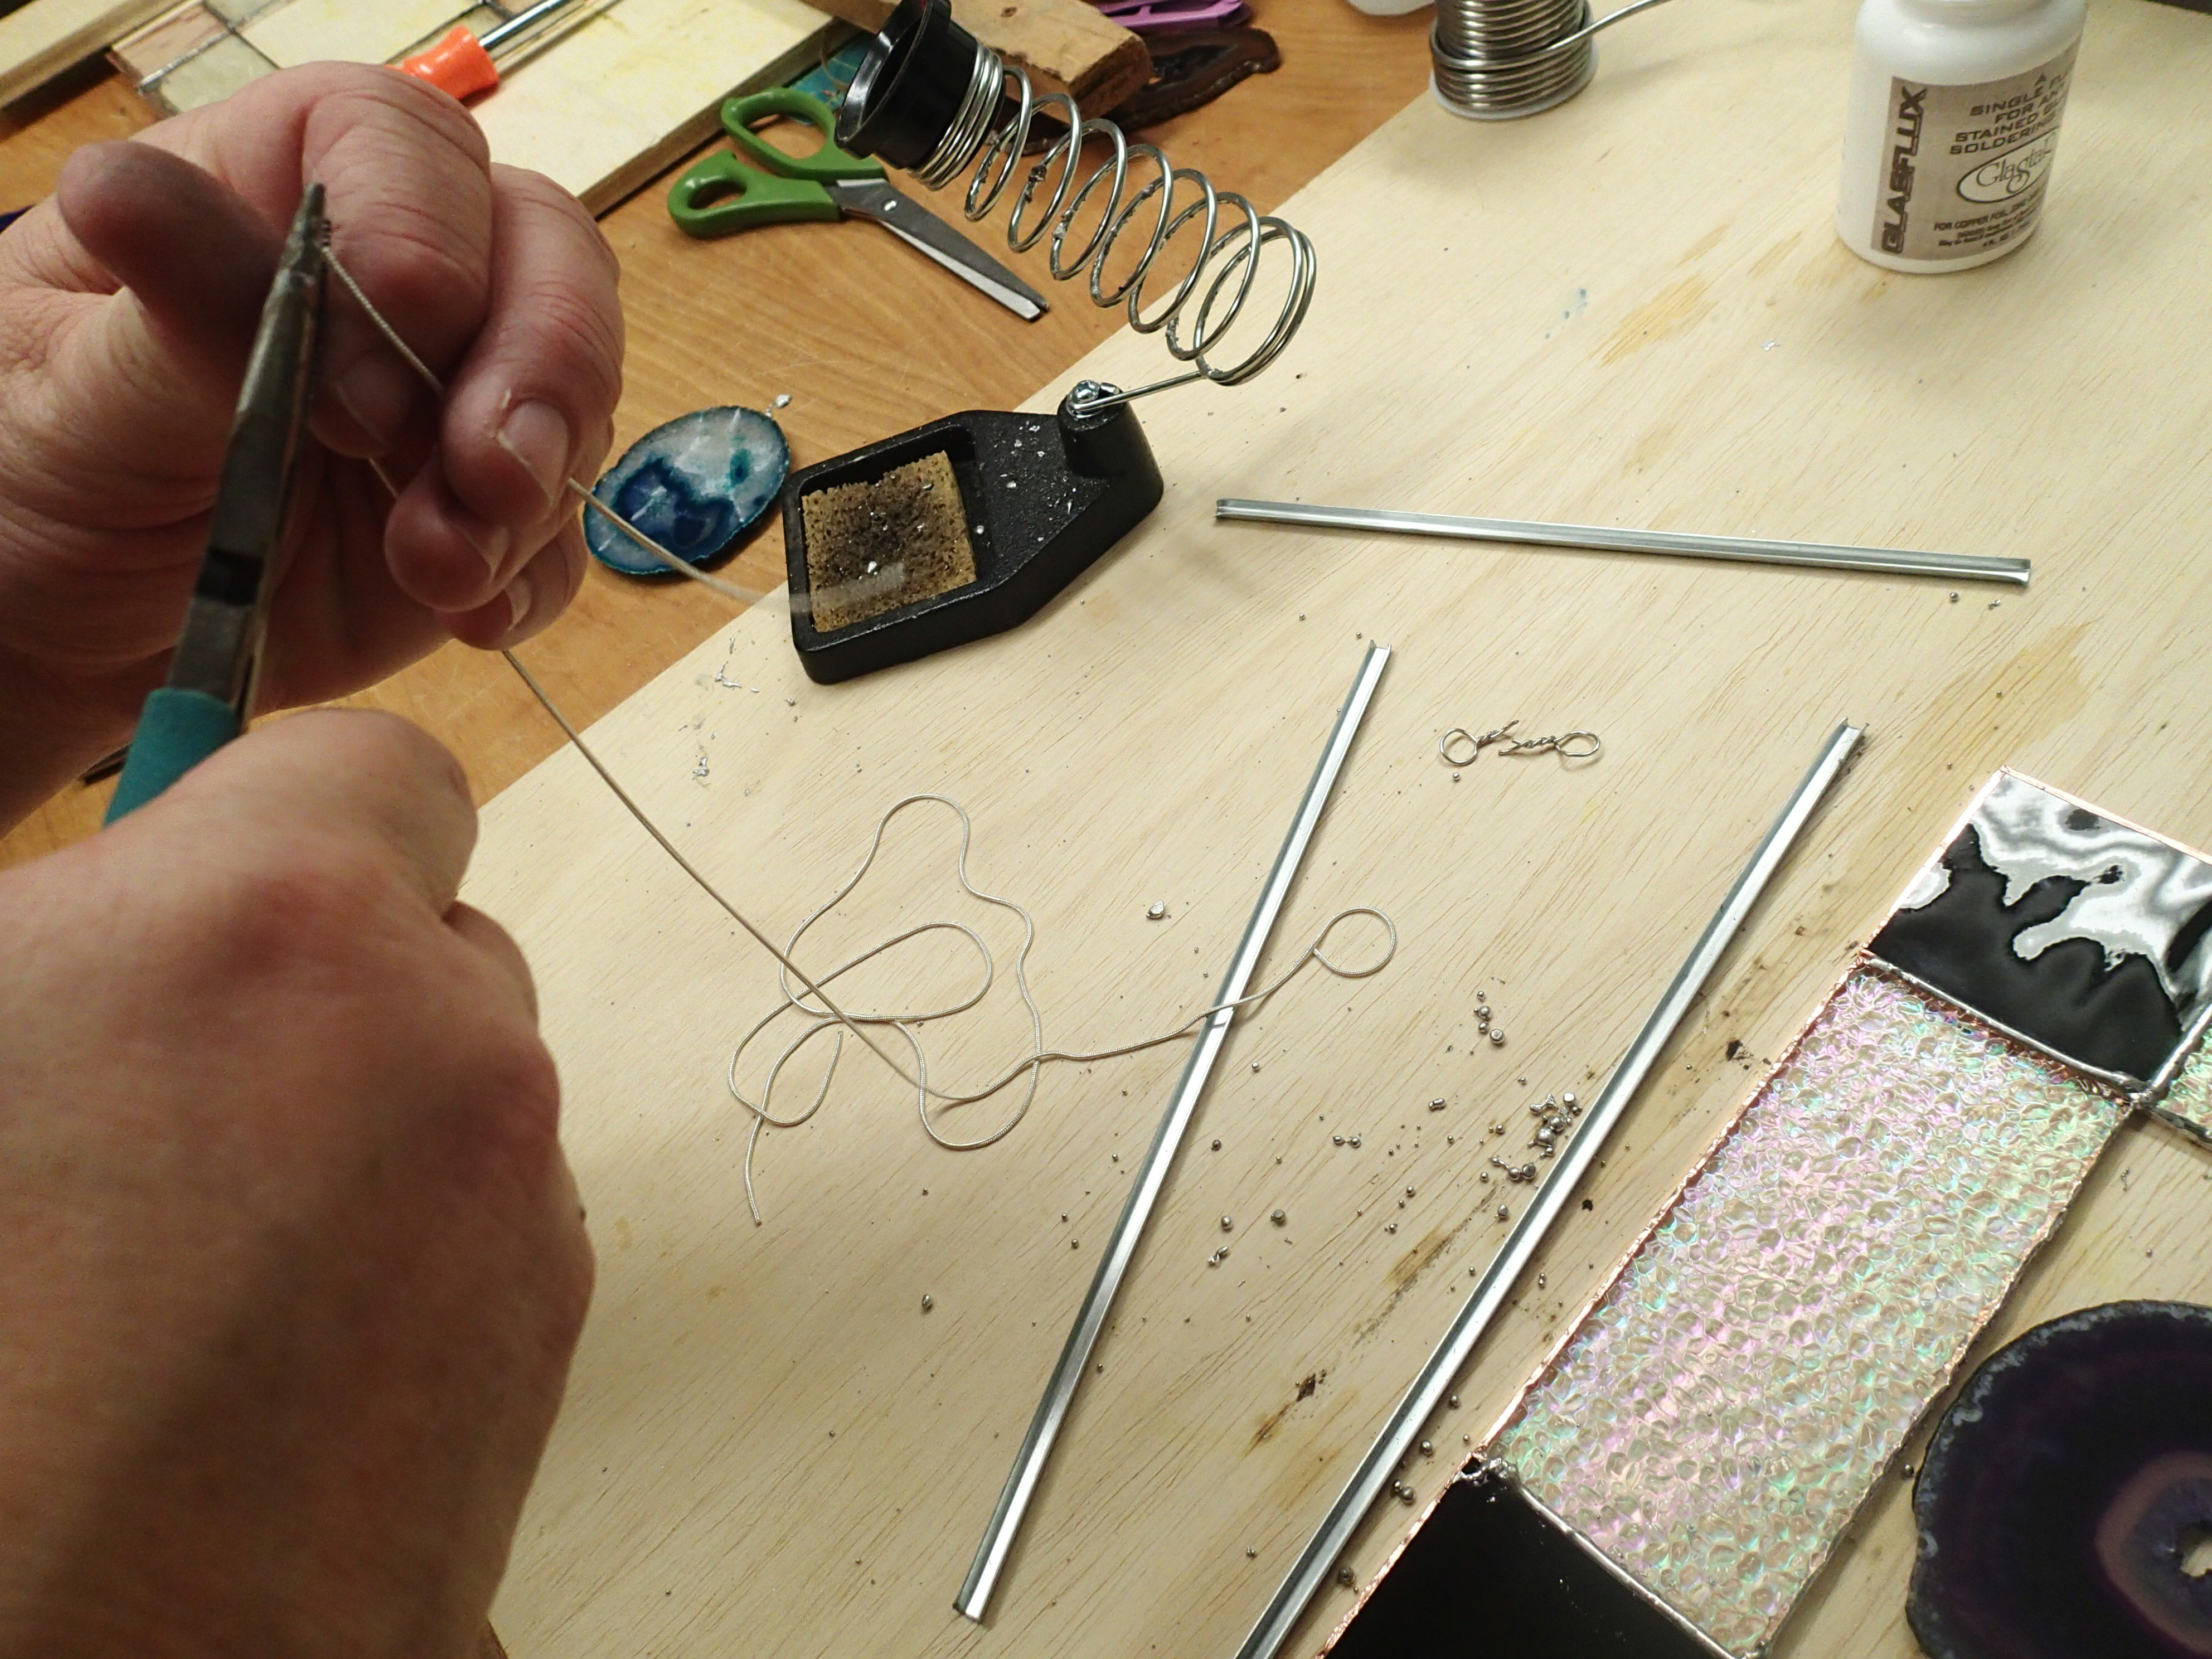
While soldering the top 2 corners from which the piece will be hung, the rings to be linked to the hanging chain are also fashioned
and inserted into the corners.
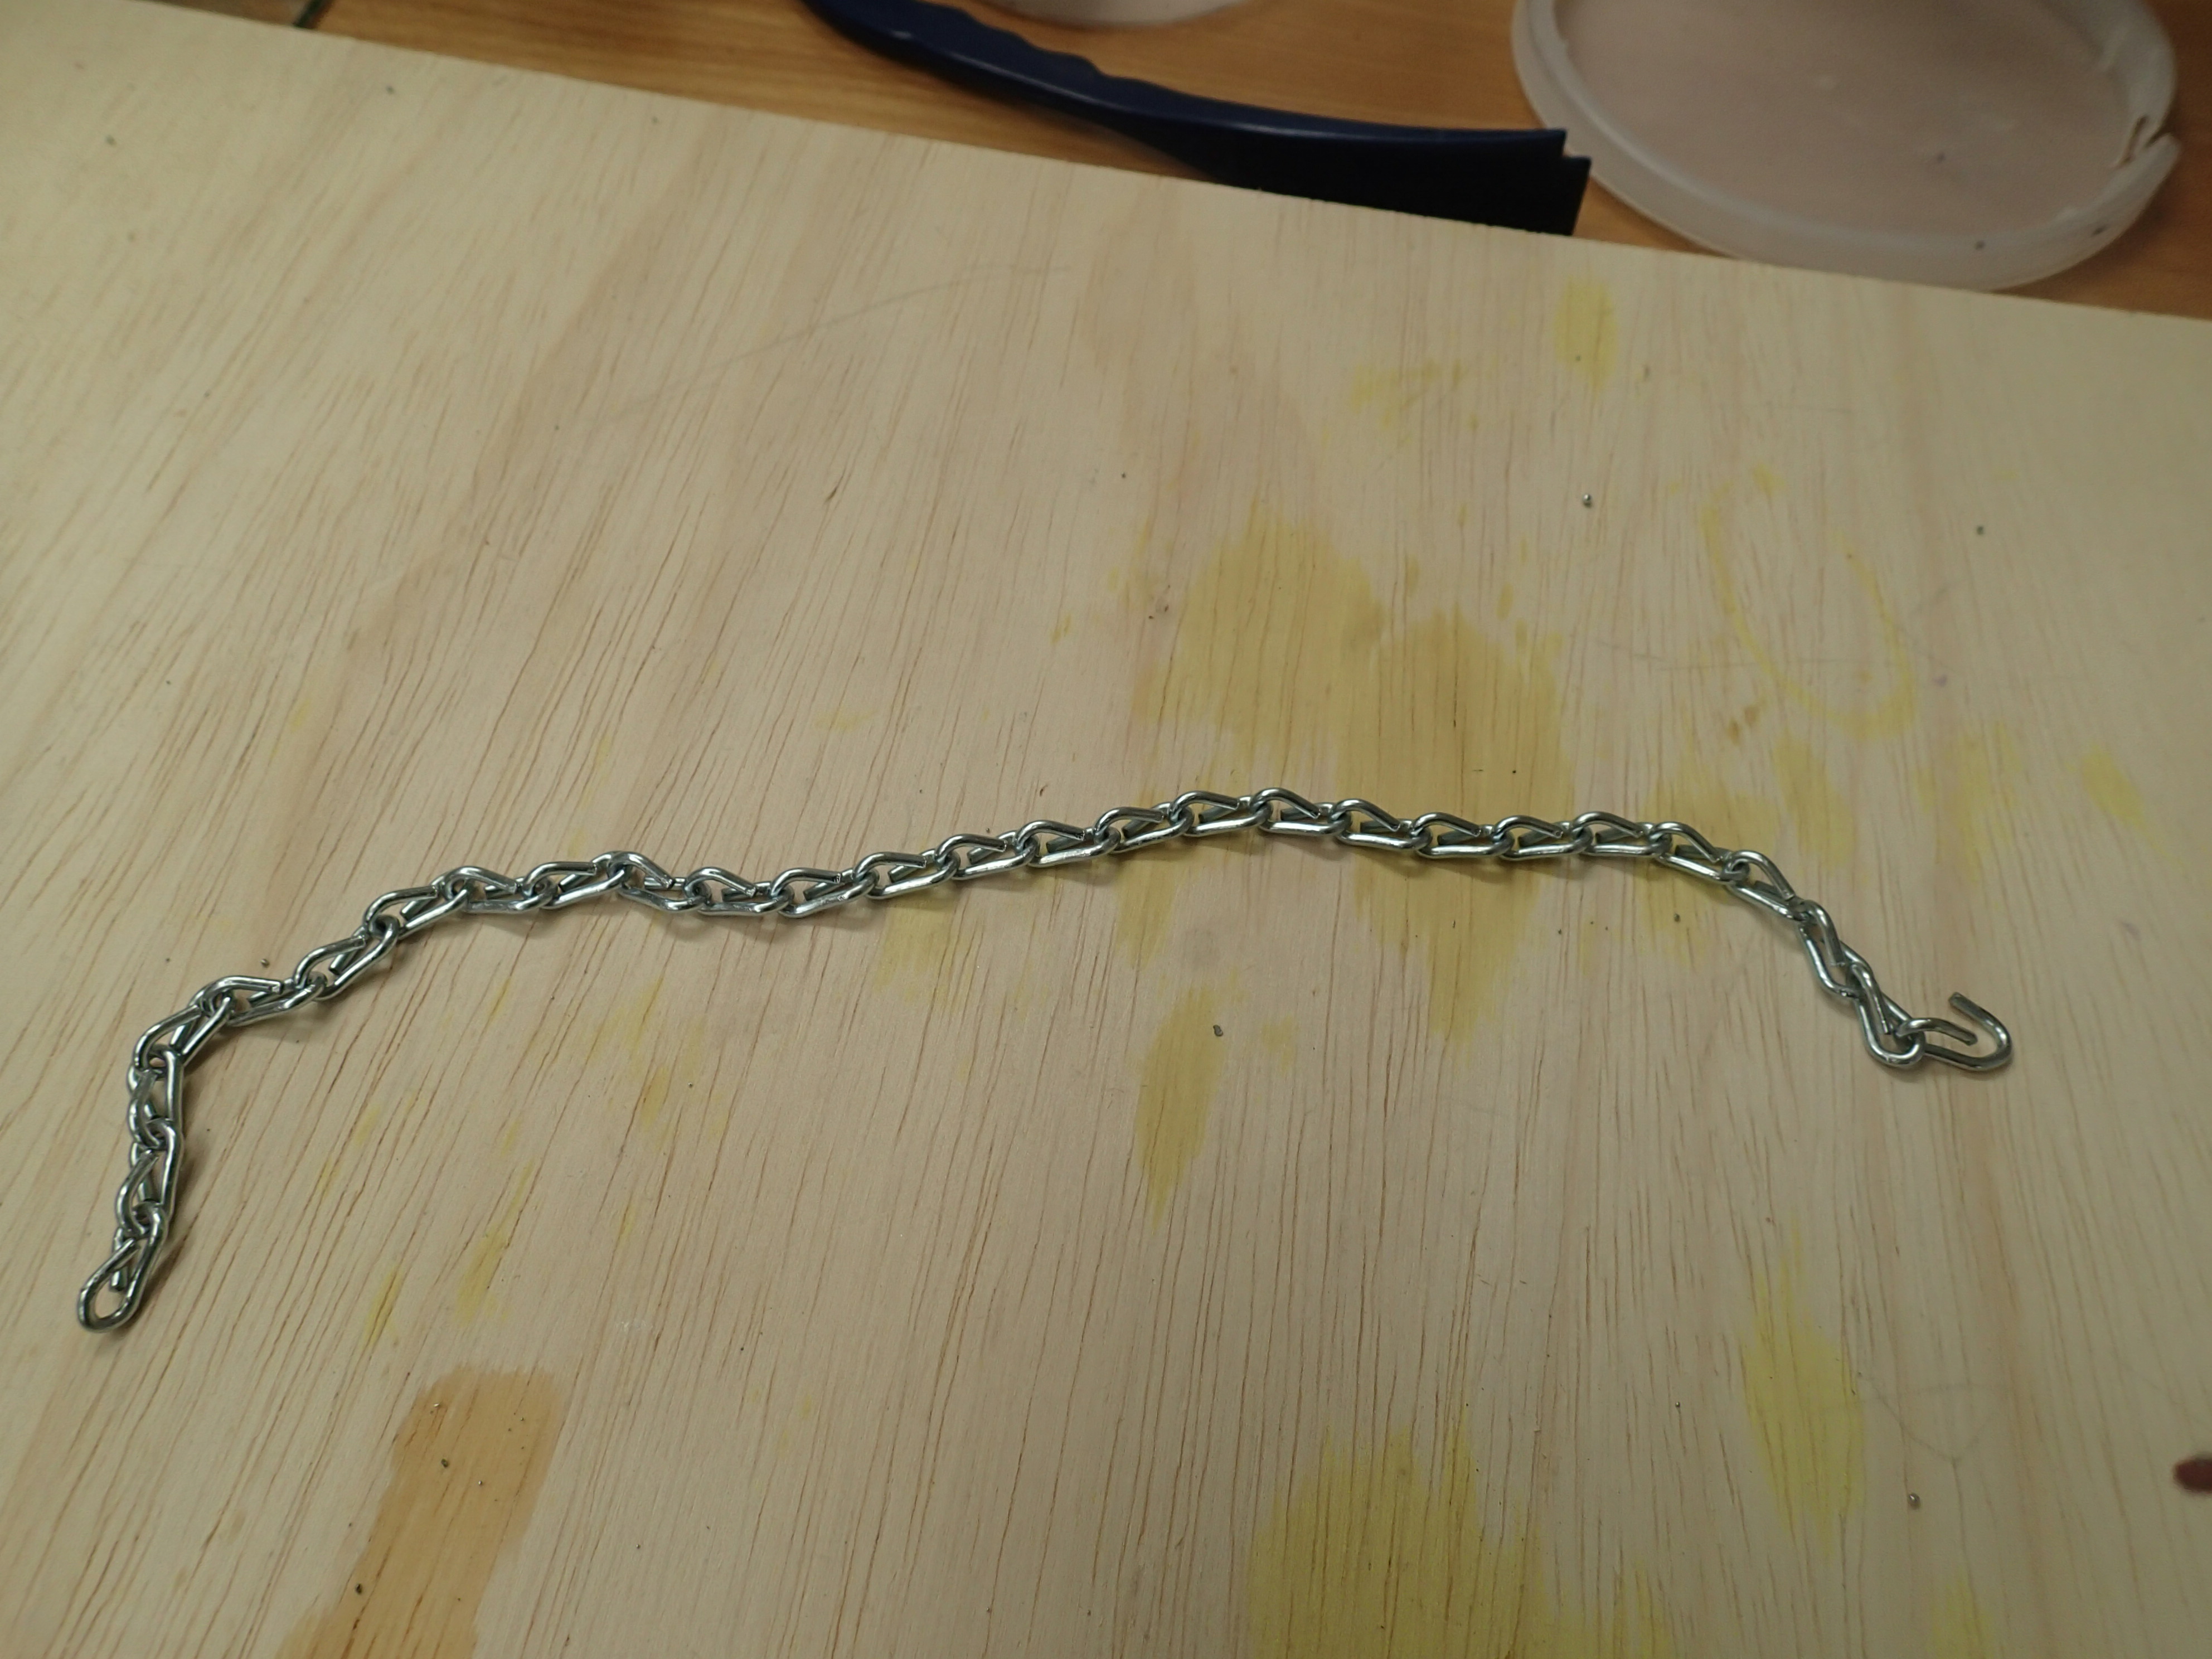
The chain to hang the stone from is also cut,
and the bail is placed onto the chain in the correct orientation, with the 2 ends of the chain to be soldered to the glass piece.
The hanging chain can also be attached after the rings have been attached.
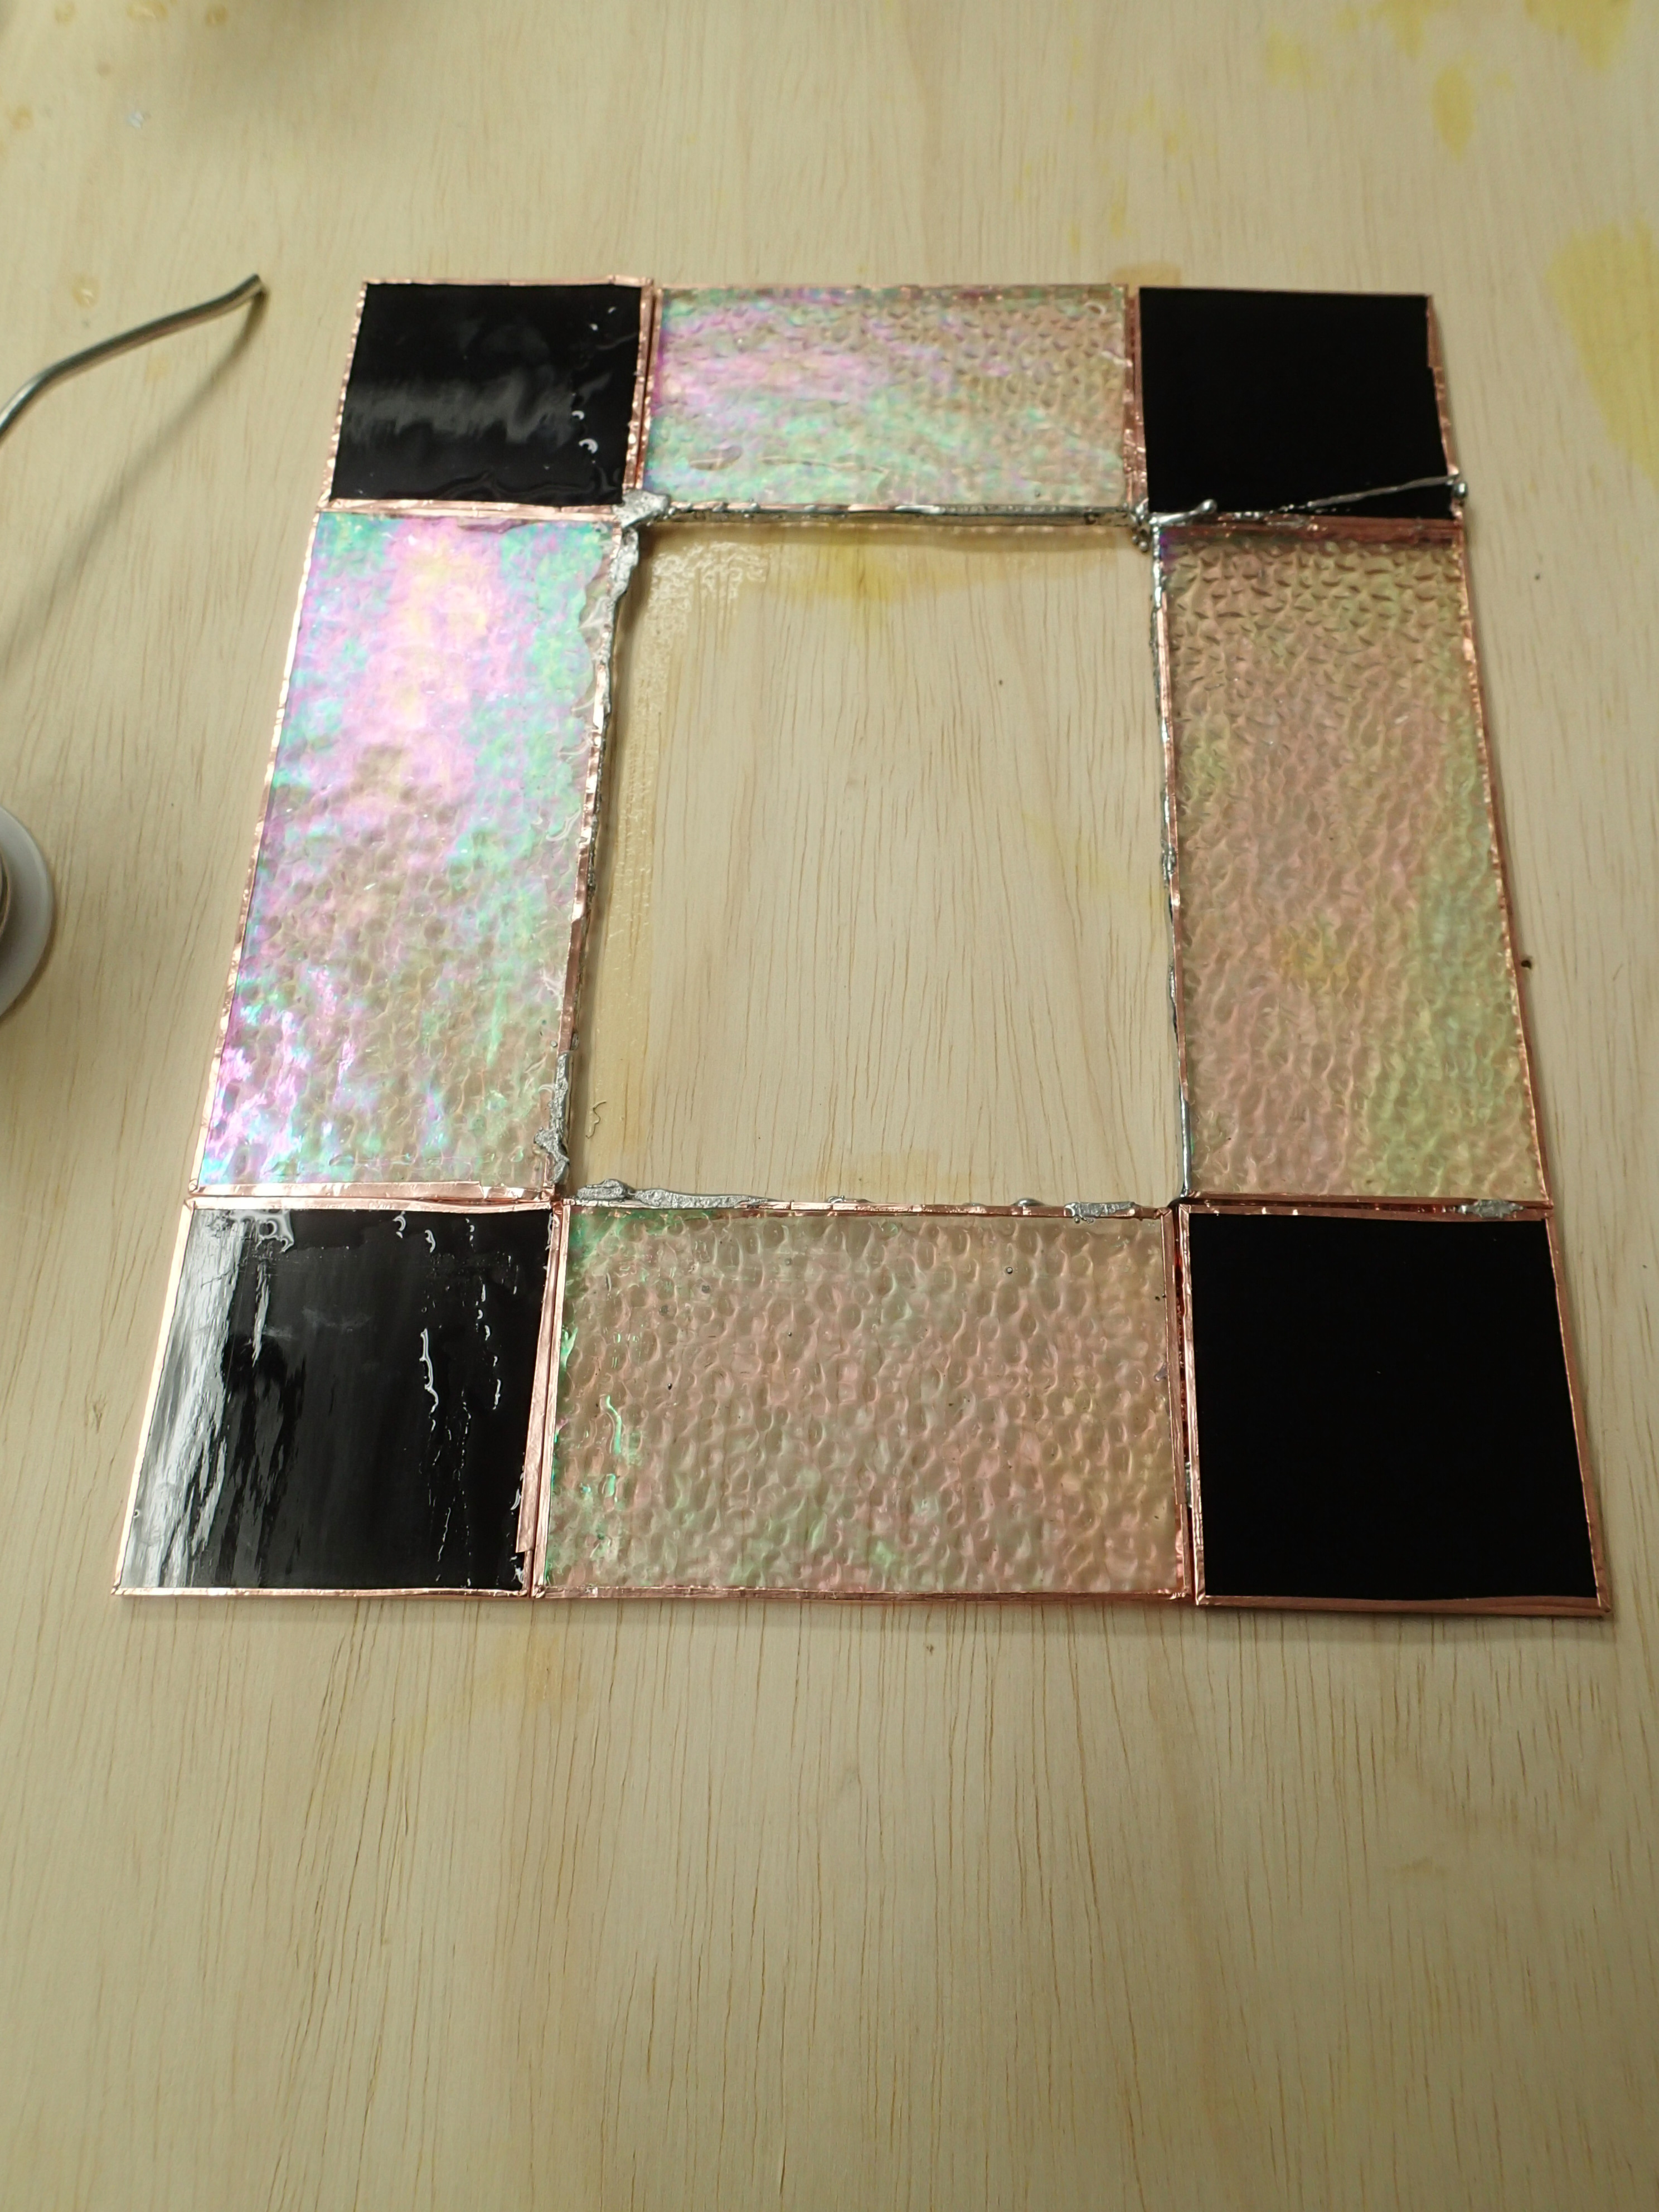
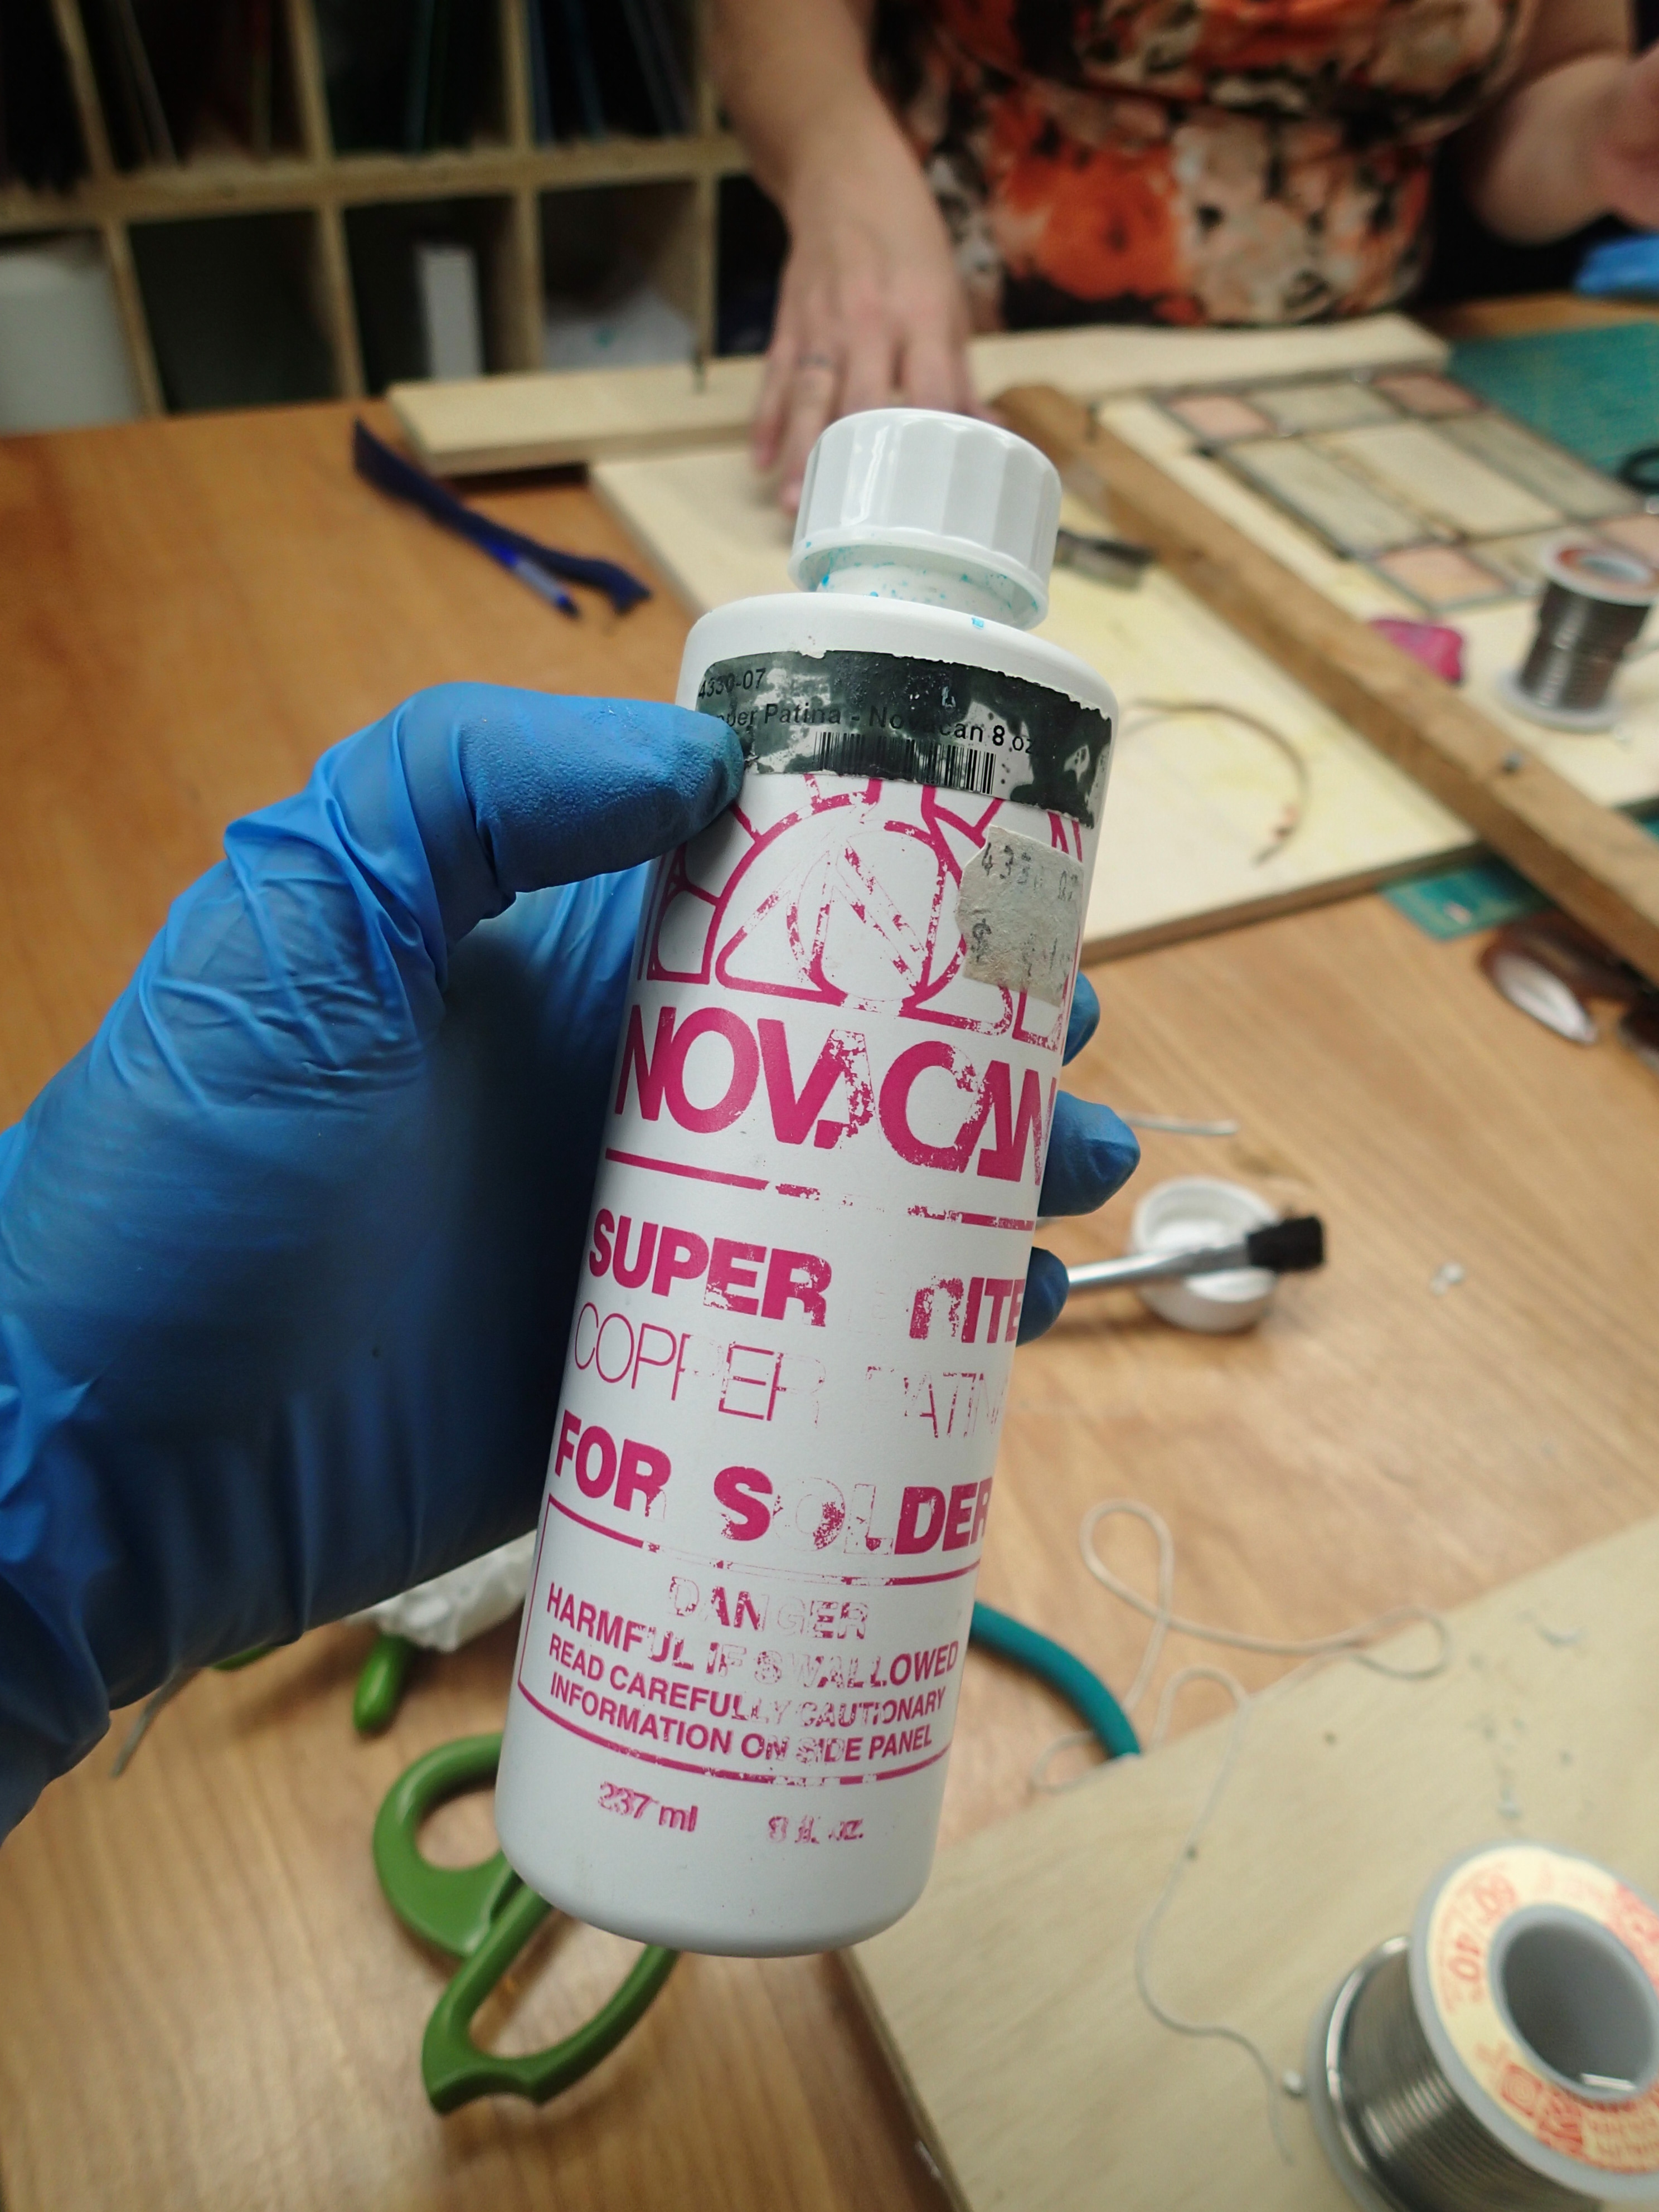
At this point, copper patina
can be used to tarnish the copper on the glass piece,
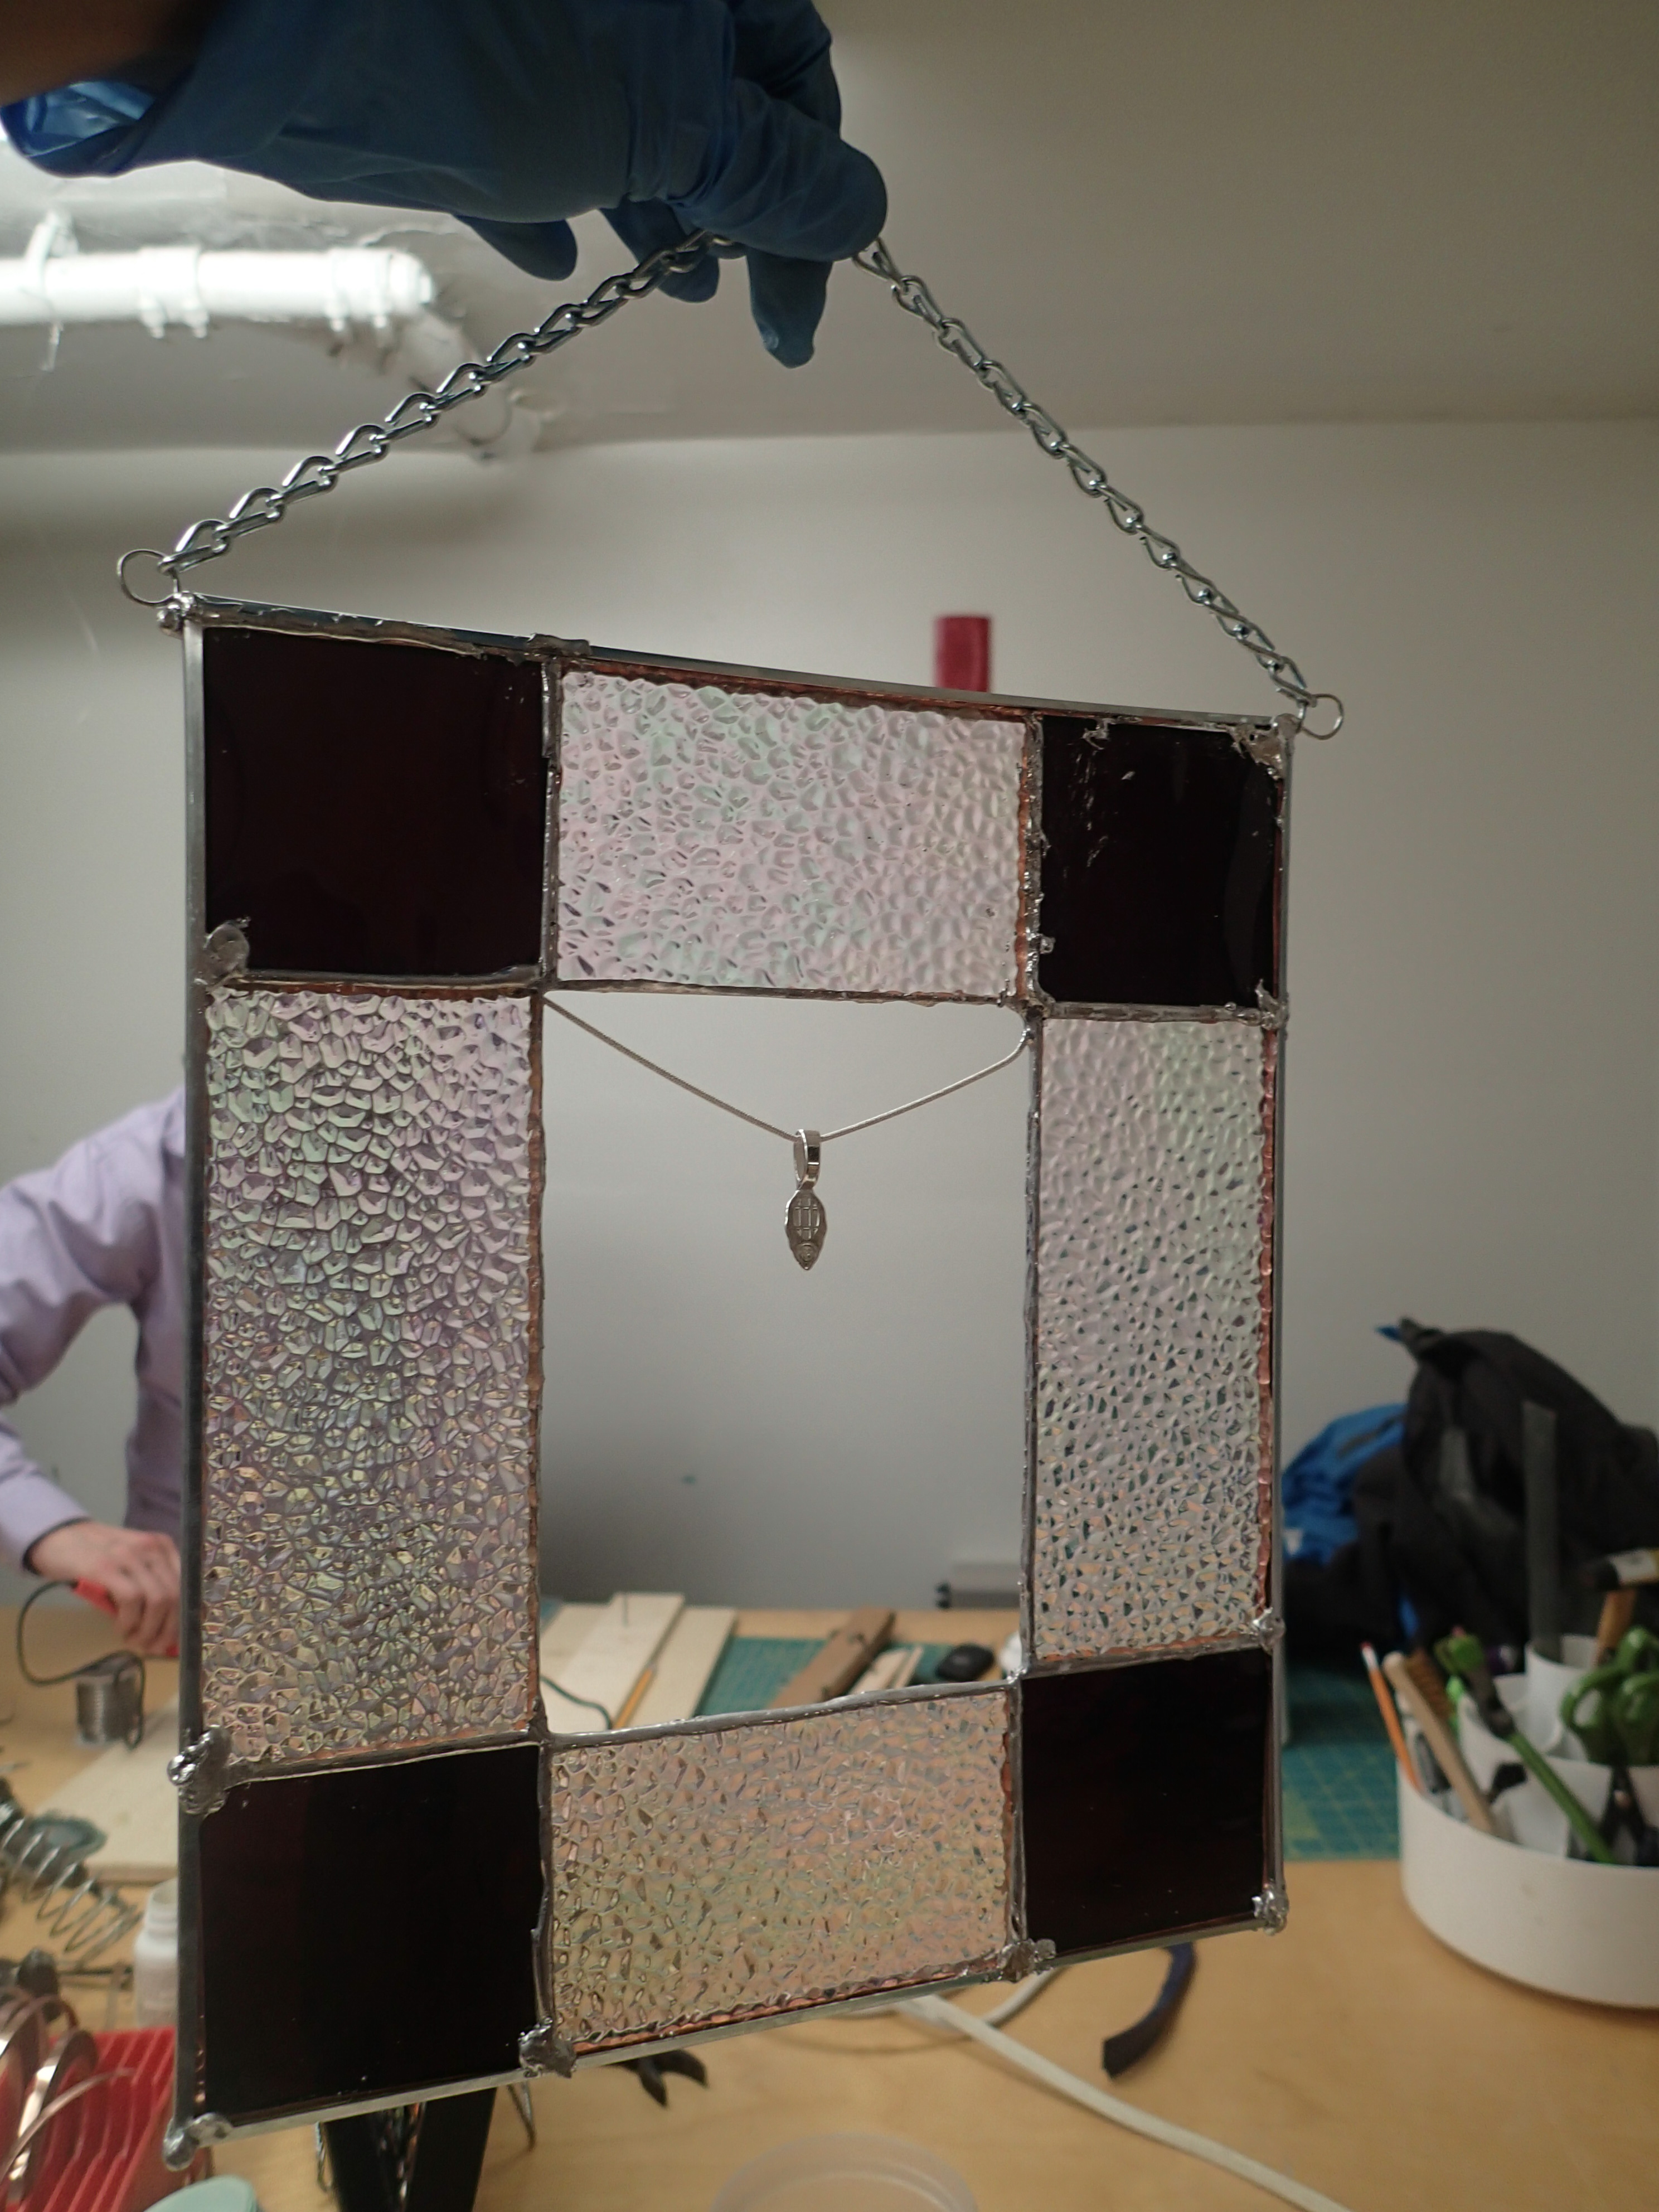
although I chose not to do so for my piece. This is what it looks like without the stone.
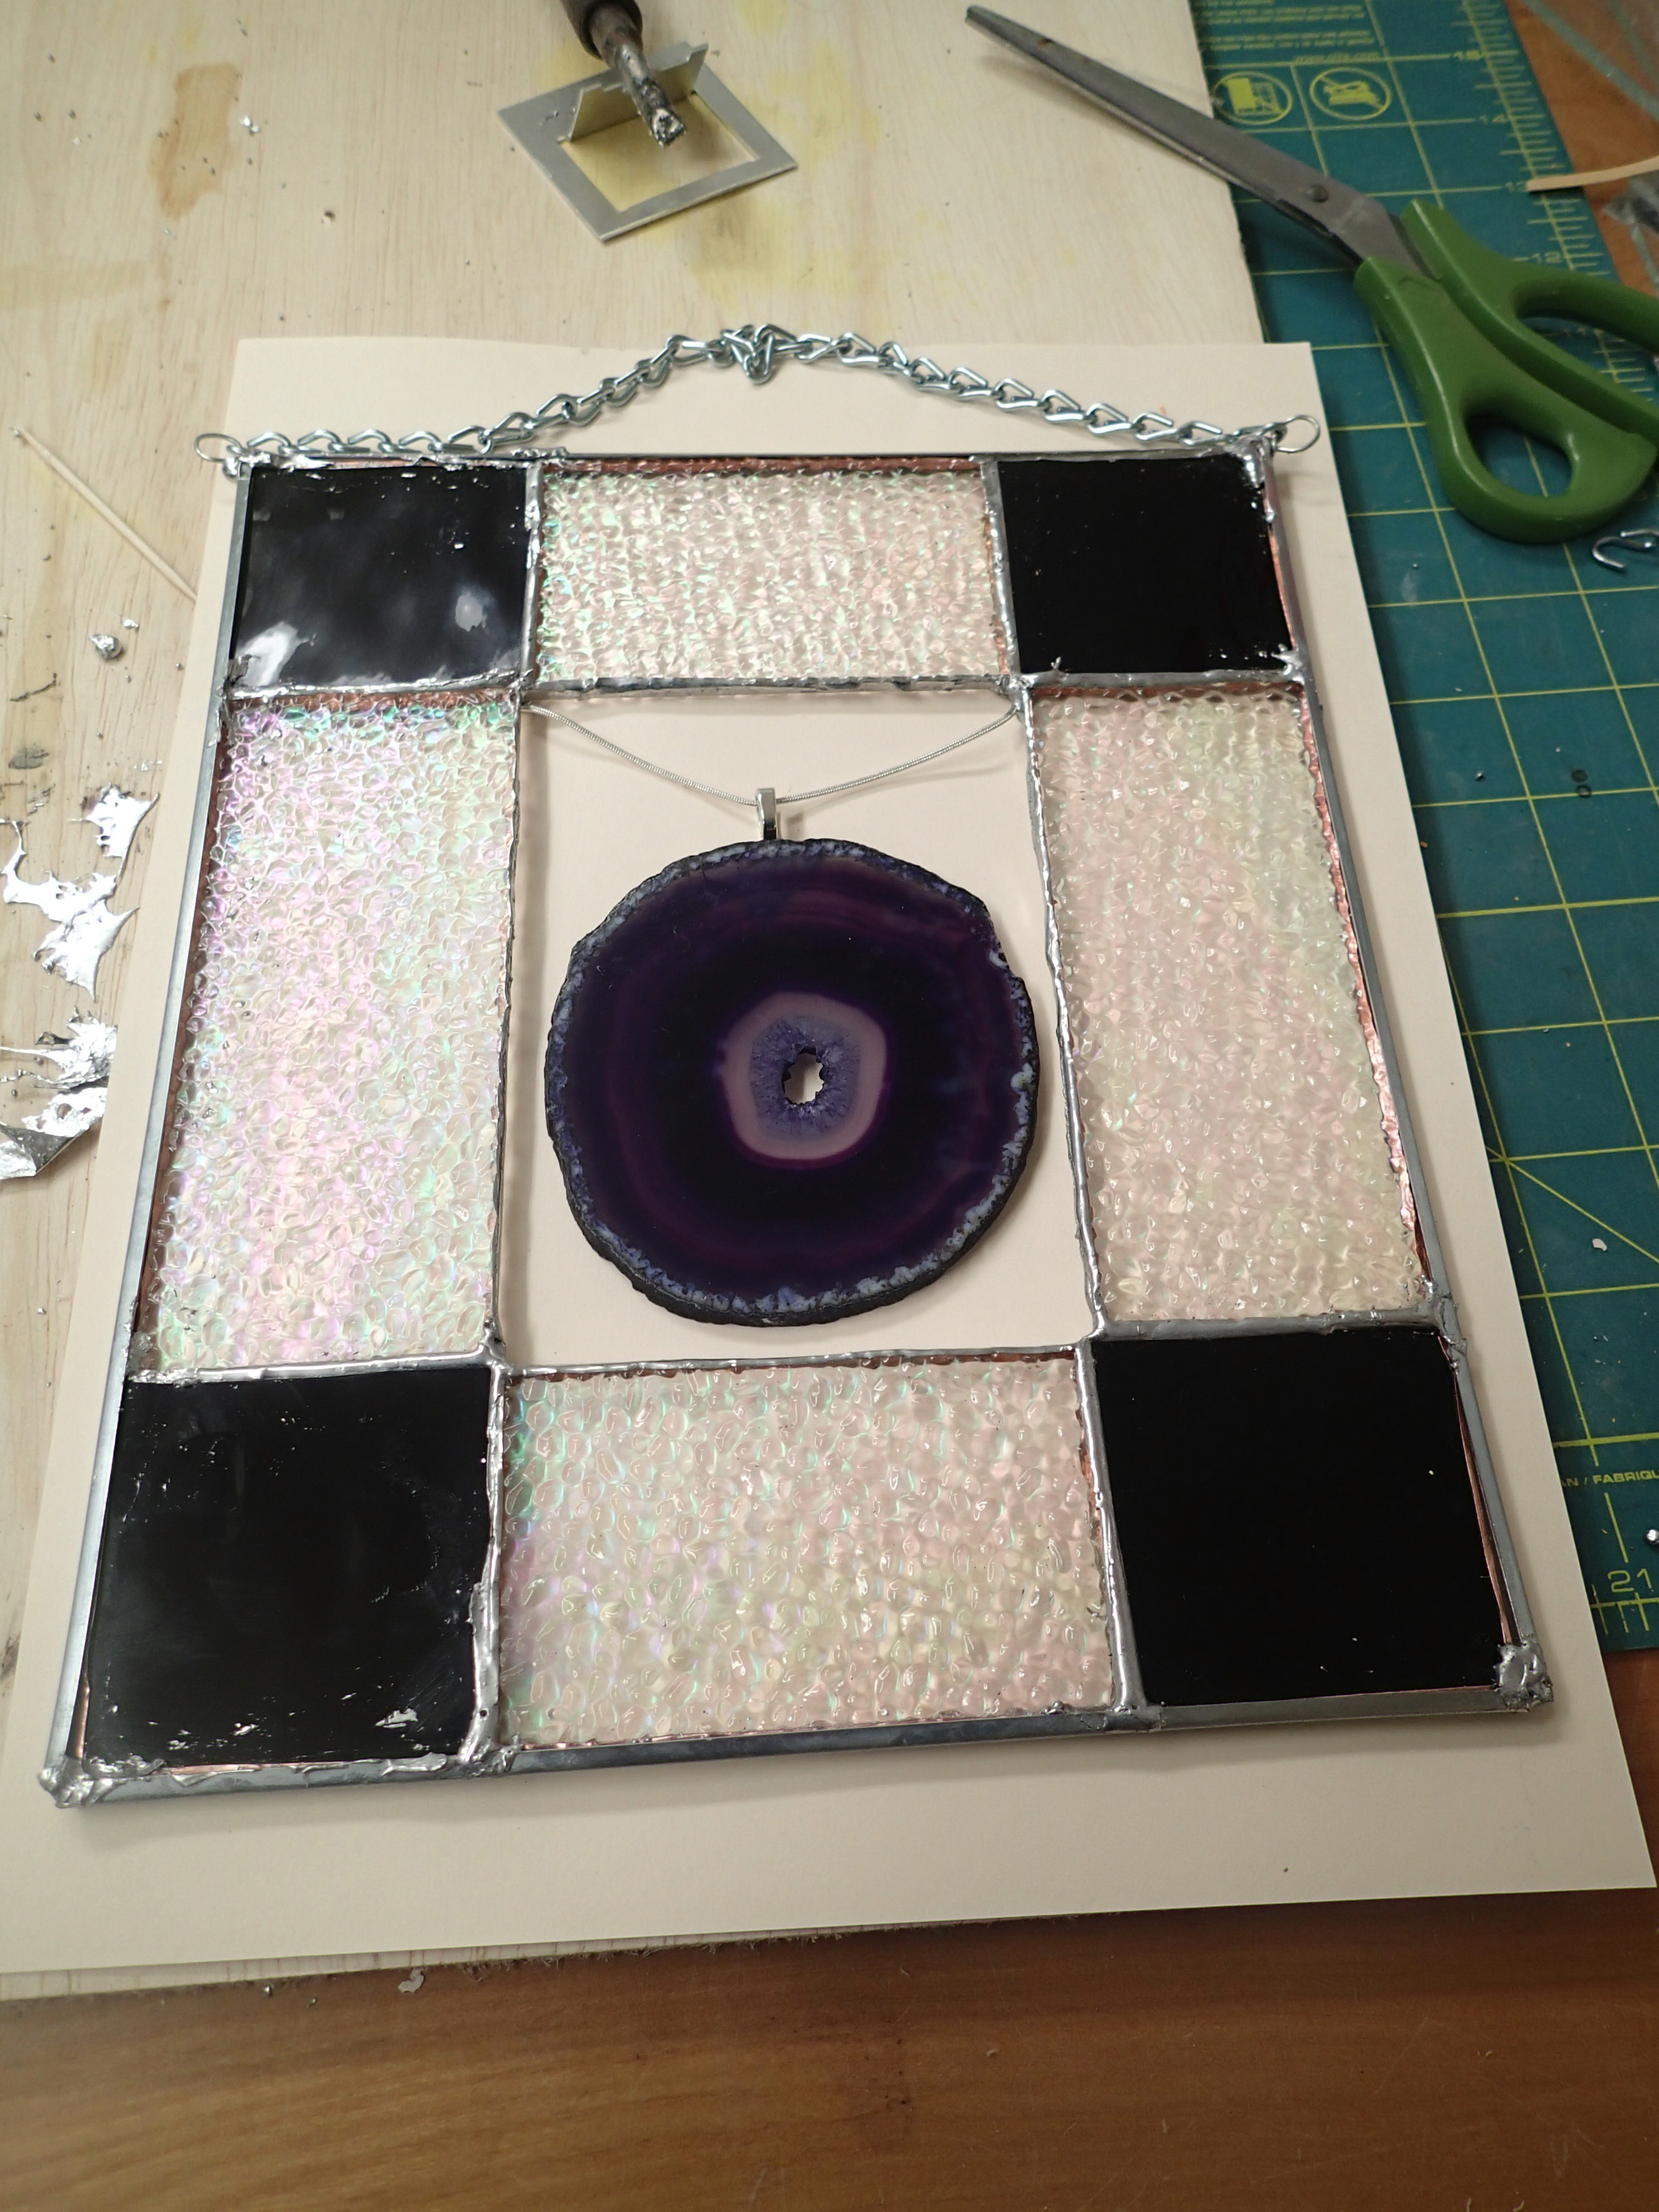
The stone is finally glued to the bail using epoxy, and has to be held in place overnight to ensure it does not slip back off.
With that, our stained glass class was over, and I brought my work home. I definitely learnt a lot today. It is a great feeling to finally learn how the stained glass windows in churches are made.


No comments:
Post a Comment